
Hello everyone, happy holidays! It's the most wonderful time of the year! I have a new layout to share with you today for the Scrapbook & Cards Today Magazine blog that was really fun to put together, called Snowy Zoe (it rhymes ;).
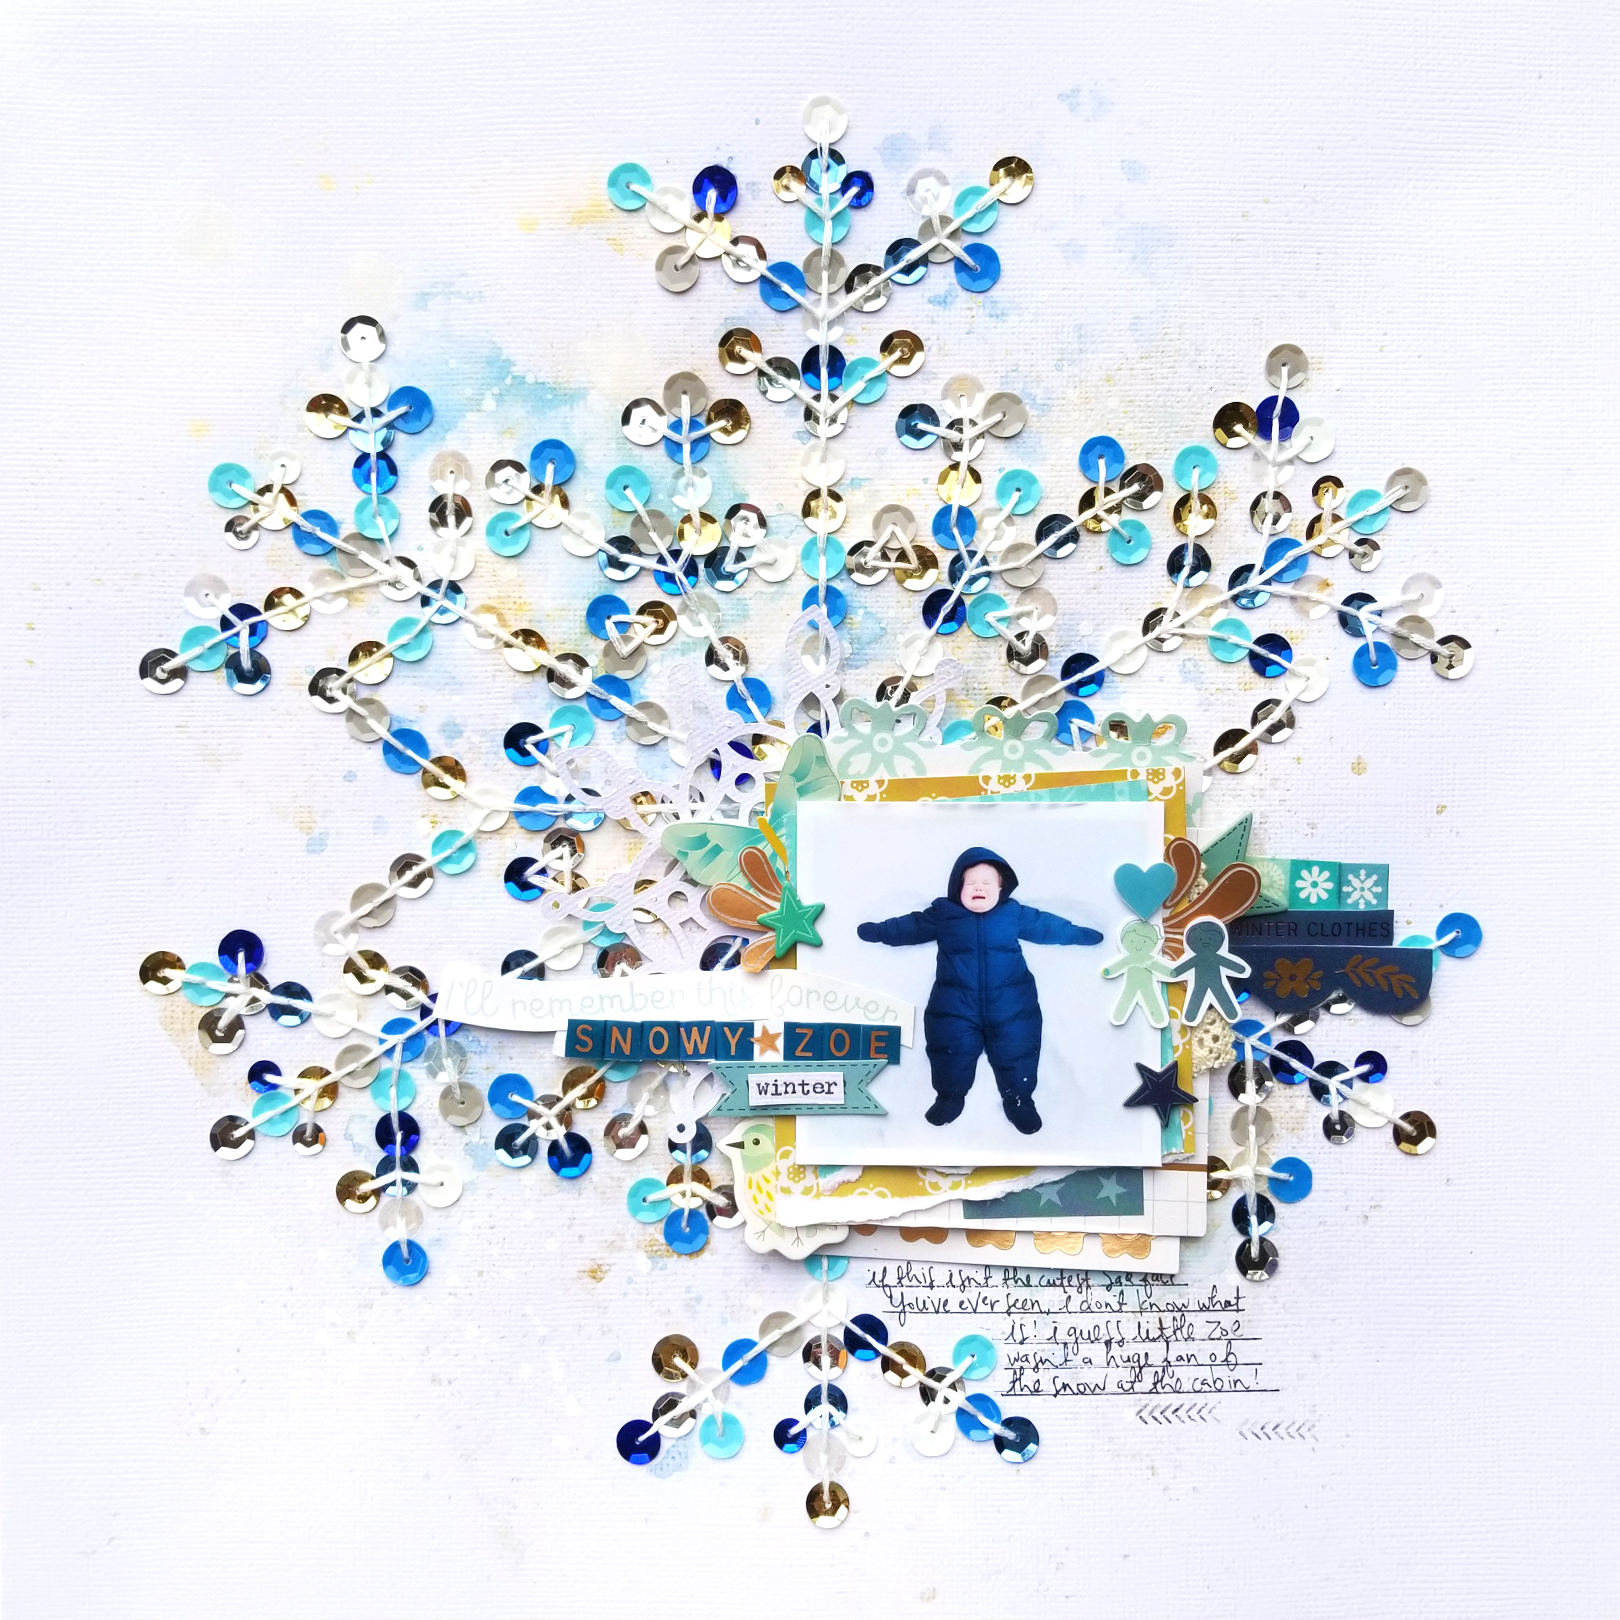
The first thing I did was create a mixed media background on a sheet of white cardstock using Heidi Swapp Gold Color Shine, splashes of blue watercolor, and drops of white acrylic paint. Once it dried, it was time to pick a cut file - I have loved designing cut files for Silhouette the past few months and always look for creative ways to incorporate them into my layouts. I chose my Snowflake Dots to be the focal design element of my background.

Next I replaced the blade in my Silhouette Cameo 3 with a pencil in the pen tool and had the machine draw the design. Once it was finished I pierced a hole through every circle dot.

After erasing the pencil lines, I sifted through my sequin stash and pulled out lots of blue, silver, gold, white, and clear ones and used glue to attach a sequin over each pierced hole. It took a couple hours to complete that process, but I think it's totally worth it!
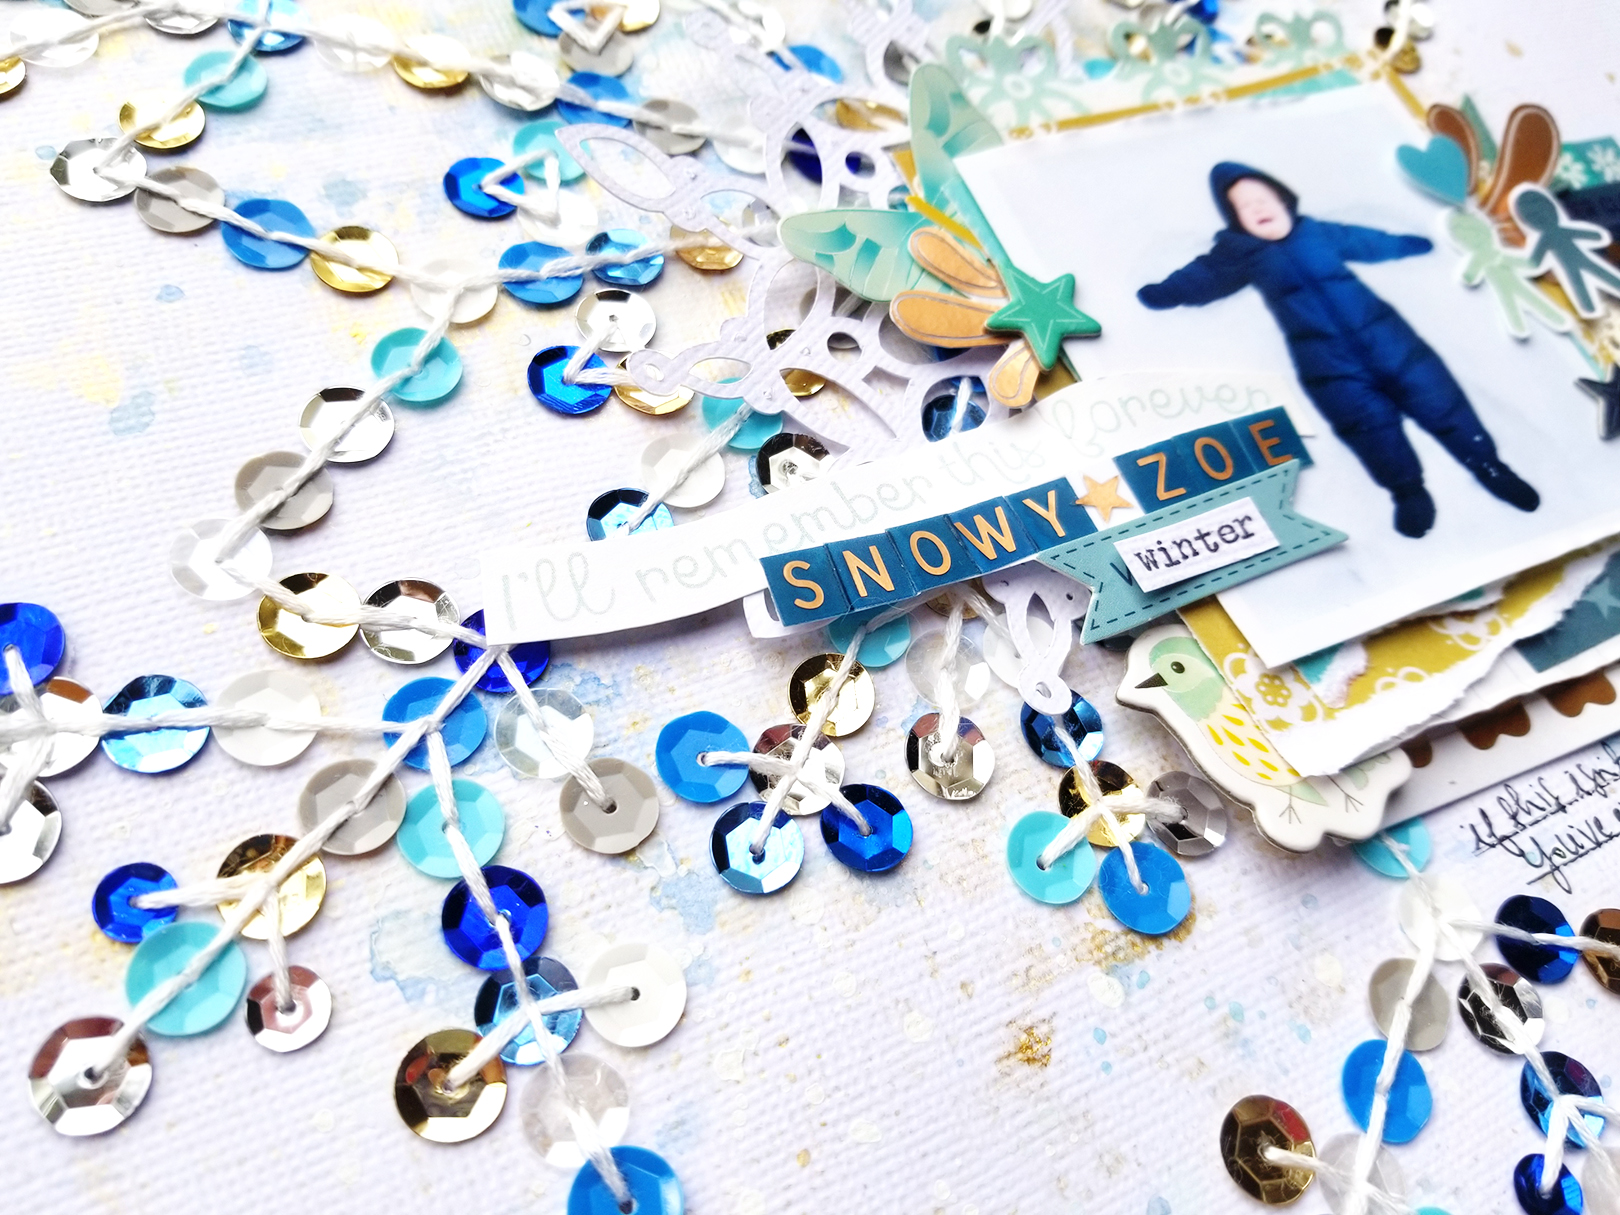
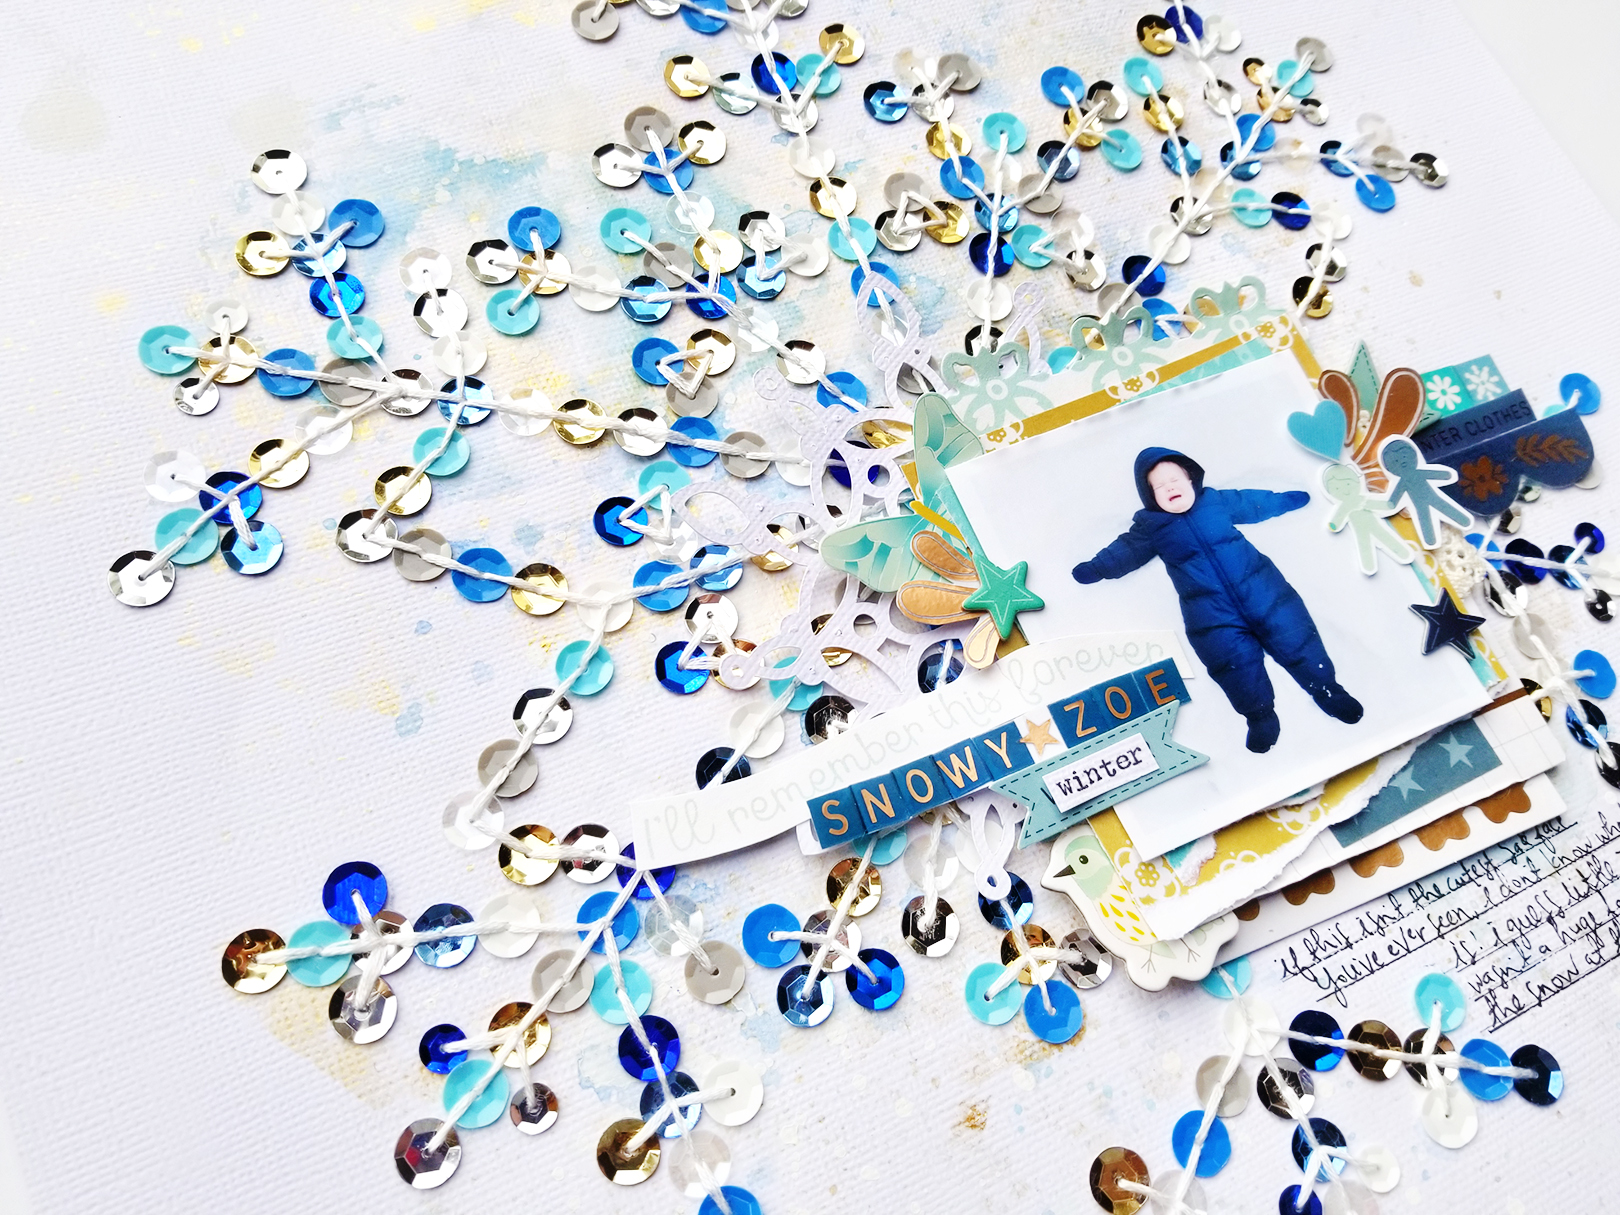
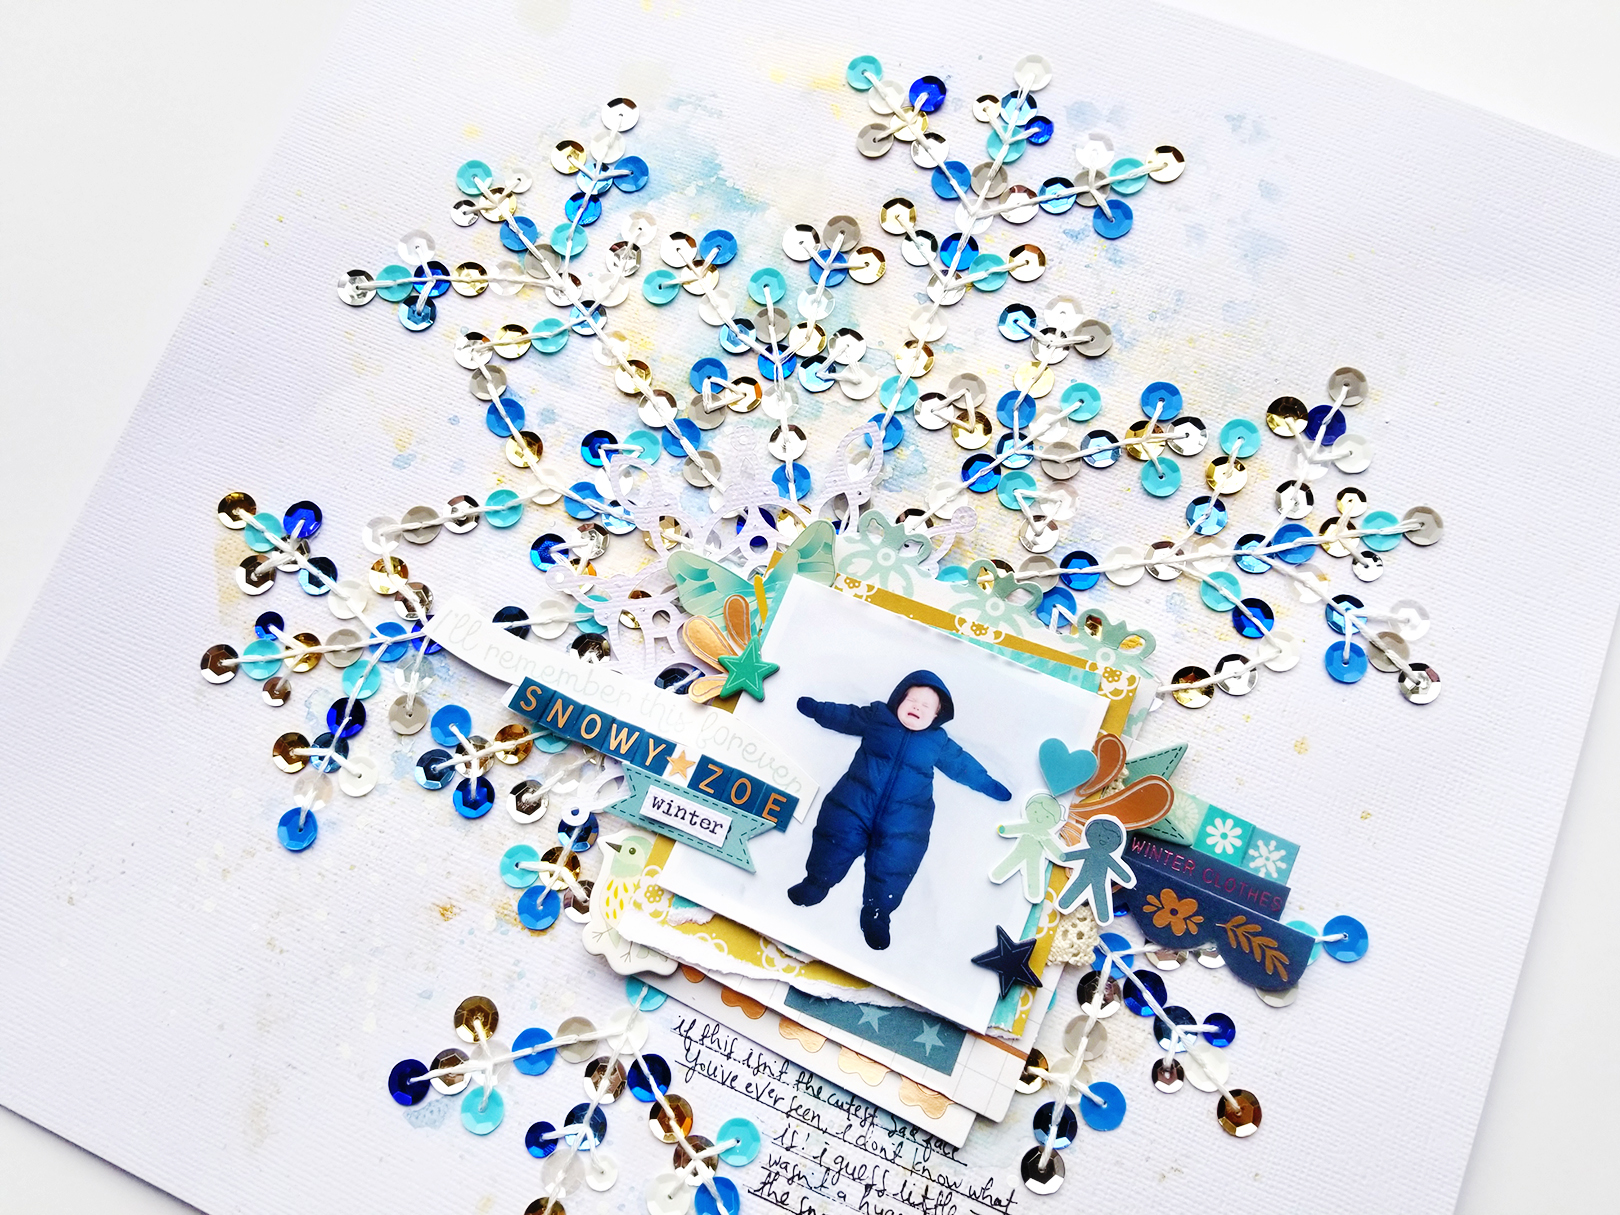
Once the glue finished drying, I felt like the sequins all blended together, the snowflake wasn't really defined. No worries, I got some white thread and a needle and stitched over the entire snowflake design. Now it really looks like a snowflake!
I found a sweet photo of my niece Zoe making the world's cutest sad face in her puffy snow suit, splayed in the snow, clearly not impressed with the situation haha. I challenged myself to use my Turn the Page collection with Pink Paislee to embellish and create the title. This collection is definitely not winter-themed, but there are lots of blues, grays, and aquas, and golds, so it was easy to pick and pull bits and pieces to use to match!
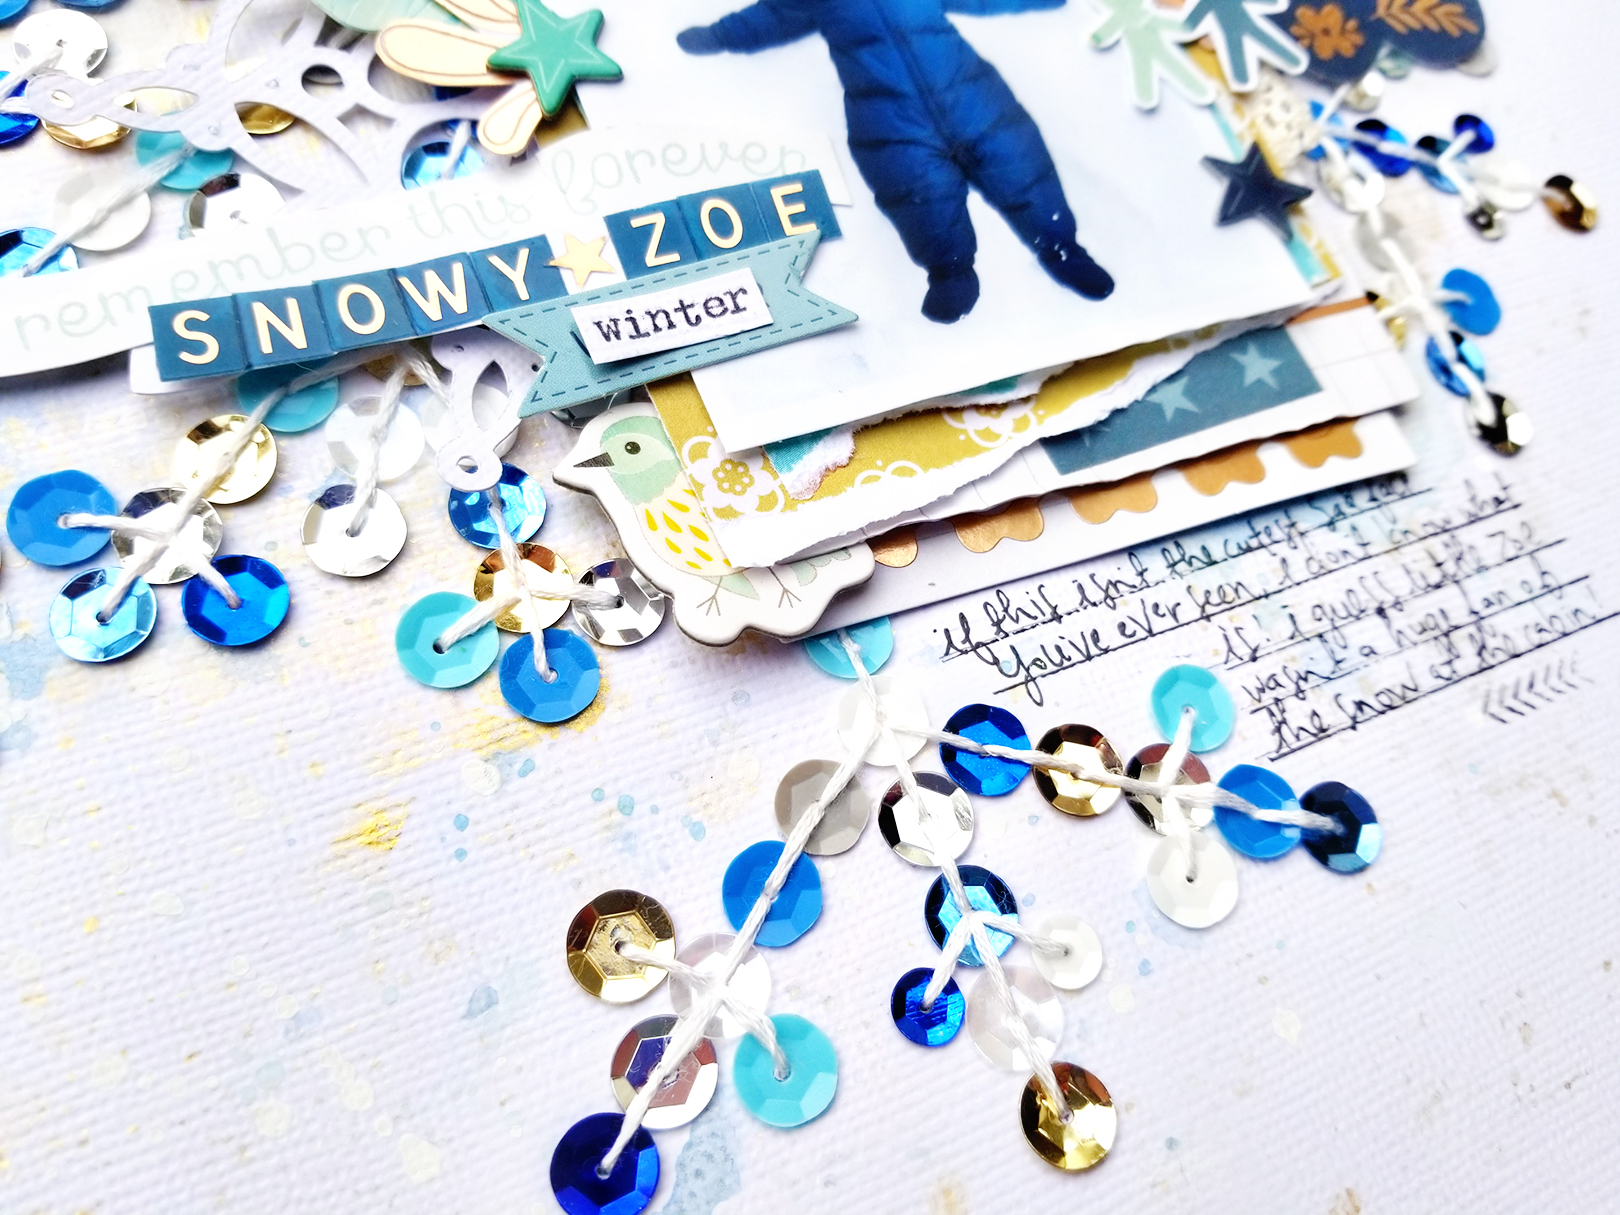
I didn't want to cover too much of the background since I worked so hard to create it so I clustered everything in one place. I layered the photo over several patterned papers and journaling cards, made the title with mini alphabet stickers, fussy cut a sentiment from a patterned paper, added a strip of gold washi into the layers, placed chipboard stars, paper chain people stickers, scalloped washi tape, and just lots of little things for eye candy! It was so fun to embellish! I even added another cut file, this time I used my Snowflake and cut it to about 4" to make another delicate layer behind the photo. I wrote my journaling with a Precision Pen and used my roller stamp from Take Me Away to stamp some arrows below.
I hope you are inspired to create a wintery page, perhaps with sequins in a fun shape for an eye-catching background design! Thanks for joining me today, Merry Christmas!
I hope you are inspired to create a wintery page, perhaps with sequins in a fun shape for an eye-catching background design! Thanks for joining me today, Merry Christmas!
Supplies: Patterned paper, die cuts, stickers, washi tape, journaling spots: Turn the Page by Paige Evans / Pink Paislee; Roller stamp: Take Me Away by Paige Evans / Pink Paislee; Cardstock, pen, adhesive: American Crafts; Die cut machine: Silhouette Cameo 3; Cut files: Snowflake Dots and Snowflake by Paige Evans for Silhouette; Watercolors: Loew Cornell; Gold mist: Heidi Swapp Color Shine; White acrylic paint: FolkArt; Embroidery thread: DMC; Sequins: Craft supply


So effective and a great use for sequins!
ReplyDeleteWowwwwwwwwwwwww!!!! I loveeeeeeee this! LOVING how those sequins were used!!!!!!
ReplyDeleteso wish you did cut files for cricut I want to use yours so badly!
ReplyDeleteGorgeous layout! So many details and love the use of sequins for a colorful and brilliant Christmas layout. You are truly an amazing Scrapbooker. Thanks for the inspiration Paige.
ReplyDelete