
Hello crafty friends! Amber Mitchell here on Paige's blog today to share with you how I created this fun backpack-shaped mini album using the bright and colorful Go the Scenic Route collection.
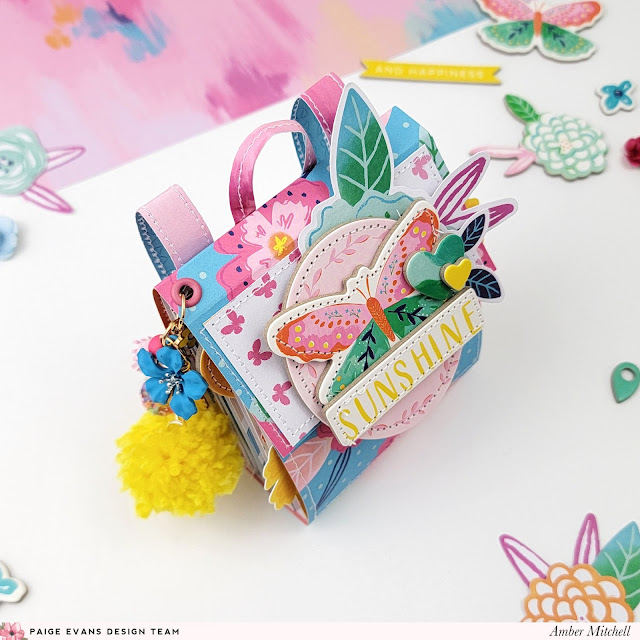

When I came up with the idea for this style of mini album, I instantly knew that I had to use the Go the Scenic Route collection to create it. This collection is all about traveling so it fit perfectly for an album of this shape and style!
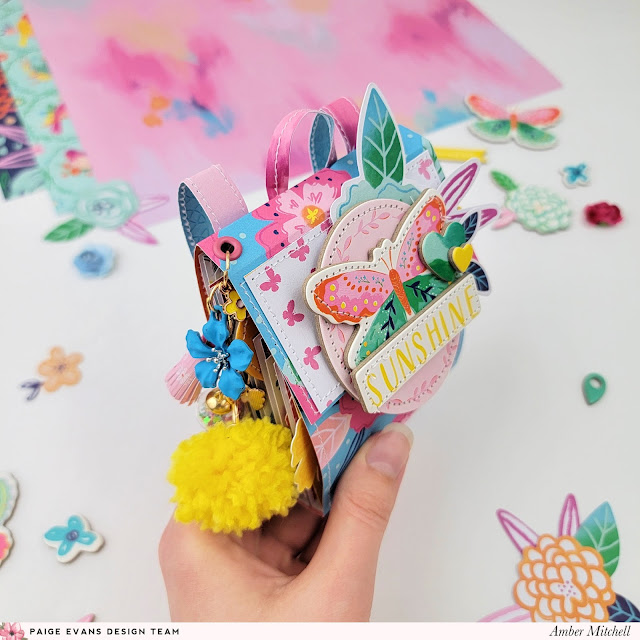
To create this mini album, I first started with the base. I scored a sheet of paper that measured 4 x 12 inches at 2, 2.5, 6.5, and 8 inches. I creased along all of the score lines and then folded this template into the basic shape of a backpack. To keep this base closed I used a velcro dot but a tie closure or craft magnet would work just as well.

To take this project to the next level I created faux straps and a small handle. The faux straps measure 1/2 x 5 inches and I adhered these to the back of the base using a strong adhesive. The small handle measures 1/4 x 3 inches and really finishes off the look of this project. I adhered it in between the handles on the back of the base.
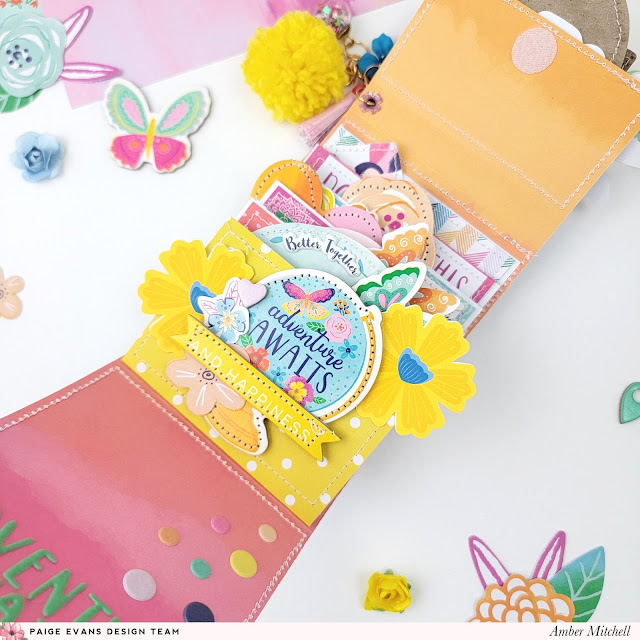
To create the pages for this album, I used papers from the 12x12 Paper Pad. I used five sheets in the following measurements:
3 3/8 x 7.5, score on 7.5-inch side at 3.75 x 4 inches
3 3/8 x 7, score on the 7-inch side at 3.5 x 3.75 inches
3 3/8 x 6.5, score on the 6.5-inch side at 3.25 x 3.5 inches
3 3/8 x 6, score on the 6-inch side at 3 x 3.25 inches
3 3/8 x 5.5, score on the 5.5-inch side at 2.75 x 3 inches
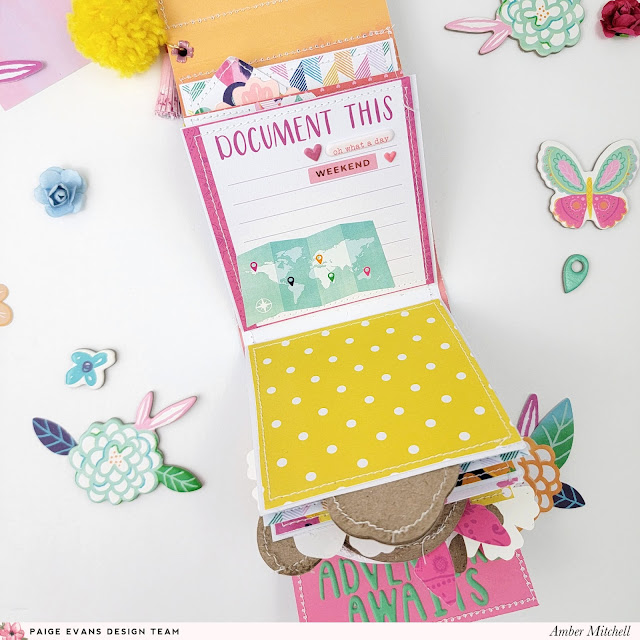
Since I used single-sided patterned paper to create my pages, I matted the white sides with patterned paper that I trimmed down to size. I used the quarter inch gusset on all of the pages to bind them to the bottom of the base. I recommend using a strong adhesive for this part. I used double-sided tape and staggered my pages from smallest to largest on the 1.5-inch gusset on the backpack base.

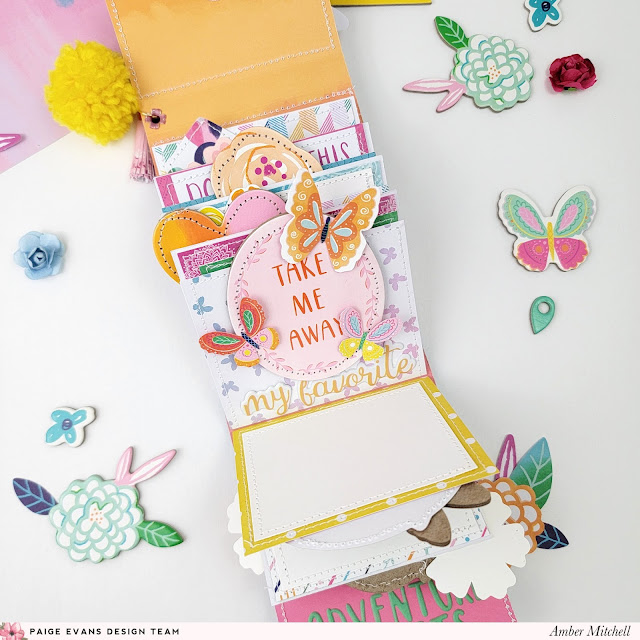
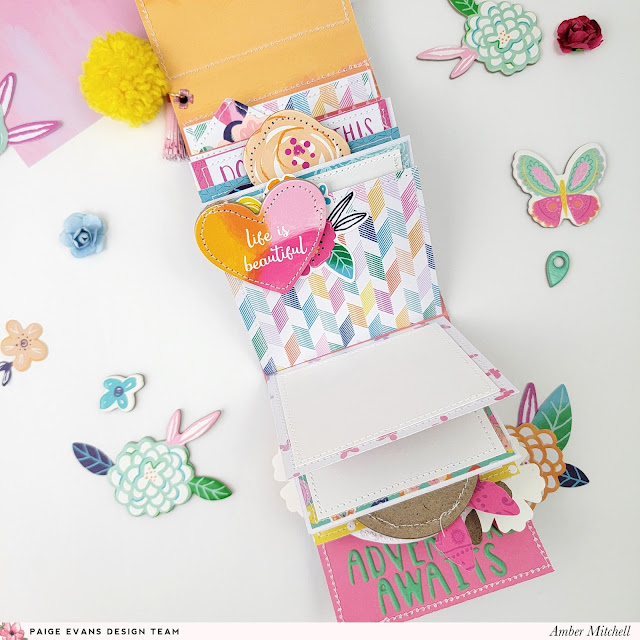
To embellish this album, I used a bunch of different elements from the Go the Scenic Route collection. As usual, my mini album came out quite chunky! For a more refined look, I would suggest keeping an eye on the thickness of the embellishments you use. I got a bit carried away with the Chipboard Stickers but I just love the dimension they bring to each page! I also used a mix of the Puffy Phrase Stickers, Cardstock Stickers, and the Ephemera Die Cuts.
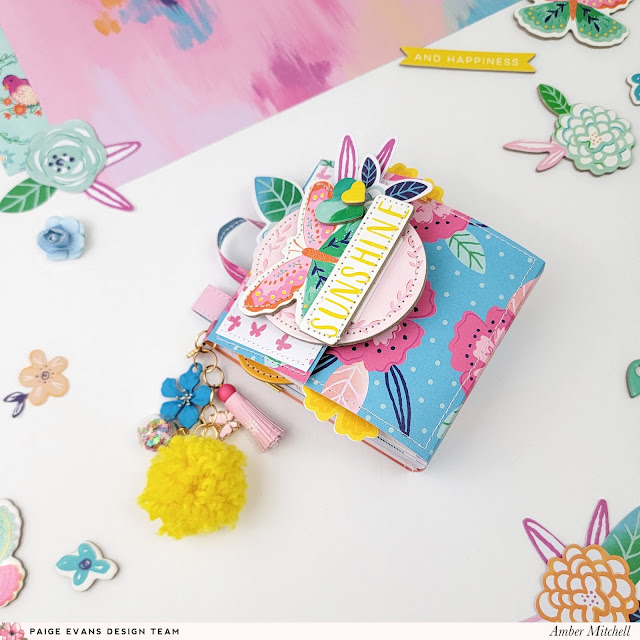
To add more character to the front of this backpack mini, I created an embellishment cluster using stickers and some of the Floral Die Cuts. I layered this on top of a mat that I added to the front flap of the backpack; this mat measures 1 3/4 x 3 1/4 inches. For extra fun, I added a dangle full of charms and a bright, yellow pompom. I used charms from my stash along with one from the Flower Charms from the Bloom Street collection.
The final addition to this mini were photo mats that I made using white cardstock. Now this album is ready for all of those fun vacation memories!
Thanks so much for stopping by my post today! I'll see you next time with another fun project!
SUPPLIES: Patterned papers, stickers, die cuts, embellishments: GO THE SCENIC ROUTE; Flower Charm: BLOOM STREET

Location: California, USA / Blog: Happy Crafty Studio / Instagram: @bambidearr / YouTube: bambidearr / Pinterest: bambidearr


Post a Comment