Card Trio by Jamie Pate


Monday, July 22, 2019

Hey you! Jamie Pate here, eager to share with you a little mini card gallery. Cards are my first paper craft love. Card making is what captured my heart long ago and walked me into this fantastic paper artist, memory keeping, gift making world. Today’s cards I want to inspire you with showcase, of course, cut files made by Paige. Using an assortment of cut files, I wanted to craft a tone-on-tone background. Let’s look at these three cards one at a time.
The With Love card uses the Wonky Hearts Background cut file as the base. I love that background file already. As with all the other cards shown here, the background was sized down to fit a card base, and then cut on textured cardstock. On this card the hearts were left open. I ungrouped the cut file, selected and copied one of the hearts to another canvas in Silhouette, resized the heart, and cut a heart that measured about 1 1/2" tall to be that pink patterned heart on the embellishment cluster. Did I mention these cards are pretty simple to make? Well. Then there. I said it.

The Road to Happiness card starts the same as the first card. For this Flower cut file it comes with an inside offset piece. Or maybe that is actually an inset piece…hmm. I pulled it up off the cutting mat and adhered inside the Flower negative to give additional dimension to the background. Floral Die Cuts were tucked under the sentiment phrase. I liked how the branches and leaves played subtly with the background cut.

The final card holds a favorite Floral Ampersand cut file. Similar to the second card, a large negative was cut in the shape of the ampersand on the cardstock. Then I pulled up the inside cut portion and added it back to the negative space. A variation on a theme if you will. As with the other two cards, Horizon (and a few Whimsical) embellishments were clustered together to create a space for the sentiment.

Three cards. Three cut files. Three variations. I’m thinking there are a whole lot more variations one can craft using these cards as inspiration. I hope you will give them a try!

Location: Colorado, USA / Blog: Jamie Pate Designs / Instagram: @jamiepate / YouTube: Jamie Pate / Pinterest: @jamiepate / Facebook: Jamie Pate Designs
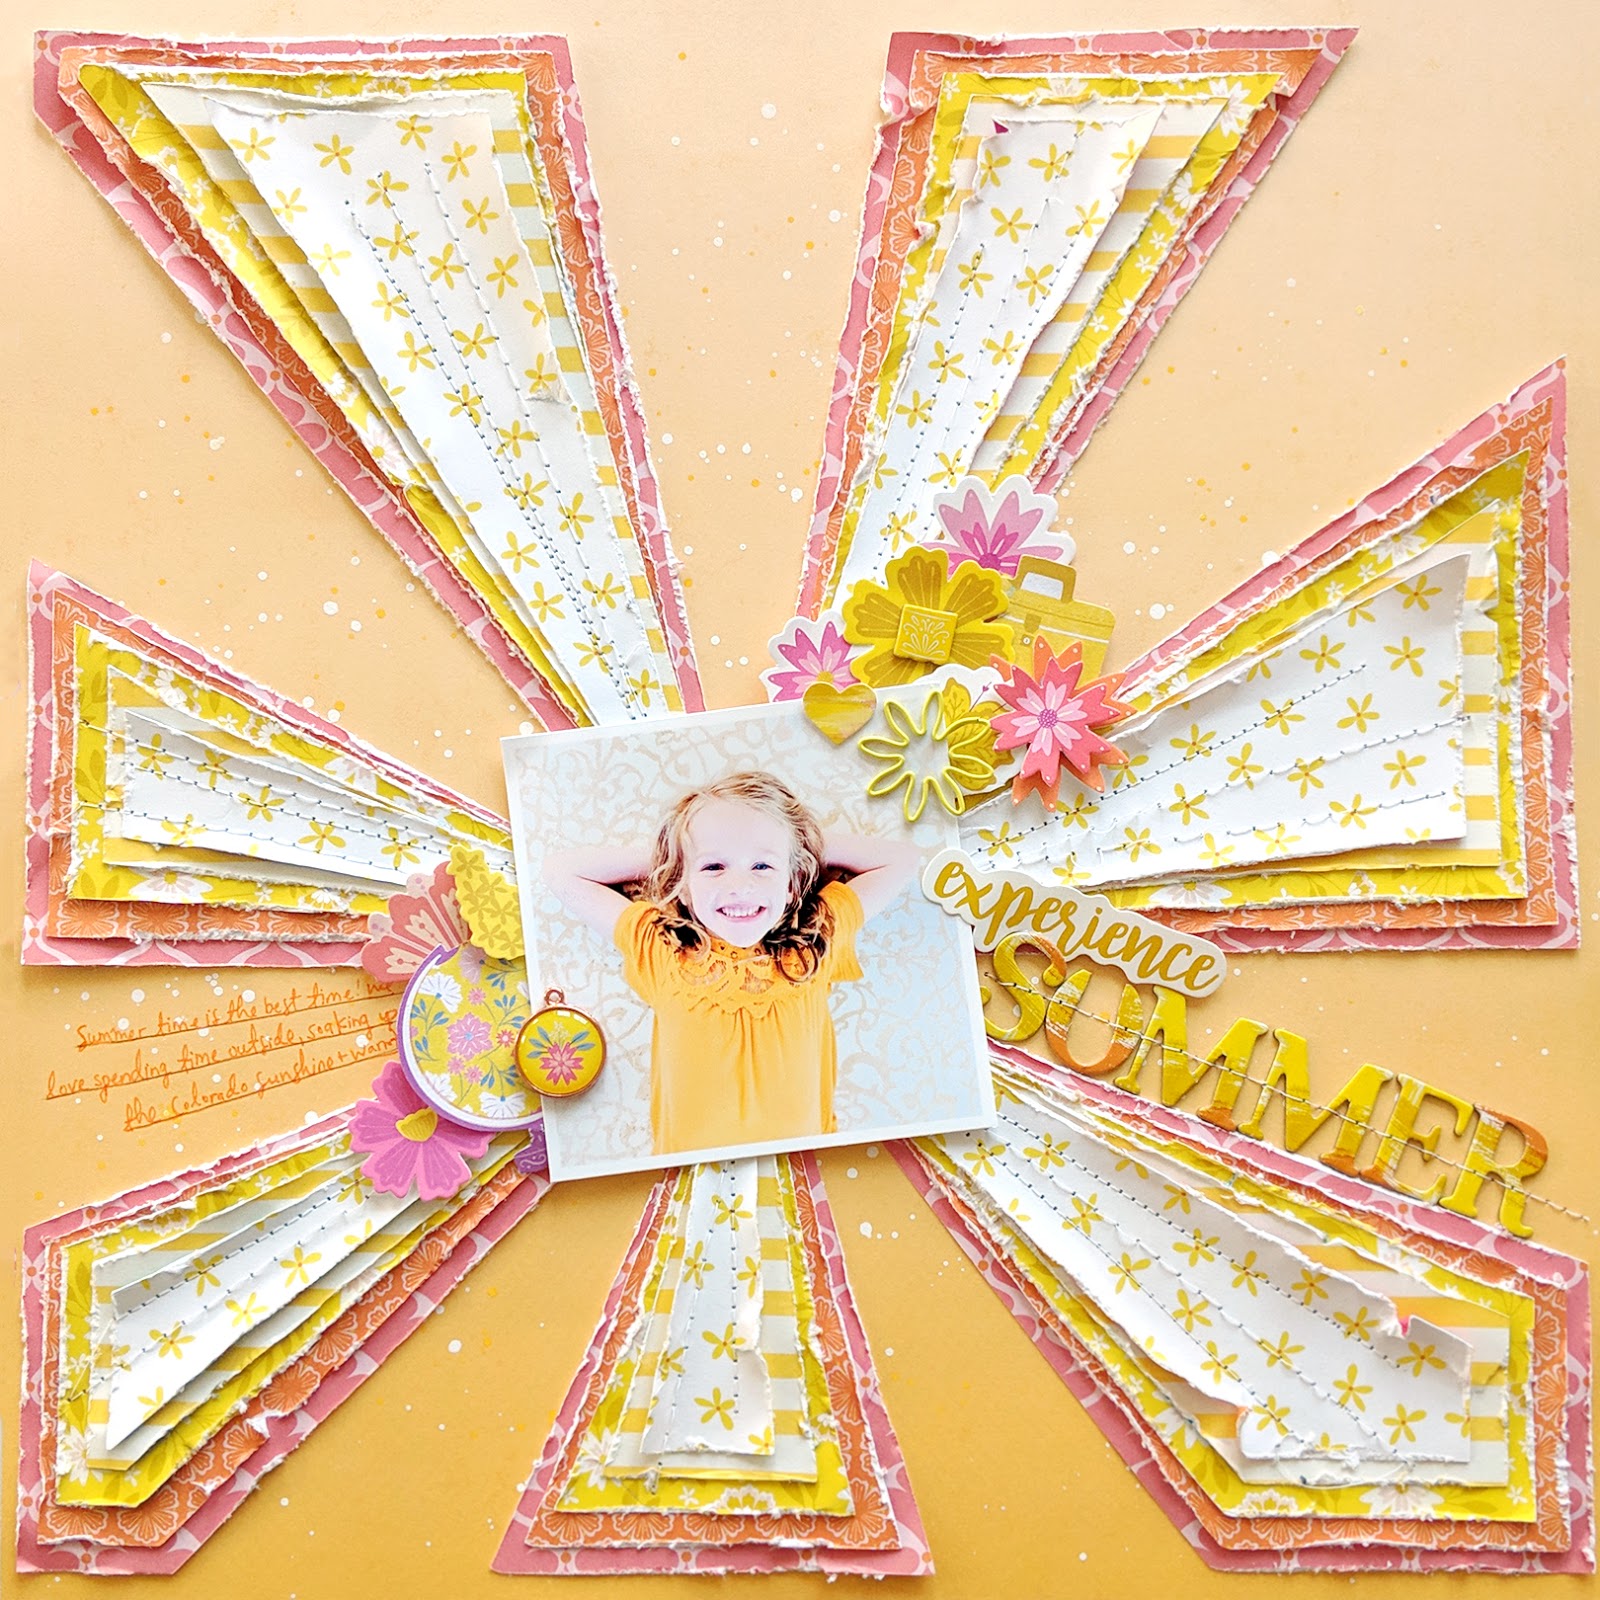
Summer Layout for Scrapbook & Cards Today Magazine


Sunday, July 21, 2019

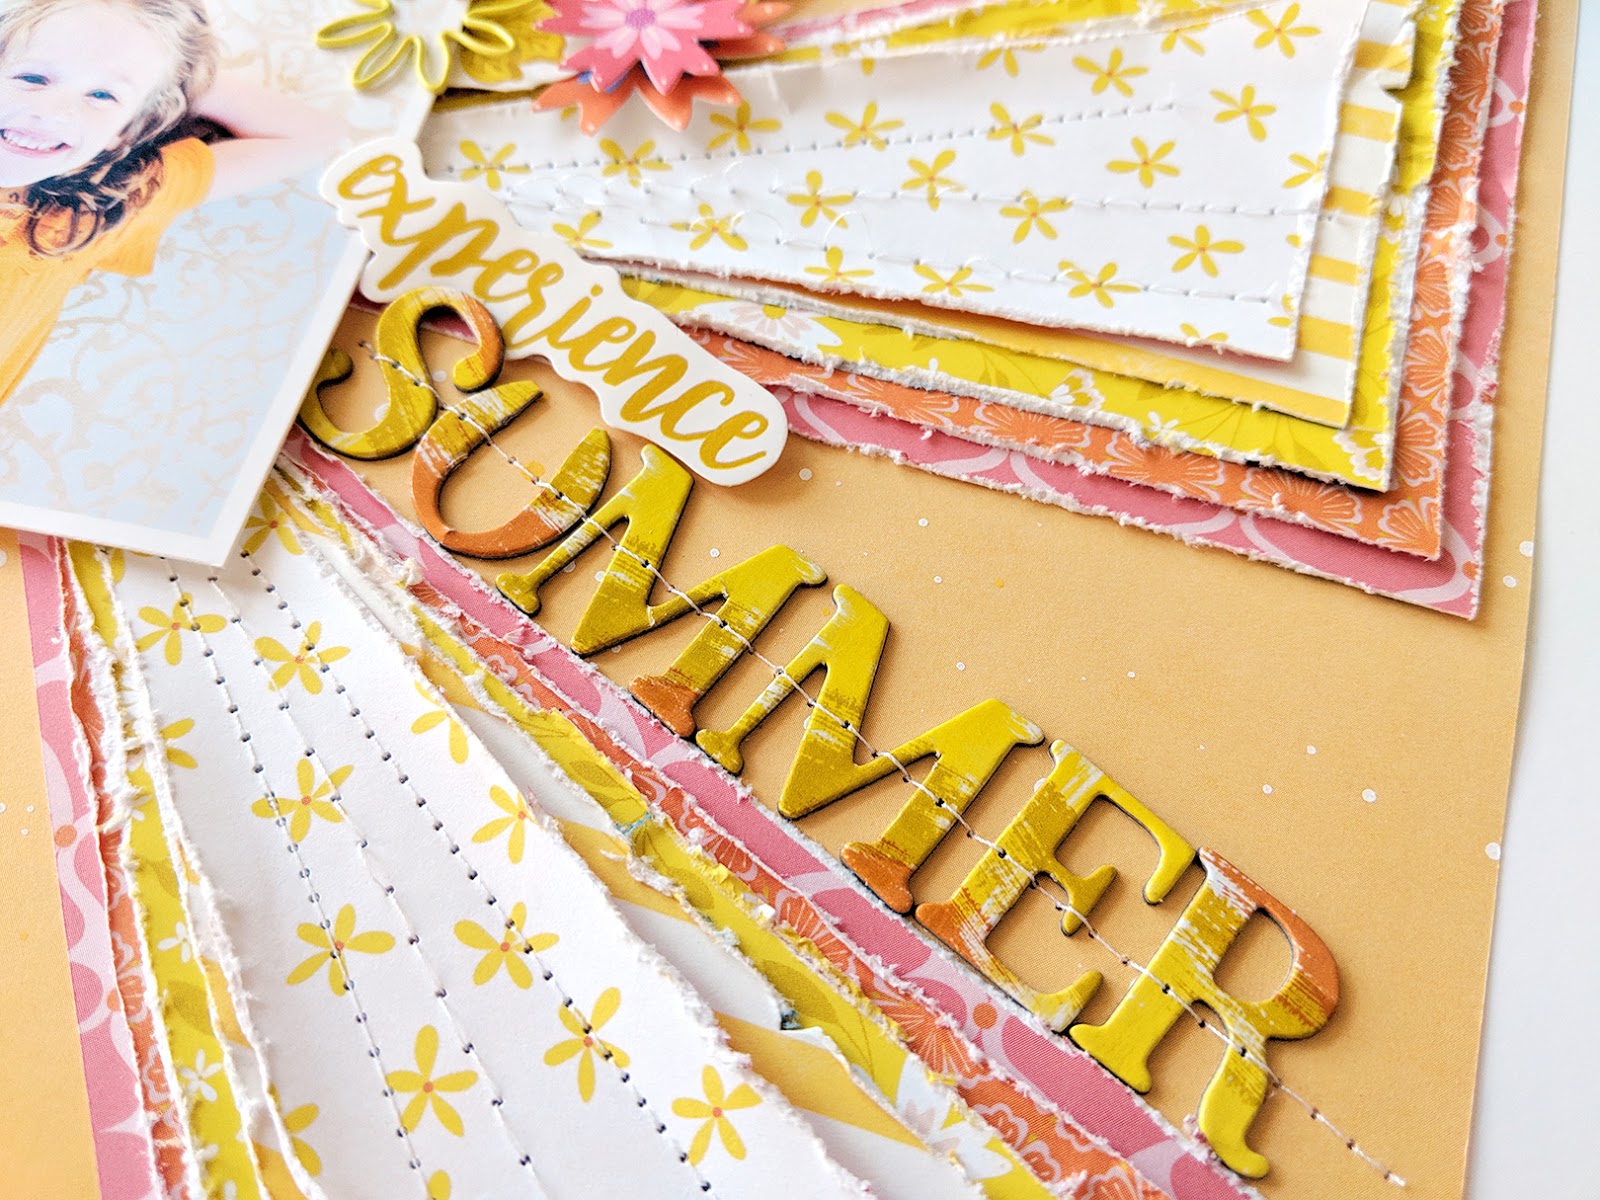
Here is one of the layouts I have inside the Summer 2019 issue of Scrapbook & Cards Today Magazine! You can download the entire issue for free so run over there and do so! :) That's all where you'll find this free Concentric Sunbursts cut file!
You may recognize this layout design from just a couple weeks ago - I made them both at the same time! I couldn't decide which colorway I wanted to use, so I just went ahead and finished them both up. I love them both so win win!

I started by choosing yellow/orange/pink papers from Horizon (Paper 01, Paper 03, Paper 07, Paper 15) and Paper 09 from Whimsical. I cut the Concentric Sunbursts from those patterned papers and then heavily distressed the edges with scissors. 
I used the ombre yellow Paper 10 from Whimsical as my background and splashed watered down white acrylic paint and orange/yellow watercolors across it. Then I stitched the sunbursts in place with my sewing machine to add texture and stability.

I actually took this photo of Jane specifically for this layout. I needed a yellow photo so I had her change into a yellow shirt and asked her to pose outside. Who has done that before?! :)  I placed the photo in the middle to draw attention to it and then embellished with two clusters on either side using a globe fussy cut from Horizon Paper 11, a Charm, Floral Die Cuts, Shaped Paper Clip, Stickers, Epoxy Stickers, and Chipboard Stickers, all in pinks, oranges, and yellows.

The title is made with a yellow "experience" Sticker and yellow Thickers to say "SUMMER". On the opposite side I journaled with an orange pen. That's about it! Easy peasy with a cut file and only using a few colors!

Just One More Chapter... Layout by Elsie Robinson


Saturday, July 20, 2019

Hi everyone, it’s Elsie Robinson here today and I’m so excited to share my first layout as a member of Paige’s cut file design team! I’ve had my eye on the Open Book with Flowers cut file for awhile now and have been desperate to use it on a project. I mainly used the Horizon collection to create this page, but I also grabbed a few bits and bobs from the Whimsical collection.
I love intricate cut files that you can back with lots of patterned paper because there’s so much opportunity to add lots of pattern and colour! I mainly used Paper 03, Paper 12, and Paper 14 from Horizon to back the cut file because they feature so many different colours and patterns. I also used some of the foiled papers in the 6x8 Paper Pad to add a little bit of sparkle here and there.

Instead of backing each of the flowers and leaves with one piece of patterned paper, I backed each individual leaf/petal with a different pattern of the same colour. Although this takes a little more time to do, the end result is so worth it!

To embellish the page I used a mixture of the Horizon and Whimsical Ephemera Die Cuts as well as the Horizon Stickers. Since this page is all about books and reading, for a fun and whimsical element I chopped a portion from the bottom of each embellishment and placed them along the edges of the book pages, which makes them look like they're bursting out from the pages of the book! And finally, I added a few more fussy-cut butterflies (from the 6x8 Paper Pad) and used the pale gold Foam Mini Thickers from Whimsical to spell out my title: ‘just one more chapter…’.

Thanks for joining me today and I can’t wait to continue sharing more projects with you in the coming months!

Location: England / Blog: Hey Elsie / Instagram: @heyelsie_ / Facebook: Elsie Robinson / YouTube: Elsieeee / Pinterest: heyelsie

Smile Layout by Zsoka Marko


Friday, July 19, 2019

Hey there crafty friends, Zsoka Marko back today with a new layout I've created for the Paige Evans Design Team. I've used the Horizon collection again, and remember my challenge for myself was to not go with a rainbow color scheme. Today I'm sharing an orange/coral/pink/purple combo. I'm so in love with these colors!
This layout is actually a lift of an older layout of mine (I just checked the date and I can barely believe it is from two years ago OMG!), which was similar in colors actually, except it had teal instead of purple. Check it out:

This was one of my most favorite layouts ever, so I thought I'd give it another go. I die cut loads of leaves using some dies (again, you can totally go with cut files if that's easier for you, I just had a lot of small scraps and it was quicker this way!) in each color. Once done, I looked for a paper I could use for background and I found this gorgeous purple ombre Paper 08 in the Whimsical collection.

I roughly arranged the leaves on the background so I knew how many I needed. I started gluing down the bigger ones. I'll be honest, I just eyeballed all of it, but if you don't feel confident in doing that, just use temporary adhesive first. I'm OK with imperfection! Once the big leaves were adhered I added the smaller ones in between.

I adhered some foam tape to the back of my photo and placed it in the middle of the flower. Then I started embellishing. I pulled out everything that matched my color scheme. Some are totally random but I don't mind. I went with a tone-on-tone look and used Chipboard Stickers, Stickers, Ephemera Die Cuts, Epoxy Stickers, and some sentiments from the Whimsical Paper 08. I glued everything down - for some I used liquid adhesive, for others foam tape to add dimension. Oh here's something I was pretty happy about! There's a paper in Horizon with different colored frames (Paper 18) which I used on my next layout so I had it on my desk. There were frames in all the colors I used here and all of them had a phrase on them that fit my photo perfectly! I love love love happy accidents likes this. So I cut out the phrases and created a strip at the bottom of my layout. To finish off my page I added some white ink splatters and wrote my journaling with a white gel pen. That's it!

Aaaaand because I had a bunch of leaves left and I don't throw away anything I thought I might as well make a quick and easy card using them!

I created a top folding A2 size card base and added a white, embossed panel on top. Then I created a big flower and cut off the access on the left side. Again, total luck, I found this beautiful journaling spot in the Ephemera Die Cuts. I added foam tape to it and glued it in the middle. For a sentiment I used a sticker which I also popped up. To finish off this card I tied a twine bow at the top and added gold paint splatters. Seriously the quickest card I've ever made, I even feel guilty about it hahaha! I mean everything was already die cut, the design was there on the layout, so it really didn't take long to put it all together!

I hope I could inspire you with my layout and card today! If you give these a try, tag me on Instagram. Thank you so much for stopping by! Have an awesome day!

Blog: apocketfullofscrap.blogspot.com / Instagram: @zsoka_marko / Facebook: Zsoka Marko / YouTube: Zsoka Marko

Adventure Paradise Layout by Brianna Lepper


Thursday, July 18, 2019

Hey y'all! Brianna Lepper here with my very first project for the Paige Evans + Silhouette design team. I'm so excited to be here and even more excited to share this super bright and colorful layout with you!
If you're familiar with some of my work, one of the techniques I love to do is mixed media. I cut Paige's Doily cut file on my Silhouette and used it as a stencil. Another option is to use Paige's new stencils - they are amazing and I love that she rounded the edges of them! The three new designs including this very same doily start shipping at the beginning of August. Back to my layout ;) I am in love with the Horizon collection and used it for this layout.
I prepped some white cardstock with white gesso since I planned on adding a lot of colored sprays and water to the page. I took the Doily cut file and taped it down to my cardstock and applied white texture paste across the entire cut file. I let it dry and then started adding in the colored sprays in rainbow order.

I sprayed each section with the colors and then sprayed water to help get the colors moving and blended. I love how it turned out! I let it all dry and added weights on each corner of the layout to help minimize warping. In addition to the mixed media element on my page, I wanted to add some more dimension to my page so I chose Paige's Layered Butterfly cut file and cut it out on both Paper 20 and Paper 06. I layered up each butterfly, alternating between both patterned papers, and added some foam dimension between some of the layers to make sure the wings would stay up. I then ran them all through my sewing machine to finish them off. I scattered them around my page from the bottom left corner and up to the top right corner.

For my title I used the Epoxy Stickers and the Mini Thickers from the Pick-Me-Up collection. I wanted to create a little embellishment cluster to the right of my photo so I added one of the Tags, a few pieces from the Floral Die Cuts, a journaling tag from the Ephemera Die Cuts, and a floral chipboard piece from the Chipboard Stickers. 
I hope you love this layout as much as I do and hope that it inspires you in some way! Paige has a TON of cut files that would be great to use as is or fun to try as a stencil. And if you don't have a die cutting machine, go and check out her newly released stencils! Thanks for stopping by and I can't wait to share more projects with y'all!

Location: Louisiana, USA / Blog: I Love Paper Blog / Instagram: @briannalepper / Facebook: Brianna Nichole / YouTube: Brianna Lepper / Pinterest: Brianna Lepper

The Stamp Market Cards


Wednesday, July 17, 2019

Have you checked out the super cute products from The Stamp Market? They were kind enough to send me a few of the new Sew Dies and then I just needed to have all the things - the colors speak to my soul!
I didn't have a plan when I started playing with these goodies, I just let the creativity take me where it wanted to go. So I started stitching! I die cut the rainbow from white cardstock and used a chain link stitch with 10 different colors of thread (I tried to match the colors of the papers in the Color Crush papers). I die cut the hello from a tag and a rainbow paper and stitched with white thread.
And I cut the heart from a pink paper and did string art with sequins across it.
I looooove all their ribbons so I covered a card with some of my favorite colors, machine stitched across the seams, and then adhered the rainbow on top.
I adhered the stitched "hello" to the bottom of a card and used watermark ink and a leaf from the Petal Patch stamp set to stamp leaves across the top half for a subtle pattern.
So fun to PLAY with these awesome supplies from The Stamp Market!

Bon Voyage Layout by Missy Whidden


Tuesday, July 16, 2019

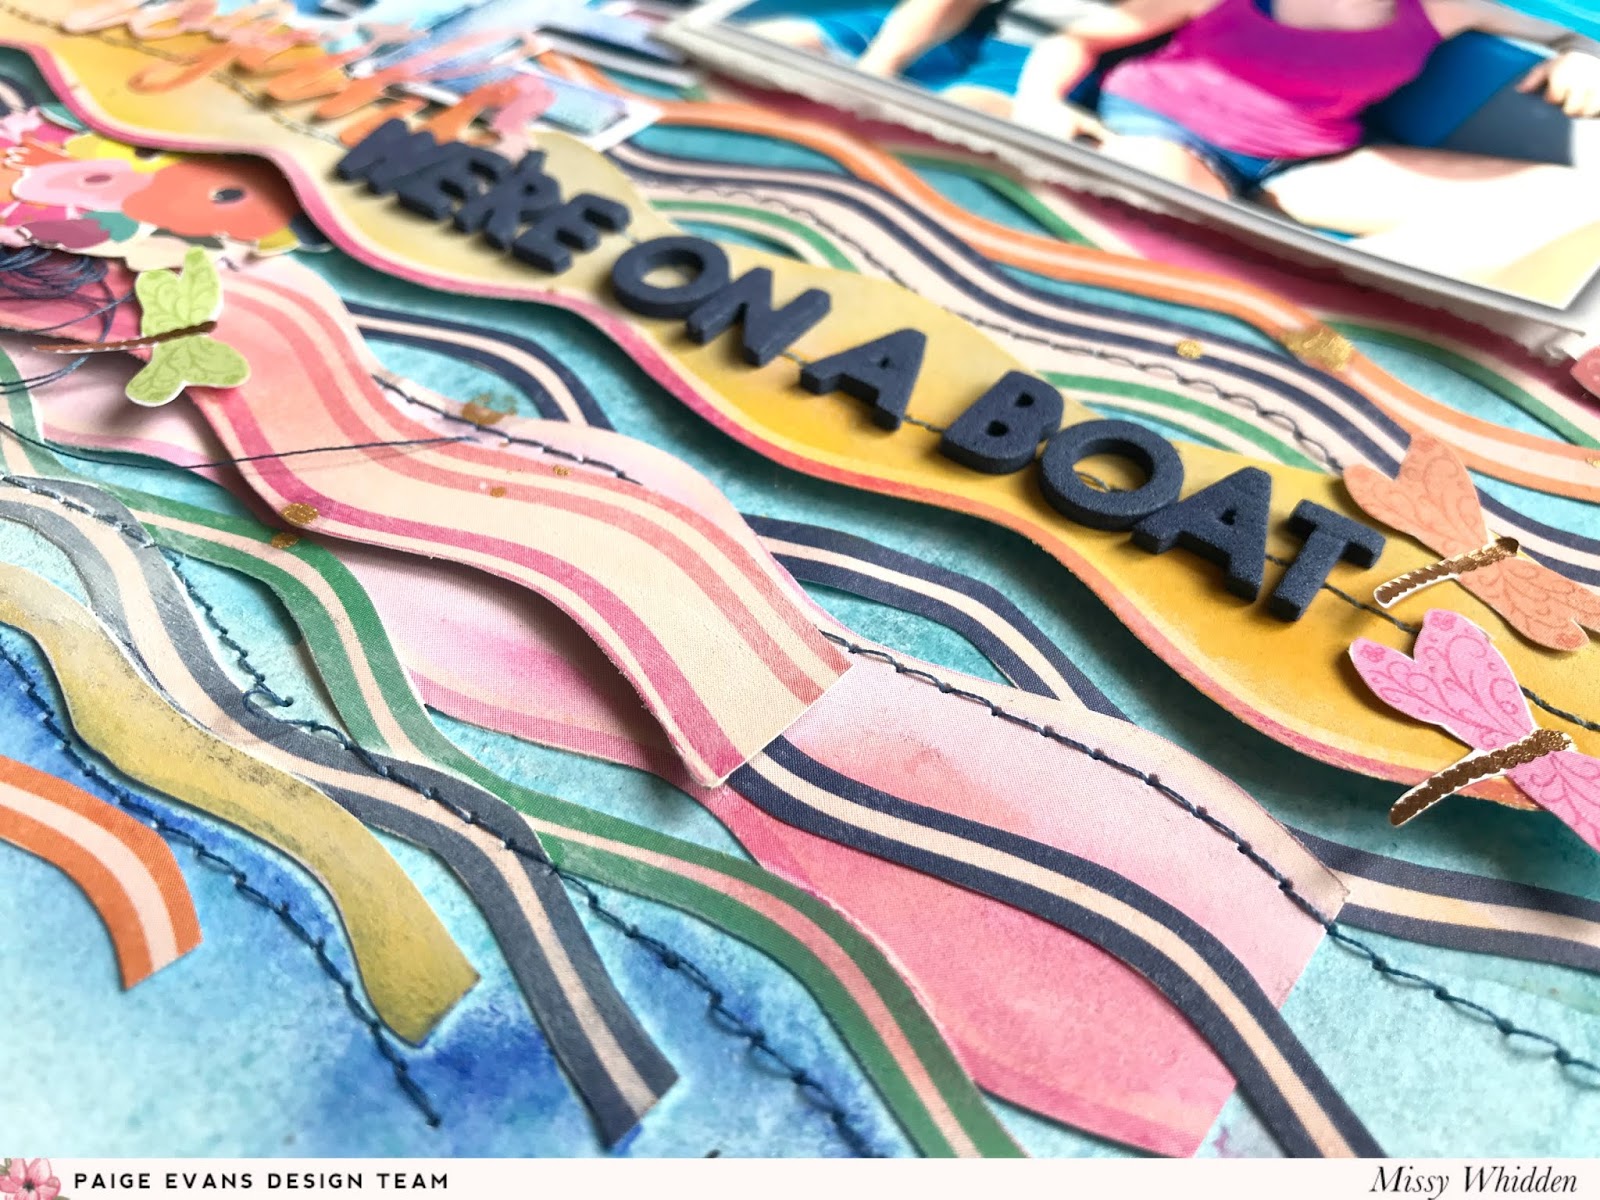
Hey, friends! Missy Whidden here with a new layout featuring one of Paige’s brand new stencils…yay! I used the Sunburst Rays stencil along with Paige’s Bon Voyage cut file and a mix of the Horizon and Pick-Me-Up collections. I scrapped another photo of our recent Bahamas trip, so I wanted it to be bright and summery. I began with the stencil and knew I wanted it to be at the top of the page with my photo under it. I cut the cut file on my Silhouette Cameo about 6x6 on white cardstock. I knew I had to use Horizon Paper 08 because those wavy lines remind me of waves. Perfect!
I used white cardstock as my base, and I coated it with clear gesso first. I wanted to create a blue color wash representing the sky and water, so I used a few blue ink sprays to do that. Once that dried, I mixed yellow pigment powder with modeling paste and scraped it over the Sunburst Rays stencil using a palette knife. The texture turned out amazing! I did go over it with a bit of white gesso since it was extra bright.

I fussy cut lots of the waves from Horizon Paper 08 in different widths and lengths and arranged them on the lower half of the layout. I popped a few of them up with adhesive foam to create dimension, and I also machine stitched through some of them with navy blue thread for added detail. I had to add a fun smaller secondary title, so I used the Pick-Me-Up Foam Mini Thickers and I love how that dark navy pops right off the page. To add a few smaller details, I fussy cut a few dragonflies from the Horizon 6x8 Paper Pad and used some Pick-Me-Up Stickers.

At first I wanted to back the cut file with different patterned papers, but I felt that would’ve been too much pattern mixed with all the waves at the bottom. I decided to use gelatos and lightly color the inner letters and place them back inside the cut file using adhesive foam. I just rubbed the gelatos along the edge of each letter and used my finger to smudge the color. I think these lighter colors make the title stand out against all the other colors. I embellished on a few of the letters using some Pick-Me-Up Stickers, Horizon Stickers, and a fussy cut globe from the Horizon 6x8 Paper Pad. The “together” sticker is from the Horizon Project Pad available at JoAnn Stores.

I hope this inspires you to create a fun summer layout! If you love mixed media you will definitely want to get your hands on Paige’s new stencils. They are just wonderful and I really love how the Sunburst Rays just makes this layout come to life! I do have a process video here if you’d like to see this layout in action.

Thanks for stopping by!
SUPPLIES: HORIZON: Paper 02, Paper 08, Paper 11, 6x8 Paper Pad, Ephemera Die Cuts, Stickers, Project Pad; PICK-ME-UP: Mini Thickers, Stickers; Stencil: Sunburst Rays by Paige Evans; white cardstock; gelatos; Die cut machine: Silhouette Cameo 3; Cut file: Bon Voyage by Paige Evans
Blog: littlenuggetcreations.blogspot.com  Instagram: @missywhidden  Pinterest: @missywhidden
Facebook: missy.whidden  YouTube: Missy Whidden

Whimsical Layout by Anita Bownds


Monday, July 15, 2019

Hey crafty friends, it’s Anita Bownds here for the first time, sharing a fun floral layout of our cheeky bird Nubby using a few papers from the Horizon and the Whimsical collections. I wanted to use magenta and light blue colors, so I started with the Wildflowers cut file, cutting it out of Horizon Paper 14. Then I was thinking I really wanted to add a pop of color behind the magenta flowers so I used a dots stencil and added some texture to the middle of my white cardstock. After it was dry I applied double-sided foam tape to the back and adhered it down.
 Now it was time to start adding more flowers. I layered using another cut file from Paige (Layered Flower), using some light blue cardstock I cut out a few and layered them together with a rhinestone in the center and placed them randomly around the magenta flowers. Then using a little flower punch I added little blue flowers and a darker one randomly from papers in the Horizon 6x8 Paper Pad.
Using an Altenew leaf die I decided I wanted to add some pops of green so using one of the green papers in the Horizon 6x8 Paper Pad, I die cut several leaves and added them underneath the big blue flowers. Then I added a few little flowers from the Horizon Floral Die Cuts.
I added a sticker from the Horizon Stickers at the bottom of my photo, popped up with double-sided foam tape. Using the Whimsical Chipboard Stickers I added my title and a little star at the top of my photo on a gold paper clip. Then I decided I needed some color around the border of the white cardstock so I trimmed it down and backed it with Whimsical Paper 04 to add more of that light blue color and to finish off my layout I added little pearls in the middle of the tiny flowers.
I hope I’ve inspired you to make a few flowers! Happy crafting.

Location: Australia / Blog: Neat-N-Crafty / Instagram: @anitabownds / Facebook: Anita Bownds / YouTube: Anita B / Pinterest: Anita Bownds
Paige Taylor Evans © // Quinn Creatives DESIGN