So Happy Layout by Missy Whidden


Thursday, October 20, 2022

Hey friends! Missy Whidden here with a new layout featuring Paige’s beautiful Garden Shoppe collection. I wanted to use some of the patterned papers so I chose Paper 5, Paper 19, and Paper 21. I tore big chunks and layered them together to get my background started. I machine stitched over them on a sheet of thick white cardstock and then smudged a lot of white gesso to create a soft, hazy, and weathered effect. I splattered white acrylic paint and applied gesso to the cardstock around the edges of the papers. I used green and yellow Shimmerz to create a watercolor effect in a few areas and also used pink, blue, and gold to add splatters. I went wild with daisies on this page and fussy cut several from Paper 7 and the 6x8 Paper Pad.

The daisies bring out the yellow in the chevron paper and I scattered them around the page and around the photo. I popped a lot of them up with adhesive foam to create depth. I used a Foam Phrase Sticker for the title and then used Cardstock Stickers as well as a few sentiment pieces that I cut from the 6x8 Paper Pad. Those are perfect for small details. I used yellow thread here to give a bit of texture and you can also see the machine stitching. I used a small journaling sticker from the 8-Page Sticker Book for my journaling.

I used a few papers from the 6x8 Paper Pad to layer behind the photo as well as some white tissue paper. This Foam Phrase Sticker has beautiful copper foiling and I used white gesso to make it a little more matte. I did the same with the small heart. Gesso works great for toning down colors or shiny bits!

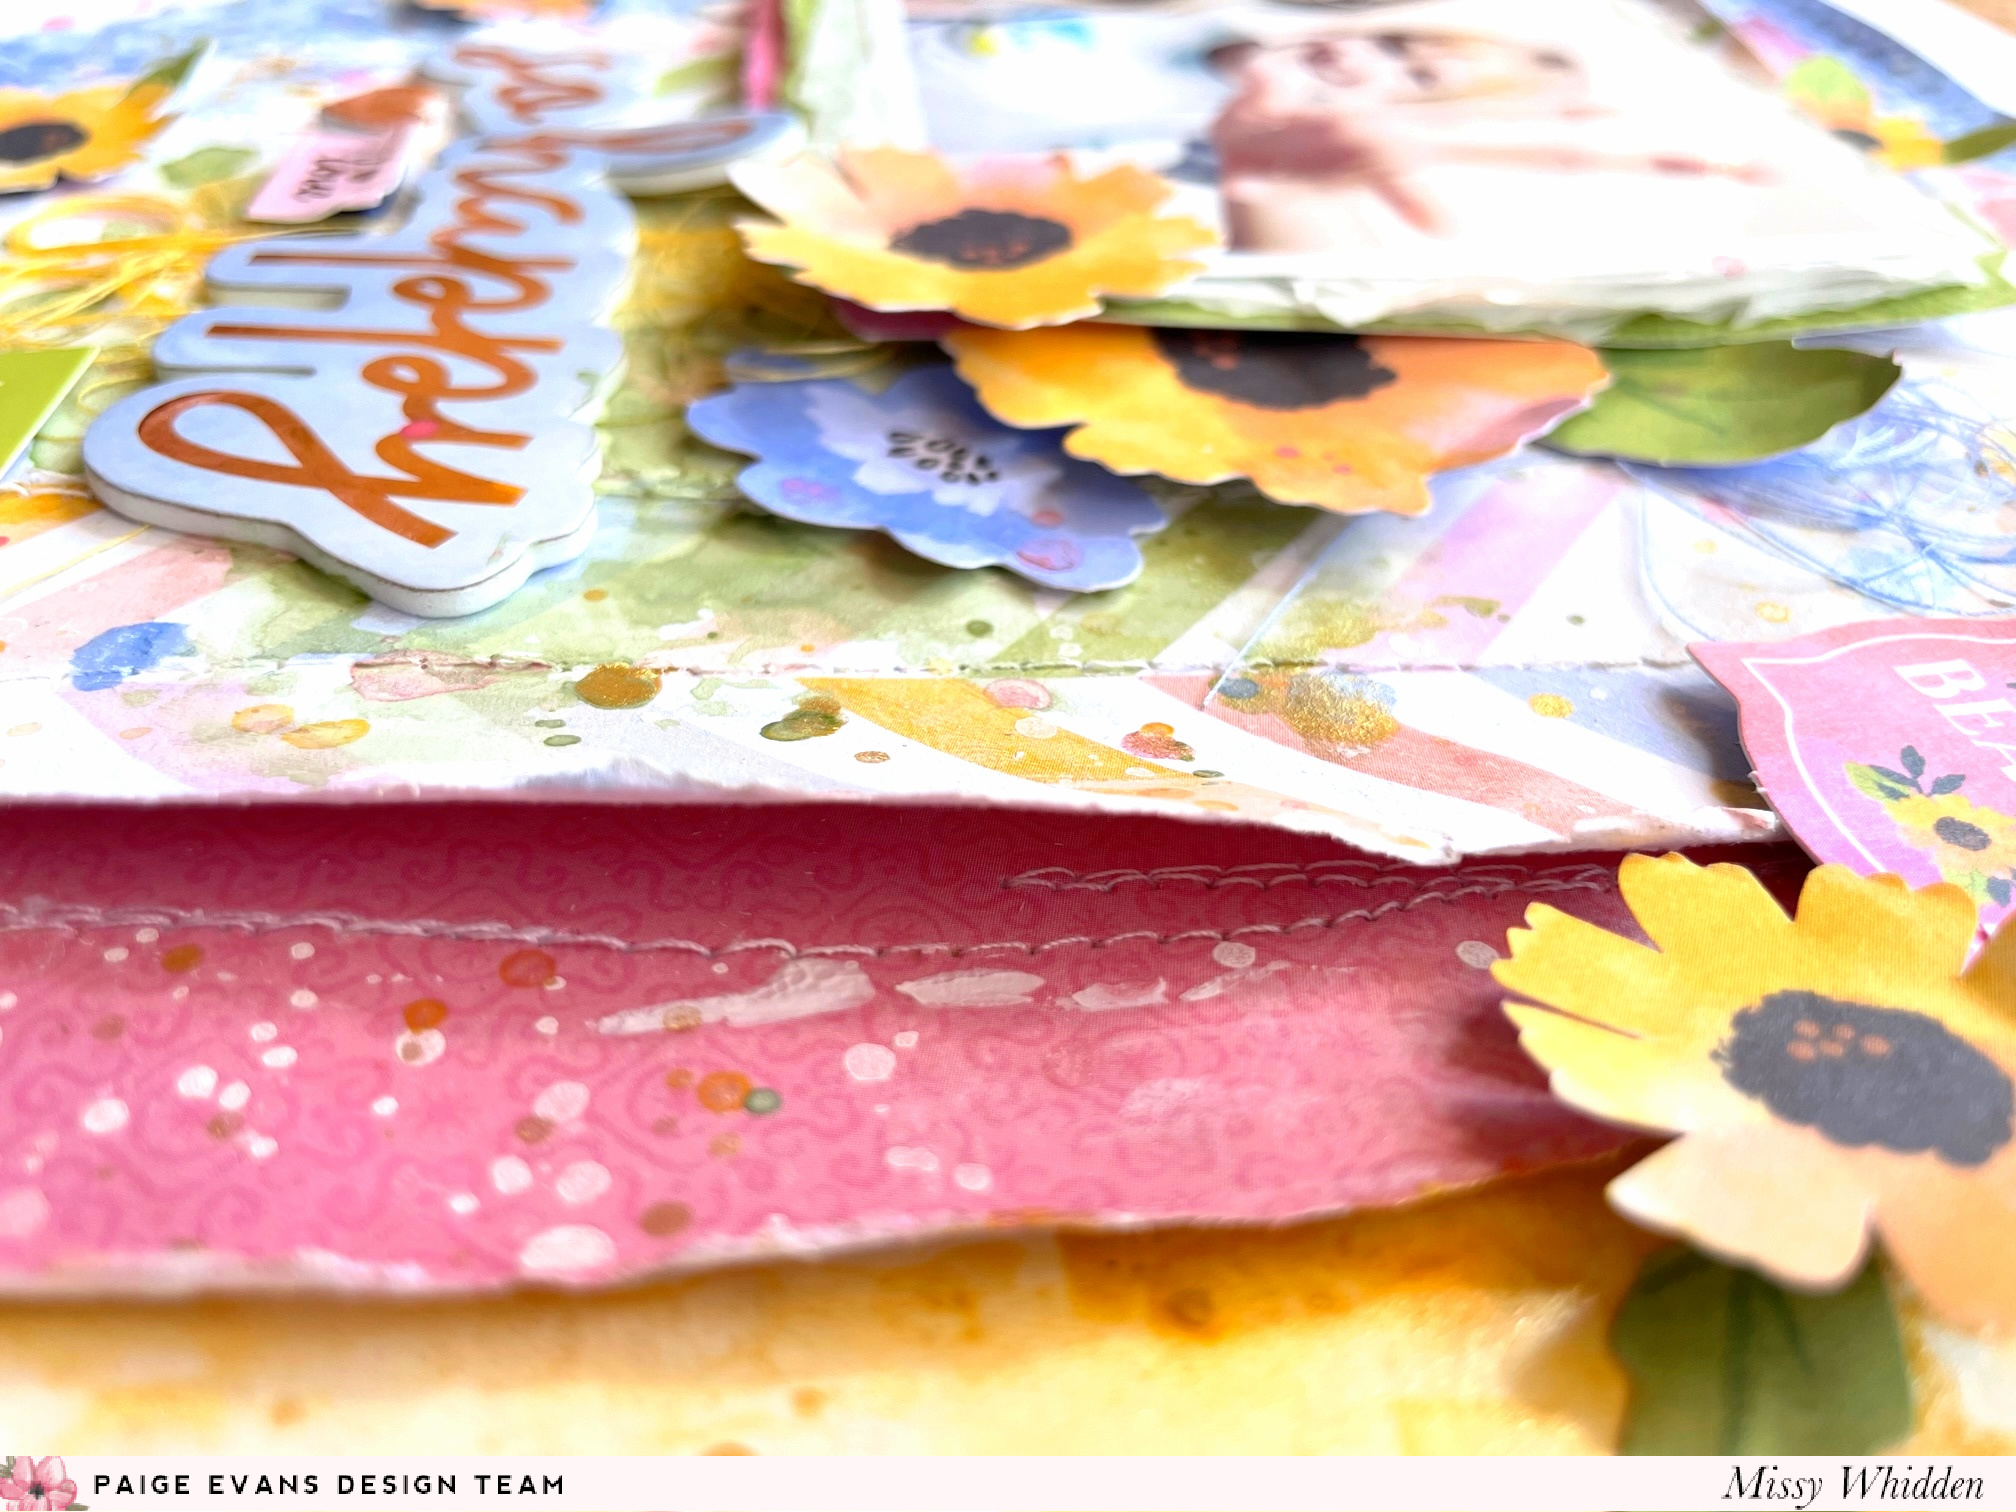
I love the look and effect of torn edges. It was really simple to curl up the edges and make it look textured. Here you can see how I layered the flowers on and under the photo. This is easy to do if you leave some unglued areas around the edges of the paper layers. The flowers and leaves easily slide in and it instantly creates that fun shadow effect and makes things just pop off the page. In the upper right area I used an Ephemera Die Cut and more daisy flowers to make a small cluster.
 I hope this gives you some ideas to try with Garden Shoppe! If you want to use lots of patterned papers, this is a way to do that. I chose two that seem more like solids and one with a busy pattern. The solids help balance out the patterns and it just keeps things from getting overly busy. Maybe this will inspire an idea for you! Thanks for stopping by, and have a great day!


SUPPLIES: Patterned papers, stickers, die cuts, embellishments: GARDEN SHOPPE; white cardstock; gesso
Blog: littlenuggetcreations.blogspot.com // Instagram: @missywhidden // Pinterest: @missywhidden
Facebook: missy.whidden // YouTube: Missy Whidden

Leaf Wreath Layout by Lisa Fonseca


Wednesday, October 19, 2022

Hi crafty friends! Lisa Fonseca here today sharing a layout using Garden Shoppe and a cut file called Leaf Wreath from last year's 20 Days of Fall Cut Files. (Be sure to check out the new 20 Days of Autumn Cut Files for November 1st-20th!)

I cut the Leaf Wreath out from the green gingham Paper 6. Then I chose some patterned papers in different colors and cut out a bunch of leaves. After I stuck the cut file on a white cardstock background and machine-stitched around it a few times, I placed and adhered all of my leaves on top, underneath, and around the cut file. I love how that gives dimension and texture and a lot of interest in fun colors. For the title I used a copper foil word from the 8-Page Sticker Book and Thickers. To embellish the wreath a bit more, I added Floral Die Cuts. I just love this collection, the colors are EVERYTHING!

I hope you are inspired by this layout featuring the Leaf Wreath from last year's 20 Days of Fall Cut Files and Garden Shoppe collection! Have an amazing scrappy day!


SUPPLIES: Patterned papers, stickers, die cuts, embellishments: GARDEN SHOPPE; white cardstock; Cut file: Leaf Wreath from the 20 Days of Fall Cut Files by Paige Evans

Blog // Instagram // YouTube // Facebook // Pinterest

Pumpkins Layout by Kelly Daye


Tuesday, October 18, 2022

Hi friends! Kelly Daye here and I’m so happy to share this fall design with Paige’s beautiful Garden Shoppe collection. I used Paige’s Pumpkin Cut File and stacked two of them together using the Weld tool in Silhouette Design Studio as well as her Fall Leaves Stitching Background Cut File.

After cutting the Pumpkin Cut File from white cardstock, I paper-backed it using the 6x8 Paper Pad, Paper 21, and Paper 3. Not going to lie, this took a hot minute, but I love it so much. I matched the colors to DMC floss to stitch Paige's Fall Leaves Stitching Background Cut File (a freebie in her Happy Scrappy Place FB Group!). I wanted my stitched leaves to be really colorful, happy, and whimsical and love how it turned out. I use all 6 strands of DMC floss with a size 22 needle. I was able to stitch my background in about 7 hours by not stitching the parts of the cut file that would be covered entirely. A real time saver! 

There are so many pretty elements in Paige’s Garden Shoppe collection to make your projects sing and help you create layers of texture on any project. I’ve used the Floral Die Cuts, Foam Phrase Stickers, Enamel Button Stickers, andLayered Stickers. I also mixed in sweet things from the 8-Page Sticker Book. I’m entirely smitten with all the little icons and by adhering them to vellum then fussy cutting, I could pop them up inside my floral vignettes. Finally, I added gold thread, dabs of gold paint, and a few gems from my stash for a little extra sparkle.

Thank you so much for stopping by, I hope this layout inspires you to check out Paige's cut files along with her Garden Shoppe collection!


SUPPLIES: Patterned papers, stickers, die cuts, embellishments: GARDEN SHOPPE; gold paint; Cut files: Pumpkin and Fall Leaves Stitching Background by Paige Evans

Blog // Instagram // YouTube // Facebook // Pinterest

Blooming Pumpkins by Jennifer Rambert


Monday, October 17, 2022

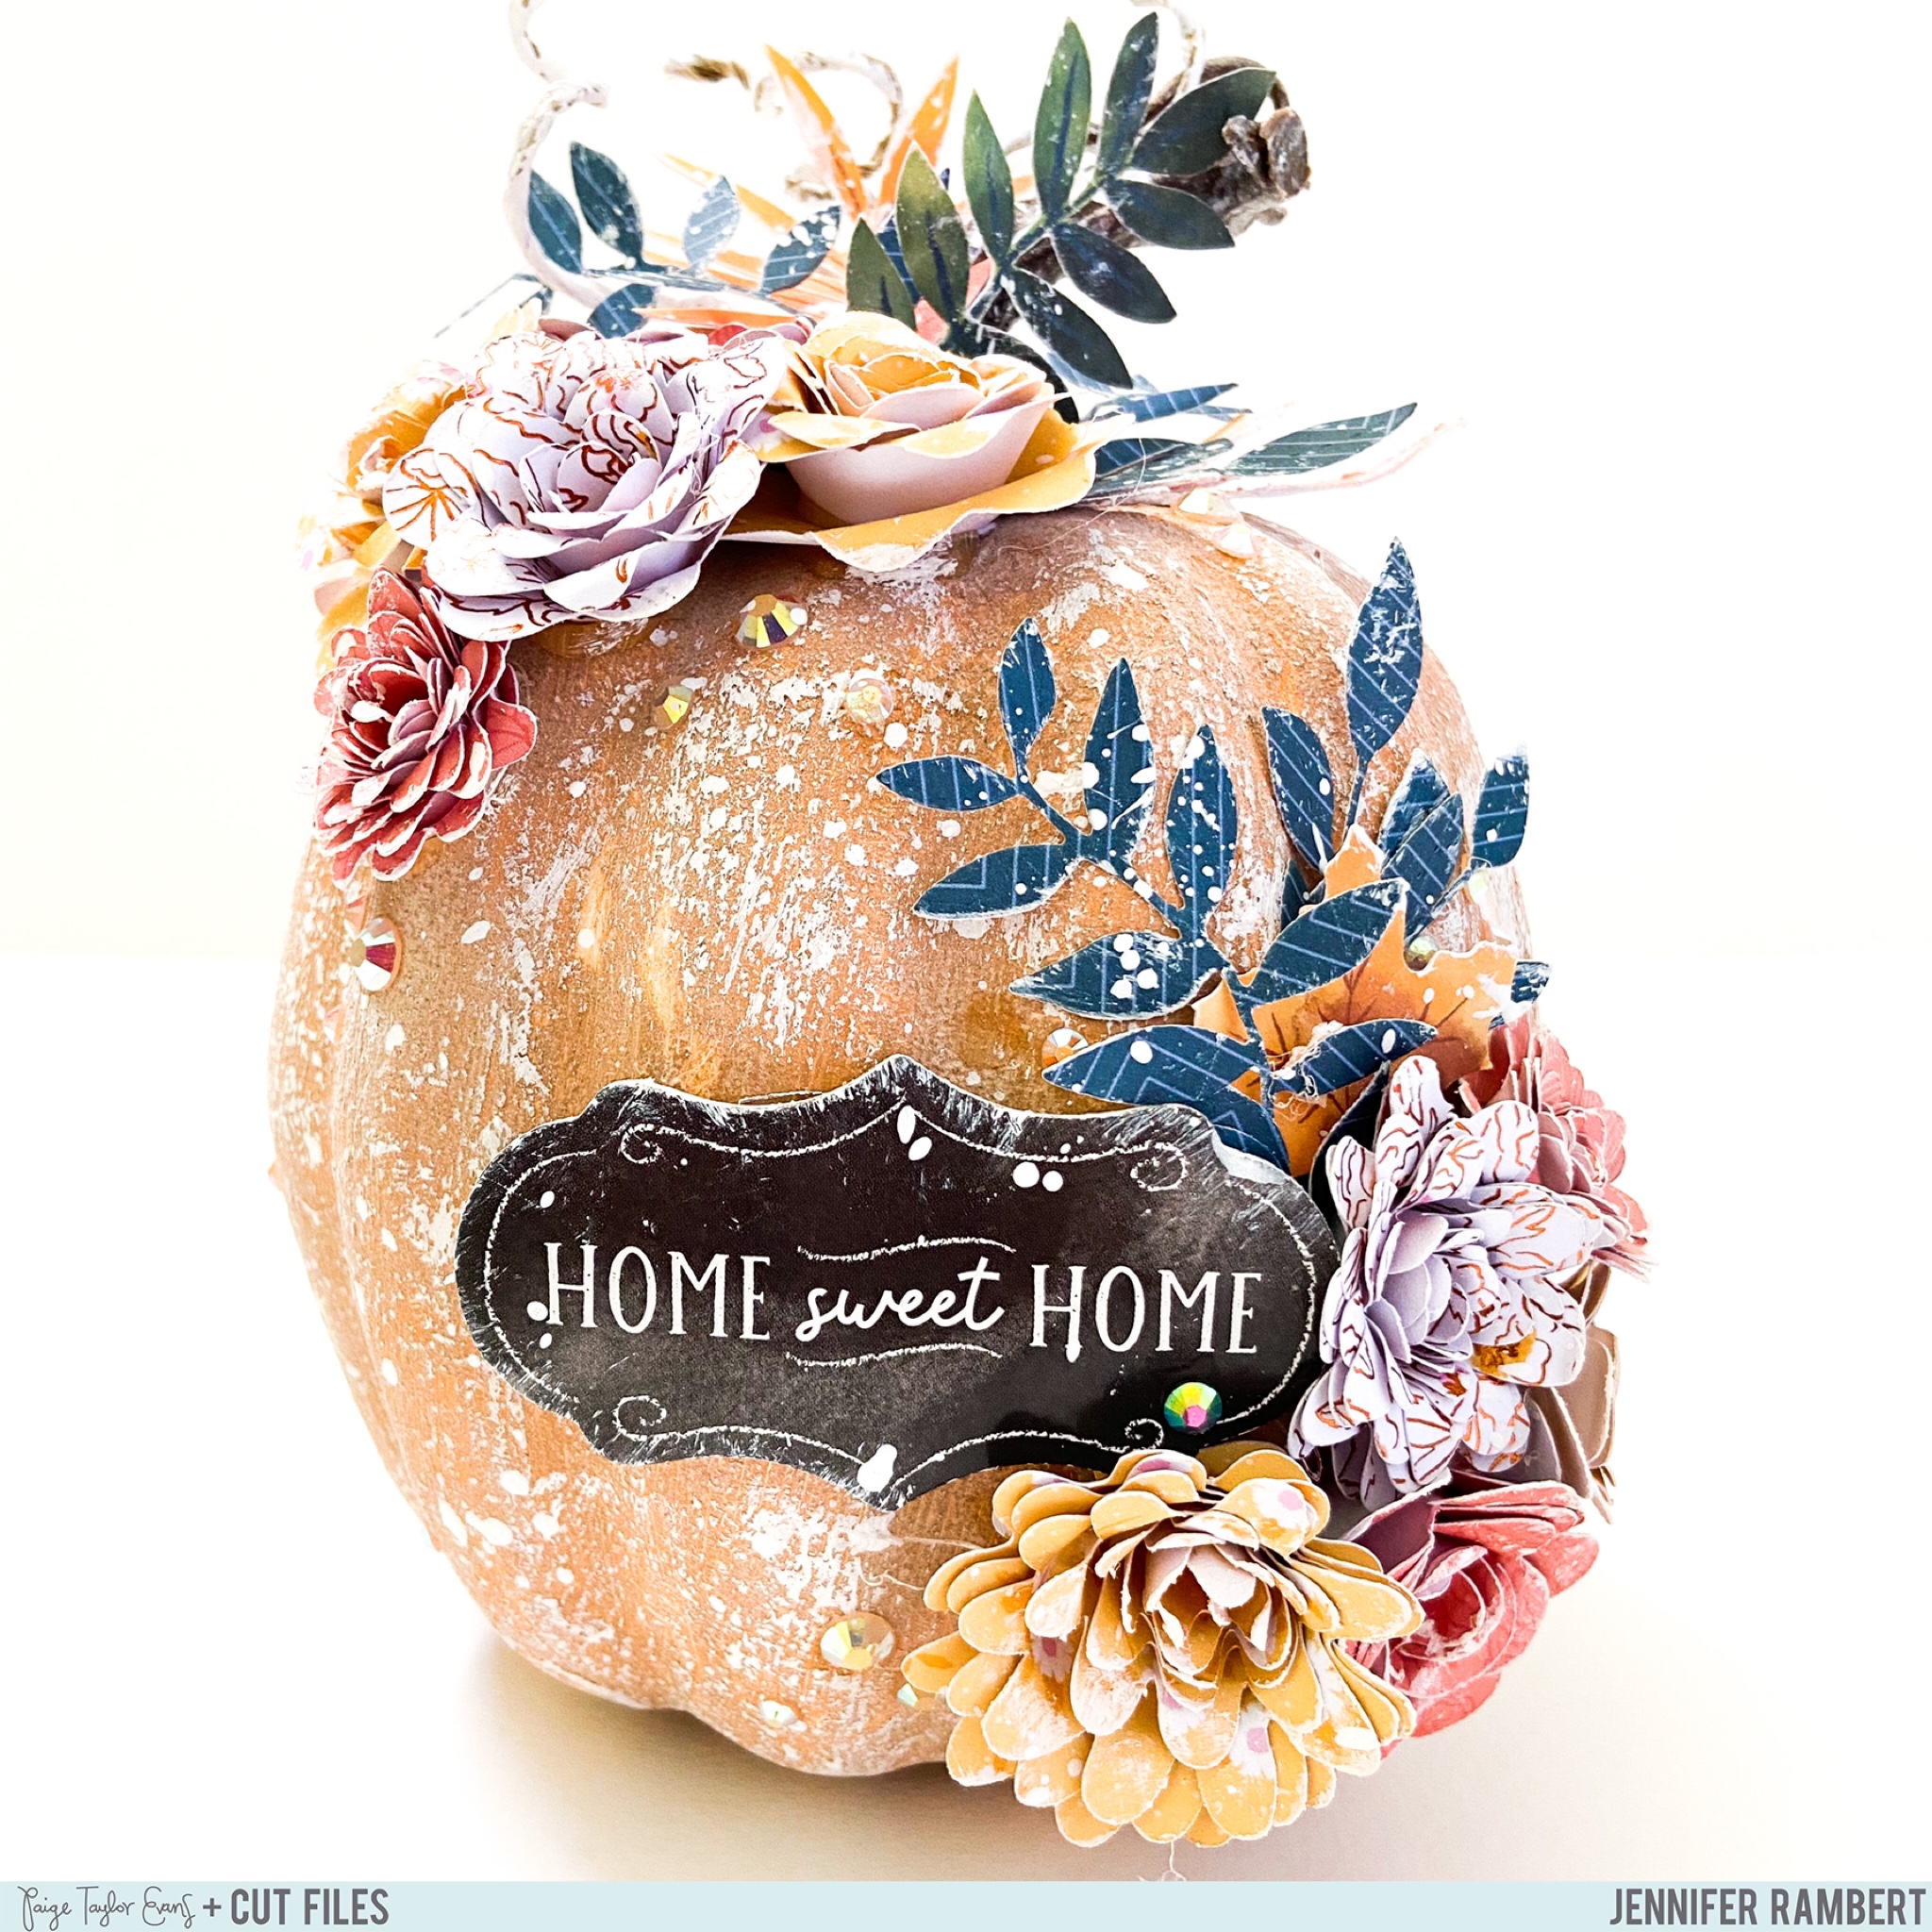
Hello creative friends! Jennifer Rambert here today with blooming pumpkins featuring Paige's stunning Garden Shoppe collection and Rolled Flowers Cut Files. I wanted to create these decorative pumpkins as a change to the layouts that I usually make.

I started by painting two small pumpkins with a terracotta color that I bleached a little for an effect of aged terracotta pottery.

I then made several Rolled Flowers from lots of Garden Shoppe 12x12 papers as well as papers from the 6x8 Paper Pad. 

I arranged the flowers on the pumpkins by making a cluster of flowers at the top and bottom, diagonally.

I added a Foam Phrase Sticker in the center of both pumpkins and then I added leaves from the Floral Die Cuts and a jewel.

I hope these blooming pumpkins have inspired you in some way today! Garden Shoppe is the perfect collection for autumn projects with its soft and warm colors. I wish you a great creative day!


SUPPLIES: Patterned papers, stickers, die cuts, embellishments: GARDEN SHOPPE by Paige Evans; white cardstock; Cut files: Rolled Flowers by Paige Evans


Blog // Instagram // YouTube // Facebook // Pinterest

She Loves Color 2022 Recap


Sunday, October 16, 2022

I was so excited to be invited back to teach at She Loves Color 2022 in Milwaukee, WI!

Coincidentally, Jamie Pate (fellow scrappy friend and SLC teacher!) and I were on the same flight outta Denver!

Beautiful fall colors landing in Milwaukee.
We took an Uber to the hotel, dropped off our bags, then met up with Stephanie (host and owner of Bella Blvd), Brianna Lepper (she was on my cut file design team for a long time!), and Cynthia from Doodlebug Designs to go out to dinner.
Everything was delicious!!!
That night we had a kickoff to officially begin the event.
An entire room filled with over 200 scrappy friends.
Jamie, me, and Brianna. Let's get this party started!
Stephanie delivered a great opening welcome.
Then we had a guest panel. We were asked questions and gave our best replies. It was a hoot.
After a good night's sleep I woke up, got ready, and then ventured out to explore. I was scheduled to teach all day Saturday so I had Friday to myself!
The conference center is so new it doesn't even show up on google maps. It was an amazing venue.
Selfie time!
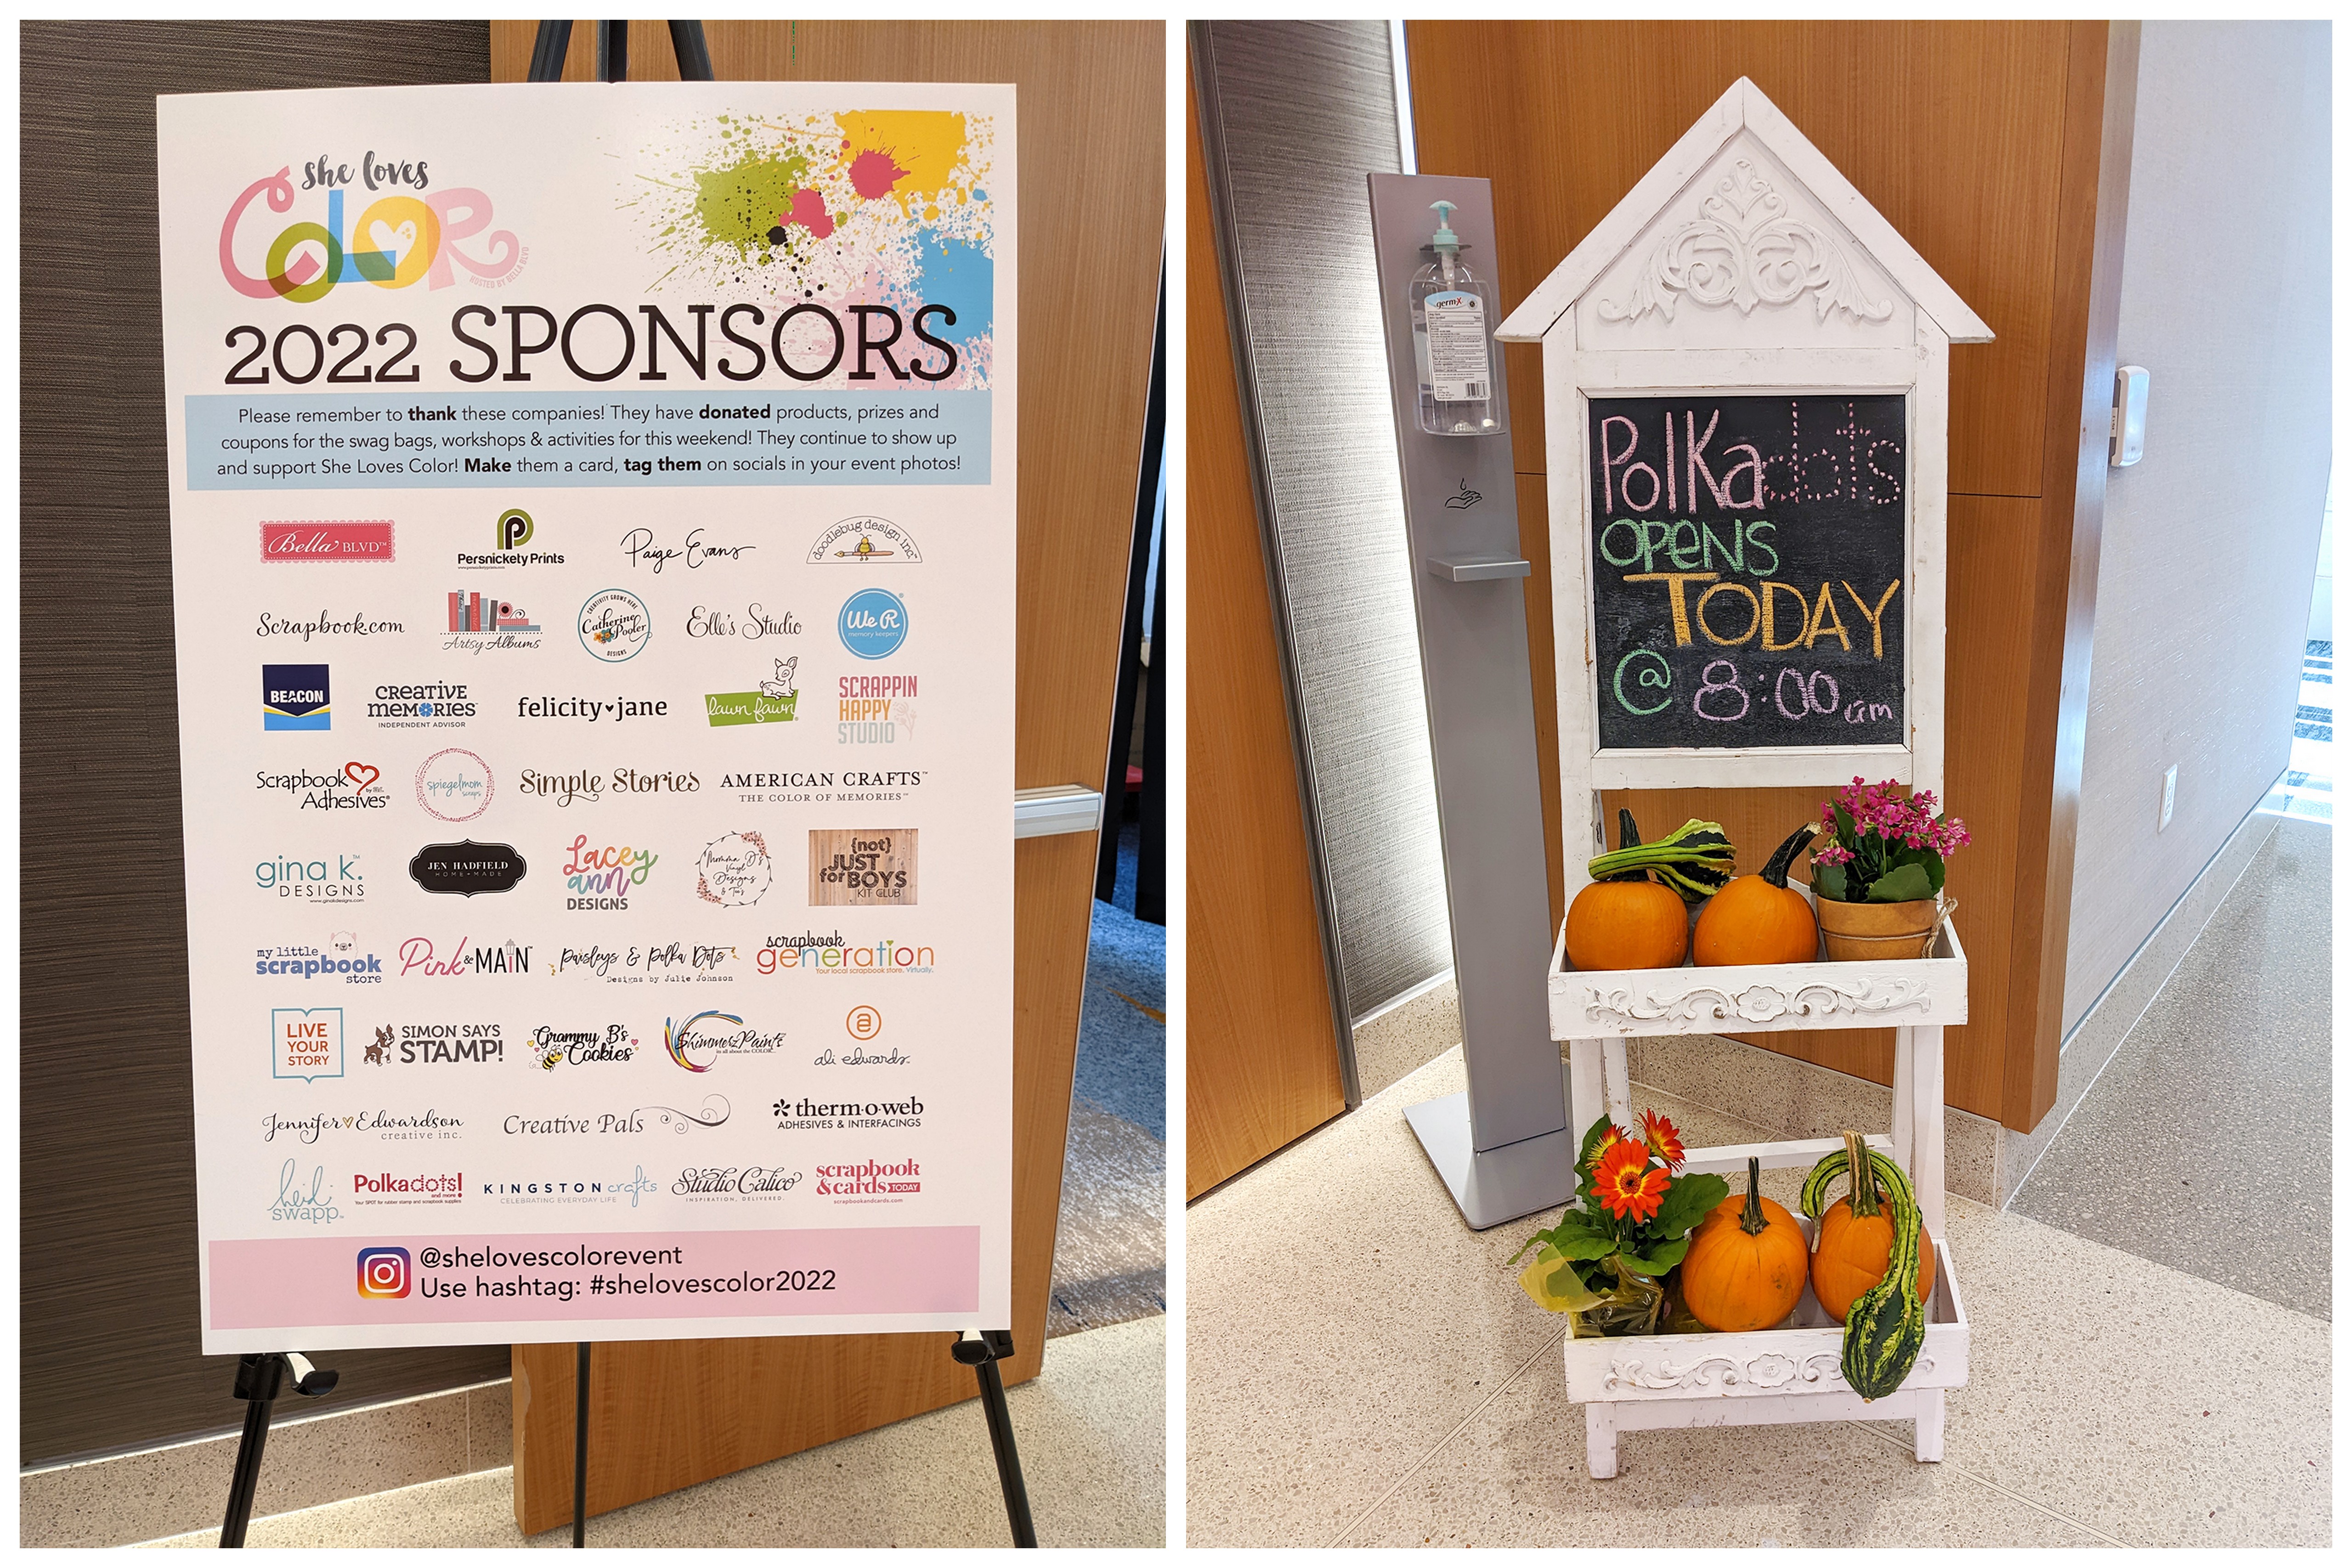
Sponsors and the cute store signage.
This drum holds balls for a chance to win prizes. Every $25 spent in the store equals one ball. This entire drum got filled plus a whole other grocery bag! Glad to see people still buying scrappy goodies :)
I want one of everything please.
I popped in on Cynthia and Jamie's classes to say hi and check in with friends.
That night was make'n'take night although in my case it was more "take'n'make" since backing the cut files would take a little bit longer. Everyone got two pre-cut cut files and 3 sheets of Garden Shoppe papers.
Some got straight to work backing the cut files. I can't wait to see the finished pages!
The next day I taught all day long and didn't take a single picture as I was teaching. I'm actually shocked that I didn't. I can't believe I didn't remember! I was in the zone!!! For lunch I went with Rosie, Isa, and Jamie to a local favorite called Kopps.
Can't go wrong with burgers and fries!
For dinner I went with Ramie, Jen, and Madeline to Noodles and got Wisconsin mac'n'cheese in Wisconsin! I had to!
Luckily people took selfies and I grabbed them from the Facebook group :) 
I had such a fun time! Being surrounded by those who just get it is the best! Sunday morning I flew to Orlando to meet up with Chris and the kids to spend fall break at Disney World :)
Looking forward to my next in-person event here in Colorado next month!

Besties Layout by Paige Evans


 I taught a Virtual Layouts Class last Saturday and today I'm sharing the other the page we made featuring hearts, hearts, and more hearts! The class is available online HERE.

I use a mix of collections to create this layout, namely supplies from my Go the Scenic Route, Wonders, and Truly Grateful lines as well as bits and pieces from Shimelle, Dear Lizzy, Jen Hadfield, Amy Tangerine, and more!

A PDF with a list of supplies, photo sizes, templates, instructions, and the link to the YouTube video is emailed upon purchase.
A cutting machine is not required to create this page, we cut all the hearts by hand! A cut file is also included in the PDF though in case you want to use an electronic cutting machine.
Let me know if you have any questions about anything, always happy to help!
I hope you are inspired to check out my Virtual Layouts Class!
Paige Taylor Evans © // Quinn Creatives DESIGN