Reinvent the Theme Layout by Phil Donahue


Tuesday, May 14, 2024

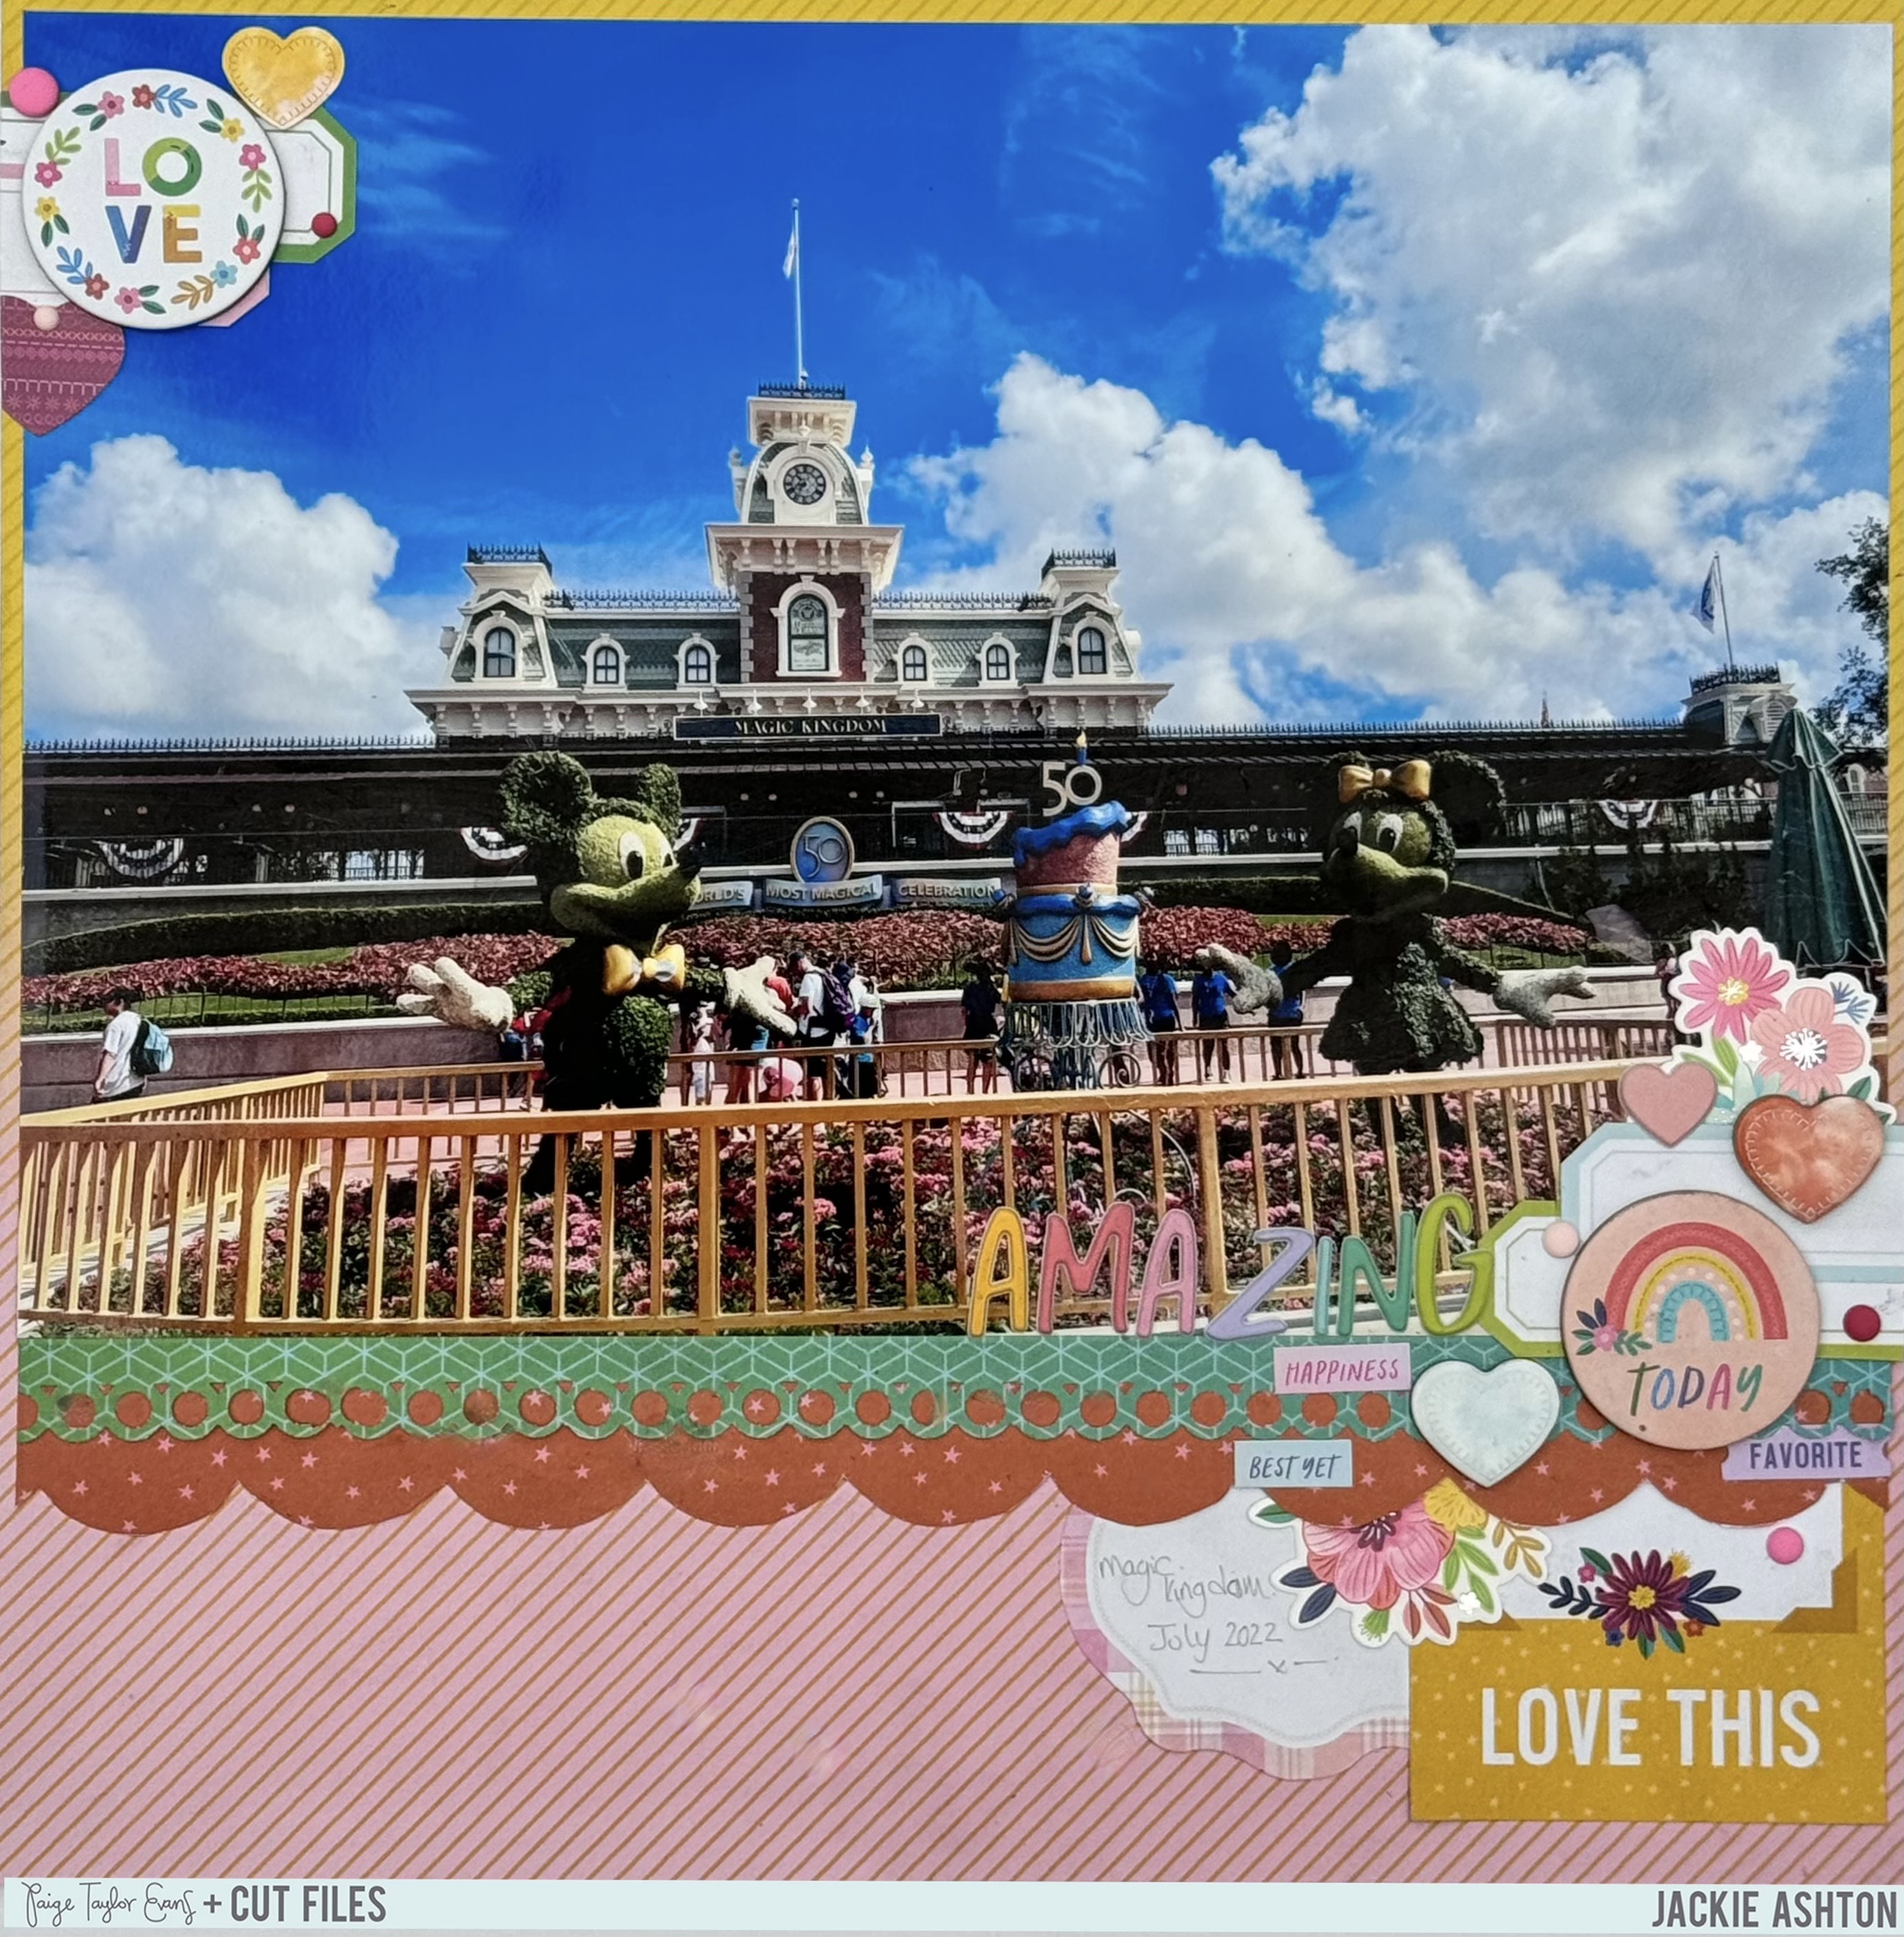
Hello scrappy friends! It’s Phil Donahue here sharing the layout I created for International Scrapbook Day 2024 in Paige's Happy Scrappy Place Facebook Group!
My challenge was to reinvent the theme! For my layout I heavily featured Paige's Christmas collection called Sugarplum Wishes in a vibrant summer-themed layout. Nearly any themed collection can become more useful and versatile using a few of the following tips:
1) Sort your Scraps: In every collection, there are papers which don't fully reflect the theme. These can be found in B-side patterns, neutral embellishments, and phrase stickers that fit nearly any theme. For my layout, I sought out those items from the Sugarplum Wishes collection and set them aside to audition on the layout. These items included patterned papers, phrase stickers, cardstock stickers and foam stickers.
2) Cue the Cut File: A bold cut file, like the Summer Summer Summer one I used easily creates a theme reinvention with little effort! I cut mine using a pale pink cardstock and backed it with the pink Paper 6, green Paper 10, and multi-color dot Paper 5 along with a halo of vellum.
3) Make with Mixed Media: To further separate the original theme of the collection, I used a fun stamp set and Distress Oxides to create my background. This is a great way to incorporate any colors from a collection and create a more cohesive layout to fit any theme!
4) Everyday Embellishments: After using as many elements from the collection as I could, I looked in my stash for embellishments which more closely fit the theme I was going for in my layout. This included die cut flowers and enamel dots to create areas of embellishments on the layout and complete the page!
5) Focus on Photos: The photos I chose are clearly summer themed so no matter how Christmas-y my supplies may have been the summer theme shines through because the photos are the focus! Feature photos that make your theme shine and make them the focus of the layout!
SUPPLIES: Patterned papers, stickers, die cuts, charms, embellishments: SUGARPLUM WISHES; white cardstock; Distress Oxides; Cut file: Summer Summer Summer by Paige Evans


Rainbow Mixed Media Layout by Monique Lowe


Monday, May 13, 2024

Hello scrappy friends! It’s Monique Lowe here sharing the layout I created for International Scrapbook Day 2024 in Paige's Happy Scrappy Place Facebook Group!
I used the beautiful Blooming Wild collection and three different cut files to complement my page and a rainbow of mixed media! I love rainbow colours and tend to gravitate towards this color scheme for my layouts, so this was the obvious choice for these fun photos of my little girl! First, I prepped a sheet of white cardstock with a layer of clear gesso. Having identified where my rainbow would be and marked its position with pencil, I blended a range of Distress Inks along the top and bottom of the rainbow arch. I built on this by adding another layer of color using the packaging technique. This is one of my favorite mixed media techniques as it is so quick and easy to do! Just stamp your Distress Ink Cube onto a smooth surface, spritz with a little water, and pat it up using a scrunched up piece of plastic packaging. Dab this straight onto your layout for instant color! This is such a fun way to add a watercolor effect to your layout using minimal water. Once my background was dry, I stenciled in some beaming sun rays using a blending tool and Distress Ink. To build my rainbow, I cut apart the A-side of Paper 23 and cut each colored strip into smaller pieces. I layered these in a rainbow arch shape, starting with pink and working through the rainbow sequence to match my mixed media background. I stitched these in place using my sewing machine. The Clouds cut file cut from Paper 5, added subtle detail to the background along with a touch of Nuvo Glimmer Paste for a hint of whimsical shimmer. I created two film strips of photos, backing them with Paper 5Paper 18, and Paper 19. The Laugh Love Always cut file was the perfect title! I cut it once from Paper 19 and three times from white cardstock and stacked all these layers together to add a bit of dimension. I used the Wonky Hearts cut file as a stencil to add three clusters of glittery hearts above, beside, and below my photos. To finish off my layout, I added tone-on-tone embellishments to my rainbow using fussy cut butterflies from Paper 16, puffy heart stickers, a chipboard tab and word strips and flower stickers from the Cardstock Stickers. I loved creating this colorful layout - I don’t think I’ll ever get tired of creating rainbows! Thank you so much for stopping by and I hope you feel inspired to play with a bit of joyful mixed media and Blooming Wild too!
SUPPLIES: Patterned papers, die cuts, embellishments: BLOOMING WILD; white cardstock; Distress Inks; Cut files: CloudsLaugh Love Always, and Wonky Hearts by Paige Evans

Our Cutie Cats Layout by Paige Evans


Sunday, May 12, 2024

Hi scrappy friends! Today I'm sharing another one of the four layouts that we learned how to make at the Crafty Beach Bash in Texas last month using the Poppy & Pear collection by Bea Valint and I have the class PDF available for purchase for $10 in my shop HERE!
There are a number of different cat icons throughout the Poppy & Pear collection so what better way to use them than with pics of Amy & Sandy?! This page features three rows of patterned paper pennants with pics of our kitties mixed into the banners! Floral motifs at the ends tie off the banners beautifully and stitching across the tops of the pennants completes the banner look. This page is perfect for paper scraps and documenting your furry feline friends!
For the instructions and pennant template you can purchase the class PDF HERE - PLEASE NOTE: this purchase is for digital content only, no product is included and it's instructions only, no process videos. After purchasing, Ecwid will email you the PDF that contains a list of supplies, photo sizes, templates, cut files, and instructions! Let me know if you have any questions through email at paigetaylorevans@gmail.com, thank you so much, and have a happy scrappy day!
SUPPLIES: Patterned papers, stickers, die cuts, embellishments: POPPY & PEAR by Bea Valint

Shaped Mini Album by Kelly Day


Hi friends! Kelly Daye here sharing the mini album I created for International Scrapbook Day 2024 in Paige's Happy Scrappy Place Facebook Group! To honor the day I invited friends from around the world to share a photo they took in a garden or park and used Paige’s Rainboots cut file because it reminded me of pretty garden boots!
I’ve used the gorgeous and colorful Blooming Wild collection throughout. Both the front and back covers were stitched with DMC floss. My mini measures 8.75 x 6.75, making the spaces quite small. I adjusted the DMC Floss to stitch with 3 strands so that the paper wouldn’t be hidden by the stitching.
I chose two background papers for each spread that I felt were good companions to each other.
Then I added all the pretty embellishments I could fit. Some things to remember when making a mini album are: pick a theme, be consistent throughout, and repeat similar elements on each spread.
For this mini, I only used one of Paige’s collections - Blooming Wild. It looks extra special when all the papers and embellishments coordinate. I also ensured there was a bit of hand-stitching on each spread, to tie one page to another.
Adding butterflies to each spread is like they’re fluttering along as you turn the page. It’s also nice to add a few personal details, maybe small charms or a handmade tassel.
I’ve left the inside of the back cover empty. Last summer, our back garden was relandscaped. While things were a giant mess (left side spread) and I didn’t plant any pots in 2023, I’m so excited to get new patio furniture and fill a plethora of pots with colorful blooms. I’ll be sure to share it when we’re all done!
Personal thanks to scrappy-garden friends who were able to share a photo! I hope you’re inspired to make a garden mini of your own!
SUPPLIES: Patterned papers, stickers, die cuts, embellishments: BLOOMING WILD; white cardstock; Distress Oxides; Cut file: Rainboots by Paige Evans

Large Photo Layout by Jackie Ashton


Saturday, May 11, 2024

Hi scrappy friends! It’s Jackie Ashton here sharing the layout I created for International Scrapbook Day 2024 in Paige's Happy Scrappy Place Facebook Group!
My challenge was to use a large photograph on your layout! I used a horizontal one but you can also use a vertical one, whichever suits you best! I used the lovely Blooming Wild collection for all the patterned papers, title, and embellishments!
SUPPLIES: Patterned papers, stickers, die cuts, embellishments: BLOOMING WILD

Discover + Create Virtual Classes!


Friday, May 10, 2024

Join me for May virtual classes featuring the Discover + Create collection by Vicki Boutin!
In the May mini album class I teach you how to create 3 tiny chipboard albums in a cute paper basket complete with handmade tassel charms, a hidden hinge technique, and lots of embellishments! After purchasing, Ecwid will email you the PDF that contains a list of additional craft supplies to have on hand, photo sizes, any homework to complete before class, templates, cut files, instructions, and a link to YouTube video tutorial which goes up on Saturday May 18th. The class is pre-recorded so you can go at your own pace and watch anytime/anywhere!
Register for the 3 Tiny Chipboard Albums in a Basket Class HERE.
***********************************
In the virtual layouts class I teach you how to create four 12x12 scrapbook layouts also using the Discover + Create collection by Vicki Boutin! Techniques include a grid background of patterned paper rectangles & photos, a hand stitched circles background, a hand stitched swirls frame, and a backed title cut file. After purchasing, Ecwid will email you the PDF that contains a list of additional craft supplies to have on hand, photo sizes, any homework to complete before class, templates, cut files, instructions, and a link to YouTube video tutorial which goes up on Saturday May 18th. The class is pre-recorded so you can go at your own pace and watch anytime/anywhere!
Register for the Layouts Class HERE.
Let me know if you have any questions!

3D Shape Layout by Inessa Persekian


Hello scrappy friends! It’s Inessa Persekian here sharing the layout I created for International Scrapbook Day 2024 in Paige's Happy Scrappy Place Facebook Group!
My challenge was to incorporate a 3D shape anywhere on your layout or project! I love the dimension this adds. For my layout I used the Poppy & Pear collection from American Crafts and cut out strawberries in 3 sizes and patterns. HERE is a link to the strawberry cut file I used - I can picture lots of strawberry picking pages! I cut two of each size so that I can add the 2nd layer to make it dimensional. I scored in the middle and adhered using a very thin line of liquid glue. I also added some paper tearing, lot’s of embellishments, and light mixed media. I love how it turned out!
SUPPLIES: Patterned papers, stickers, die cuts, embellishments: POPPY & PEAR; white cardstock; Cut file: Strawberry by Paige Evans

Washi Tape Layout by Heidi Lewis


Thursday, May 9, 2024

Hello scrappy friends! It’s Heidi Lewis here sharing the layout I created for International Scrapbook Day 2024 in Paige's Happy Scrappy Place Facebook Group!
For my challenge I chose washi tape because it is one of my favorite supplies, but least utilized products in my stash. This project was a great way to clear out some of my Blooming Wild stash to make room for Paige's new Adventurous collection coming soon! Making a Washi Tape sunburst is really fun and easy! First, draw a large circle on a piece of plain or patterned 12x12 paper and arrange your washi tapes in a sunburst using the circle as a guide. I started with my widest tapes first and then filled in the empty spaces with my medium and small tapes. Next, fussy cut the letter "O" from Paper 17 and place it in the center of your sunburst. Then, add a title with Thickers around the edge of the "O." To stretch my stash, I used exclamation marks for my I's, turned a V into an A, and a Q into an O. Use a circle die or punch to create a circular photo and center it on the patterned paper. Add Mini Flower Puffy Stickers around the photo. Then cut two 2-inch squares from Paper 20 in half to make triangles and adhere them to the corners of the layout. Add a few flower Cardstock Stickers in two of the corners, and then stitch a white border around the layout. Voila! In a few simple steps, you can create a colorful sunburst featuring washi tape!
SUPPLIES: Patterned papers, die cuts, stickers, washi tape: BLOOMING WILD

My Guys Layout by Paige Evans


Wednesday, May 8, 2024

Here is another one of the four layouts that we learned how to make at the Crafty Beach Bash in Texas last month using the Poppy & Pear collection by Bea Valint and I have the class PDF available for purchase for $10 in my shop HERE!
This page features four square pictures of Chris & Fox in different sizes, nestled inside frames, and then the page is filled up with die cuts, stickers, sentiments, tabs, journaling spots, labels, and MORE, all on a stonewash blue cardstock background! A little space between each element keeps everything balanced and helps it from being too busy. Because Poppy & Pear is very floral and feminine, I enjoyed the challenge of creating a page for my guys!!
For the instructions and frame templates you can purchase the class PDF HERE - PLEASE NOTE: this purchase is for digital content only, no product is included and it's instructions only, no process videos. After purchasing, Ecwid will email you the PDF that contains a list of supplies, photo sizes, templates, cut files, and instructions! Let me know if you have any questions through email at paigetaylorevans@gmail.com, thank you so much, and have a happy scrappy day!
SUPPLIES: Patterned papers, stickers, die cuts, embellishments: POPPY & PEAR by Bea Valint

Tic-Tac-Toe Layout by Danielle Miller


Hi friends! Danielle Miller here sharing the layout I created for International Scrapbook Day 2024 in Paige's Happy Scrappy Place Facebook Group!
This is a fun challenge where you get to choose three items from the board that would win you a game of Tic-Tac-Toe!
I used hand stitching, the Blooming Wild collection, and two or more pictures for my game! There are limitless options to complete this challenge!
SUPPLIES: Patterned papers, stickers, die cuts, embellishments: BLOOMING WILD

Paper Scraps Layout by Audrey Mutschall


Tuesday, May 7, 2024

Hello friends! Audrey Mutschall here sharing the layout I created for International Scrapbook Day 2024 in Paige's Happy Scrappy Place Facebook Group!
My challenge was to create something using scraps, so I used lots of leftover bits and pieces from the Blooming Wild collection that I’d been accumulating from other projects. In fact, the only part of my layout that isn’t a scrap is an Ephemera Die Cut! I started by cutting triangles from leftover patterned papers found in the 12x12 Paper Pad. I arranged them on a piece of paint-splattered white cardstock in a quilt-like pattern and lightly adhered them before machine-stitching with a zig-zag stitch. I mounted my photo on a yellow patterned paper from one of the Boxed Cards and then placed it in the center of the layout. I used leftover fussy cut alphas from Paper 8 for my title and added a flower pot Ephemera Die Cut to the right of my photo. I found two Layered Flowers that I’d made for a previous layout and never used so I decided to add those to my layout along with one more made from scraps. Lastly, I fussy cut tiny flowers and a butterfly from Paper 16 and added those to my layout. I hope this inspires you to go through your scraps and find a fun and creative way to use them!
SUPPLIES: Patterned Paper, Ephemera Die Cut: BLOOMING WILDwhite cardstock; Cut file: Layered Flower by Paige Evans

Branding Strips Layout by Ashley Neu


Monday, May 6, 2024

Hello scrappy friends! It’s Ashley Neu here sharing the layout I created for International Scrapbook Day 2024 in Paige's Happy Scrappy Place Facebook Group!
My challenge was to use branding strips! Don't throw them away - they are like gold! Paige's collections feature a snippet of each patterned paper on one side of the branding strip and can be used to create a layout like this. I used branding strips from 6 different collections to make this rainbow layout!
SUPPLIES: Patterned papers, stickers, die cuts, embellishments: BLOOMING WILD; Branding strips from BLOOMING WILDSPLENDIDSUGARPLUM WISHESBloom StreetTruly Grateful, and Go the Scenic Route
Paige Taylor Evans © // Quinn Creatives DESIGN