
I finished all my scrappy assignments that are due in the immediate future which means I'm spending any and every spare minute I can making minis! Here is my newest one about our adventure to Oslo, Norway last May.
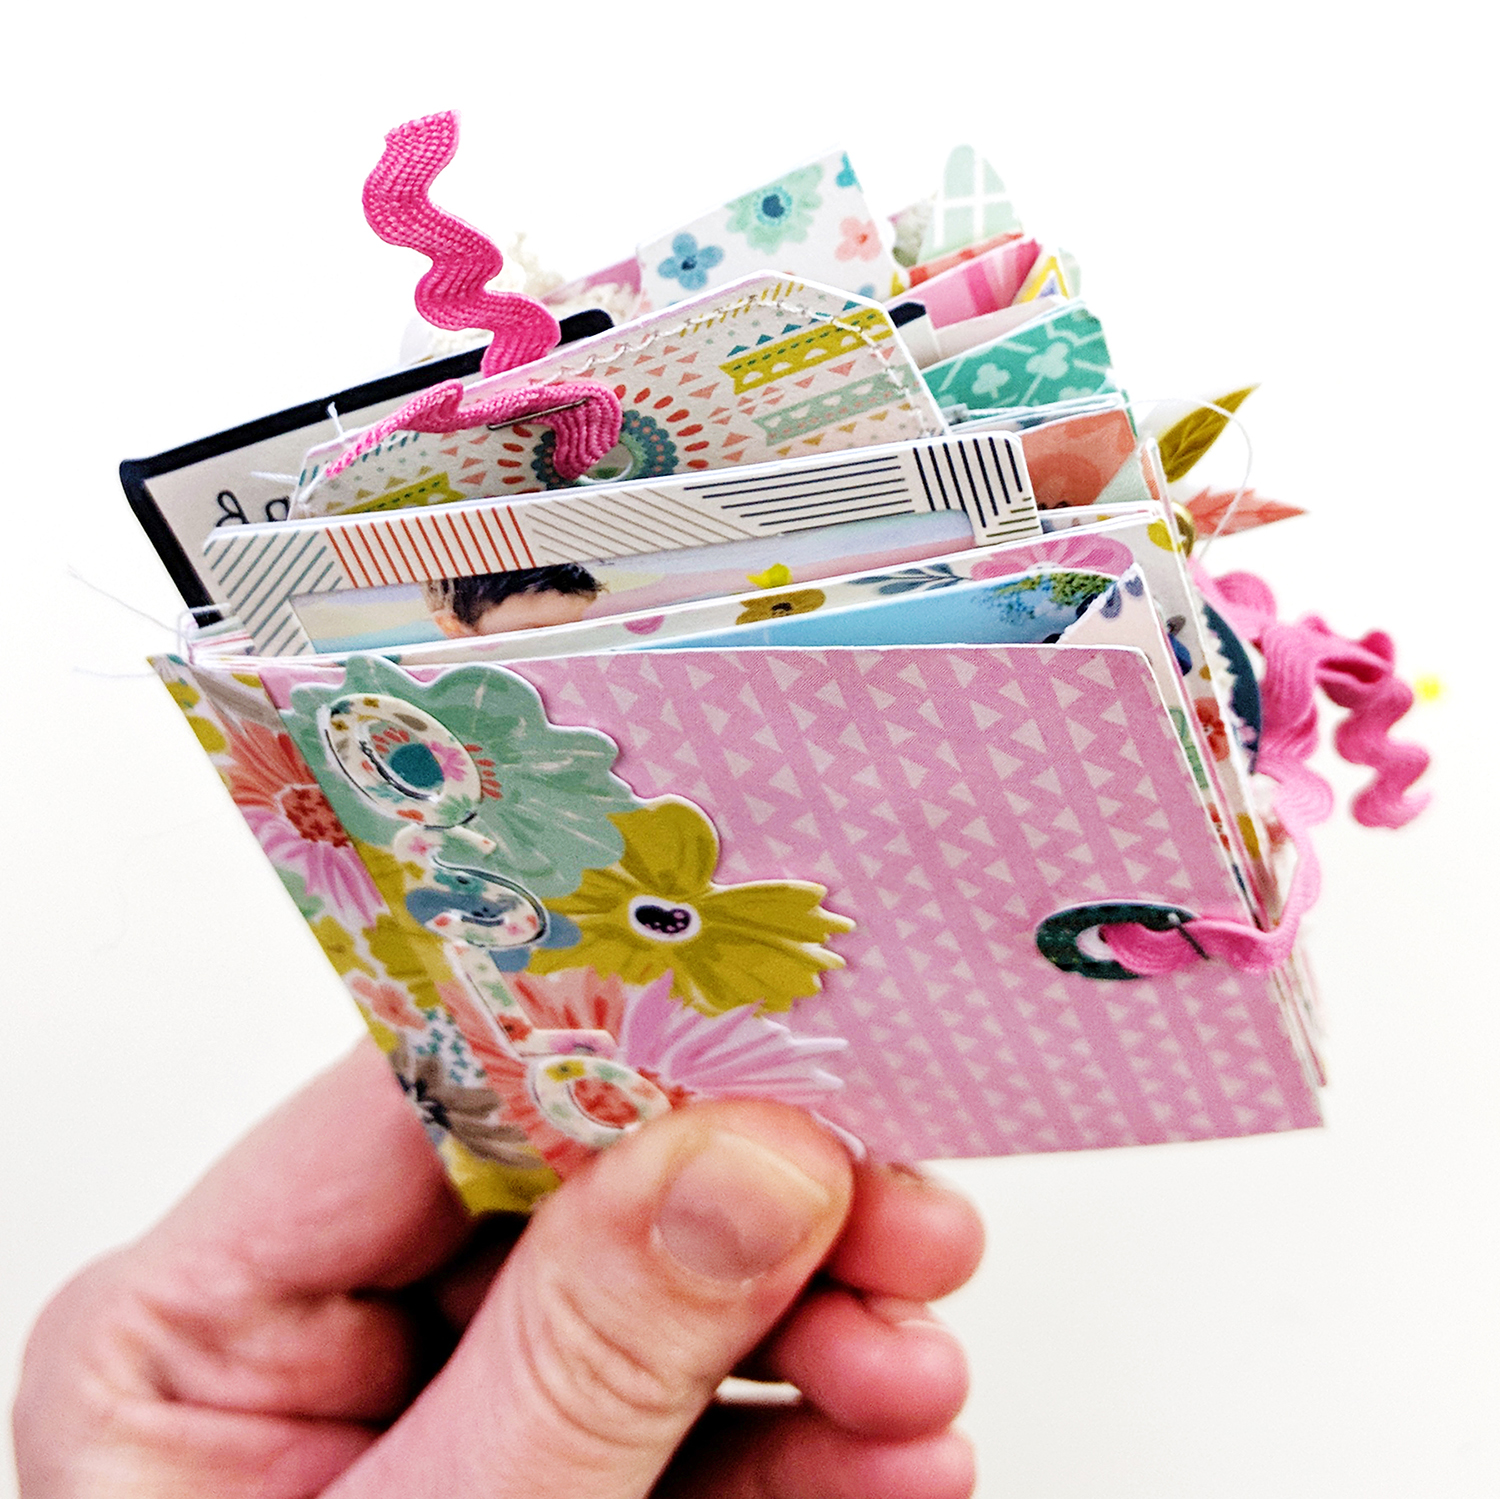
First, a flip through so you can see this album in action:
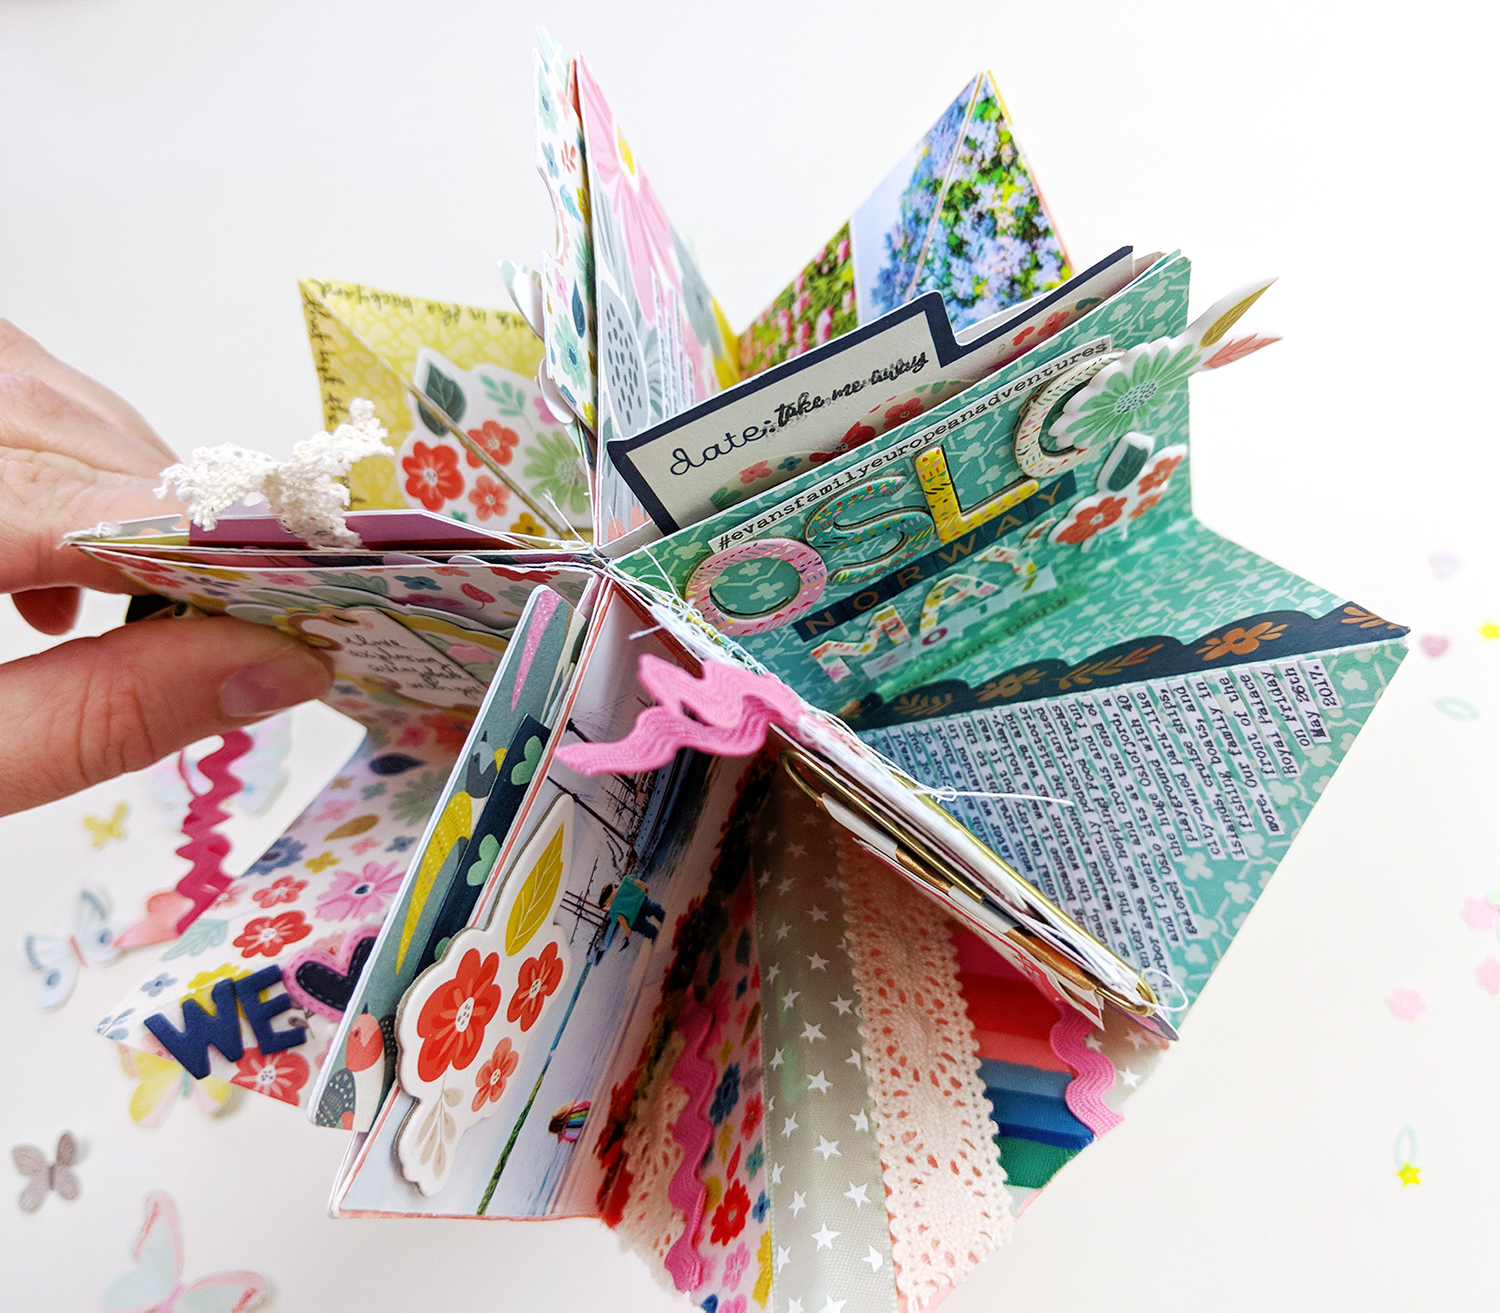
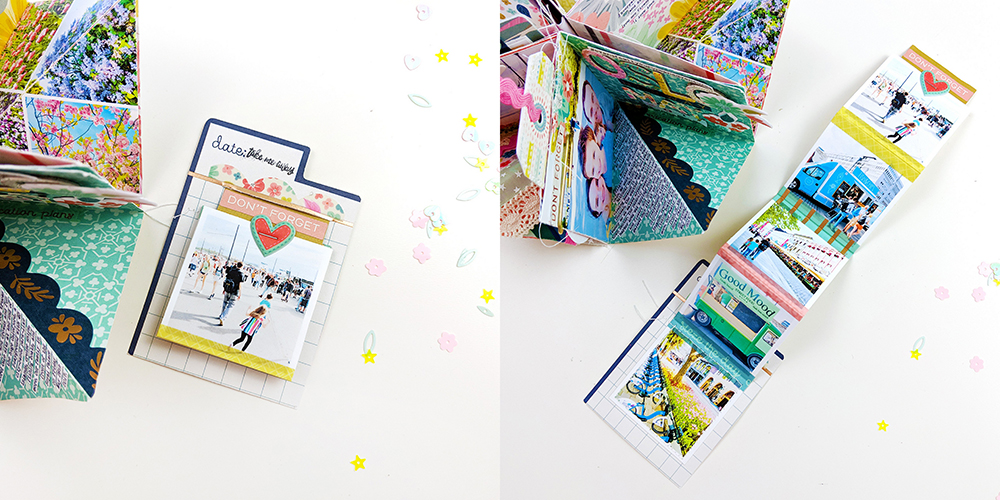
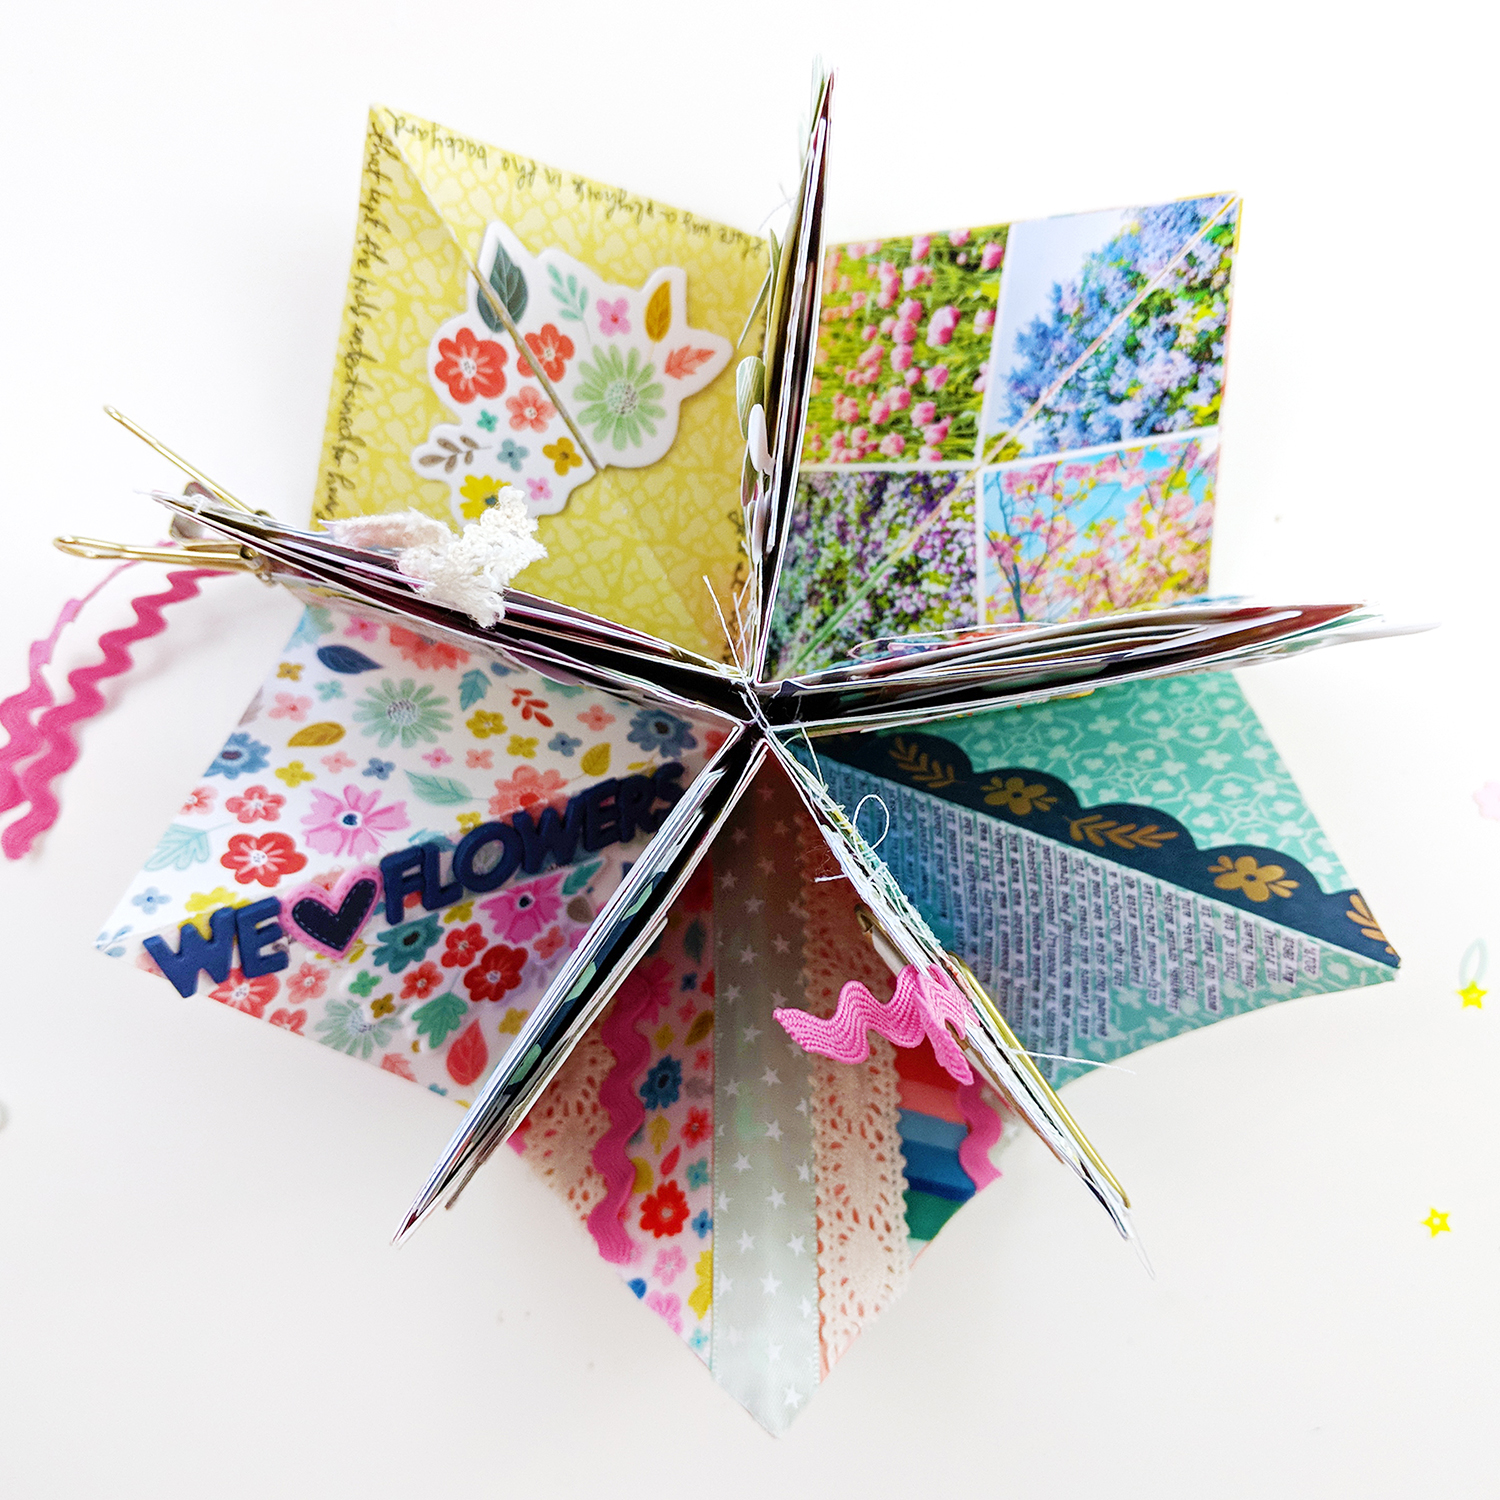
I used my Folded Square Mini Album cut file as the base cut with my Silhouette Cameo 3 and glued five of them together to make the foundation. Everything (unless noted!) is from my Turn the Page collection with Pink Paislee.
In the first section I adhered a family photo on the left and created a title on the right using a mix of Thickers and alphabets from the Sticker Book. Then I added a few floral Puffy Stickers and made the year with number stickers from my 30-page #StickerBook. In the bottom section I typed, printed, trimmed, and adhered journaling then placed a scalloped piece of Washi Tape along the edge.

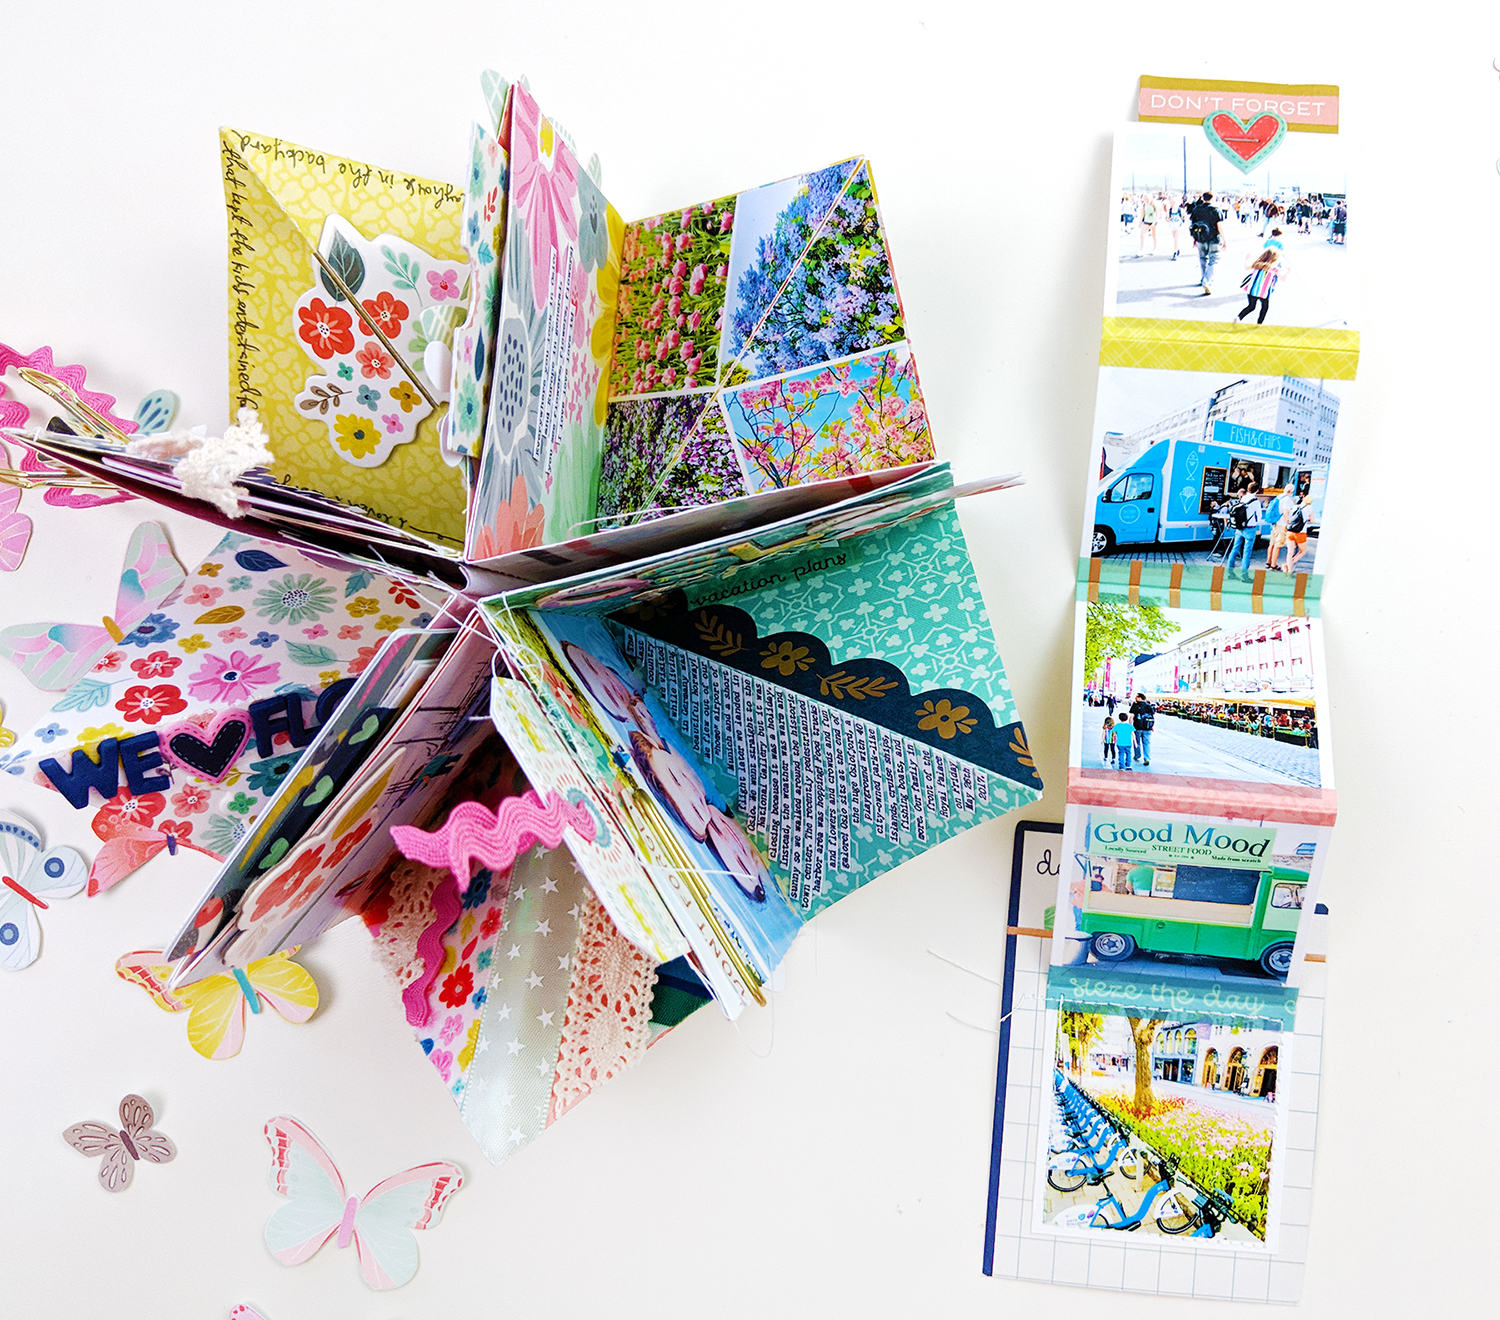
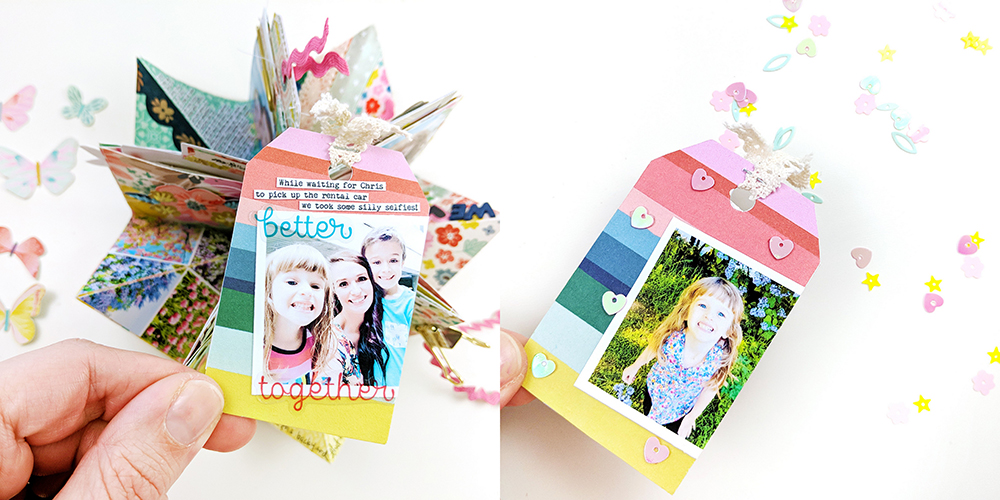
When I was adhering the Folded Squares together I only placed adhesive on the sides and bottom edges and not the top edges to create pockets. I tucked tags and journaling spots into each pocket because I had so.many.photos and needed to include them allll! So in this pocket I made an accordion photo book by attaching the pictures together with Washi Tape.
I made a slit in the top of a Journaling Spot so the photos can tuck nicely in place.
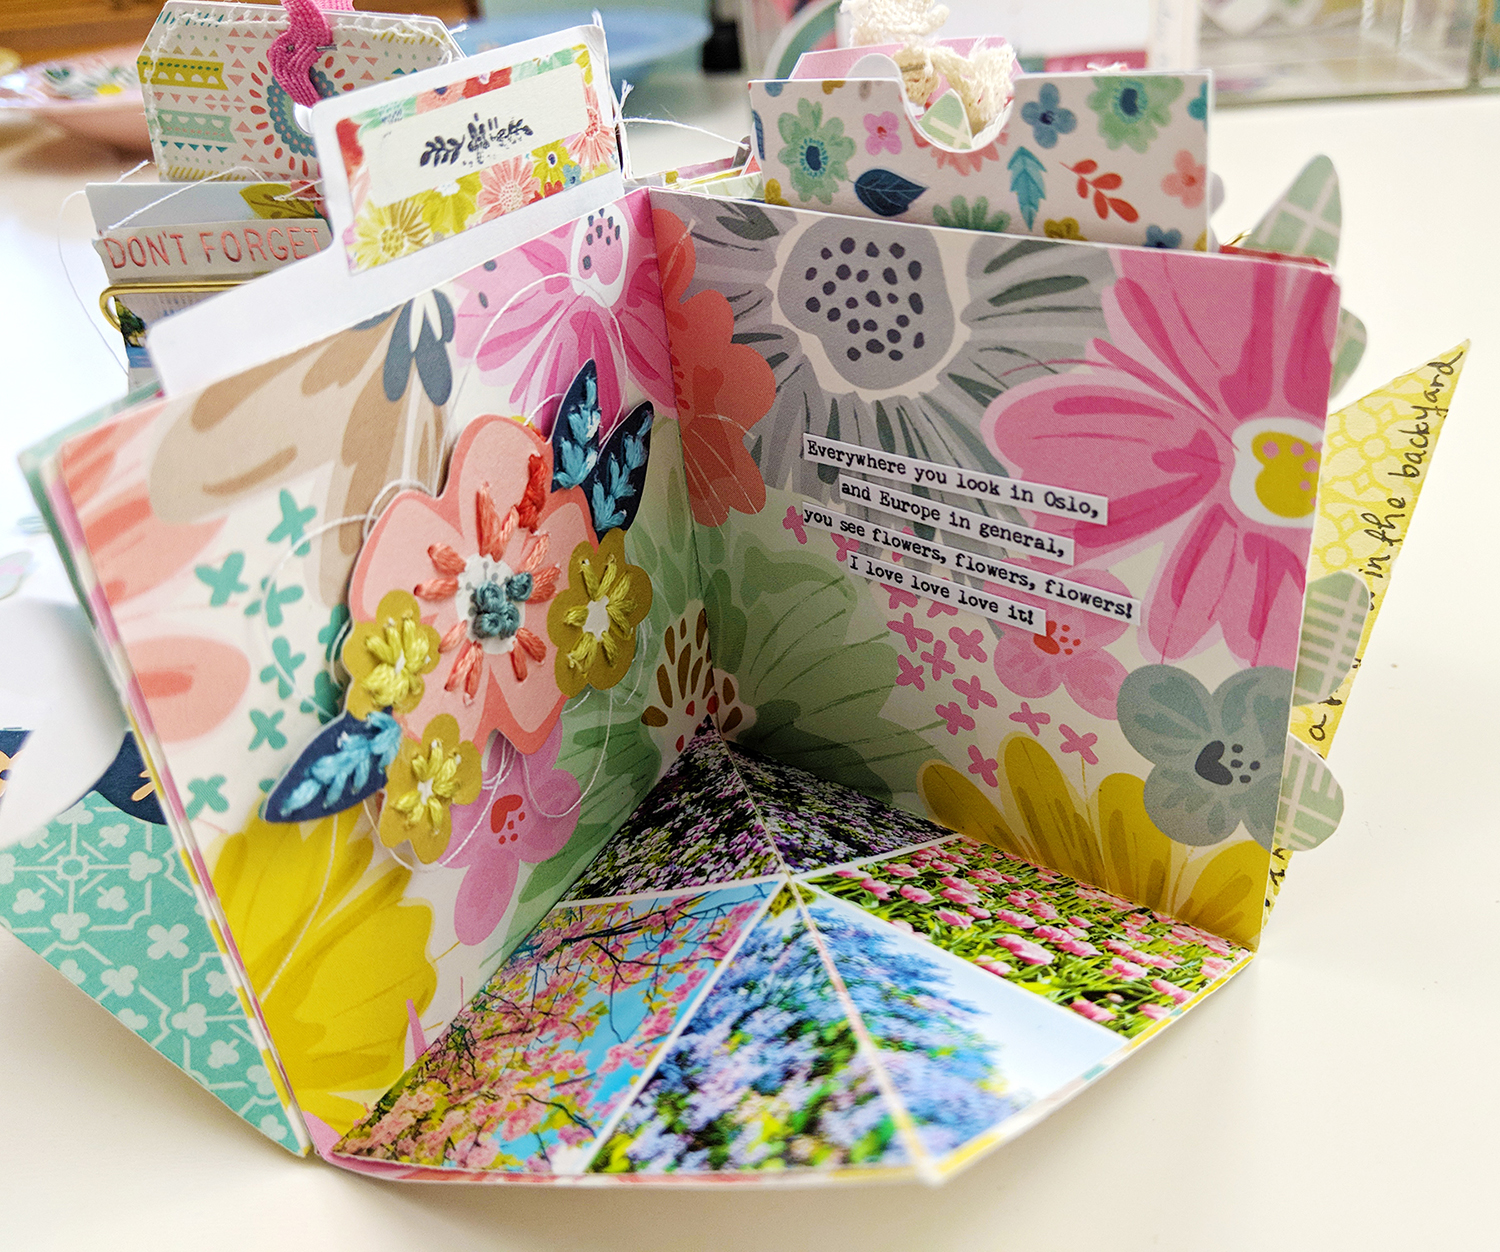
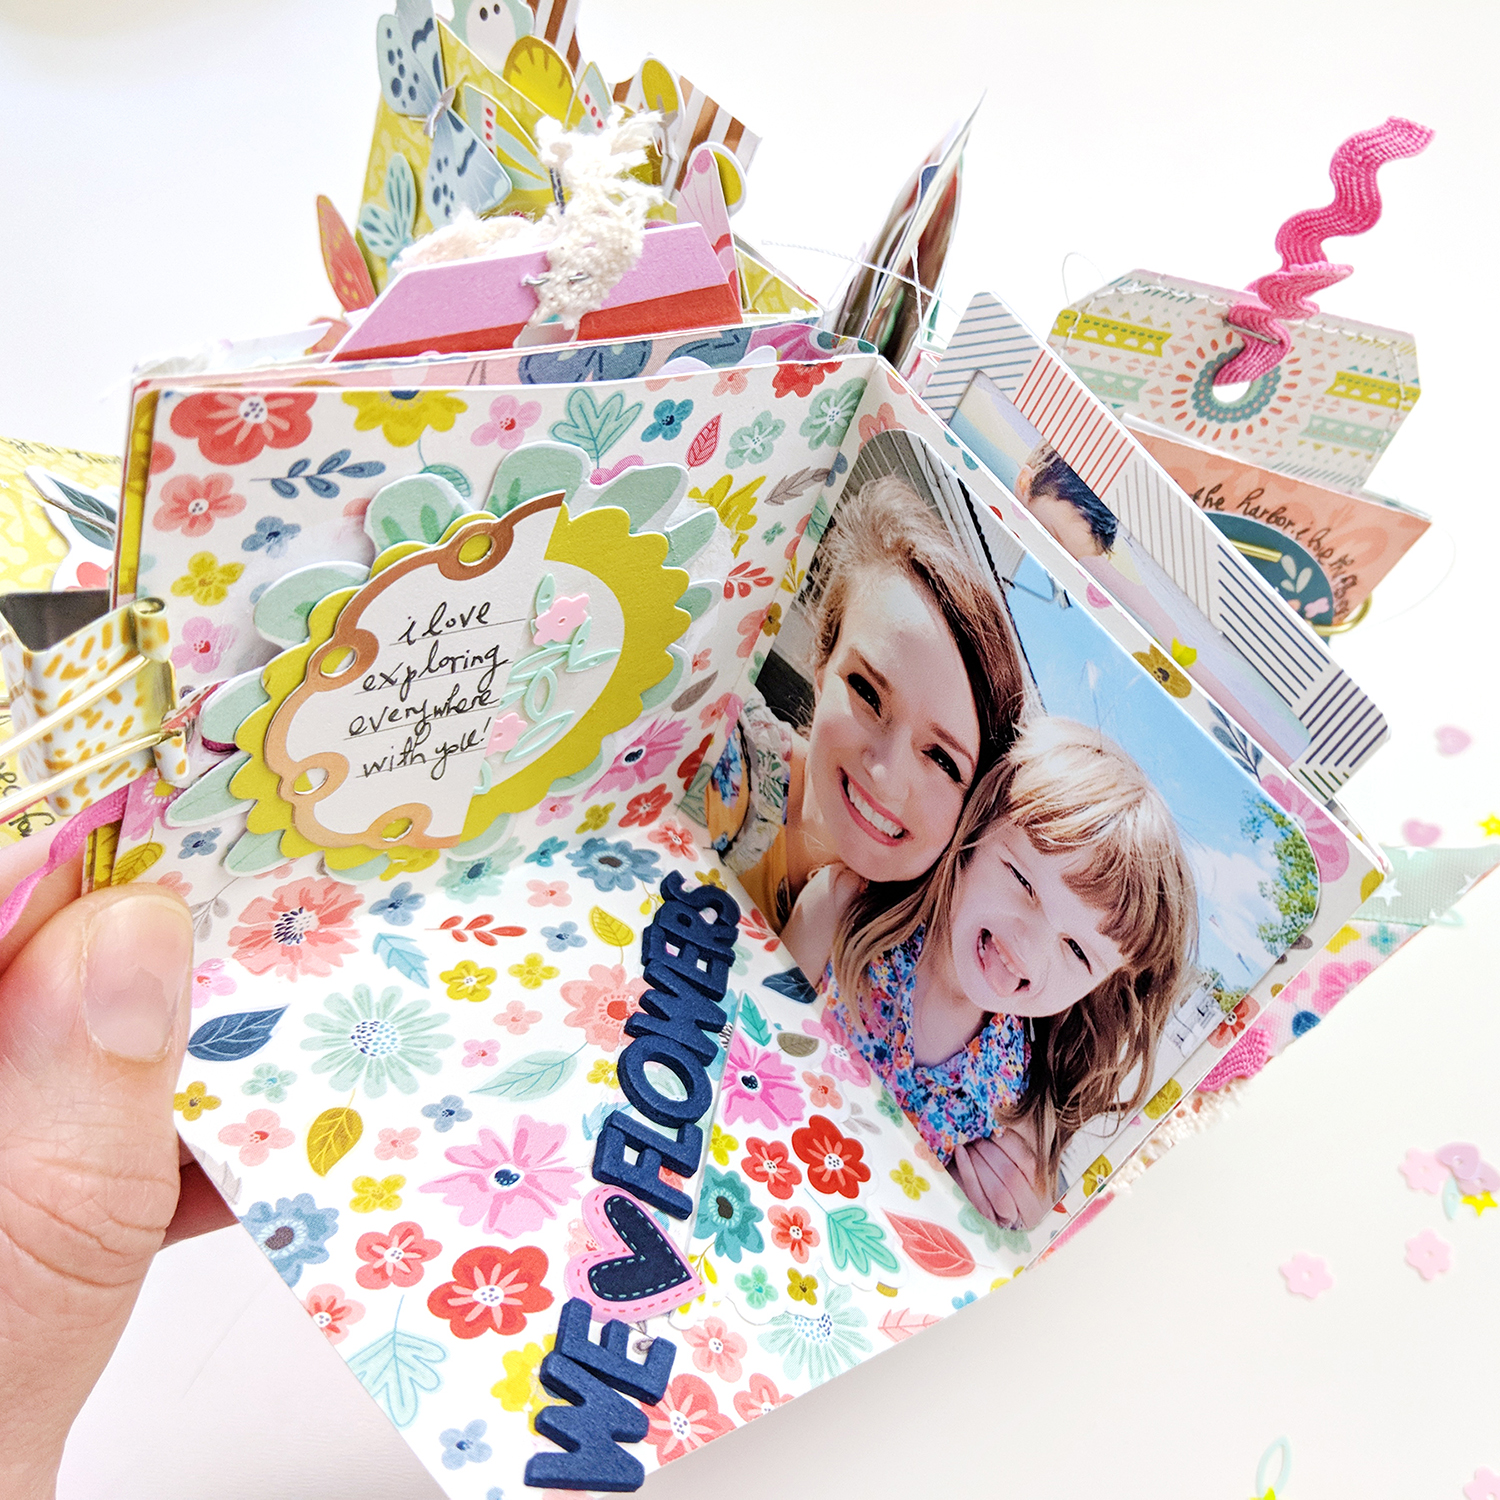
The next section is all about flowers! I embellished a floral Ephemera Die Cut with hand stitching then placed it over some messy thread on the left. On the right I kept it simple with typed journaling. On the bottom I printed a quad of photos, trimmed it in half diagonally, and adhered the triangles in place so it still folds up.
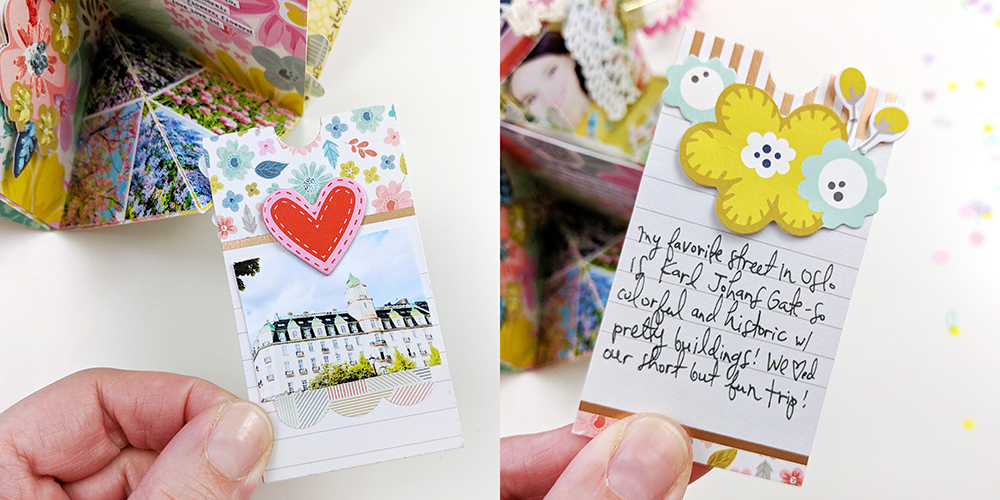
In the pocket I adhered two Journaling Spots back-to-back and added a photo on the front along with a heart Chipboard Sticker and journaled on the back then placed a flower die cut at the top.
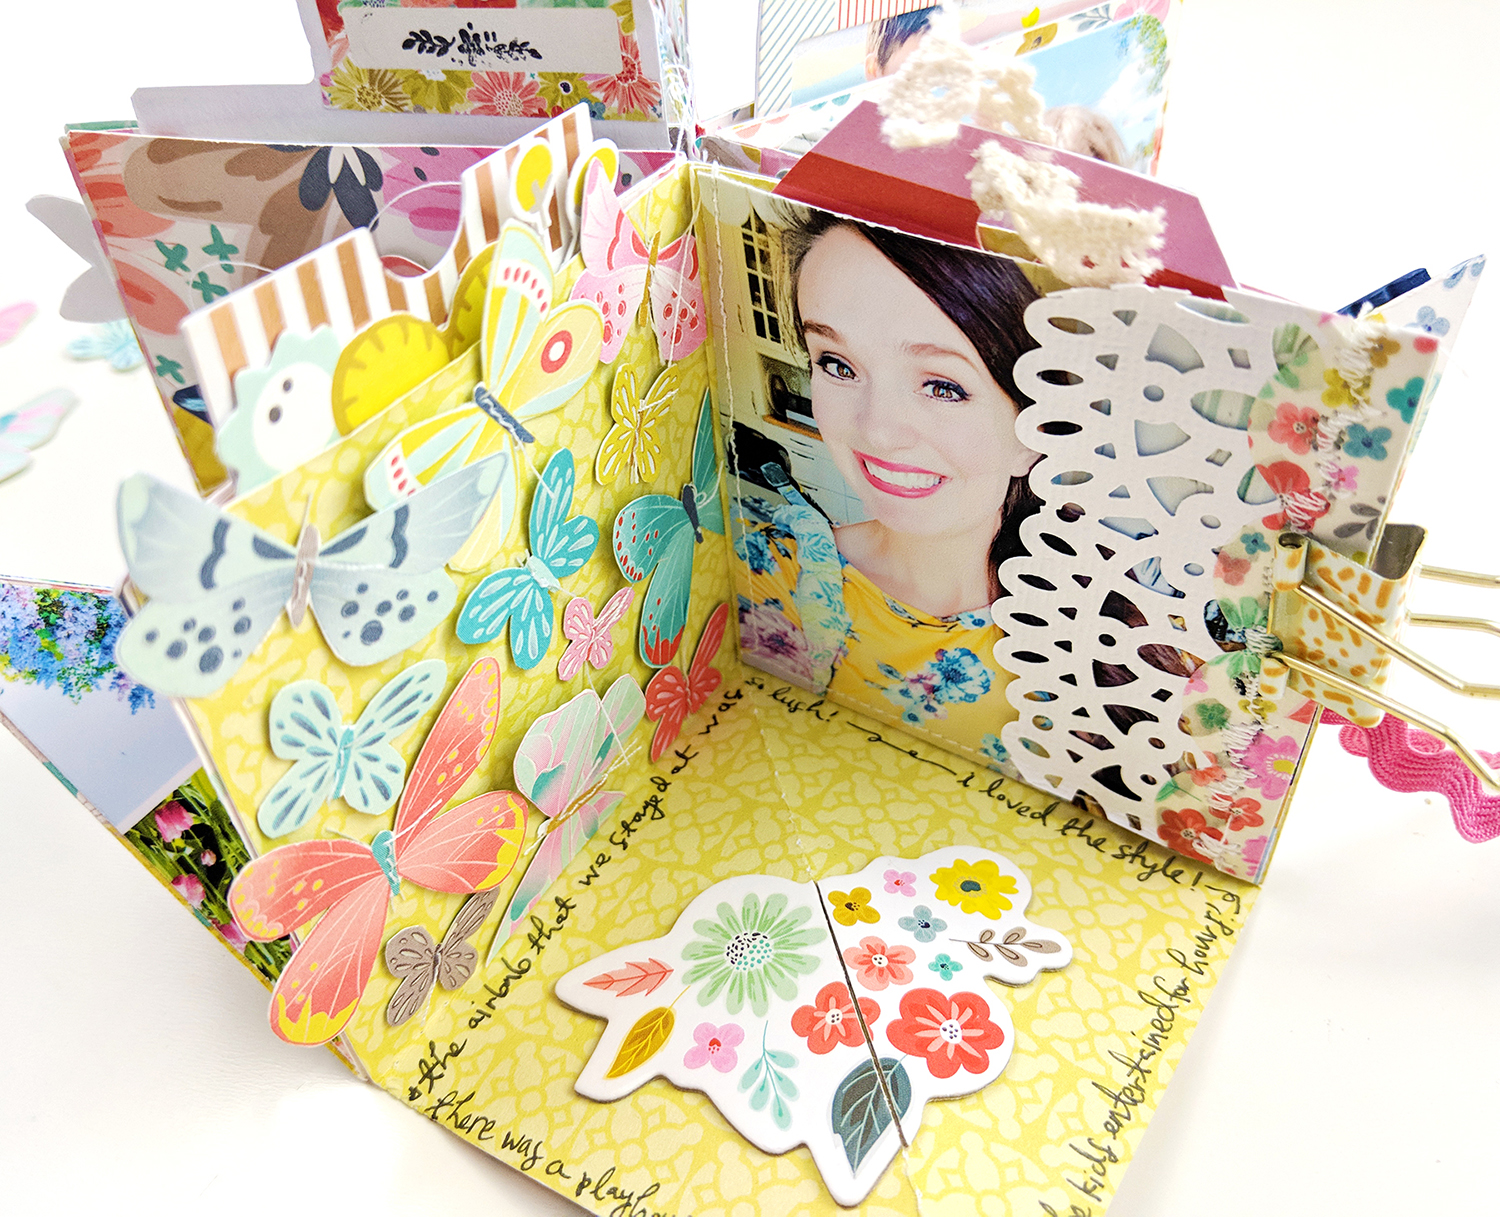
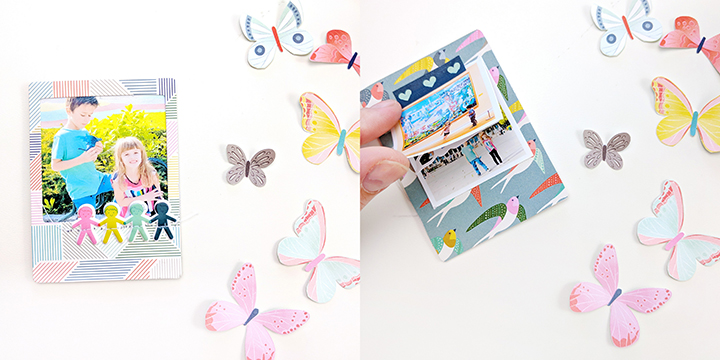
On the left side of this section I used leftover butterflies fussy cut from Paper 04, machine stitched through them, then adhered them in place. I added a selfie to the right page. I punched a bit of a large lace border from white cardstock, added a scalloped floral piece of Washi Tape, used my sewing machine to add a decorative scallop stitch, then adhered it in place on the photo. On the bottom I trimmed a flower Chipboard Sticker in half so it can bend up when the album is folded then I journaled around the edges using my favorite precision pen.
In the pocket I adhered two of the same Journaling Spot tags together and added photos, typed journaling, transparency word Stickers, and Heart Sequins. I stapled crocheted Ribbon through the hole.
Next is a page also about flowers - I simply can't get enough of them! I made my own embellishment for the left page and added a photo with rounded corners to the right. Along the bottom crease I used new Pick-Me-Up dark blue mini Thickers to create a sentiment.
In the pocket I added a photo behind a die cut frame and stitched Puffy Sticker paper chain people below. On the back I layered two photos in place using more Washi Tape.
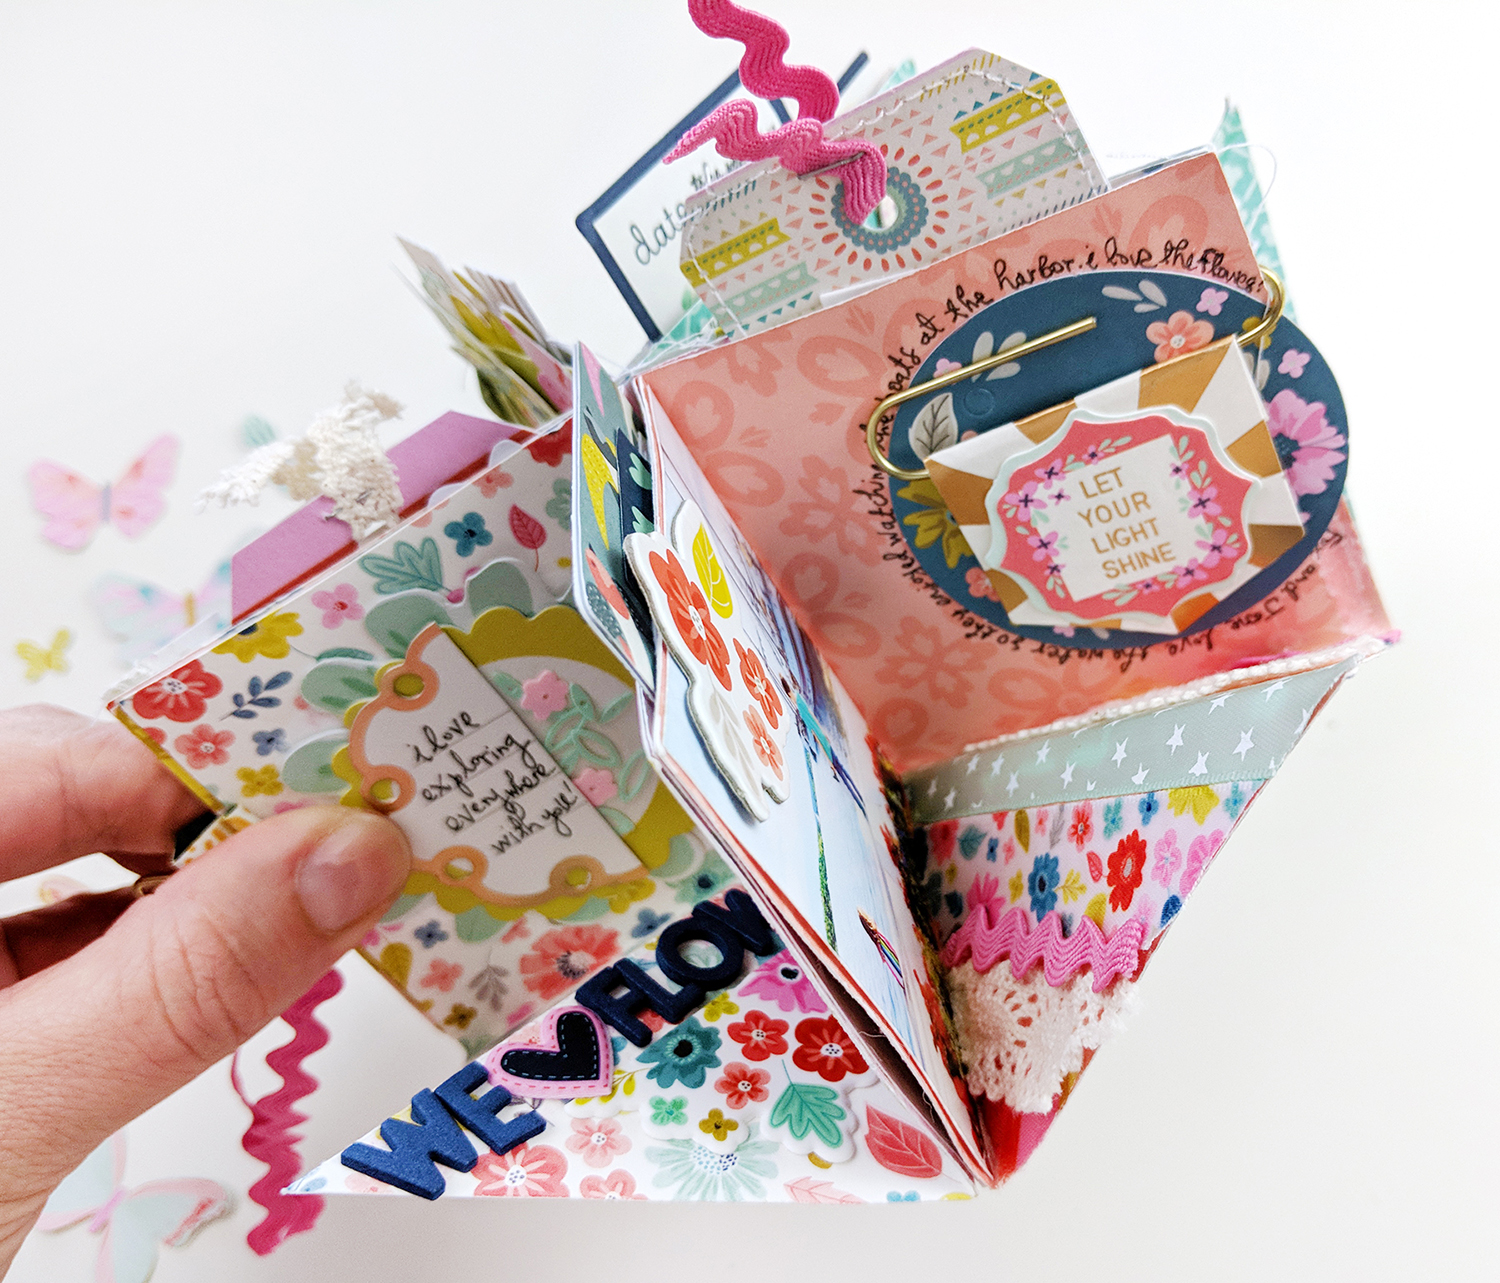
In the last of the five sections I added a full photo of the kids at the harbor on the left side along with a floral Chipboard Sticker at the top. On the right page I placed a round floral Ephemera Die Cut, journaled around it, then slid on a Pennant Paper Clip.
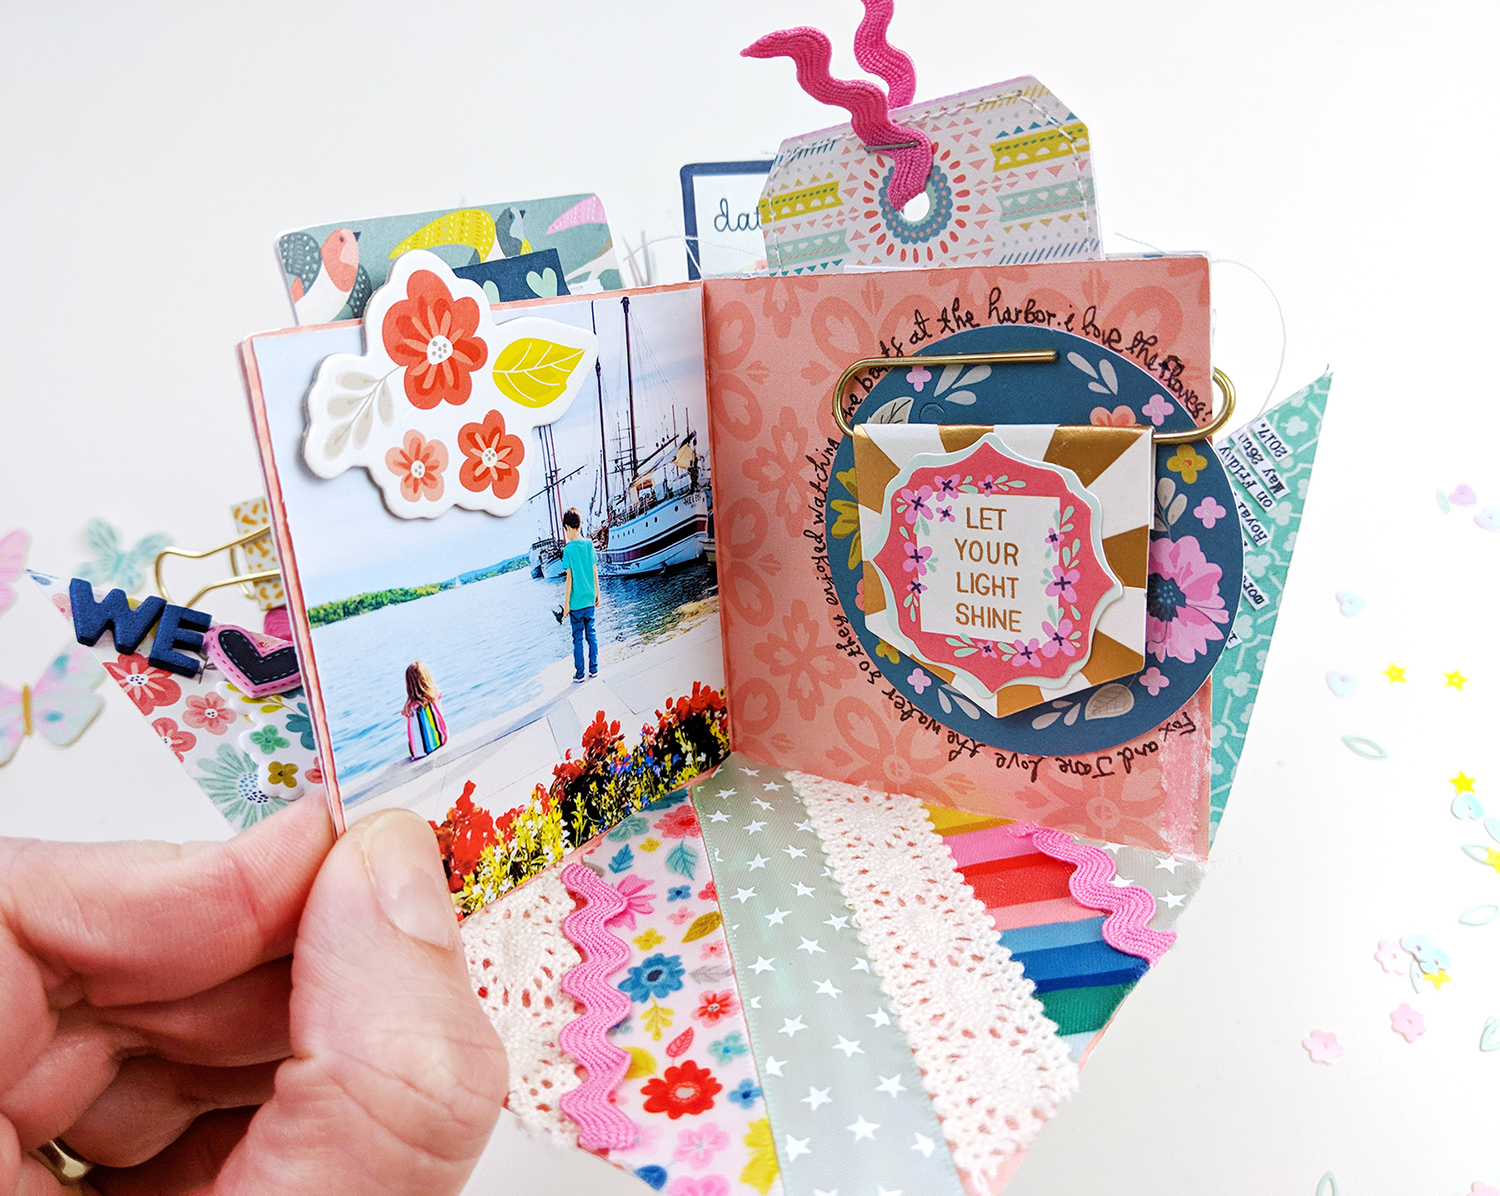
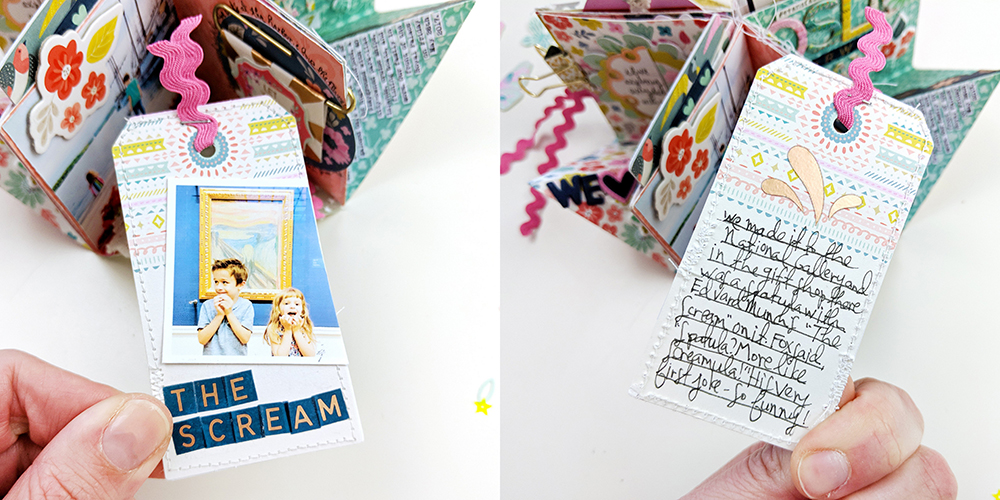
In the pocket I once again adhered two of the same Journaling Spot tags back-to-back then machine stitched around the edges. I placed a photo on the front then told a funny story on the back. I stapled pink Ric Rac through the hole using a Tiny Attacher.
This album came together fast! Once the base was assembled and I had my photos in place, minimal embellishing here and there finished it up in a jiffy! I bet you could create an album in a single afternoon!
I made a slit in the top of a Journaling Spot so the photos can tuck nicely in place.
The next section is all about flowers! I embellished a floral Ephemera Die Cut with hand stitching then placed it over some messy thread on the left. On the right I kept it simple with typed journaling. On the bottom I printed a quad of photos, trimmed it in half diagonally, and adhered the triangles in place so it still folds up.
In the pocket I adhered two Journaling Spots back-to-back and added a photo on the front along with a heart Chipboard Sticker and journaled on the back then placed a flower die cut at the top.
On the left side of this section I used leftover butterflies fussy cut from Paper 04, machine stitched through them, then adhered them in place. I added a selfie to the right page. I punched a bit of a large lace border from white cardstock, added a scalloped floral piece of Washi Tape, used my sewing machine to add a decorative scallop stitch, then adhered it in place on the photo. On the bottom I trimmed a flower Chipboard Sticker in half so it can bend up when the album is folded then I journaled around the edges using my favorite precision pen.
In the pocket I adhered two of the same Journaling Spot tags together and added photos, typed journaling, transparency word Stickers, and Heart Sequins. I stapled crocheted Ribbon through the hole.
Next is a page also about flowers - I simply can't get enough of them! I made my own embellishment for the left page and added a photo with rounded corners to the right. Along the bottom crease I used new Pick-Me-Up dark blue mini Thickers to create a sentiment.
In the pocket I added a photo behind a die cut frame and stitched Puffy Sticker paper chain people below. On the back I layered two photos in place using more Washi Tape.
In the last of the five sections I added a full photo of the kids at the harbor on the left side along with a floral Chipboard Sticker at the top. On the right page I placed a round floral Ephemera Die Cut, journaled around it, then slid on a Pennant Paper Clip.
In the pocket I once again adhered two of the same Journaling Spot tags back-to-back then machine stitched around the edges. I placed a photo on the front then told a funny story on the back. I stapled pink Ric Rac through the hole using a Tiny Attacher.
This album came together fast! Once the base was assembled and I had my photos in place, minimal embellishing here and there finished it up in a jiffy! I bet you could create an album in a single afternoon!
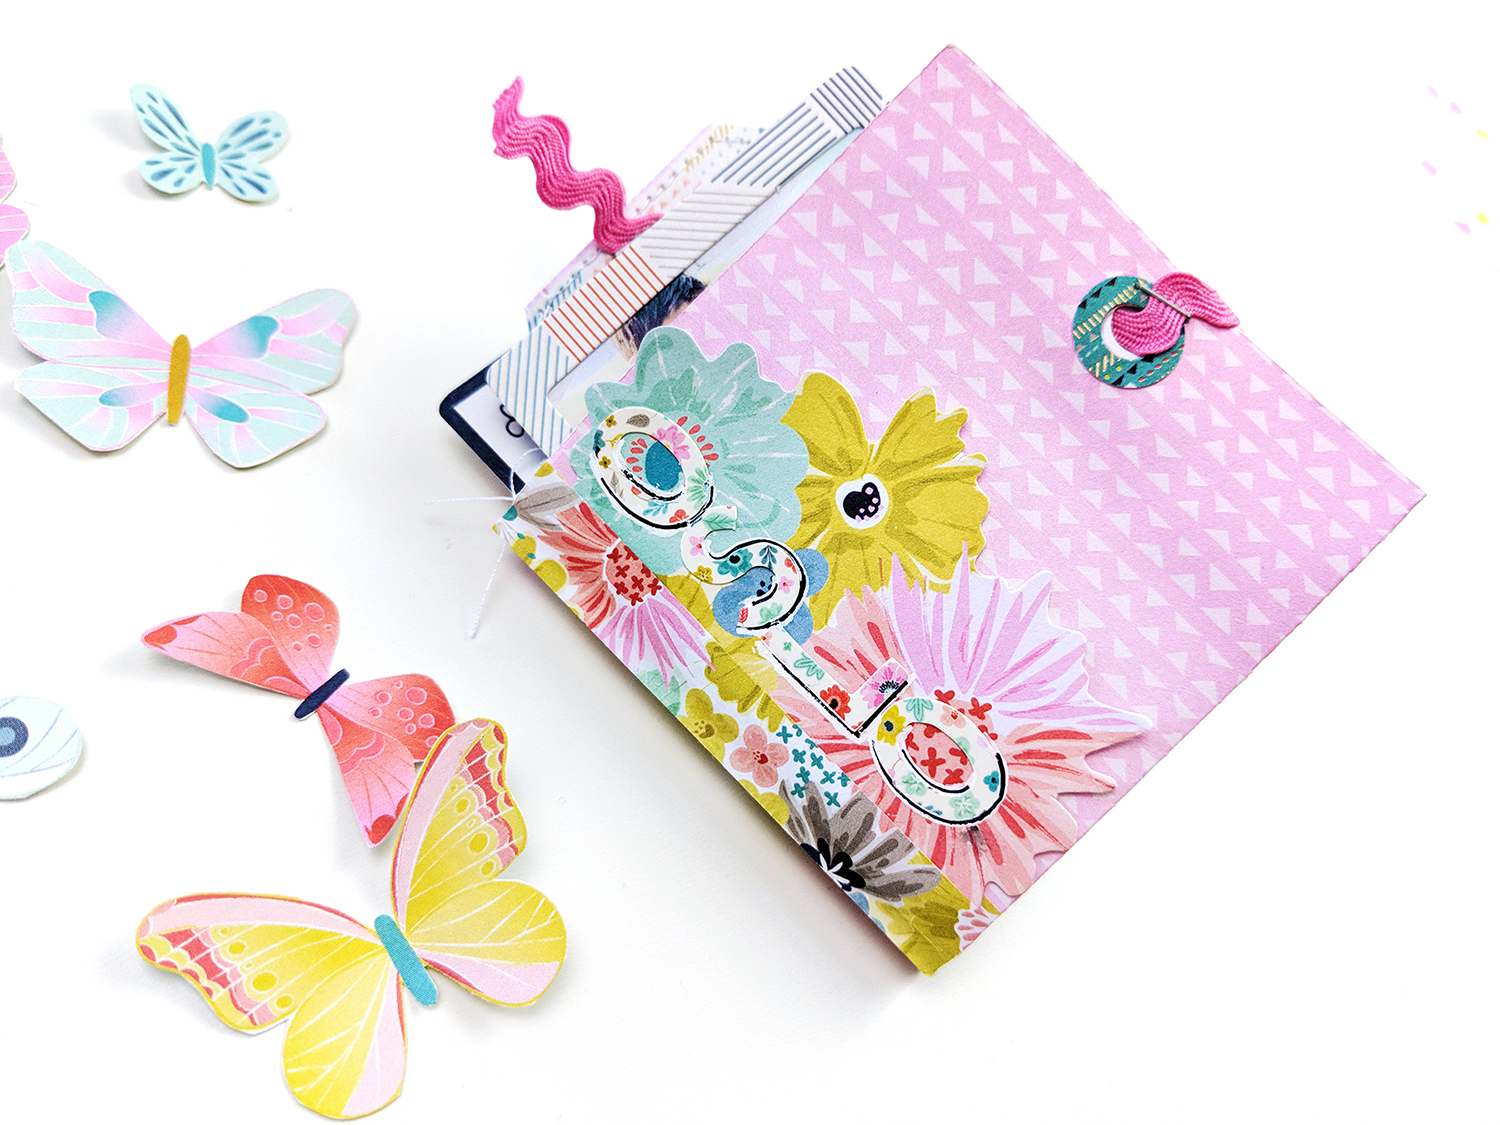
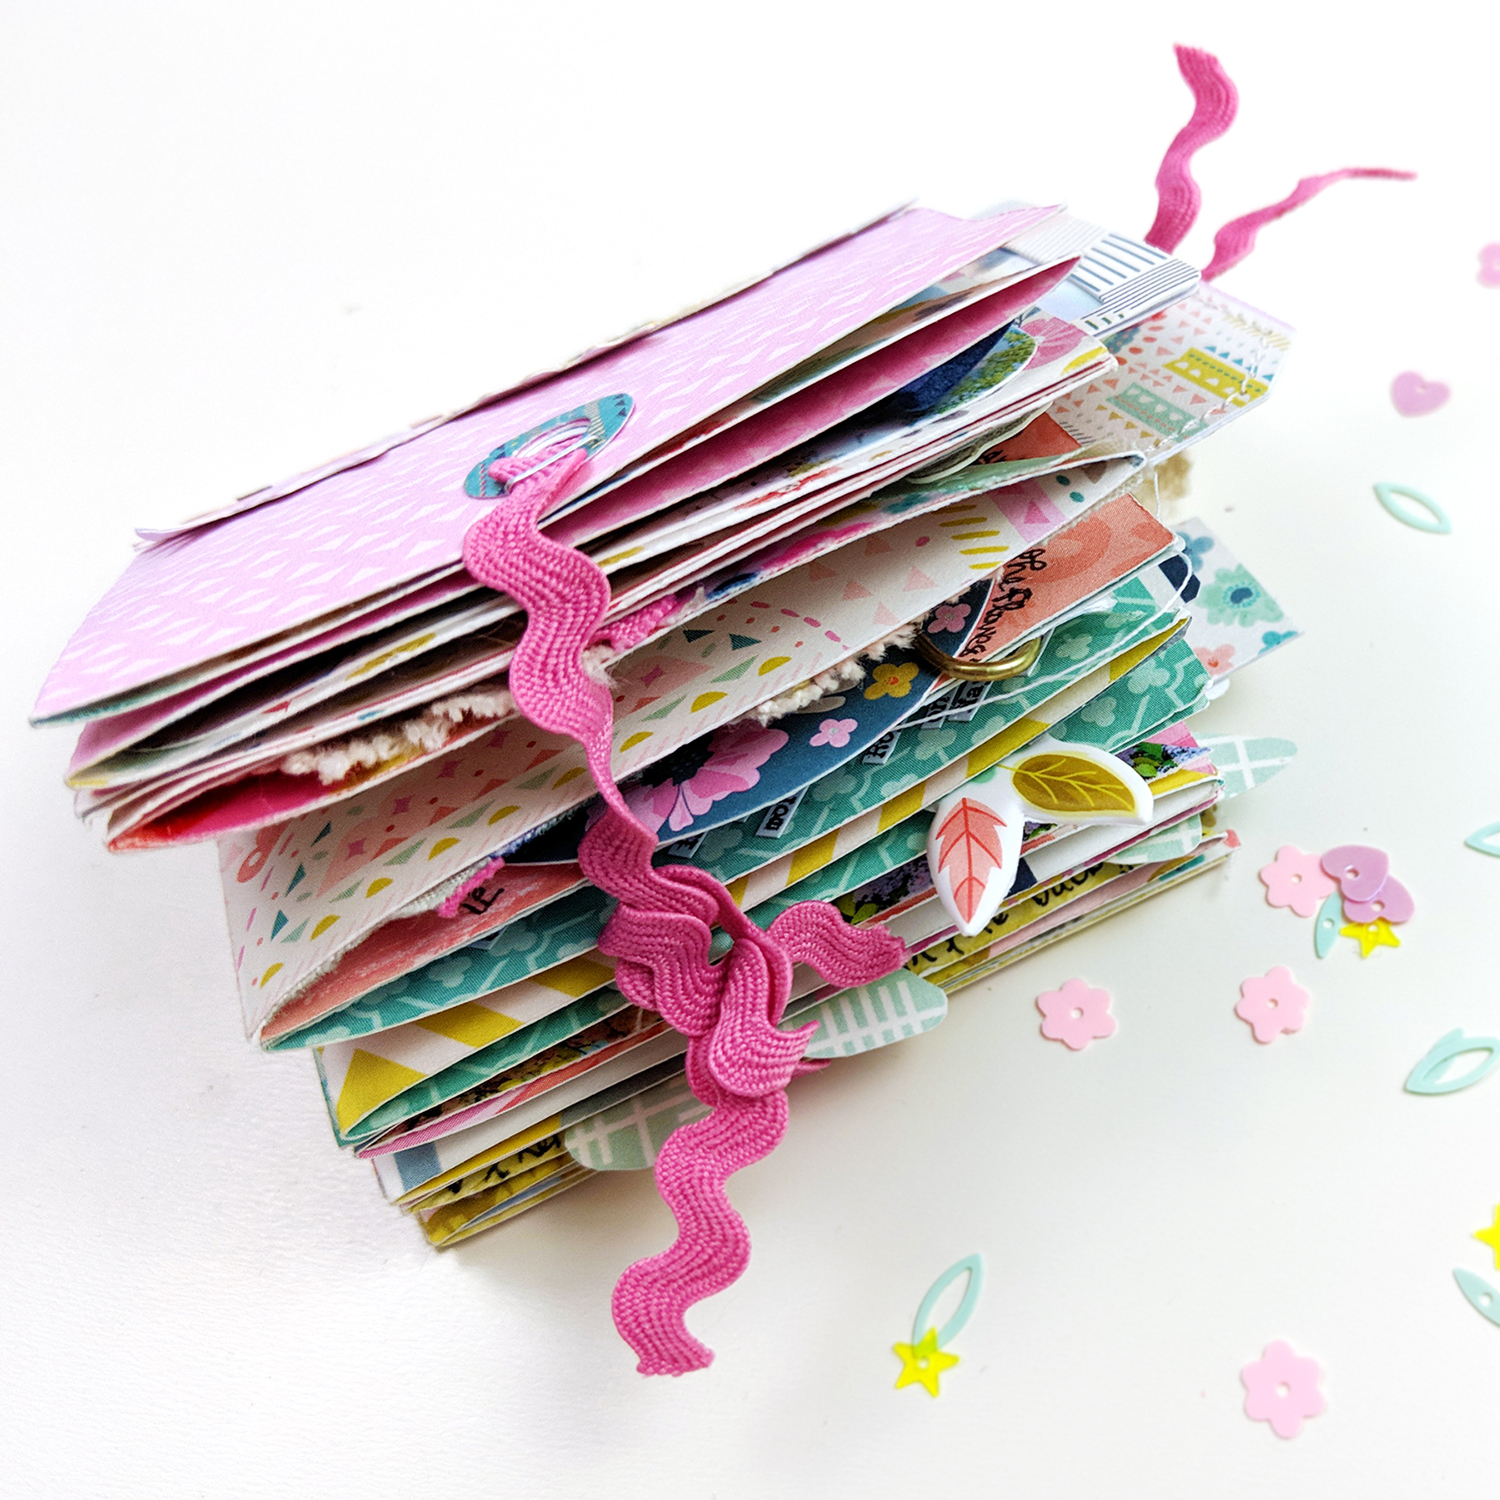
When the album is open I like to keep it in place with a binder clip, then to close it I stapled more ric rac to the covers to tie it shut.
I hope you are inspired to try out my Folded Square Mini Album cut file paired with Pink Paislee Turn the Page to document your favorite memories!


You are sooooooooo amazing!!! This is just GORGEOUS! LOVING all the little extra pockets and journaling spots!!!!!!
ReplyDeleteHi, I just bought this cut file and I have no idea how it is composed. Can I see some other tutorial somewhere? How many times do I have to cut the same file? Thank you so much, I really in love with this mini album
ReplyDeleteYes here is the tutorial: https://www.youtube.com/watch?v=2dR6uCksrU4
Delete