Last Time Teaching in Germany Recap


Wednesday, May 31, 2017

Nikki Kehr invited me to teach on Saturday May 20th - my very last time teaching while living abroad, sad day! But let's not dwell on that, let's focus on the fun time we had!

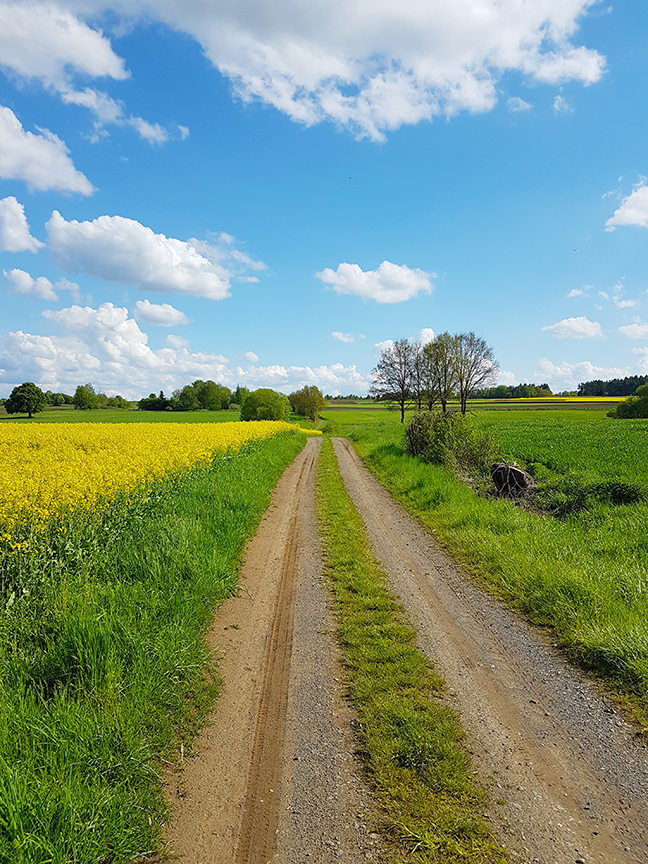
Rapeseed fields galore! They are just so pretty.
We made the fringe heart layout first...
...and then moved onto a hand cut letters technique.

LOVE YOU TO THE MOON AND BACK by Paige Evans
DESCRIPTION: I pretty much scraplifted myself again to make this layout! What I love about this is it only uses a single sheet of patterned paper, so the class attendees had a lot of leftovers to play with.
JOURNALING SAYS: When you guys get along and play together nicely it makes me oh so very happy happy!
HOW TO: Paint stripes of watercolors and splash white acrylic paint across a white cardstock background. Cut apart the patterned squares from Paper 24 then hand cut a title. I made each row of words the same color of patterned paper. Sew the words across their same color of paint then apply embellishments color-on-color for lots of fun texture. Adhere a black & white photo at an angle on the bottom left and trim the excess. Write journaling on a tag and tuck it under the photo to finish. 
SUPPLIES: Patterned paper, stickers (chipboard, puffy), washi tape, tag: Oh My Heart by Paige Evans / Pink Paislee; Cardstock, pen, adhesive: American Crafts; Sewing machine: Brother; Thread: Coats & Clark; Watercolors: Loew Cornell; Paint: FolkArt
I loved seeing everyone's different titles and slight variations.
Here is a process video so you can watch and see how this layout was made from start-to-finish:
The workshop was held in a cute rental space called Zucker in Darmstadt near Frankfurt.
Fringing away!
I brought a ton of scrap paper so they could use those instead of full sheets of paper. I love the colors on the right heart - now I want to try making a pink/salmon page!

The snack bar area had some epic wallpaper.
Yummy snacks!
Nikki perusing through my scrapbook.
It was a fun morning! Scrapping with friends is the best!
The view down the street.
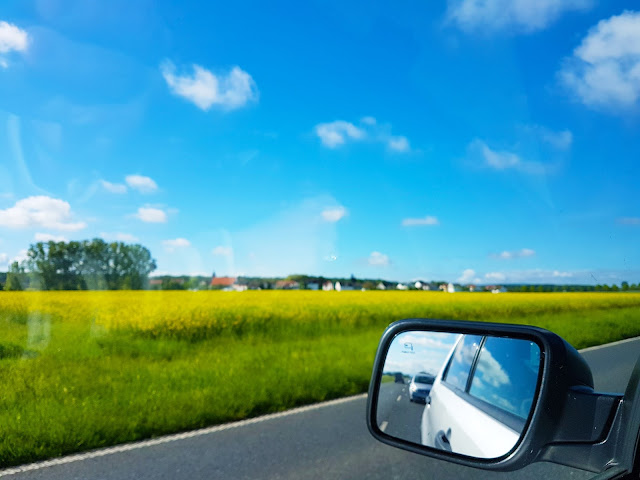
More rapeseed fields on the beautiful drive home.

And that concludes five Saturdays in a row teaching and my very last time teaching in Germany/Europe waaaaah! But, good news, more classes are in the works for the US, Canada, and Mexico! You can find all of my upcoming classes on my UPCOMING WORKSHOPS page.

Sun Sand Sea Layout by Missy Whidden


Tuesday, May 30, 2017

Who is ready for summer vacation?! We have just a couple more weeks of school and then we are hittin' the local "beach" and never looking back! Okay, that's an exaggeration, but we are excited to swim at the lake now that the weather is finally warming up! Missy Whidden shares my enthusiasm for summer and vacations and has a colorful layout to share with you today!
Hey there, friends! Missy here again and this week we are featuring layouts about vacations. I chose a beautiful photo from a trip to Aruba last year and the blue water was just stunning. I knew the bright colors from the Oh My Heart and Fancy Free collections would showcase it beautifully. I was recently inspired by one of Paige’s layouts where she hand cut letters from patterned paper. I started out by cutting letters from Paper 10. I wanted lots of pinks, yellows, and oranges. I decided to add in some papers from the Fancy Free 6x6 Paper Pad as well, and they added in a few different shades of bright colors. I decided to create my own background using white cardstock. I covered most of it with clear gesso and then sprayed some yellow inks over a sunburst stencil. I love adding sun rays whenever I create a beach layout. I also like to add blue watercolor to echo the blue colors in the photos, so I used some blue acrylic paint and some ink sprays.
Here you can see the mix of blues in the background and how they really make the letters stand out. Before I glued anything down, I ran the background through my sewing machine and stitched along the edge of each of the sunbursts. I love how it makes the edges crisp and gives some nice texture. I also stitched through the title. I didn’t want to over-embellish here since the background and title were taking center stage. I went with flowers since my photo is about Aruba and it’s very tropical. This chipboard piece is from the Fancy Free Chipboard Stickers. I fussy cut a few flowers from Oh My Heart Paper 06 and layered them in here as well. I also added a few small hearts from the Oh My Heart Chipboard Stickers.
All of the “SEA” letters are from the Fancy Free 6x6 Paper Pad. I really love how machine stitching adds such awesome detail to a layout without it being overwhelming. I used a yellow golden color thread that blended in. Here you can see more pieces from the Oh My Heart Chipboard Stickers.
I decided early on that I wanted to fussy cut this big yellow flower from Oh My Heart Paper 06 and use it as a big embellishment. I made it work over on the left side of the layout under my photo. One of the leaves ran off the page, so I cut it and used it on the other side. I hate wasting those bits and pieces that you can use elsewhere! And plus it makes it look like its own embellishment when I really just cut it and used one. I layered in some flowers from the Oh My Heart Ephemera Die Cuts. I also fussy cut those small pink flowers and added them right on top of the photo. Last but not least, I added in some tangled thread.
I hope this inspires you to try some fussy and hand cutting on your next project! It’s fun to cut crooked and wonky letters and make them your own. And these collections are bursting with images that can be fussy cut… especially the flowers!
Thanks so much for stopping by!
 SUPPLIES: OH MY HEARTPaper 06Paper 10Chipboard StickersEphemera Die CutsFANCY FREE: Paper 01, Paper 12, 6x6 Paper Pad, Chipboard Stickers
Blog: littlenuggetcreations.blogspot.com  Instagram: @missywhidden  Pinterest: @missywhidden
Facebook: missy.whidden  YouTube: Missy Whidden
Let the countdown to summer vacation begin, if it hasn't begun already! I know some schools are already out! Thanks to Missy for sharing her talents!

Rapeseed Fields


Monday, May 29, 2017

If you have ever driven through Germany in the spring, you've probably noticed rolling fields of BRIGHT yellow flowers. These are fields of rapeseed blooming, an important crop for Germany. Drive back through a few weeks later and they've vanished. Why? Because they have set seed and turned brown, ready for harvest.
On a recent drive home we pulled off onto a dirt road and got snap happy.
More about rapeseed because I find this stuff interesting: "Rapeseed is a very common crop in Germany with 1,300,000 hectares planted in 2011. It has been cultivated and used by humans for thousands of years in India and since the Middle Ages in Europe, mostly for lamp oil, soap, and engine lubricant. It was eaten during famine times and during both World War I and World War II, Germany made margarine out of it. Up to 1974, rapeseed oil was used very little in the food industry, the rest was used in machine and chemical industries. Then, through selective breeding programs in German universities, the bitter-tasting, toxic substance, erucic acid, was reduced to a level that was safe for human consumption in winter rapeseed. Today rapeseed is used to make biodiesel, margarine, animal feed, and bioplastics.
A type of edible rapeseed oil is called canola, which was bred in Canada in the 1970s. Canola stands for Canadian oil, but is now used generically to mean edible rapeseed oil. Rapeseed is related to mustard, turnips, and other cabbage plants. It is pollinated by honeybees and the honey is mixed with other types or sold as bakery-grade."
It was a beautiful sunny day! Must be treasured, documented, preserved, and cherished!
I have loved seeing these rapeseed fields bloom every spring the past 4 years. I will sorely miss them!
Ich liebe Deutschland!!

Teaching at Scrappies Recap


Saturday, May 27, 2017

I have absolutely loved teaching at Scrappies through the years! I'm so thankful to Sandra for organizing the events and for letting me come and teach so many times. Saturday May 13th was the final event, wahhhh!
I'm obviously a HUUUUGE fan of Steffi Ried - so much so that I asked her to be one of only three on my design team! When she said she was coming to my class I was sooooooo excited to meet her in real life! I pretty much stalked her all day :) Totally fangirling.
These pics are from Steffi's blog - on the left I'm teaching and on the right is Steffi's lovely version of one of the layouts.
After walking by Steffi's space a few times, I noticed she wasn't using any orange! Turns out she hates orange! Ha! I was like, you know what I'm gonna do now... I'm gonna give you an assignment to use ONLY orange! HA!
Steffi's beautiful layout:
Selfie with Steffi:
Only after I read Steffi's blog post recap about the same day did I realize WE'VE ALREADY MET! I feel like such a doofus! I even have a picture of us together on my blog post recap of teaching at Scrapbook Werkstatt a few years ago!
So. I feel lame. I have a terrible terrible memory. Anyway, I'm grateful to Steffi for coming, for being on my team, for still being so nice to me even when I acted like it was the first time ever meeting her, and such. She really is the sweetest and she even gave me a handmade mini album that I will forever cherish:
Back to the class recap! We made the same four layouts that I taught in Birmingham back in March.
Kerstin on the left and Mone on the right (below). Both amazing planner girls and I love this captured moment. Kerstin also came to my bookbinding class at Stephanie's a few weeks ago! And Mone flew from Berlin just to come to this class! I love these gals.
More Steffi stalking. I need that watercolor set!
My desk. I brought my Keukenhof mini album in case I had a few minutes to spare, which I did, just about 15 minutes in total, and that's when I figured out I could add white paint instead of vellum to tone down the backgrounds.
For lunch we walked back to Scrappies and shopped and ate.
I neeeeed these blue and pink albums.
Best pretzels ever!
Pick a pizza any pizza! All were delicious!
A cute layout sample - I love the cross stitched hearts.
Long live local scrapbook stores!
Aerial view of my space.
Tears welled up in my eyes as I was saying goodbye. Goodbyes suck. And there's going to be so many more of them over the coming weeks :(
I passed the lovely Nabburg on the way home, so majestically set up on the hill.
It was Saturday 4 of 5 in a row of teaching and it was awesome!
Oh, and, tomorrow is my birthday, just sayin' :) Which means today is my little sister's birthday! Happy birthday Allie!!

Thumbs Up Fringe Layout


Friday, May 26, 2017

I was trying to think of a new pair of layouts to teach for a class with Nikki Nimena last weekend since there were going to be repeat attendees so I scraplifted a layout I recently made for Scrapbook & Cards Today featuring fringe!
THUMBS UP by Paige Evans
JOURNALING SAYS: Hey cutest girl in the world! My sunshine on a cloudy day! You make me smile and laugh. Thanks for letting me take so many pictures of you all the time!
HOW TO: Cut a large heart from scratch paper or cardstock (it gets covered up so it doesn't matter what color). Trim 1 1/2" wide patterned paper strips (I made 9 strips) then fringe the edges with scissors. Place adhesive around the outer edge of the heart and then starting at the bottom, layer the fringed papers across the heart. Turn the heart over and trim the excess fringe. Adhere the fringed heart onto a patterned paper background. Create two clusters: on the right add a photo, die cuts, stickers, etc., and on the left side add journaling and a bunch of embellishments. Finish with heart trio stamping.
SUPPLIES: Patterned paper, die cuts, stickers (chipboard, paper, puffy, transparency), stamps: Oh My Heart by Paige Evans / Pink Paislee; Ink: StazOn; Fringe scissors, adhesive, pen: American Crafts
Would a process video for this be helpful? Or is it pretty self explanatory? :)
Paige Taylor Evans © // Quinn Creatives DESIGN