

Yes, you read that title correctly, I've gone back in time a decade and created my December Daily for 2013! Fox was 3 and Jane was just 1 year old. Babies! It's so crazy how fast 10 years has flown by! Now I've got a teenager and pre-teen - Fox is 13 and Jane is 11.5!
Here is a quick flip through of this album:
I have turned the album into a class PDF which you can purchase for $10 HERE. Please note: this is digital content only, no product is included with the purchase of the PDF - for physical products, please visit my shop and the instructions are for the pages only, not the album base which is handmade by Gi DeMello. Also please note that I did not film process videos, I did film a finished walk & talk through so you can see how all the pages look together.

I made a December Daily for 2012, skipped 2013, and then have made one every year since 2014 - find flip throughs of them all in my December Daily YouTube Playlist.

Every year when I pull my albums out of the cabinet for inspiration I have felt a tug at my heartstrings that 2013 was missing. I had the photos on my computer, I have the supplies (boy oh boy do I have enough Christmas supplies to last a lifetime - but I always need more ;), and now I had the perfect mini album base! And so throughout this December I got 'er done!


I started by creating 25 foundation pages sized to 5" square. Every time I sat down at my desk to create a page I got the warm and fuzzies inside. Even after scrapbooking over 22 years, way over half of my life, I still love scrapbooking and it brings me SO MUCH JOY!!!

The 4x4 sequin album base is a collaboration with Gi DeMello all the way in Brazil. Together we have done 4 collaborations: a Halloween 4x4 Sequin Album (I still have some in stock), a sequin album to match Blooming Wild (sold out), one to match my Sugarplum Wishes collection (sold out), and this traditional Christmas mix (also sold out)! Next we are working on larger 6x8 sequin albums - be sure to visit my shop to add to cart once they’re available next year!

I used a wide variety of older Christmas supplies and collections from my stash. I encourage you to pick and choose Christmas collections that you love to create the foundation pages - the techniques can be changed to work with any papers/collections! In the class PDF I listed most of the supplies I used and affiliate linked them if the item is still available.

One of my favorite finishing accessories to add to almost all of my mini albums is a handmade charm by Emily Inspired Designs and this project was no exception! I attached an eyelet through the spine and clipped the charm through it. Perfect finishing touch!
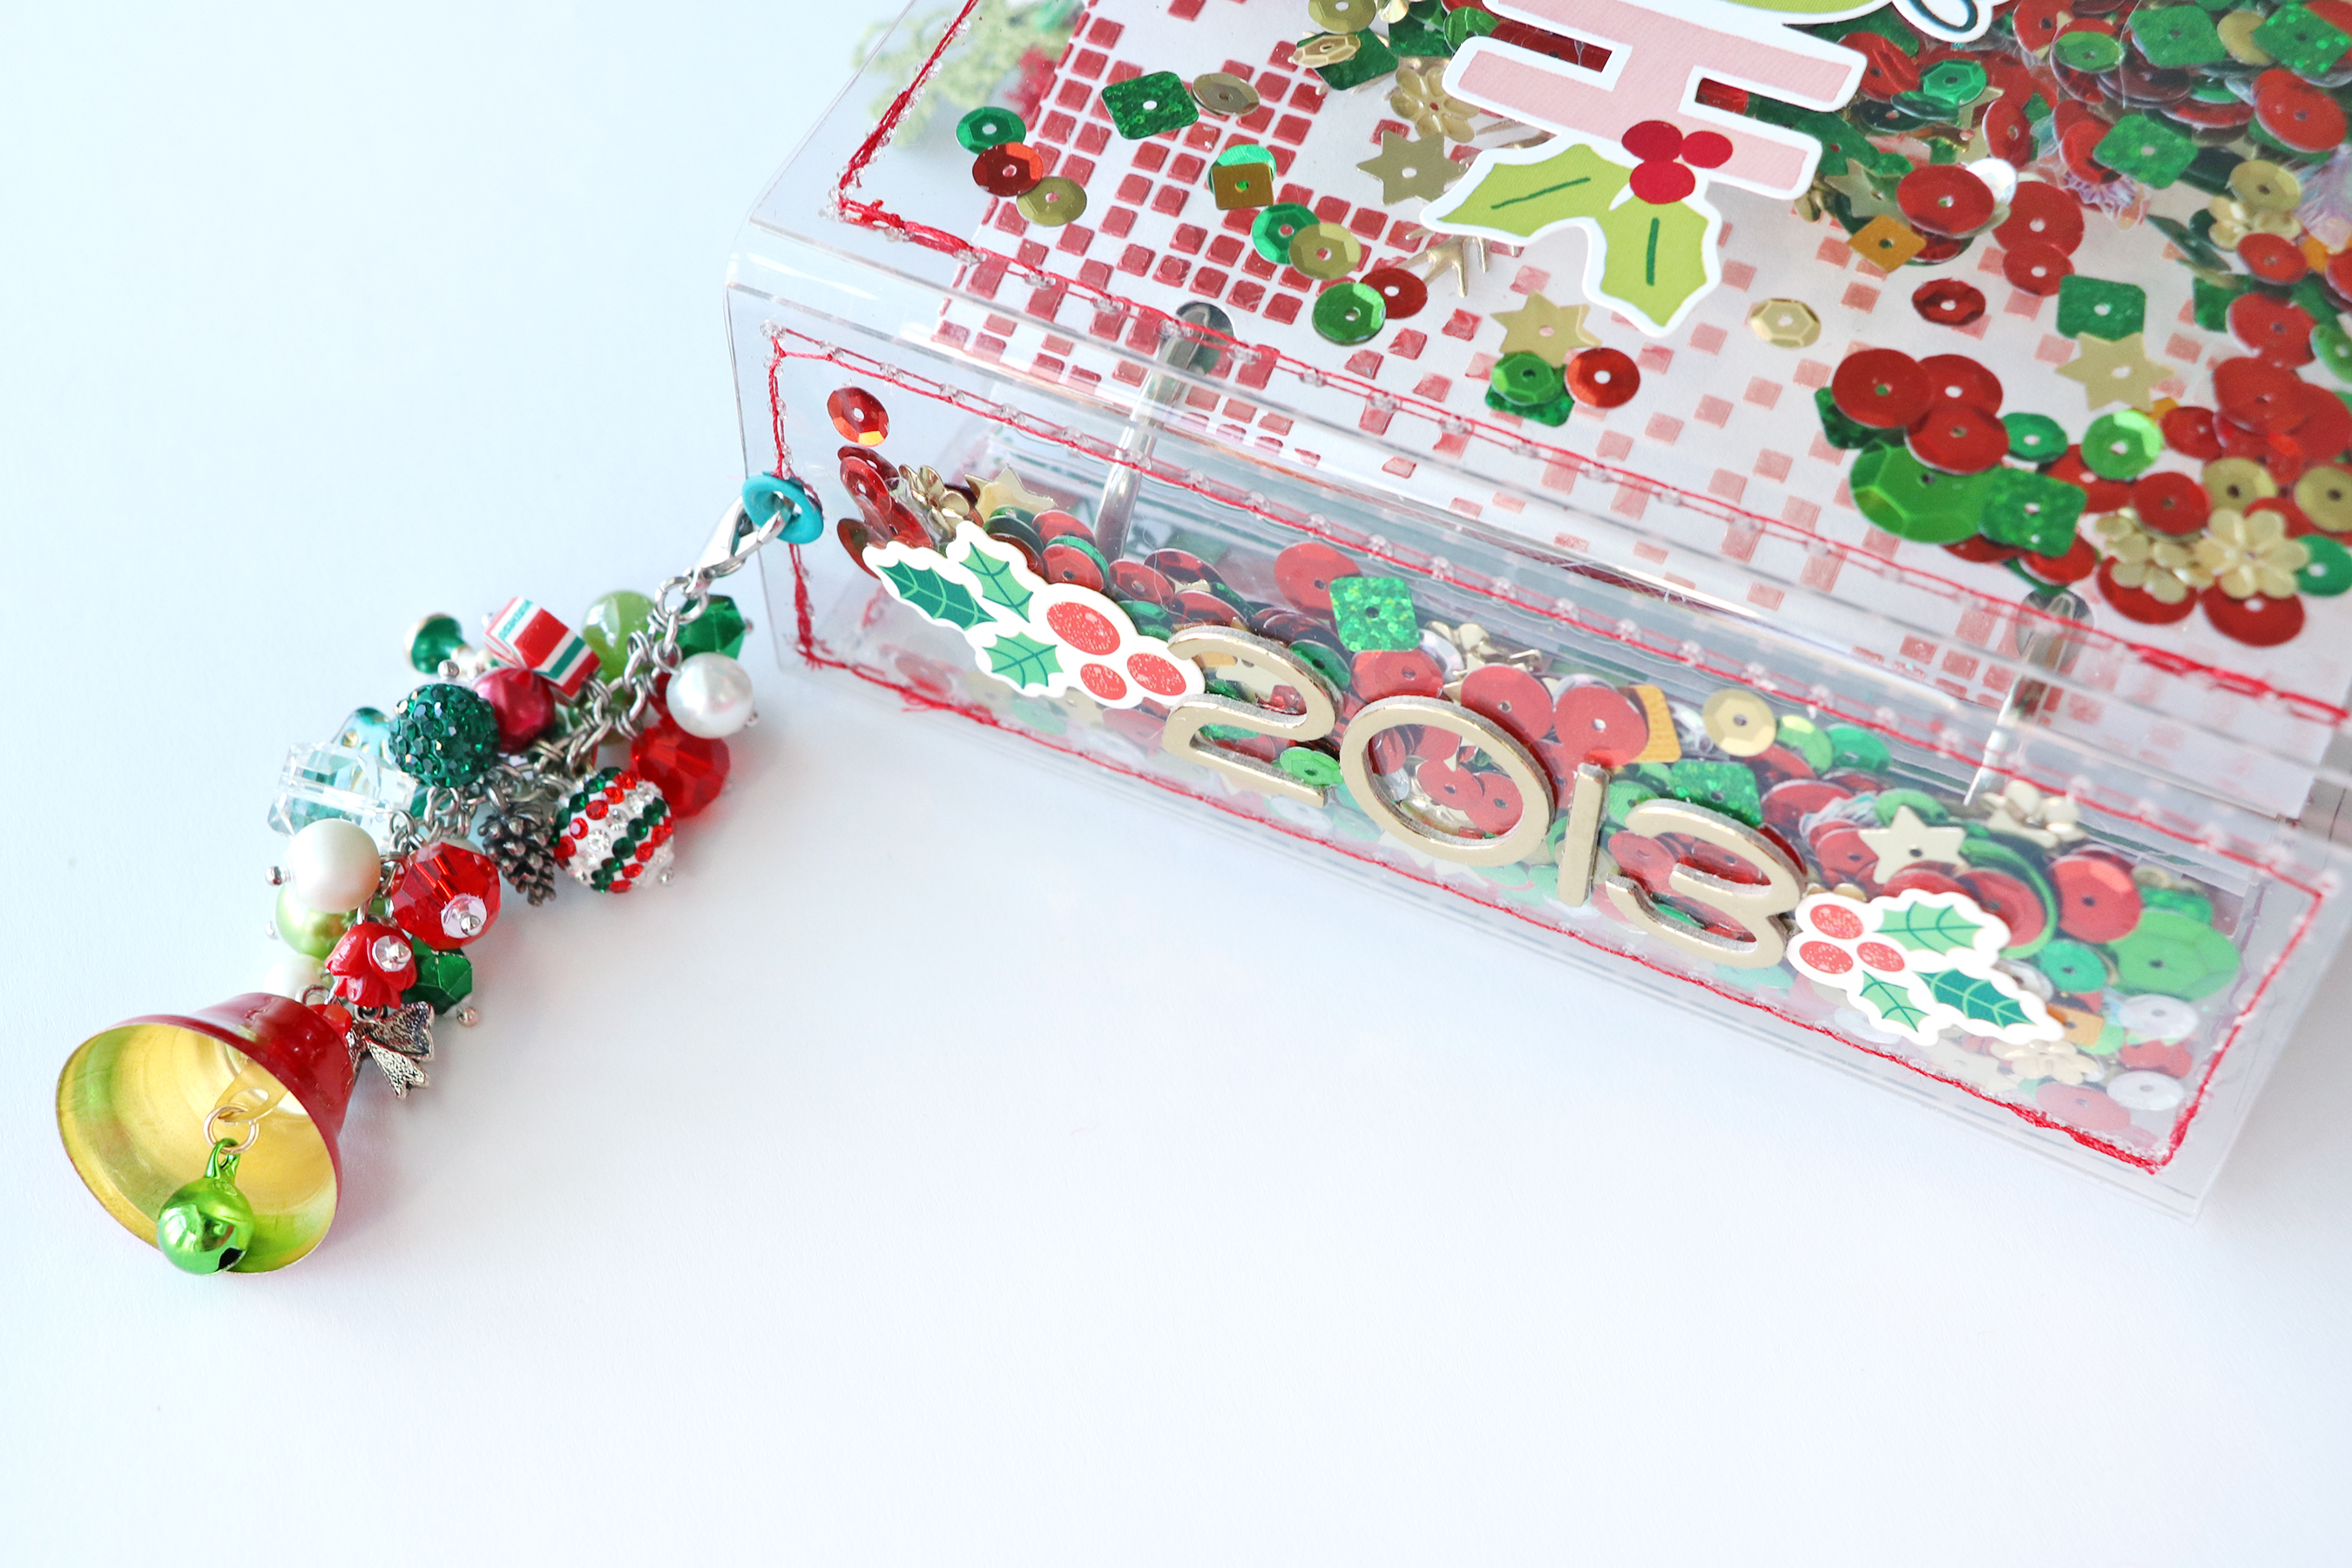
I tried to stick with more traditional Christmas colors for this album, reds, greens, white and gold, but of course you'll also find pops of pink and blue throughout. But for the most part it really is a traditional album.

And of course I added ribbons, lace, and trims to many of the pages :) Search etsy, ebay, craft stores, and more for super cute trims!

Here are photos of all the pages and spreads:


I hope you are inspired to pick up the class PDF with the instructions for creating all the pages, supplies, a filmed flip through and talk through, and links to all the cut files I used throughout - there are 8 sized to fit this 4x4 album!

Let me know if you have any questions! Thanks so much for stopping by! Now I'm off to finish my December Daily for 2023!!!


