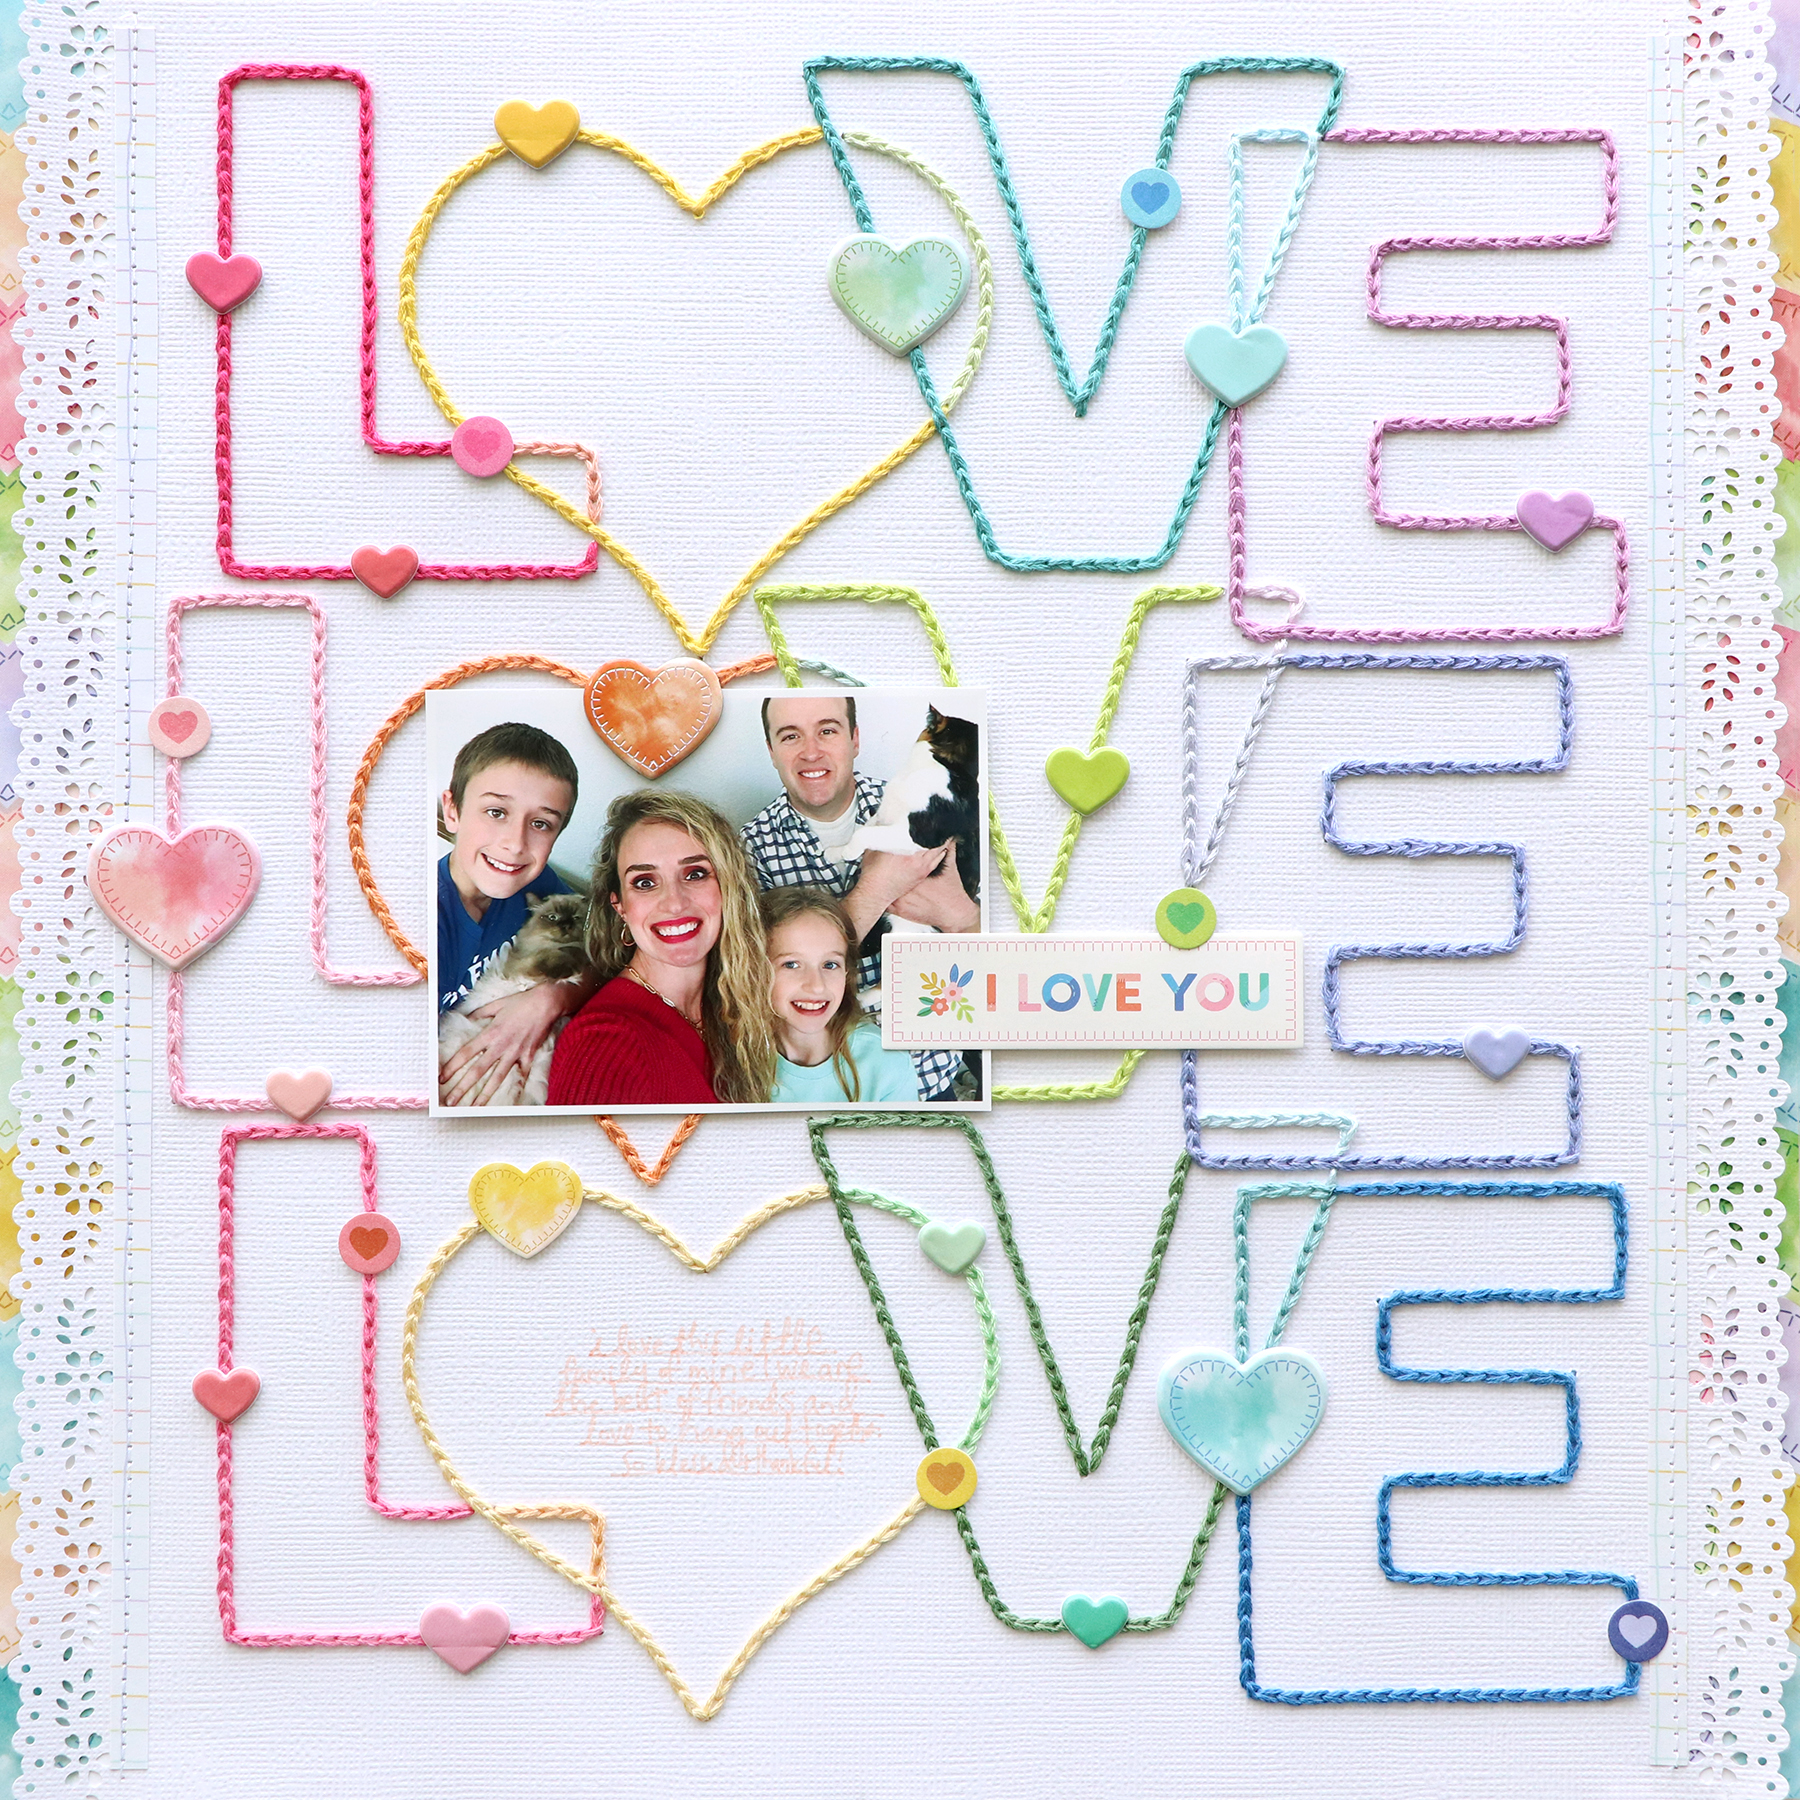
Join Paige Evans and Andrea Lake for two full days of learning & creating along with a bonus class by Jessica Upton of Color Cast Designs at our Sugarplum Wishes Weekend! Plus goodie bags, pop-up shopping, and fun with friends! We will use my very first Christmas collection called Sugarplum Wishes to make a holiday-themed 6x8 scrapbook, layouts, mini album, and cards, and you'll have lots of leftovers for creating even more festive projects! Every person gets half of a 6 foot table to craft and create!
Dates: Saturday November 11th & Sunday November 12th 2023
Location: Delta Hotel by Marriott // 10 E 120th Ave, Northglenn, CO 80233
***If you are traveling from out of town and want to stay at the hotel, discounted room rates are available, book directly HERE. Please note we only have rooms blocked Fri-Sun so you need to select the dates before clicking on the 'Check Availability' button to find the rooms. If you call the hotel, the room block is under 'Holiday Weekend'.
Saturday November 11th 2023
9am-10am: Meet'N'Greet & Early Bird Shopping
10am-1pm: Paige's Layouts Class
1pm-2pm: Lunch Break
2pm-5pm: Andrea's 6x8 Album Class
5pm-6:30pm: Jessica's Bonus 6x8 Album Pages Class
6:30pm-9pm: Dinner/Crop
Sunday November 12th 2023
9am-10am: Chat, Pictures, Shopping
10am-1pm: Paige's Mini Album Class
1pm-2pm: Lunch Break
2pm-5pm: Andrea's Layouts Class
5pm-6:30pm: Bonus Christmas Cards Class with Paige
6:30pm-9pm: Dinner/Crop
Cost: $360 - includes class materials, bonus content, swag bags, and more! Travel, hotel, and food is not included. Payment plans accepted, please reach out to me at paigetaylorevans@gmail.com for details.
Soon we will create a private Facebook group for attendees. About a month before the event, you will be sent a PDF with photos and instructions, additional supplies to bring (all materials to create the projects aside from basic things like adhesives and tools will be provided in the event kit), things to do nearby, places to eat, and more info. We can't wait to see you and have a magical time together!
Welcome to Colorado!