Big Picture Classes - Paige's Pages 09


Monday, August 29, 2016


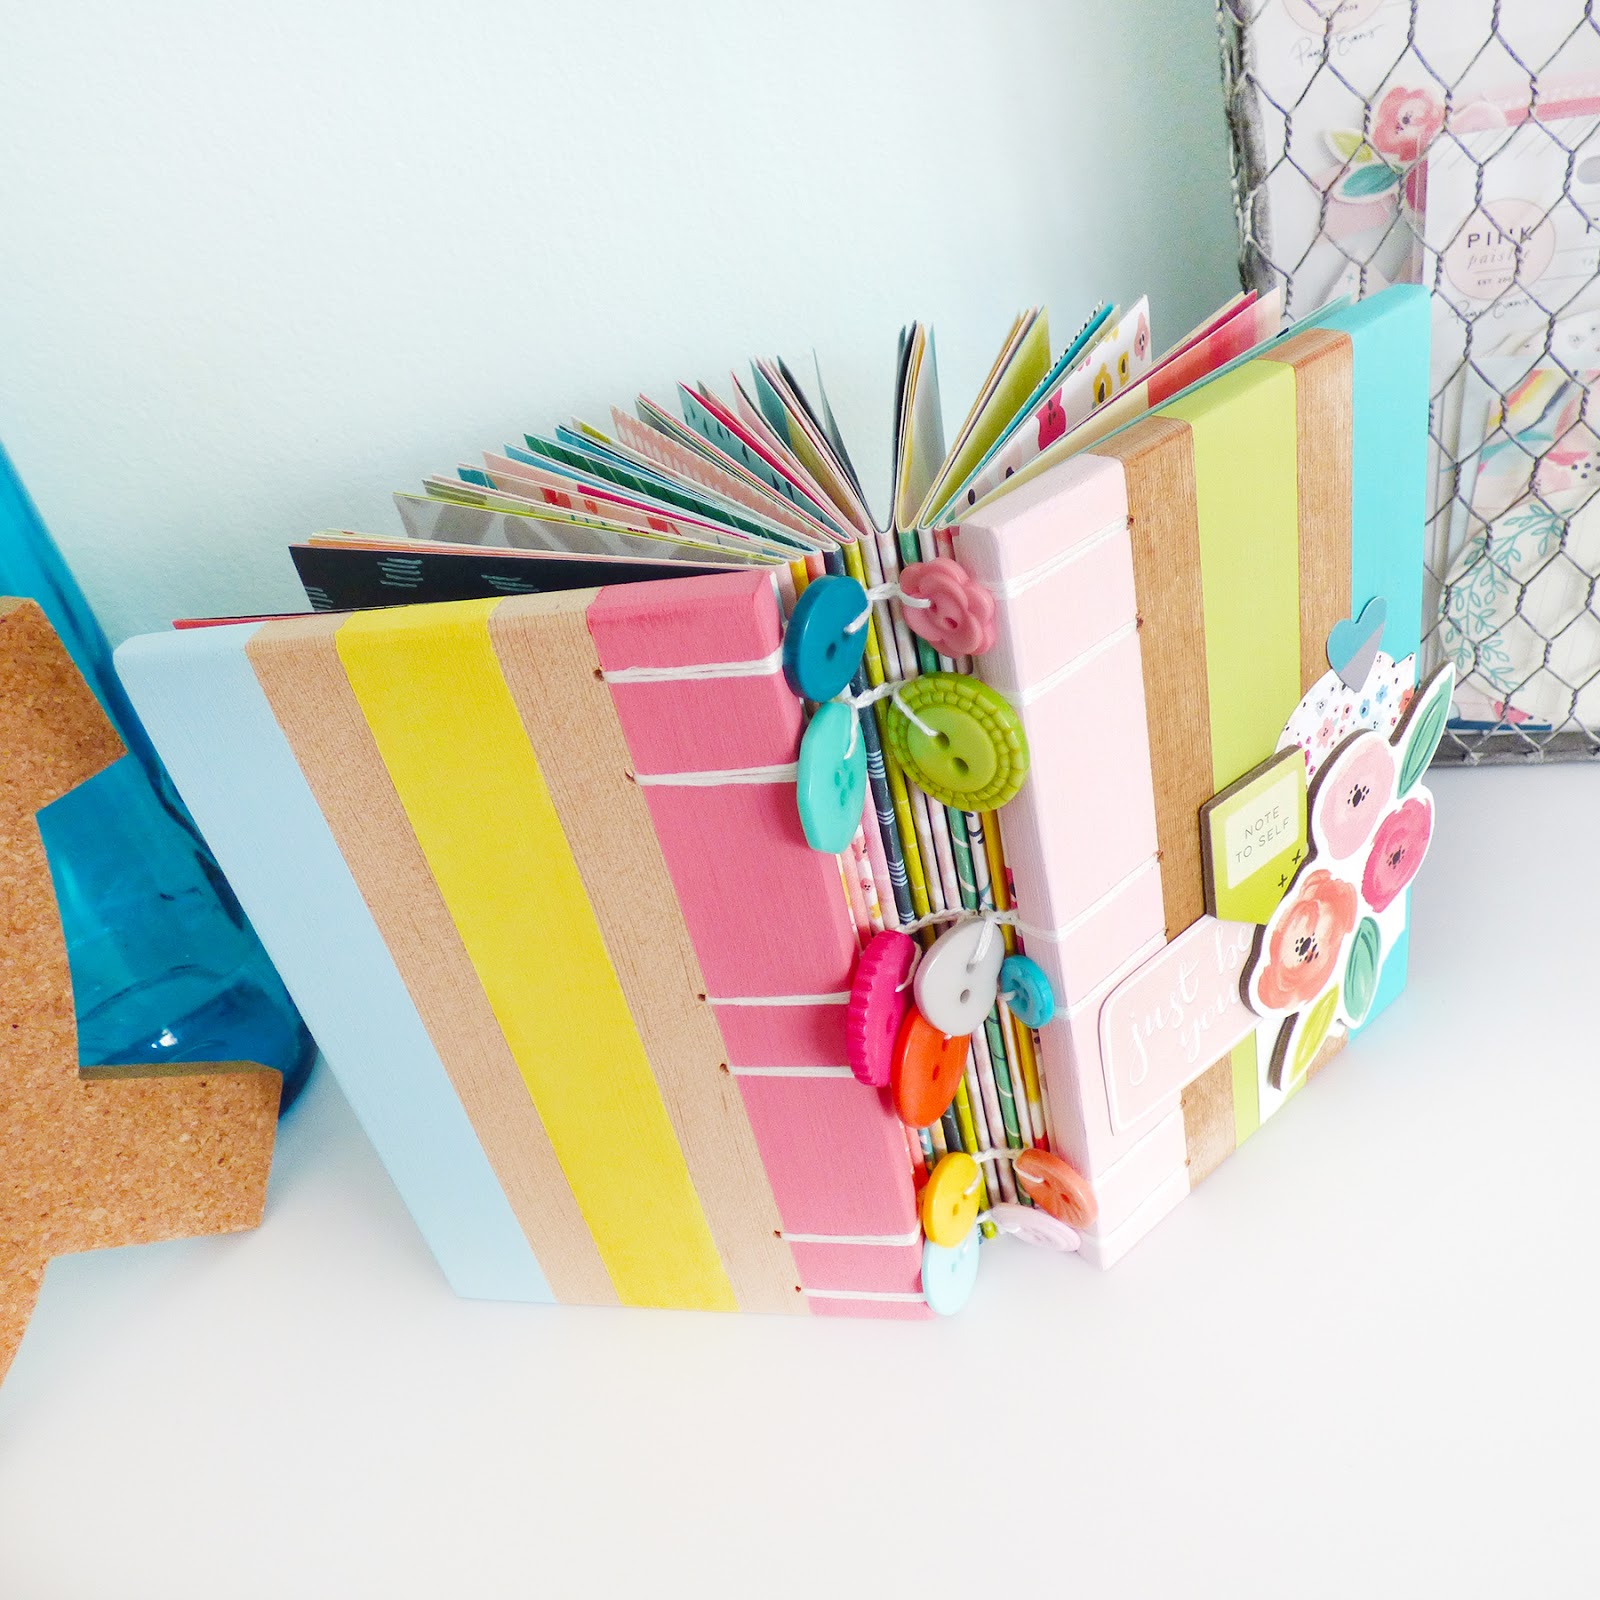
Paige's Pages 09 is up at Big Picture Classes!
 photo P1100720square.jpg
 Big Picture Classes (or BPC) is an online learning platform for all things crafty, offering classes that cover all the fun and important topics about crafting, creating, and documenting memories that you'll need to excel, and then some! Get access to as many classes as you want for only $9.95 a month! Each class brings you a variety of topics and ideas, PDFs, prompts, and so much more! Check out the Big Picture Classes website to find out more about how you can learn everything you need to know to document your memories beautifully every time.

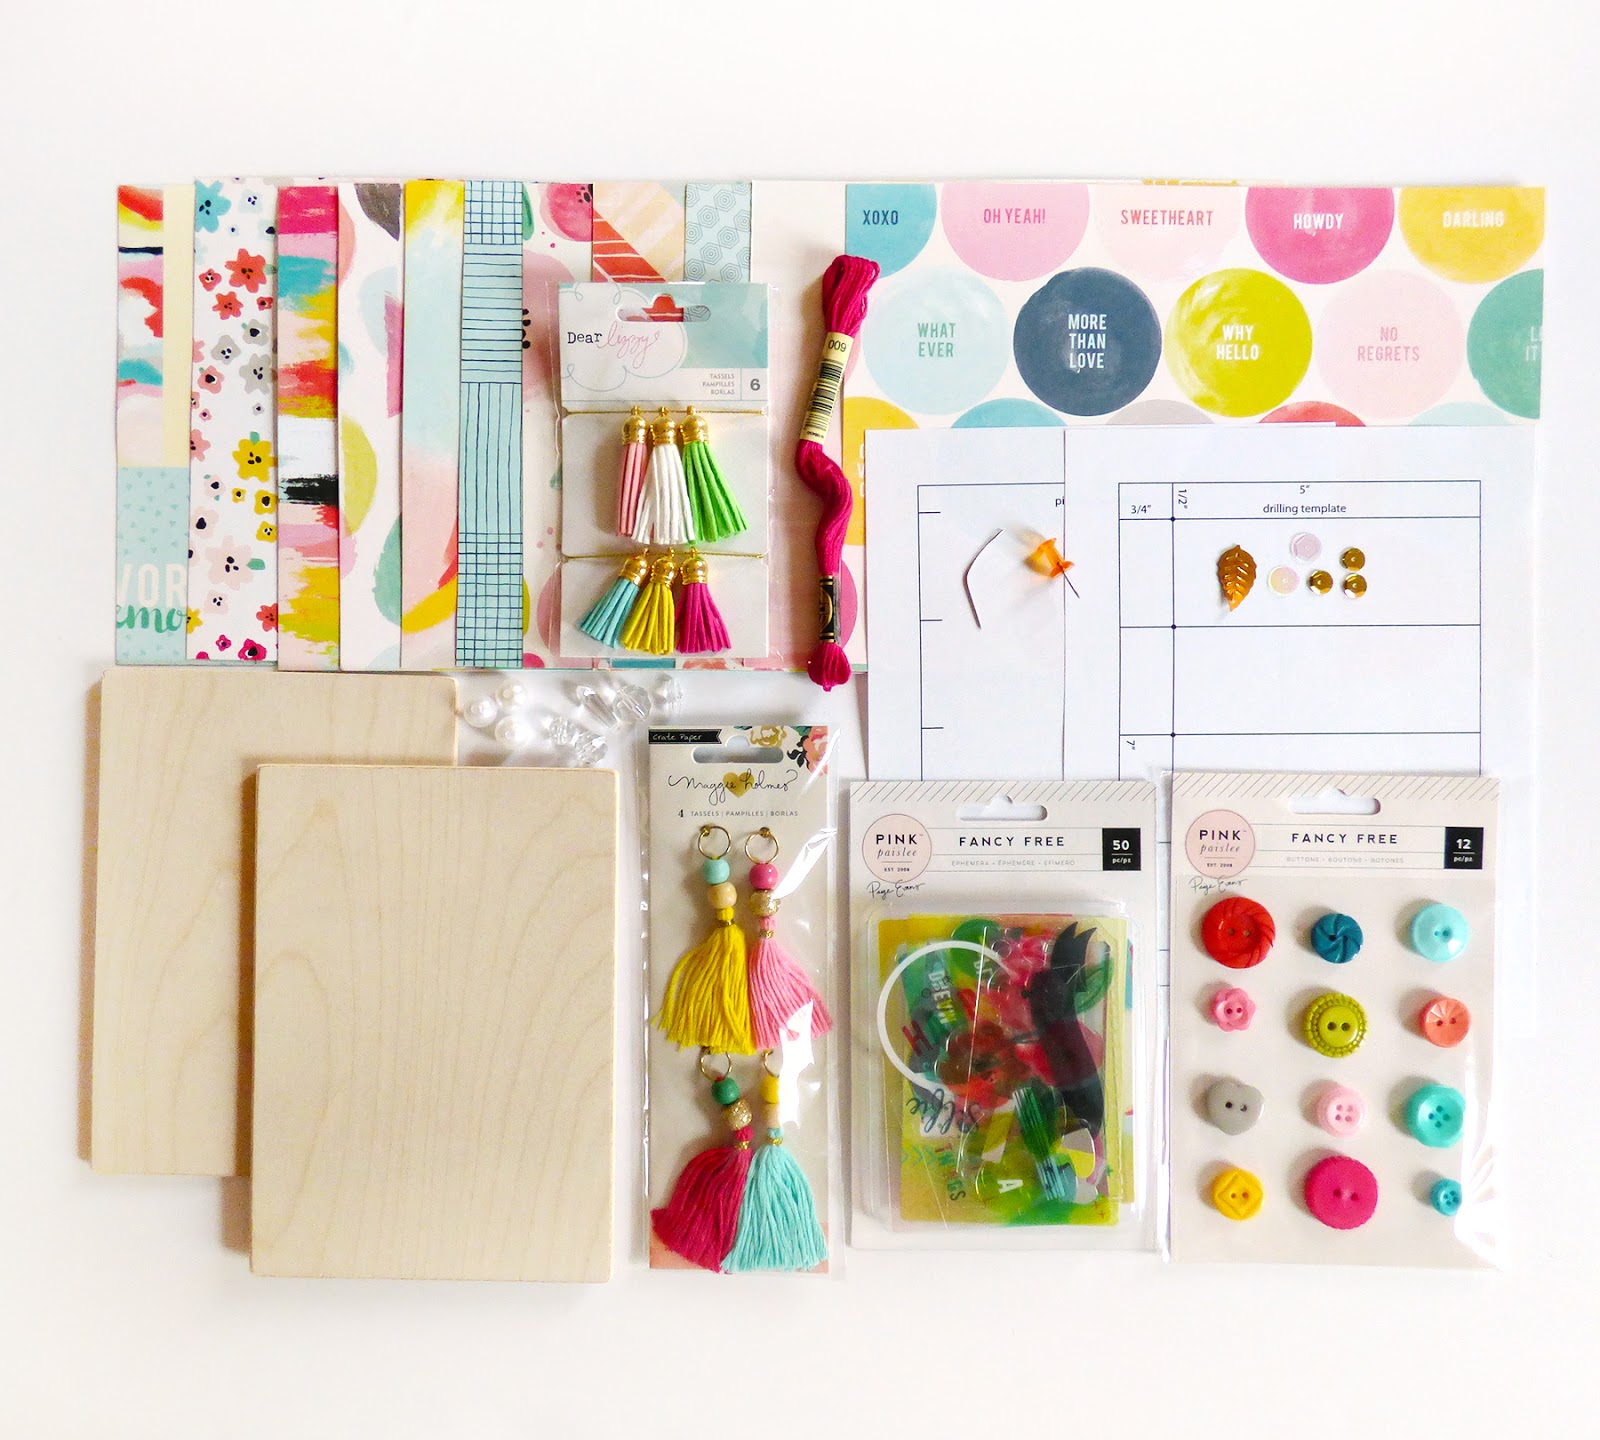
This class features some of my newest favorite techniques, all using Take Me Away! In the first lesson I focus on stitching and painting:
 photo P1100686for video.jpg

In the second lesson it's all about FRINGE!
 photo P1100696for video.jpg

Then we learn how to use a bow punch to make a cute background:
 photo P1100702.jpg

And in the fourth and final lesson we utilize the grid method:
 photo P1100710.jpg


I love teaching, I love making layouts and scrapbook videos, and I'd love to see you in the Paige's Pages 09 classroom over at Big Picture Classes!

2 Week Break


Sunday, August 21, 2016

Just a quick little FYI - this here blog is going to be silent the next two weeks as we're heading out of town and I didn't pre-plan any posts! But all is good and I plan to post lots of fun things as soon as we get back! Meanwhile, follow along on our Greece adventures via instagram: @paigetaylorevans @chrisnevans
Happy Summer!

Hearts Layout for Pink Paislee


Friday, August 19, 2016

It's Hearts Week on the Pink Paislee blog and here is the layout I made with a whole buncha hearts!
 photo Fun Weekend by Paige Evans.jpg
FUN WEEKEND by Paige Evans

DESCRIPTION: Punches are a gal’s best friend when it comes to making lots of shapes – FAST! I used two different heart punches and Paper 07 which has 25 patterns on it – I can honestly say it was designed with punching in mind ;) Once all of the hearts were punched I cut the hearts in half and then mixed’n’matched them back together on the B-side of Paper 02.

JOURNALING SAYS: Ice cream, shorts, and aqua doors, what's not to love about cute Bayreuth?

HOW TO: Punch a bunch of hearts from Paper 07 and then piece them back together in a grid style with a title in the center. Straight stitch down each row of hearts and zigzag stitch across the centers. Replace some of the hearts with wood veneer hearts and heart-shaped photos. Embellish the center of some of the hearts with roller stamping, stickers, or buttons. Create three clusters around the edges to break up the straightness and journal at the bottom. Drop black spray mist over the clusters to finish.

SUPPLIES: Patterned paper, foil Thickers, paperclips, die cuts, chipboard stickers, roller stamp, paper clip, buttons, wood veneer: Take Me Away by Paige Evans / Pink Paislee; Adhesive, pen: American Crafts; Sewing machine: Brother; Thread: Coats & Clark; Spray mist: Heidi Swapp; Heart punches: Fiskars

DETAIL SHOTS:
 photo Fun Weekend Detail 1 by Paige Evans.jpg

 photo Fun Weekend Detail 2 by Paige Evans.jpg

 photo Fun Weekend Detail 3 by Paige Evans.jpg
Have a happy scrappy weekend!

Scrappies August 2016 Recap


Wednesday, August 17, 2016

I have loved teaching at Scrappies over the years!
 photo 20160813_122712.jpg
 photo 20160813_124947.jpg
 photo 20160813_124957.jpg
Take Me Away at Scrappies!
 photo 20160813_122237.jpg
We started at 10 on the dot - had to keep them on a tight schedule to get all four layouts made by 4pm! The first step was dropping white paint across the black floral paper and then we set it aside to dry the rest of the day - this was the fussy cut flower paper layout I shared the other day.
 photo 20160813_100737.jpg
Then we made this layout featuring backing a die cut I designed just for this class.
 photo Cuties by Paige Evans.jpg
CUTIES by Paige Evans

DESCRIPTION: Goodness knows I love die cutting and backing pretty shapes! I designed this cut file just for this class and we were able to die cut it in a jiffy using Paper 07 with all the different patterns on one piece of paper!

JOURNALING SAYS: I will never tire of all the colorful buildings all around Europe! They sure aren't afraid to go bold or go home! We took pics on front of 'em.

SUPPLIES: Patterned paper, foam and chipboard stickers, Thickers, buttons, paper clip: Take Me Away by Paige Evans/Pink Paislee; Doily: Wilton; Flower cut file; Flower petal template; Roller stamp: Take Me Away by Paige Evans/Pink Paislee; spray adhesive

HOW TO: Cut apart the squares from Paper 07 and set aside one of the watercolor stripes and small floral squares. Fold each square in half and use the provided flower petal template to trace and cut out petals. Turn over the provided flower cut file, spray it with adhesive, and then back the die cut petals with the patterned paper petals. Adhere the entire piece to the B-side of Paper 21 using dimensional adhesive. Trim off the tearaway strip and add a piece of it to the top left corner. Trim a doily in half and tuck one half under the paper strip. Make the title on the doily using Thickers, adhere a heart button, and stamp images/sentiments with the shared roller stamp. Place a heart foam sticker in the center of each flower. Layer a photo, floral chipboard frame sticker, the other half of the doily, paper clip, pink flower button, and “carpe diem” chipboard sticker on the bottom right corner. Journal below the photo and add more stamping.

DETAIL SHOT:
 photo Cuties Detail by Paige Evans.jpg
Onto the next layout! Torn paper and hand stitching!
 photo You amp Me by Paige Evans.jpg
YOU & ME by Paige Evans

JOURNALING SAYS: After three whole years of living in beautiful Germany we finally invested in traditional Lederhosen & Dirndl! Perfect Halloween costume forever and for wearing to church.

SUPPLIES: Patterned paper, foam and chipboard stickers, buttons, wood veneer, paper clip: Take Me Away by Paige Evans/Pink Paislee; Cardstock: American Crafts; Watercolors: Loew Cornell; Roller stamp: Take Me Away by Paige Evans/Pink Paislee

HOW TO: Pierce a hole every ¼” around the drawn hearts on the cream cardstock and then erase the pencil lines. Hand stitch through the hearts, changing colors of thread as you wish. Tear strips of patterned paper and adhere them across the top and bottom edges. Create the title in-between the hearts using wood veneer, a chipboard ampersand sticker, and foam Thickers. Add a photo to each heart and embellish with a floral chipboard frame sticker cut in half, foam leaf stickers, buttons, wood veneer, and a paper clip, as shown. Journal along the top edge of the lower torn paper strip and add stamping to the top left and bottom right corners. Drop black watercolors over the stamping and let it dry to finish. 

DETAIL SHOT:
 photo You amp Me Detail by Paige Evans.jpg
Lunch break! A GINORMOUS pretzel!
 photo 20160813_122332.jpg
After lunch we started the third layout using lots of patterned paper strips.
 photo 20160813_121549.jpg

 photo Today is Awesome by Paige Evans.jpg
TODAY IS AWESOME by Paige Evans

DESCRIPTION: Save those tearaway strips at the bottoms of patterned papers! They can be used so many ways!

JOURNALING SAYS: Last day of pre-school at the Netzaberg CDC for 2016! Now on to summer school in Graf!

SUPPLIES: Patterned paper, chipboard stickers, wood veneer, paper clip: Take Me Away by Paige Evans/Pink Paislee; Cardstock: American Crafts; Watercolors: Loew Cornell; Roller stamp: Take Me Away by Paige Evans/Pink Paislee; Bow punch: Fiskars

HOW TO: Trim the tearaway strip off the bottom of each paper in Take Me Away. Starting on the top left corner of a white cardstock background, adhere the paper strips at an angle. Trim off the excess and use further along the process. Cut out two frames from Paper 24 and adhere them along with photos to the page. Make the title with chipboard stickers and tuck heart wood veneer pieces under the corners. Add a paper clip, write journaling, and stamp hearts by the upper photo. Punch a bow from the watercolor stripe square leftover from the first project, assemble the bow, and adhere it between the photos. Drop watercolors around the layout to finish.

DETAIL SHOT:
 photo Today is Awesome Detail by Paige Evans.jpg
Browsing through the shop I found some old Cricut magazines - I spy me! Those were the good ol' days.
 photo 20160813_125206.jpg

 photo 20160813_121623.jpg
Group shot!
 photo unnamed.jpg
Until next time Scrappies!

Take Me Away Layout for Kerri Bradford Studio


Tuesday, August 16, 2016

I'm back with my August layout for Kerri Bradford Studio! She has so many amazing digital stamps/cut files in her shop, it's a limitless array of possibilities!
 photo Take Me Away by Paige Evans.jpg
TAKE ME AWAY by Paige Evans

DESCRIPTION: I saw this globe from the Wanderlust Set and toyed with the idea of cutting all the little parts from different patterned papers:
And so I did :)

JOURNALING SAYS: Can you see the ice-cream stained shirt and dirt-skinned knees? So typical Jane. This was taken as we were walking around Pisa, Italy. I hope you remember these adventures!

HOW TO: Die cut the globe from black floral paper and adhere the globe holder piece on the left side of the colorful mini triangles paper. Die cut the squares from patterned papers and use the black floral globe as a template to adhere the pieces in place. Use a sewing machine to stitch around and through the globe. Curve the title around the globe and create two clusters - one on the top right and the other with a photo on the bottom left. Journal and add stamping to finish.

SUPPLIES: Patterned paper, die cuts, gold foil foam Thickers, chipboard stickers, paper clip, wood veneer, roller stamp: Take Me Away by Paige Evans / Pink Paislee; Globe cut file: Kerri Bradford Studio; Die cut machine: Silhouette Cameo; Sewing machine: Brother; Thread: Coats & Clark; Pen, adhesive: American Crafts; Ink: StazOn; Bow punch: Fiskars

DETAIL SHOTS:
 photo Take Me Away Detail 5 by Paige Evans.jpg

 photo Take Me Away Detail 2 by Paige Evans.jpg

 photo Take Me Away Detail 4 by Paige Evans.jpg
That's all for now! Be back soon!

Like Forever Kits Guest Designer - Layout 3


Monday, August 15, 2016

Sharing my last guest design page made with the Like Forever August Kit!
 photo Awesome by Paige Evans2.jpg
AWESOME by Paige Evans

DESCRIPTION: This page uses another free cut file from Like Forever Kits! It's a big honeycomb pattern which acts like a grid-based design which are always fun and easy to work with ;)

JOURNALING SAYS: Ever since you started the summer pre-school program together it seems like you've been getting along so much better! You play together all the time, it melts my heart. 

HOW TO: Draw the honeycomb cut file on the backside of white textured cardstock, poke holes through the drawn ovals, and erase or don't erase the pencil marks, since it's on the back it won't matter. Backstitch through the holes using white floss. Fill most of the hexagons with patterned papers and a photo then embellish mostly color-on-color. Write journaling in an open space and splash watercolors around to finish.

SUPPLIES: Kit: Like Forever; Patterned paper, chipboard stickers: Take Me Away by Paige Evans / Pink Paislee; Die cuts, badges, button, bow: Cocoa Vanilla; Die cut machine: Silhouette Cameo; Sewing machine: Brother; Thread: Coats & Clark; Floss: DMC

DETAIL SHOT:
 photo Awesome Detail 1 by Paige Evans.jpg
I had a blast guest designing with Like Forever Kits!

Fussy Cut Flowers Page


Sunday, August 14, 2016

Yesterday I had the fun opportunity to teach a 4 layout workshop at Scrappies near Munich, Germany! Here is one of the layouts we made:
 photo Lovely amp Fun by Paige Evans.jpg
LOVELY & FUN by Paige Evans

DESCRIPTION: Some flowers are just begging to be cut out! There are several in Take Me Away that are good to be fussy cut so I made a layout featuring that technique. Also, when is the last time I made a layout on a super dark layout? I can't even remember or think I've ever done one! So, this was a fun change of pace.

JOURNALING SAYS: How come when I try to take pictures of you two you always make silly faces? You're so super adorable, love you!

SUPPLIES: Patterned paper, foam and chipboard stickers, buttons, wood veneer, paper clips: Take Me Away by Paige Evans/Pink Paislee; White paint

HOW TO: Splash white paint in the center working out on Paper 23 and let it dry. Fussy cut flowers from Paper 01, 02, 10, and 17. Find the center of the layout, adhere photos diagonally, then fill in the other sections with the flowers, bending up the edges and using dimensional adhesive. Create the title in the middle using wood veneer and chipboard stickers. Cut a scalloped circle ring wood veneer in half and tuck the halves under the photos. Tuck pieces of the tearaway strip from Paper 24 under the edge of the photos. Embellish with paper clips, leaf foam and chipboard stickers, buttons, and foam heart stickers, as shown.

DETAIL SHOT:


 photo Lovely amp Fun Detail by Paige Evans.jpg

Like Forever Kits Guest Designer - Layout 2


Wednesday, August 10, 2016

Here's another layout I made guesting for Like Forever Kits using mostly Take Me Away!
 photo Love Ya by Paige Evans.jpg
LOVE YA by Paige Evans

DESCRIPTION: One thing I am often inspired by? QUILTS! Pinterest has an endless supply of lovely quilts talented people have made and I enjoy translating the fabric pieces into paper pieces. 

JOURNALING SAYS: Loved walking around the uber cute town of Pottenstein with my one and only true love! Every day is a fun and amazing adventure with you!

HOW TO: To make this layout I started with a diamond punch and the 6x6 Take Me Away patterned paper pad. I punched 3 or 4 diamonds from each paper and then found the center of the pink/white striped Cocoa Vanilla paper. Starting in the middle, I arranged the diamonds working my way out. To add to the quilted look I stitched through the paper pieces using my sewing machine and then I bent up the edges a bit for more dimension. Since I wanted the background to shine I made one focal point with the photo and layered lots of bits and pieces under and over it. I couldn't figure out exactly where to hand write my journaling so I typed it, printed it, trimmed it into tiny strips, and adhered it directly on the empty space of the photo. Done and done!

SUPPLIES: Kit: Like Forever Kits; Diamond punch: Fiskars; Sewing machine: Brother; Thread: Coats & Clark

DETAIL SHOTS:
 photo Love Ya Detail 1 by Paige Evans.jpg

 photo Love Ya Detail 2 by Paige Evans.jpg
Still more to come from these amazing kits!

Lederhosen & Dirndl


Sunday, August 7, 2016

We finally invested in a pair of Lederhosen and Dirndl!
 When in Bavaria... dress like Bavarians!
Halloween costumes for life :) 
 We totally wore 'em to church today.
Ich liebe Deutschland!

Fancy Free Bookbinding Kits


Saturday, August 6, 2016

I've got a few bookbinding kits made with Fancy Free in my etsy shop! (SOLD OUT - but you can still get my Bookbinding Class!)
Sometimes bookbinding supplies, especially wooden boards, can be hard to find and even harder to cut down to the size you need without big power tools. Take the stress and hassle away with this kit! Included in this "FANCY FREE" kit:

- one pair of 5x7" wooden covers. Ready for holes to be drilled (perhaps painted?!) and then sewn together with your favorite papers!
- 11 double-sided patterned papers
- piercing & drilling templates
- 1 skein of coordinating thread (color may vary from photo)
- 1 curved needle
- 1 "piercing" pushpin
- 1 ephemera package with 50 die cuts (to embellish the cover or tie into the binding)
- 12 buttons
- 10 tassel charms (4 large, 6 small)
- 3 pearls
- 5 jewels
- 5 round sequins
- 1 gold leaf sequin

Here is an example of what you'd be able to make with the Fancy Free kit:

Check out my accompanying Coptic Bookbinding Class: 

And the gallery of my handmade books: 

Happy bookbinding!

Like Forever Kits Guest Designer - Layout 1


Friday, August 5, 2016

I'm chuffed to be guest designing with the UK-based Like Forever Kit Club for the month of August using mostly Take Me Away supplies!
 photo Adventure Awaits by Paige Evans.jpg
ADVENTURE AWAITS by Paige Evans

DESCRIPTION: As soon as I saw the "adventure awaits" cut file I knew I wanted to stitch it BIG!
JOURNALING SAYS:

HOW TO: I started by die cutting it from the Take Me Away paper #11 and then worked on the background. I used the light grey cardstock as the foundation and painted white across it with a thick brush. Once the white paint dried I mixed watercolors to match the title paper and painted swatches and flicked splotches over the white center. Once the background was dry I used a spray adhesive to adhere the title down. I used a needle and poked a hole every 1/4" around the words and then backstitched through using white thread. Yes, quite the process, but it was enjoyable and I love making big, bold backgrounds! Then came three embellishment clusters to create a visual triangle using Take Me Away chipboard stickers and Cocoa Vanilla die cuts. With the photo on the right and journaling at the bottom, this layout was complete!

SUPPLIES: Kit: Like Forever; Patterned paper, chipboard stickers: Take Me Away by Paige Evans / Pink Paislee; Die cuts: Cocoa Vanilla; Die cut machine: Silhouette Cameo

DETAIL SHOTS:
 photo Adventure Awaits Detail 1 by Paige Evans.jpg

 photo Adventure Awaits Detail 2 by Paige Evans.jpg
More to share soon!
Paige Taylor Evans © // Quinn Creatives DESIGN