The One with Blog Your Heart - January 2014


Friday, January 31, 2014

Playing along with Stephanie Howell's Blog Your Heart this month as I have quite a few things on my mind lately that will hopefully feel good to get off my chest. 


I find that I'm comparing myself to a lot of people lately in the scrapbooking world. How many likes/comments/views/hits/shares/favorites compared to other people and it stresses me out. I guess I just need to focus on me, myself, and I, and not worry about others?


I have a problem saying "no"and a lot of times end up taking on too many side projects, for free, from the goodness of my heart, ha. As my Grandpa always says, "You need to take it down to about 90!"
Jane has skipped her morning nap two days in a row and has woken up several times in the night the last few weeks and I am soooo tired. While the kids nap is when I get stuff done. Slowly going crazy here. I'm not ready for her to give up her morning nap!! Seriously contemplating whether or not to have more kids in the future. I'm pretty happy with our family of 4.


I'm getting fat. My clothes don't fit me anymore. I eat oreos, candy, chips, fast food, cookies, and snacks ALL DAY LONG. I stopped exercising back in November when we went to Vienna. But when I diet I'm grumpy! And I hate exercising cuz it's painful and I don't like pain. I hate having to control myself and I hate cooking and trying to think of things to make for me and the kids, let alone that are healthy. Send me to The Biggest Loser please.


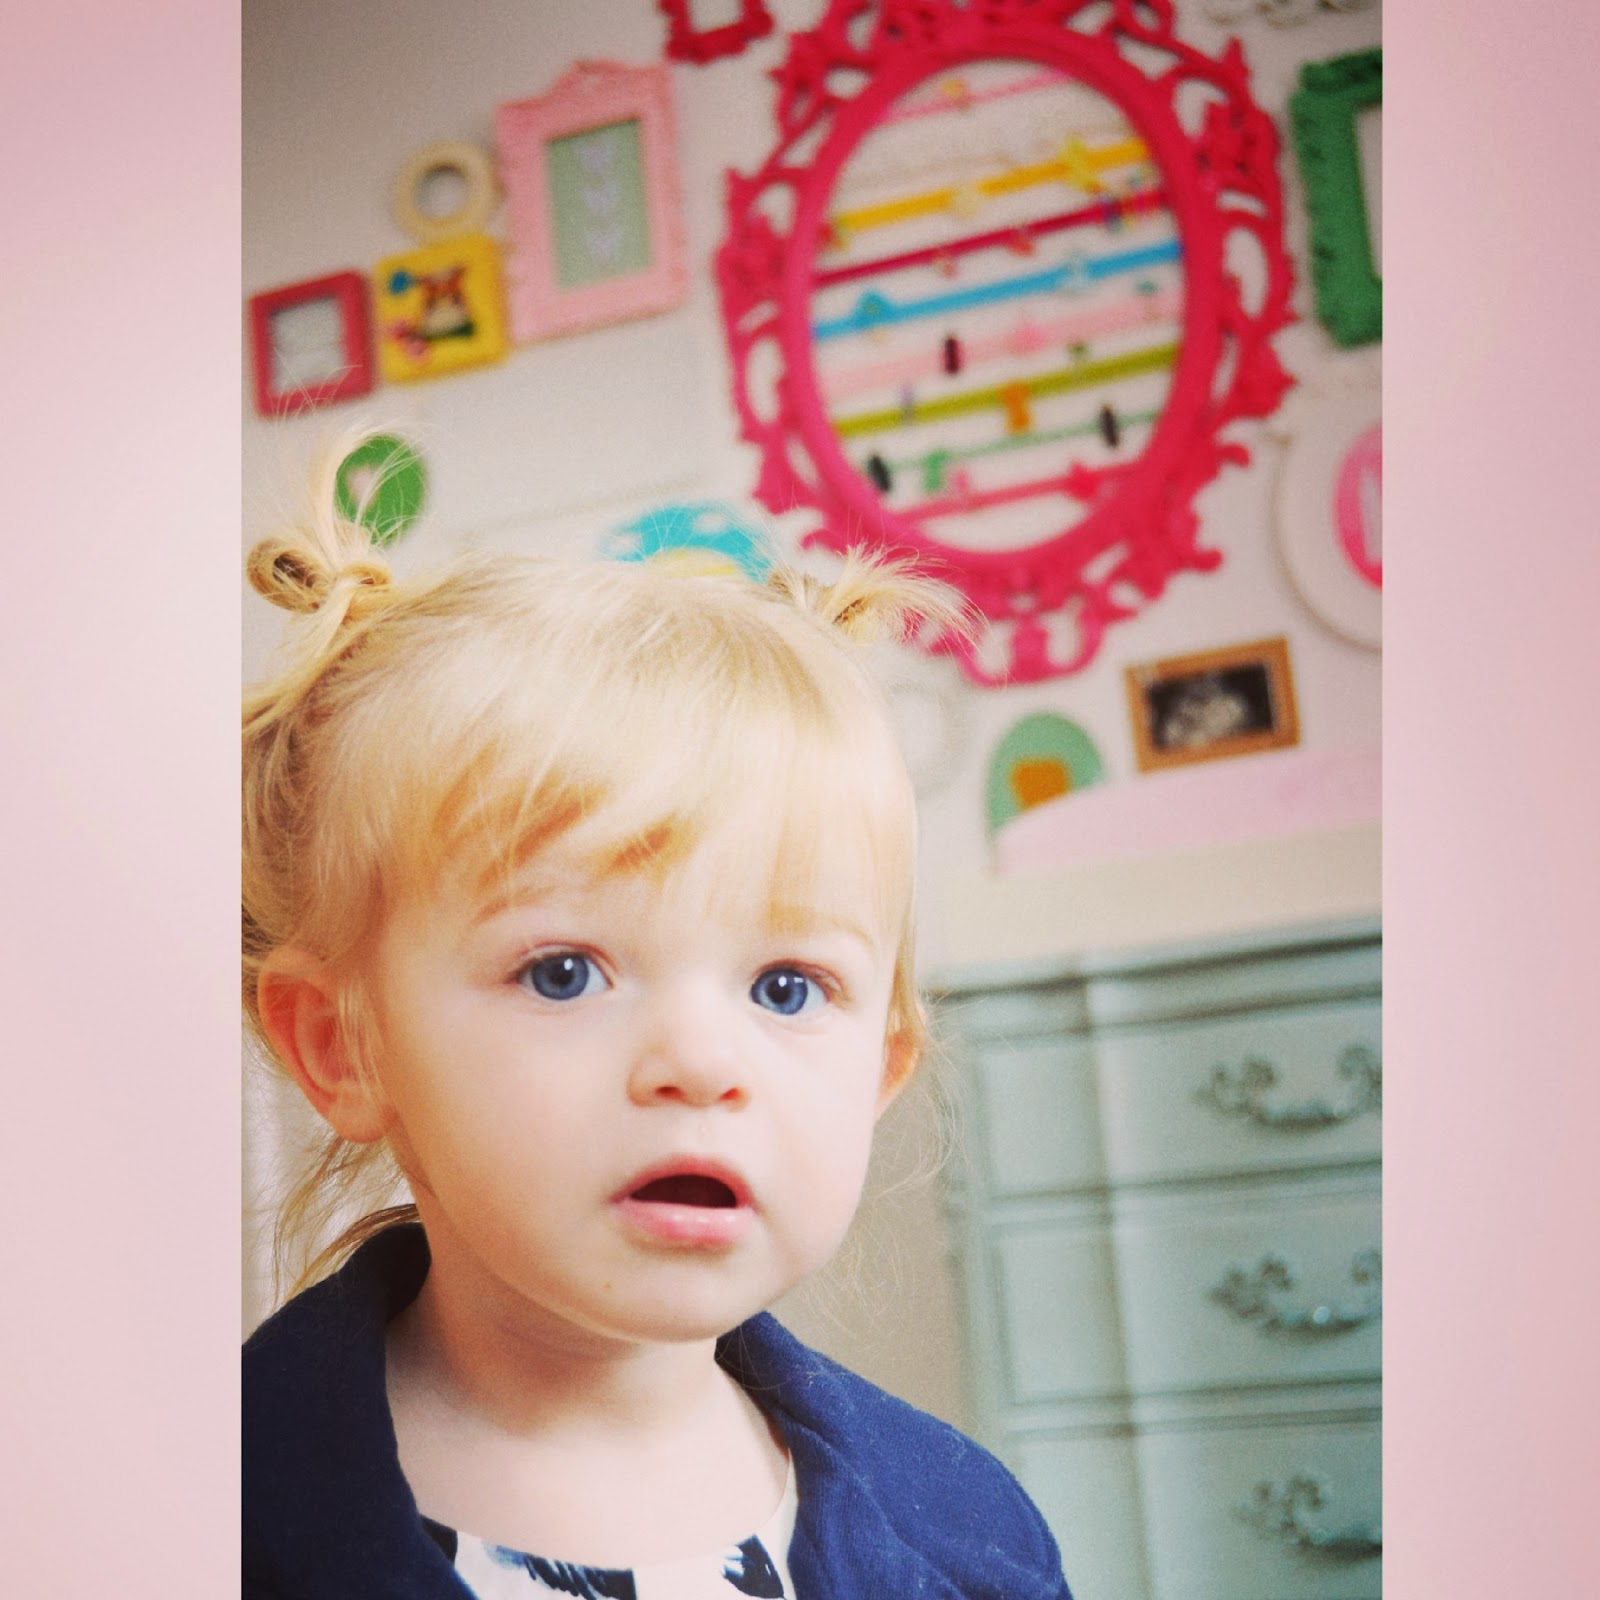
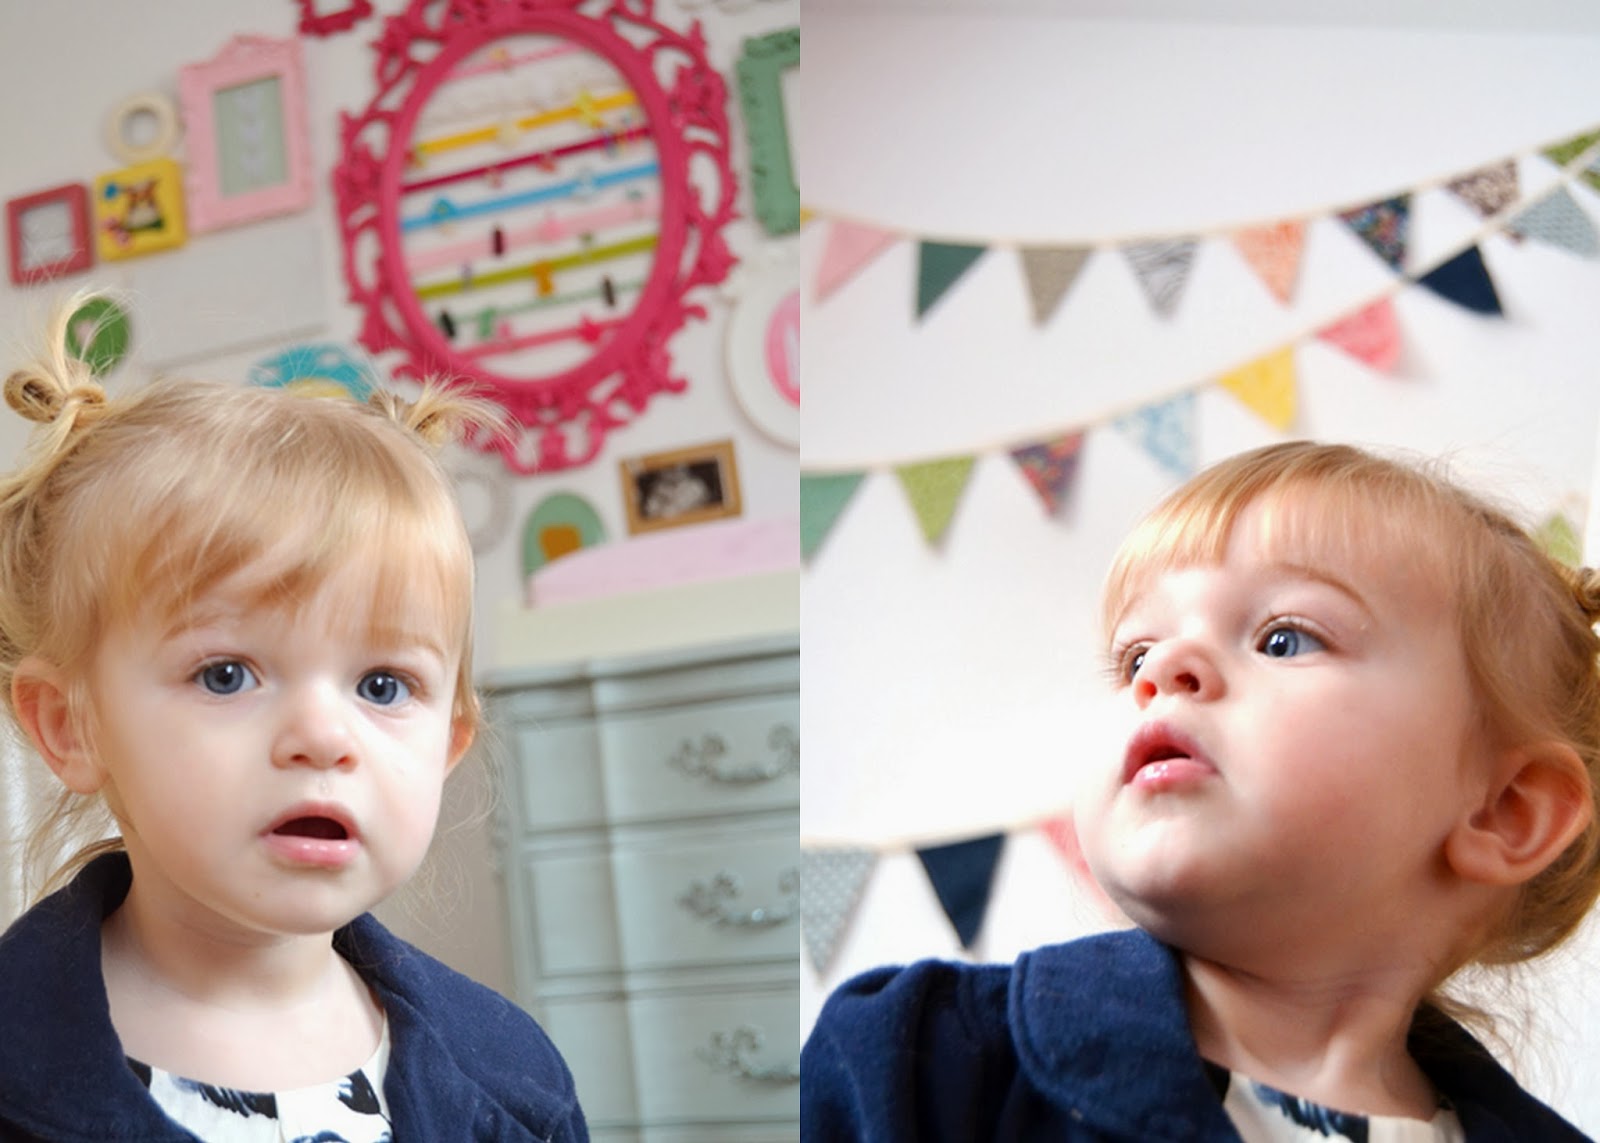
Our house is so boring in the decor department. All of the walls are stark white. We're allowed to paint, but that's right up there with cooking in my "hate" department. Maybe when my parents come in April we can enlist their help since they're painting experts after remodeling two homes. I have two huge boxes filled with frames that I want to put on the walls, but hanging stuff on these walls is a nightmare. The walls are cement so to get even just a silly stupid nail in requires heavy duty tools like electric drills and special diamond drill bits. Everything I've hung so far has been done with tape. Plus we're only going to be here for 2 1/2 more years. Is it worth it? But I really want our house to feel like a home and I think frames and pictures will help. Maybe tomorrow since we're not going anywhere we can spend the day decorating.


Okay that's enough Negative Nancy stuff! 

I'm so excited for our upcoming trip to Barcelona, Spain over Valentine's Day weekend! There are so many beautiful things to see and places to explore! And most of all, I'm ready to escape the freezing cold and snow!


Also along the travel front, we're planning a road trip to end all road trips with Chris' brother Jay and his wife Haylie in May! We're going all the way down the coast of Croatia to Montenegro and back with stops at Lake Bled, the Julian Alps, and Ljubljana in Slovenia, and Zagreb, Plitvice Lakes, Split, Mostar (Bosnia), Korcula, Dubrovnik, and turning around in Montenegro. Looking at pictures of all these places makes me giddy! So much beauty in the world!


My sister and her husband are moving to China TOMORROW for six months to teach English! I'm so excited for them and can't wait to follow along their adventures. 


I'm in the beginning stages of forming an online book club with my new friend Kelsey Noble! Details coming soon. In the meantime, if you have suggestions for a name for the book club I'd love to hear 'em!
That's all for now :) TGIF!

The One with January 2014 American Crafts Layouts


Thursday, January 30, 2014

Here are my two monthly layouts for American Crafts!
 photo AllReady.jpg
ALL READY by Paige Evans

Journaling says: Janey looked so cute on our first walking adventure in the city of Vienna, Austria!

How to: Die cut a floral design from white cardstock and back each petal with patterned paper and/or gold foil vellum. Adhere the floral piece on an aqua ombre paper background and add gold resin flowers in the empty circles. Place a photo, fabric photo frame, Thickers title, and lots of embellishments as shown on the bottom right side. Journal on the top edge and stamp the date on the white space of the photo. Drop dark gray spray mist by the journaling and photo.

Supplies: Cardstock, glitter foam letter stickers, pen, date stamp, ink, stapler, adhesive: American Crafts; Patterned paper, gold foil vellum, resin flowers, ribbon bow, fabric photo frame, die cuts (flowers, label), hairpin, stickers (borders, dimensional flower): Crate Paper; Chipboard letter stickers, spray mist: Studio Calico; Die cut machine (Silhouette Cameo), flower background lace cut file (Design ID#32346): QuicKutz
 photo AllReadyDetail.jpg
***************************************************************
 photo BubblesampKids.jpg
BUBBLES & KIDS by Paige Evans

Journaling says: On Fox's last day in Nursery I walked in and saw him having the time of his life catching bubbles! Seriously what is it with kids and bubbles? Too fun!

How to: Die cut a star from patterned paper and sew it onto a blue stars paper background. Paint over the star white and let it dry. Add a photo and lots of embellishments around the star as shown. Add a title to the right and journaling on the bottom left. Sprinkle spray mist in a triangle over the layout.

Supplies: Patterned paper, vellum die cuts, badges, cork shapes, wood veneer, transparency words, sequins, spray mist: Studio Calico; Buttons, fabric brad, adhesive, stapler: American Crafts; Paint: FolkArt; Sewing machine: Brother; Thread: Coats & Clark; Die cut machine (Silhouette Cameo), star cut file: QuicKutz; Pens: American Crafts (black), Sharpie (white)
 photo KidsampBubblesDetail.jpg
That's a wrap! More next month! (And the next, and the next, and the next :)

The One with 6x6 Paper Pad Layouts for American Crafts


Wednesday, January 29, 2014

I had a pair of layouts featuring 6x6 paper pads featured on the American Crafts blog on Monday! Check 'em out:
 photo WhatDoestheFoxSay.jpg
WHAT DOES THE FOX SAY? by Paige Evans

Journaling says: Right around when you were born foxes became uber trendy in fashion, decor, scrapbooking, and more. Foxes foxes everywhere! In 2013 a song went viral all about "what does the fox say?" Kids in your class sang it to you and you and Jane sing it for me. Too funny!

How to: Trim 1/2" from the top of a gray polka dot paper layout background leaving the tearaway strip intact and put that at the top. Punch 1" circles from Amy Tangerine 6x6 paper pads and adhere them with pop dots across the layout. Add an epoxy border sticker, mini alphabet and foam stickers across the top to make the title. Place a "remember" chipboard sticker on the top right with a "this" sticker below. Adhere a square photo on the layout, slightly off-center. Place speech bubble wood veneer, chipboard, and die cuts around the photo and embellish with stickers and journaling. Stick a chipboard bow at the bottom of the photo. Stamp the date on the bottom right corner and drop black spray mist around the layout as shown.

Supplies: Patterned paper, stickers (epoxy border, foam letters and numbers, mini alphabet, "this"), chipboard (arrow, bow, "remember", speech bubble, "i heart u"speech bubble), wood veneer speech bubble card, die cut speech bubble, date stamp, ink, pen, adhesive: American Crafts; Spray mist: Studio Calico; Circle punch: Fiskars
 photo WhatDoestheFoxSayDetail.jpg
************************************************************************
 photo FavoriteFaces.jpg
FAVORITE FACES by Paige Evans

Journaling says: What are these silly and sweet faces you're making here dear Jane?!

How to: Punch 1/2" squares from Dear Lizzy 6x6 paper pads, cut each square in half diagonally to make tons of triangles, then adhere them in 7 rows down the center of a blue patterned paper layout background. Sew diagonally across each row of triangles and leave the thread ends pretty long. Die cut three doilies from white cardstock and place them on the top left, middle right, and bottom left corners. Layer photos, fabric brads, epoxy stickers, accordion and fabric flowers, ribbon photo corners, and more, on each die cut doily as shown. Journal on a die cut card and tuck it under one of the doilies. Make a title with chipboard and mini alphabet stickers under the middle photo. Stamp the date below the title and drop dark blue spray mist around the doilies.

Supplies: Cardstock, patterned paper, patterned vellum, fabric brads, stickers (chipboard letters, epoxy number circles, mini alphabet, sentiment arrows), ribbon photo corners, accordion flowers, fabric flower, journaling spot die cut, pen, date stamp, ink, adhesive: American Crafts; Square punch: Fiskars; Spray mist: Studio Calico; Sewing machine: Brother; Thread: Coats & Clark; Die cut machine (Silhouette Cameo), doily cut files: QuicKutz
 photo FavoriteFacesDetail.jpg
Scrap scrap scrap scrap scrap. I love scrapping!

The One with Jane at 18 Months


Tuesday, January 28, 2014

Today baby Jane (who isn't such a baby anymore!) is 18 months new! This is the BEST age! 
I have her 18 month appointment next week so I'll add in her stats then.

I did a little photoshoot this morning after her nap to remember her at 18 months. We took the pics in her room where there's decent light. She moves around a mile a minute though, so I just went with it and snapped away as she was doing whatever she was doing.
She is very interested in cameras and phones and iPads and iPods and things of that nature. And she is AAAALLLLLWWWWAAAAYYYYSSSS coloring! You should see our white walls... thank goodness for the Magic Eraser Sponge cuz this girl has done a number to our house!
She has such a sweet personality, is Miss Independent, and loves to give hugs and kisses.
She takes awhile to wake up after a nap and usually needs to be cuddled and snuggled for a bit to return to her happy self. I love snuggles with my girl :)
She is the world's biggest klutz and trips on thin air! One of these days she'll have walking down pat.
She's not a really picky eater, but we have figured out what she likes and doesn't like. She would live off of bottles if we let her!
She loooooves her pacifier and grabs handfuls of them when I take her out of her crib in the morning and after naps. That's gonna be fun to wean her off of soon....
She loooooooves to read! It's so funny! She has about 7 different books that she rotates through (even though we have dozens of books, she has her 7 favorite). She runs and sits in my lap with a book and helps me turn the pages as I read to her the same book over and over and over again. It really is precious and something I need to catch on camera so I can scrapbook it.
She hates being in the stroller but is okay in her carseat, for awhile.
I was worried that she hasn't been saying very many things, but then we sat down and started listing them off and she knows waaaaay more words than Fox did at 18 months! Go Jane :)
uh oh
nana - banana
apple
no
thank you
please
hi
bye
yahtzee
daddy
mommy
doggie
cat
book
shoes
go
up
peek-a-boo
one, two, three
color
all done
wait
nose
ear
candy
bobble - bottle
ship - sip
mine
ball
show
hand
water
paci
socks
wake up
help
car beep beep
planes
clock
Woody (as in Toy Story)
Raaaaawr! (like a monster)
hot (then blows to cool it off)
bless you (after a sneeze)
five (as in she wants a “high five”)
Paige (yes, my daughter calls me by my first name!)
boom (when she wants me to sing the canon song from the base)
Jaaaaane (when she knows she’s done something bad)
Shhh (as we're walking down the stairs in the morning and Fox is still sleeping)
yup (extra emphasis on the "p" - my favorite thing she says, it's so cute)
When we ask: What does the fox say? ringdingdingdingding
When we ask: What does a pig (or any animal) say? oink oink

She has some fun tricks up her sleeve. We ask, "What does a ghost say?" and she raises her arms and goes, "Booooooo!"
She is the ultimate mama's girl. She would soooo much rather be with me than with Chris - I'm sure it's a phase. It's kind of sad, but it sure does make me feel loved! I can't be very far away or she has a meltdown. Every time I leave the room she follows me screaming "waaaaaait!"

She eats apples whole. In their entirety. Core and all...
She absolutely adores Fox and is starting to "play" with him, when he lets her. When she's not following me she's following him and tries to do everything that he does. 
The dynamic duo known as Fox & Jane.

That being said, he is still a "big brother." In the past six months Fox has jammed her in the face with a toy stroller and scarred her face permanently, chipped her front tooth with a bottle, and basically does the whole big brother thing of shoving and pushing and hitting. I have to keep a careful eye on these two. Most of the time they play really well together, but they do have their moments.

Yay for hair milestones! Her hair is growing like a weed and went from couldn't do anything to it except decorate with bows to being able to make piggies, a ponytail, getting bangs, and a messy top knot, in just six months! Next step: braids!
She is a lucky girl and has traveled to 7 countries her short 18 months!
She has like 8 teeth coming in right now poor girl.
A typical day in the life of Jane:
6:00am - wake up, a little too early if you ask me!
6:30am - breakfast of an assortment of cereals. She still sits in a high chair. 
7:00am - play with me and Fox
8:30am - nap time!
10:00am - run errands with me
11:30am - lunch, like pasta or pizza or chicken nuggets and fries
12:00 - play with me and Fox
1:30pm - nap time!
3:30pm - watch a show with Fox
5:00pm - dinner of smaller portions of whatever we're having
6:30pm - bath time
7:00pm - bed time!

Oh sweet Jane, we love you so!

The One with Studio Calico SUGAR RUSH Layouts


Monday, January 27, 2014

The second I finish a layout I want to share it, it's hard to keep them under tight wraps until the 27th of every month :) Because the colors and products and embellies in the Sugar Rush kits by Studio Calico are so fun and you can make oh so many amazing layouts with them! Just sayin' :) So, without further adieu, here are my Sugar Rush layouts for Studio Calico:
 photo BirthdayGirlbyPaigeEvans.jpg
BIRTHDAY GIRL by Paige Evans

Description: February is the month of LOVE so I thought it would be appropriate to make a hearts-themed layout! I just love this picture of my daughter Jane on her 1st birthday - not even a Valentine's-themed picture, but it matches with the papers oh so well!

Journaling says: We celebrated Jane's first birthday in our hotel room, just the four of us. She loved opening all of her books!

How to: Hand cut dozens of hearts from each of the papers in the Sugar Rush kit by Studio Calico. Place a photo at the bottom of a blue cardstock layout base and adhere the hearts going up from the photo in a funnel shape. Place washi tape under the top edge of the photo. Tuck plastic die cut hearts among the paper ones and add enamel dots to some of the hearts. Die cut "love" from white cardstock and staple it above the photo for a title. Add an ampersand die cut and "HUGS" mini alphabet stickers below the title. Stamp the date under all that. Place letter stickers and an enamel dot under the photo for a secondary title. Add a thin strip of patterned paper below the secondary title. Point two arrow die cuts to the photo on the left side. Stitch a plastic heart die cut over the arrows and on the end of the "love" die cut. Use white paint to stamp three trios of dots on the top right, top left, and bottom right edges. Drop white spray mist over the stamping. 

Supplies: Scrapbook kit: Sugar Rush by Studio Calico (main kit only); Cardstock, adhesive, roller date stamp: American Crafts; Patterned paper: Allison Pennington, Bella Blvd, Fancy Pants Designs, Little Butterfly Wings, October Afternoon, Studio Calico; Letter stickers: October Afternoon; Die cuts (ampersand, arrows), sunburst washi tape, spray mist: Studio Calico; Plastic hearts: Hello Forever; Circle dot stamps: Life Love Paper; Enamel dots: Twine & Ink; Ink: StazOn; Staples: Tiny Attacher by Tim Holtz; Sewing machine: Brother; Thread: Coats & Clark; Die cut machine: Silhouette Cameo by QuicKutz; "love" cut file: Love You Always by Catherine Davis for Studio Calico
 photo BirthdayGirlDetailbyPaigeEvans.jpg
****************************************************
 photo LoveTheseTwobyPaigeEvans.jpg
LOVE THESE TWO by Paige Evans

Description: As soon as I saw this 12x12 heart circle grid in the February cut files I knew I had to make something with it! I chose to back only some of the circles/hearts with patterned paper/cardstock to help draw more attention to the photos and details.

Journaling says: I love watching you two interact and play together. You've been getting along better and it makes my heart so happy! I love you two!

How to: Die cut a circle matrix from white cardstock and back all of the hearts and some of the circles with patterned paper and cardstock. Staple the matrix to a white cardstock background. Add three photos to the layout in a triangle and place gold foil letter stickers across the bottom of each picture to make the title. Tuck three transparency feathers under one corner of each photo. Take apart all five hairpins and just adhere the jewel parts to the layout. Place mini alphabet stickers in empty circles across the top two rows for a secondary title and number stickers across the bottom row for the year. Journal in three of the empty circles. Stamp dots in some of the empty circles. 

Supplies: Scrapbook kit: Gum Drop by Studio Calico (Scrapbook Add-On 3); Cardstock, journaling pen, stamping pens, adhesive: American Crafts; Patterned paper: Anna Griffin, Studio Calico, Teresa Collins; Letter stickers, transparency feathers: Studio Calico; Hairpins: Crate Paper; Dots stamp: Life Love Paper; Die cut machine: Staples: Tiny Attacher by Tim Holtz; Silhouette Cameo by QuicKutz; Circle matrix cut file: 12x12 Heart Circle Grid by Catherine Davis
 photo LoveTheseTwoDetailbyPaigeEvans.jpg
****************************************************
 photo CrazybyPaigeEvans.jpg
CRAZY CRAZY CRAZY by Paige Evans

Description: The cut files are some of my favorite things in every kit! So many ideas and possibilities! I love that these letters are empty inside - perfect for filling with patterned paper and making a big, bold statement of a title!

Journaling says: You make friends so easily - you just jump in and join the fun!

How to: Die cut the title letters from white cardstock then back them with patterned papers. Adhere the title down the left side of a dark gray cardstock layout background. Draw a dot on the right side of the layout and use a white pen to draw sun rays from the dot to the edges of the layout. Stitch over the lines using white thread. Adhere a photo on the epicenter of the sun rays. Stamp lines with white paint on the bottom right corner and journal with the white pen. Add three enamel dots below the journaling. Place three kraft die cut clouds above the photo and stamp a sentiment on the bottom cloud. Drop dark gray spray mist over the layout to finish. 

Supplies: Scrapbook kit: Sugar Rush by Studio Calico (main kit only); Cardstock, adhesive: American Crafts; Patterned paper: Allison Pennington, Bella Blvd, Fancy Pants Designs, Little Butterfly Wings, October Afternoon, Studio Calico; Cloud die cuts, spray mist: Studio Calico; Line stamp: Life Love Paper; Enamel dots: Twine & Ink; Ink: StazOn; Sewing machine: Brother; Thread: Coats & Clark; Die cut machine: Silhouette Cameo by QuicKutz; Title cut file: Card Stamp Crazy by Catherine Davis for Studio Calico
 photo CrazyDetailbyPaigeEvans.jpg
****************************************************
 photo LovelyFamilybyPaigeEvans.jpg
LOVELY FAMILY by Paige Evans

Description: I saw an image of sun rays on Pinterest and thought, "Hey! I want to make that with paper!" I love being able to use as much patterned paper as I can and this was a fun way to use lots and draw attention to my photo.

Journaling says: Just a little selphy of me and you in the beautiful city of Regensberg. You are such a sweet girl and I'm so happy and lucky to call you my very own daughter. You bring me so much joy and I love watching you grow and learn and play with your big brother. I love you so much sweet angel Jane! Do you know how much I love you? I love you to the moon and stars and back again. You have the cutest laugh and sweetest disposition. You love to color on everything. You devour apples whole! You love candy of course. We love you to pieces and we love you whole. I hope you know that!

How to: Trim 1/4" strips from each of the papers in all of the Scrapbook Kits (Sugar Rush, Rock Candy, Jelly Beans, and Gum Drop). Find the center of a pink cardstock layout base then adhere the papers in sun rays from the center outwards. Sew down each paper strip using white thread. Place two kraft Polaroid die cuts on the center of the layout and top them with a photo. Back the edges with three silver glittered triangles. Tuck three transparency feathers under the top right corner of the photo. Die cut "lovely" from white cardstock and staple it to the bottom of the photo. Trim the bottom off a cork "family" embellishment and adhere the letters below the die cut word. Place three plastic hearts around the photo and top them with embellishments like a chipboard camera, chipboard star, and enamel dot. Place three chipboard stars under the bottom left corner of the photo. Journal with a white pen in between sections of the sun rays then drop gold spray mist over the journaling. 

Supplies: Scrapbook kits: Sugar Rush, Rock Candy, Jelly Beans, and Gum Drop by Studio Calico; Patterned paper: Allison Pennington, Anna Griffin, Bella Blvd, Fancy Pants Designs, Little Butterfly Wings, My Mind's Eye, October Afternoon, Simple Stories, Studio Calico, Teresa Collins; Plastic hearts: Hello Forever; Transparency feathers, chipboard (camera, glittered triangles, stars), kraft Polaroid frame die cuts, cork "family": Studio Calico; Staples: Tiny Attacher by Tim Holtz; Die cut machine: Silhouette Cameo by QuicKutz; "Lovely" cut file: Sugar Rush Lovely Stamp by Lili Niclass
 photo LovelyFamilyDetailbyPaigeEvans.jpg
That's a wrap for this month!

The One with the New Blog Design by Heart & Arrow


If you're reading via BlogLovin or Feedly or Facebook or any other place, may I recommend you hop on over to the actual Chris & Paige Blog and check out the new look!
I've been itching for a new design for ages, but every time I sat down to try and do it myself I got overwhelmed. HTML is so far beyond me! So a few weeks ago I turned to etsy and searched "custom blogger design" and fell in love with Heart & Arrow's designs. I quickly purchased a package, filled out a questionnaire with what I was looking for, and a couple weeks later my new blog is up and running and I love it oh so much! I still need to add "about" and "contact me" content to the tabs at the top, but every other link is fully-functional.

I highly recommend Whitney of Heart & Arrow! Fast, friendly, exactly what I wanted!

The One with the Thank You (Brads/Buttons/Bling Challenge) Card


Sunday, January 26, 2014

Two posts in one day! Sorry! Or you're welcome :)
The latest cards challenge I came up with for the Create Blog was to use Brads/Buttons/Bling! So here's what I made:
 photo ThankYou.jpg
THANK YOU CARD by Paige Evans

Card is 5.5 x 4.25"
How to: Trim 1/4" patterned paper and printed vellum strips from the Atlantic collection by Studio Calico then adhere them in chevrons down a kraft card base. Sew the paper strips in place. Adhere trios of buttons, sequins, and chipboard glitter stars to the paper strips. Add a row of cork arrows as shown. Drop black spray mist on the top left and right sides. Place a white glitter foam Thickers title on the bottom right at an angle and add a cream ribbon bow above.

Supplies: Cardstock, wood buttons, glitter foam letters stickers, adhesive: American Crafts; Patterned paper, cork arrows, chipboard glitter stars, sequins, ribbon bow, spay mist: Studio Calico; Sewing machine: Brother; Thread: Coats & Clark

The One with the 2Peas Family-Themed Layout


I had the opportunity to make an extra layout as a Garden Girl for Two Peas in a Bucket using the January moodboard, with a family theme, through the lens of "moments" - the stories we just have to scrapbook! Check it:
 photo HelloPureJoybyPaigeEvans2.jpg
HELLO PURE JOY by Paige Evans

Description: This is one of my favorite photos. It is so typical "Fox & Jane". Fox is being a scary monster and chasing Jane while she runs away from him and squeals and shrieks in delight. And then with Jane wearing a red hooded sweater, this shot totally looks like Little Red Riding Hood and the Big Bad Wolf! Fox/Wolf, same thing :) There isn't much else going on in the photo besides my kiddos in a dark garage, but I was able to use the moodboard color palette to bring it more to life and incorporated red, gray, woodgrain, cream, aqua, and blue. I love adding texture and shine with embellishments like sequins, buttons, and wood veneer shapes, and of course a dash of spray mist to draw the eye all around the page. Since I used a white background I stitched with dark gray thread around the border to keep the layout "contained." I love how the white Uniball Signo pen write perfectly on dark surfaces like the woodgrain paper I used here as a photo corner accent.

Journaling says: This picture makes me think of Little Red Riding Hood being chased by the Big Bad Wolf, aka her brother Fox!

How to: Punch stars from white and cream cardstock as well as red, kraft, blue, gray, and woodgrain patterned papers. Adhere the stars on the top left triangle half of a white cardstock layout background. Embellish some of the stars with buttons, sequins, epoxy star stickers, and wood veneer starbursts.

Supplies: Cardstock, chipboard letter stickers, buttons, ribbon bow, snowflake tag, snowflake border stickers, adhesive: American Crafts; Patterned paper: American Crafts, Crate Paper, Echo Park Paper Co., Glitz Design, Studio Calico; Wood veneer (starbursts, words), sequins, plastic snowflake die cut, spray mist: Studio Calico; Stitched borders: Crate Paper; "hello" die cut: Glitz Design; Pen: Uniball Signo; Sewing machine: Brother; Thread: Coats & Clark; Gelatos: Faber-Castell; Star punches: Fiskars (5-pointed large and small), Jenni Bowlin Studio (8-pointed), Martha Stewart Crafts (confetti); Epoxy (dots, stars): October Afternoon
 photo HelloPureJoyDetail3byPaigeEvans.jpg
That's all for now! More scrappy goods to share tomorrow!

The One with the Speinshart Monastery


Saturday, January 25, 2014

I was looking through one my friend's books that she has made of all their adventures over the past three years here in Germany and stumbled upon an amazingly ornate and beautiful church. I quickly asked where it was, hoping it was somewhere close (like, within 7 hours) so we could go see it too. Imagine my complete and total surprise when she said it was only 10 minutes away in the city of Speinshart (never even heard of it!)! NO WAY! How can something like THAT be SO CLOSE? We live in the middle of NOWHERE where it takes an hour to get anywhere cool! 
We tried to go last Saturday, but there was a wedding taking place. We crossed our fingers no one would be tying the knot today and headed to the Speinshart Monastery after Jane's morning nap.
The monastery was built between 1692 and 1697 by Wolfgang Dientzenhofer.
The entrance to get into the amazing church is through this little green door.
We walked inside and had to catch our breath. Um. Wow. Seriously speechless!
The ceilings!
Details of the interior. 
Honestly though I can't find much about the Speinshart Monastery - there's a website, but it's all in German and the English translations don't make sense. Note to self: LEARN GERMAN STAT!
Chris found bodies. Creepy.
We didn't stay very long because it was 27 degrees outside and no heating in the church. But man-oh-man what a sight to behold!
Pretty sure we'll be taking anyone and everyone who visits us to this amazing place!
Paige Taylor Evans © // Quinn Creatives DESIGN