The One with American Crafts Spotlight Layouts


Thursday, October 3, 2013

I had a pair of layouts up on the American Crafts blog yesterday! The theme for the month was "Spotlights" to get to know the team members better and our projects are supposed to represent our style.
 photo ILoveThisMoment.jpg
I LOVE THIS MOMENT by Paige Evans

Journaling says: On our last night in Budapest we found a little park close to our hotel to let the kids play at. How cute is Jane?

How to: Place a large doily mask across a lemon yellow cardstock background then paint over it using white paint; remove the mask and let it dry. Layer a heart transparency over the painted doily. Punch squares from the Polka Dot Party 6x6 paper pad the trim the squares into triangles. Arrange the triangles over the heart transparency in a heart shape inspired by a quilt. Add two photos to the paper heart and edge them with white lace trim. Add a Polaroid frame die cut over one photo and place a wood veneer word at the bottom. Place a floral epoxy circle sticker over the "o" in the word. Place a pink resin bow next to the sticker. Journal on the right side and create the title below along with some embellishments as shown. Use a pencil to scribble doodles over the journaling like the doodles on some of the patterned papers in this series.

Supplies: Cardstock, patterned paper, patterned transparency, wood veneer word, stickers (epoxy arrow sentiment, epoxy circle, epoxy heart, foam letters), resin bow, tag, Polaroid frame die cut, lace trim, ribbon bow, roller date stamp, pen, adhesive: American Crafts; Square punch: Fiskars; Doily mask: Prima; Paint: FolkArt; Pencil: Bic
 photo LoveThisMomentDetail.jpg
**************************************************************
 photo Foxs1stHalloween.jpg
FOX'S 1ST HALLOWEEN by Paige Evans

Journaling says: Even at just two precious weeks new I was dressed and ready to take you out trick-or-treating around the neighborhood! But your dad wouldn't let me ring any doorbells. Wah wah. That's okay, we have many years to look forward to! So happy to have an October baby!

How to: Paint watered down India ink around the edges of a grid paper background. Die cut a spider web from black cardstock and back each section with Halloween-themed paper. Sew over the entire spider web using white thread. Adhere the web on the right half of the layout and trim the excess. Place two photos on the web and embellish with an accordion flower with two pearl stickpins pushed in the foam behind it, a bat epoxy frame, sentiment banner sticker, fabric brad, mini alphabet stickers, and more as shown. Drop India ink around the layout and let it dry. Add sequins, star stickers, brads, and buttons over the India ink splatters. Create a title along the bottom of the web. Place sentiment stickers and write journaling on the bottom left corner.

Supplies: Cardstock, patterned paper, brads, buttons, sequins, accordion flower, epoxy frame, stickers (banner sentiment, letters, numbers, sentiments, stars), pen, adhesive: American Crafts; Wood veneer stars: Studio Calico; Stickpins: Fabric supply; Die cut machine: Silhouette Cameo by QuicKutz; Sewing machine: Brother; Thread: Coats & Clark; India Ink: ProArt
 photo Foxs1stHalloweenDetail.jpg
That's all for now! So much scrappy stuff lately... sorry? Or you're welcome :) Depends on who you are!

The One with Scrap Your Stash #10


My 10th Scrap Your Stash layout and accompanying video is up at twopeasinabucket.com! How is this my 10th video already? Time is flying!!! Slooooow dooooown!
 photo HappyGirlbyPaigeEvans.jpg
HAPPY GIRL

Description: I was inspired by a layout Nicole Samuels made for Studio Calico back in July using layered paper strips in a spiraled square - I wanted to try the same technique but using triangles instead! Patterned paper is the most basic embellishment in scrapbooking! There is more patterned paper than any other supply and therefore I have accumulated quite a bit of it! I couldn't wait to scrap my stash of the brand new Flea Market collection by Maggie Holmes/Crate Paper. The colors are so rich and bold definitely needed a white background to pop off the page. I have a hard time with just plain white cardstock though, so I livened it up with spray misting over doilies to leave an intricate pattern on which to layer my patterned paper strips. Continuing with the triangle theme and the rule of a "visual triangle" I wrote the journaling in the tips of one of the paper triangles so in three different places which draws the eyes all around the layout. A few additional details like a Thickers title and resin flowers finish up the layout. It looks pretty complicated, but actually only took about 30-45 minutes from start to finish!

Journaling says: If I had to sum you in one word it would definitely be 'happy'. Ever since you were born you've been happy and smiley and almost always content! We sure love you!

How to: The video shows how to create the layout from start to finish. Here it is written: Place doily masks on three edges of a white cardstock layout background then spray over the doilies using blue, pink, and yellow most. Drop darker shades of the same colors of ink over the masks then remove the masks and let the cardstock dry. Trim 1/4" pieces of patterned paper and vellum. Adhere the strips into triangles then spiral them over the center of the layout. Layer a square photo over a gold doily then a regular doily, then on the middle of the layout. Trim a chipboard doily in half and tuck the halves under the regular doily. Place a royal blue glittered Thickers title in a curve around the bottom right corner of the photo. Add three resin flowers under the title and stamp the date below. Write journaling in the tips of one triangle so in three different places. Adhere a gold chipboard photo corner to each corner of the layout.

Supplies: Cardstock, glitter letter stickers, date stamp, pen, adhesive: American Crafts; Patterned paper,  patterned vellum, chipboard (doily, photo corners), resin flowers, doily die cut: Crate Paper; Doily masks: Prima; Doily: Wilton; Spray mist: Studio Calico

Challenge: Use up your patterned paper stash! Every month a winner from all the SCRAP YOUR STASH entries will be drawn and rewarded with a $10 gift certificate. Winner will be announced on the 2Peas blog!
 photo HappyGirlDetail3byPaigeEvans.jpg
 photo HappyGirlDetail4byPaigeEvans.jpg
Here is the accompanying video so you can see how this layout was made start to finish:

Thanks for taking a look and leaving some love :)

The One with the Lifted Class Contributor


Wednesday, October 2, 2013

So flippin' excited to be a contributor for Lisa Truesdell's newest Studio Calico class: LIFTED!
Need an inspiration pick me up? Enroll in LIFTED with Lisa Truesdell and explore the art of borrowing ideas by scraplifting. Lisa and her contributors (that's me! Well, one of many :) will be using layouts from the Studio Calico Creative Team gallery and sharing how they bring the design, details, color scheme and theme to new projects. Scraplifting is one of my favorite techniques to turn to in a crunch or moment of needed inspiration so I'm excited to work on this class! 
 Enroll now and spend November learning from Lisa and others. Each of these crafters will be working with Studio Calico kits to share how they scraplift without losing their own personal style. Join the LIFTED classroom and enjoy a month of inspiration with daily PDFs and weekly videos. We’ll be sharing a total of 24 new projects – 16 layouts, 4 cards and 4 Project Life® spreads – as well as the thought process of how they came to be. LIFTED students will also have access to daily sketches – one for each inspiration project, and one for each new project shared in class. 
You'll come out of the class with 28 sketches that can be used and reused time and time again!
The fabulous Marcy Penner of Hello Forever has put together some printables for the LIFTED classroom - here's a sneak peek:
Come join in the fun!

The One with the Garden Girl Me-Themed Layout


Tuesday, October 1, 2013

Happy October - my favorite time of year is nearly upon us - I LOVE HALLOWEEN!
The start of a new month means new projects from the Garden Girls - the theme is ME!
PAIGE

Description: It's not very often that I'm the focus of my layouts but I know that my kids and future generations will (hopefully!) enjoy seeing the maker behind these scrapbooks and projects. It's also very rare that I'm in front of the camera so this picture is actually cropped - there are a few other people supposed to be in it, haha. Even though the colors in the photo went well with the Dear Lizzy Polka Dot collection by American Crafts, I loved how when I changed it to black and white it made the photo become the center of attention instead of blending in with the supplies. My most favorite scrapbooking supply is patterned paper and I like to feature it on most of my layouts. The more patterned paper I can use the better! So I used every pattern I could find from this line and created a unique element on the left side. A bit of stitching gives it a homespun look. I'm finally on board with the highlighter yellow color that's so popular right now and used it as an accent under the photo as well as to edge the left and top sides of my layout. I love that some of the papers in this line already have mist printed right on them - saves me a step and looks better than I could have done! It was really fun to focus on me for a change and use some papers that match my personality.

How to: Trim thin pieces of every 12x12 and 6x6 patterned paper from the new Dear Lizzy Polka Dot Party collection by American Crafts. Adhere the paper strips on a blue paper background with white mist already printed on it diagonally from the top left corner. Zigzag stitch over a few of the paper strips and accent the papers with chipboard arrows. Add a fabric photo corner to the top left corner. Create a photo mat on the bottom right corner using a frame die cut, die cut photo mat, picture topped with a die cut Polaroid frame, another fabric photo corner, fabric bow, gold glitter foam Thickers for a title, and a wooden veneer banner with heart stickers on top. Write journaling above the photo.

Supplies: Cardstock, patterned paper, chipboard arrows, wooden veneer banner, fabric bow, fabric photo corners, die cuts (Polaroid frame, photo mat, sentiment frame), stickers (hearts, glitter letters), pen, adhesive: American Crafts; Sewing machine: Brother; Thread: Coats & Clark


Fun stuff in the works for November 1st!

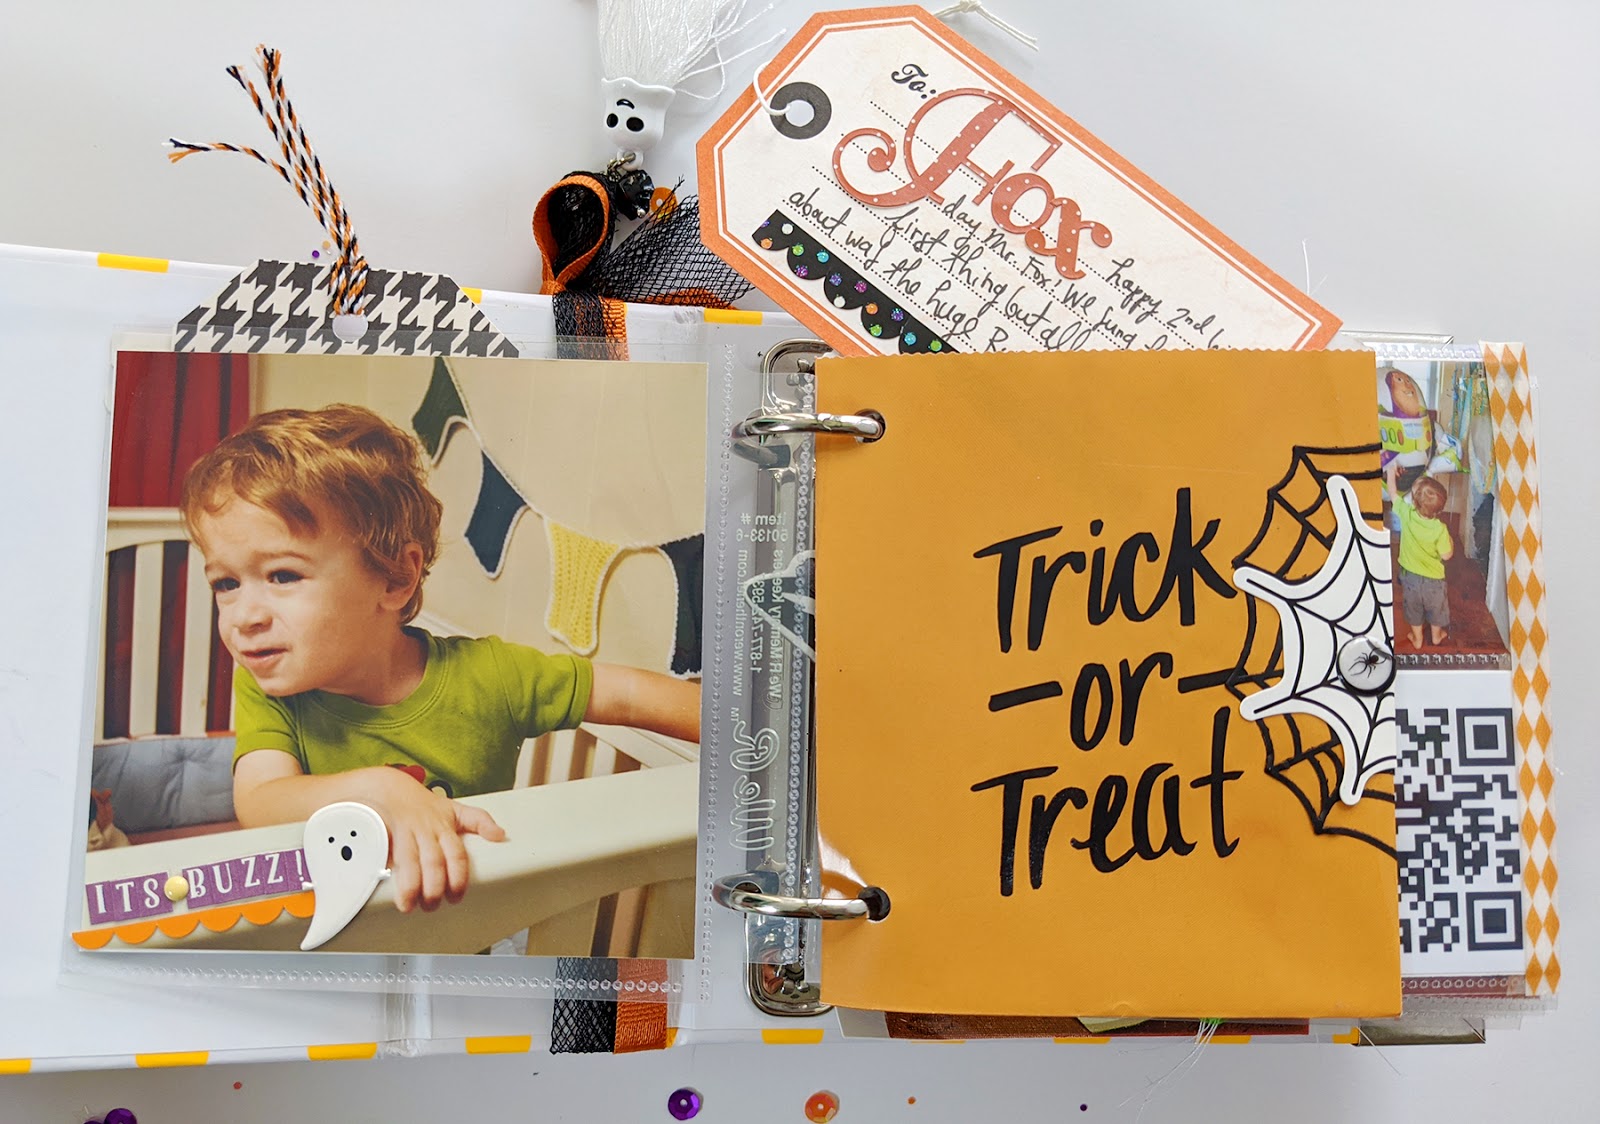
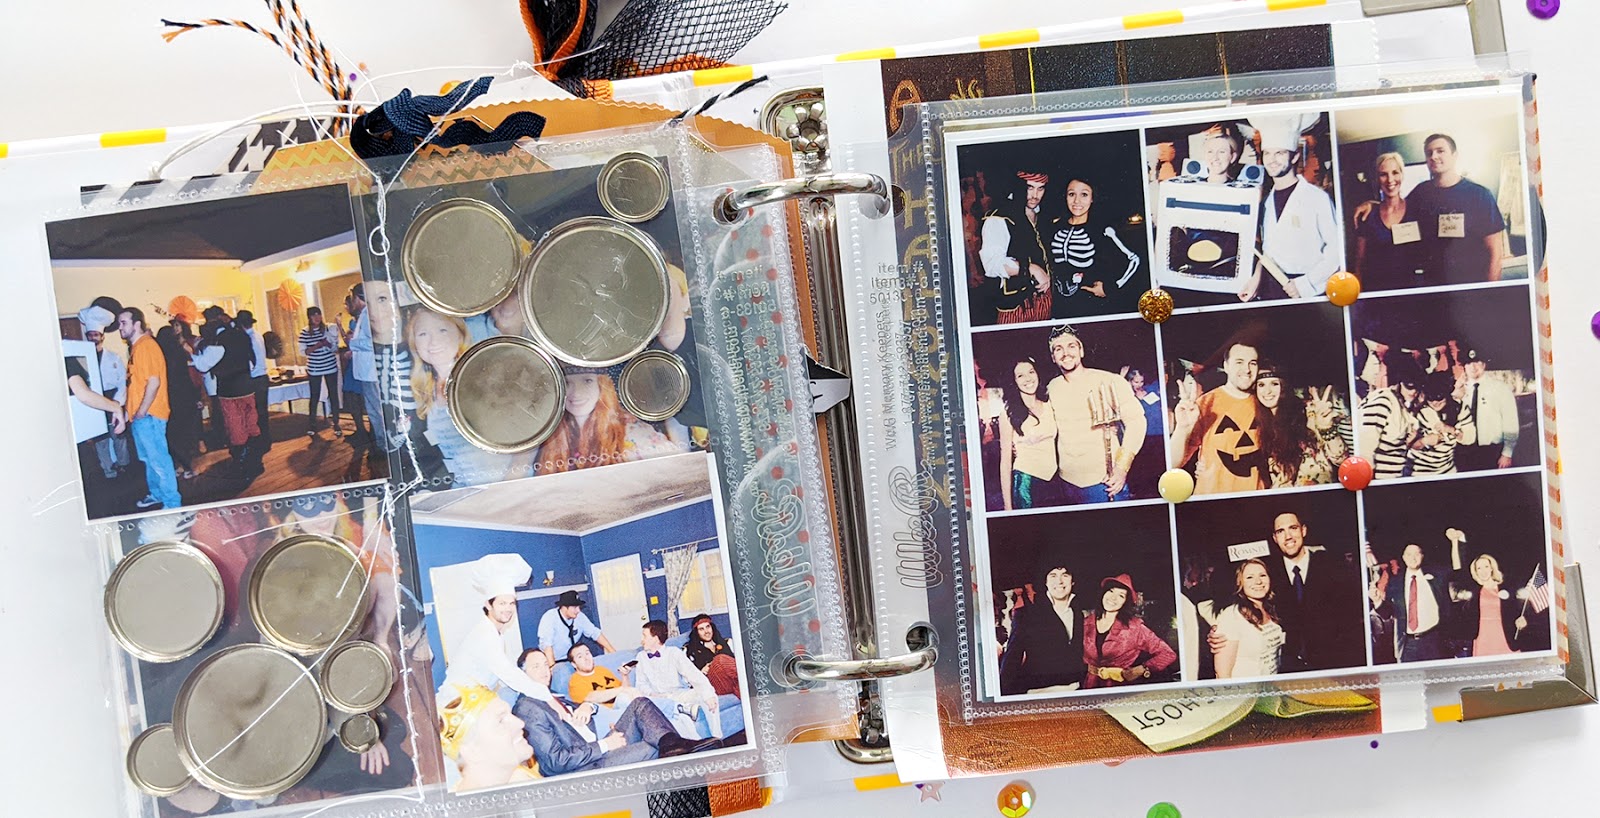
October 2012 Mini Album by Paige Evans


Here is my October 2012 Mini Album!
 Check out the video flip through to see how the pages move and some of the interactive elements:
Happy Halloweentime!
Paige Taylor Evans © // Quinn Creatives DESIGN