Grid Layout by Sophie Delorme


Monday, May 19, 2025

Hello creative friends! It’s Sophie Delorme here sharing the layout I created for International Scrapbook Day 2025 in Paige's Happy Scrappy Place Facebook Group! My challenge was to create a grid design and I used the Garden Shoppe collection which can be found digitally HERE.
I cut squares of patterned papers and fussy cut frames to build my grid. I put vellum in each frame for a soft touch then I embellished each square with die cuts and fussy cut flowers and phrases from the collection. I machine stitched between each square with white thread. I used one of the squares for my cute black & white photo and hand wrote my journaling directly on my white cardstock background. I added two strips of a floral paper on the top and bottom parts of the page. I love the result and hope you do too! Did you have fun on iNSD weekend?! Have a crafty day!
SUPPLIES: Patterned papers, die cuts, stickers, embellishments: Garden Shoppewhite cardstock

Reinvent the Theme Layout by Phil Donahue


Thursday, May 15, 2025

Hello creative friends! It’s Phil Donahue here sharing the layout I created for International Scrapbook Day 2025 in Paige's Happy Scrappy Place Facebook Group! Last year my challenge was to reinvent the theme and I had so much fun that I wanted to try it again! This time, instead of using Paige's Christmas-themed Sugarplum Wishes collection to make a vibrant summer-themed layout, I used her Halloween-themed Tricks & Treats collection to make a retro-style 1970s-themed layout featuring photos of my niece and her cousin laughing on a trampoline.
The moment I saw the wavy B-side of Paper 10 I knew I wanted to use it for something other than a Halloween layout. I adhered 3x9" strips of Paper 2 and Paper 6 along with a woodgrain paper from my stash to the page to form an L-shape. The woodgrain paper really drove home the retro theme because wood panelling was so common in 1970s decor. This paper also matted the two landscape photos while the teal B-side of Paper 11 matted the portrait photo. Next, I sorted through all the embellishments I had from the collection and piled anything that could work for the layout. These items were mostly florals, leaves, and ferns from the Floral Die Cuts and Mini Puffy Stickers along with tags from the Ephemera Die Cuts. Lastly, I added a title and smaller embellishments from my stash that really elevated the theme I was trying to convey. If you want even more tips on how to reinvent a theme, please visit my blog post from last year where I give five easy tips to make nearly any collection fit any theme! Thank you for stopping by and have a creative day!
SUPPLIES: Patterned papers, stickers, die cuts, embellishments: TRICKS & TREATS

Mixed Media Layout by Monique Lowe


Wednesday, May 14, 2025

Hello and welcome creative friends! Monique Lowe here today sharing the layout I created for International Scrapbook Day 2025 in Paige's Happy Scrappy Place Facebook Group! My challenge was to use mixed media. My layout features the Adventurous collection - full of vibrant colors and bold patterns that are perfect for capturing fun travel memories!
I used Paige's freebie Travel Pennants cut file to add a fun and playful touch and I couldn’t resist adding a rainbow splash of mixed media to tie everything together. To start I cut the Travel Pennants from a variety of patterned papers in the Adventurous collection. Once cut, I backed each pennant with white cardstock to make the text pop. Next, I prepped a sheet of Paper 13 with a thin layer of clear gesso so that it would be ready for ink and water! Once completely dry, I used my Mini Distress Ink Pads in colors that match the pennants to add background color. I swiped each ink pad horizontally across the background, lining up the color with the pennant placement. To create a soft & blended watercolor look, I took a wet paintbrush and gently dabbed over the swiped inks to loosen up the ink. For this to work right it is important not to skip the gesso step. Once completely dry, I tore a vertical strip of Paper 2 and stuck it down the left side of the page. I then arranged the pennants, overlapping the edge of Paper 2, and blended them into the colorful mixed media background. Next, I built my photo cluster, choosing a black & white picture to contrast with all the vibrant color on the page. I backed it with layers of Paper 15 and Paper 2, then tucked it in snugly beside the pennants. To add extra interest, I created clusters of travel-themed embellishments around my photos. I tucked pieces behind and layered some right on top, using a mix of Ephemera Die CutsCardstock Stickers, and the Sticker Book, along with a few fussy cut suitcases from Paper 3. For a bold finishing touch, I added a large Chipboard airplane and a trio of cloud stickers floating nearby. To tie it all together, I finished with tone-on-tone Mini Puffy Stickers and scattered a few sequins around my photo for just the right amount of sparkle. Thanks so much for stopping by! This layout was such a joy to create and I hope it inspires you to get a little messy with mixed media and the Adventurous collection!

SUPPLIES: Patterned papers, stickers, die cuts, embellishments: ADVENTUROUSgessoMini Distress Ink Padswhite cardstock; Cut file: Travel Pennants by Paige Evans

3+ Photos Layout by Jackie Ashton


Tuesday, May 13, 2025

Hey friends! Jackie Ashton here today sharing the layout I created for International Scrapbook Day 2025 in Paige's Happy Scrappy Place Facebook Group! My challenge was to use at least three photos on your layout.
For my page I’ve added 12 photographs in strips. Each photograph is 1.75” square and I printed these at home, 6 on a standard 6x4” photo paper. I then cut the photograph in half lengthwise to form the strips leaving a white border. I used the lovely Adventurous collection. For the background I used Paper 10, and added Paper 9 and Paper 23 as layers behind my photographs. I add my photo strips across my layout, slightly overlapping them. I added two tags to the right of my photos, adding ribbon from my stash to create additional texture. For my title I add the dark blue vellum "wander" from the Ephemera Die Cuts to the bottom of the photographs and used the Mini Thickers to continue with the title. I embellished my layout using Enamel Dots, the Sticker Book, and Ephemera Die Cuts. I also used the Acrylic Stamps, stamping the sign post and adding some of the phrases before adding it to the page using 3D foam. Why not give this idea a go and don’t forget to share in Paige's Happy Scrappy Place Facebook Group, I would love to see what you create!
SUPPLIES: Patterned papers, stickers, die cuts, Thickers: ADVENTUROUS

Shapes in a Fun Way Layout by Inessa Persekian


Monday, May 12, 2025

Hi friends! Inessa Persekian here today sharing the layout I created for International Scrapbook Day 2025 in Paige's Happy Scrappy Place Facebook Group! My challenge was to use your basic shapes - hearts, stars, circles, etc - in a fun and unexpected way!
For this layout I reached for my heart punches to create abstract, dimensional flowers. I love how simple it is and how much impact the layering gives. You can even take this idea and turn it into a mini album - just swap out the shape for larger size and repeat the technique! I used a mix of Adventurous papers from both the 12x12 Paper Pad and the 6x8 Paper Pad to create my heart flowers. Each flower is made by layering three punched hearts together using liquid adhesive. I mixed in two different heart sizes for added variety and movement. For the background I used Paper 23, a gorgeous floral print that helped guide the flow of my design. I matted my photo with Paper 1 then built out the rest of the layout using ThickersMini ThickersPuffy Phrase Stickers, and a variety of ephemera. This layout comes together quickly and the custom flowers really give it a dimensional, handmade feel. I hope it inspires you to think outside the box - and shape! Have a great day!
SUPPLIES: Patterned papers, stickers, die cuts: ADVENTUROUS

Delightful Jane Layout by Paige Evans


Thursday, May 8, 2025

Here is the final project to share from Pinkfresh Studio virtual events using the Delightful Collection!
Photo size: (1) 3x4” photo child/friends/garden/family/love-themed (you could definitely add more photos across the top of this page!)
Step 1: Grab the mint striped Simple Pleasures Paper to use as the background and trim off the branding strip.
Step 2: Cut a 2” square from the following (9) papers (the pattern/color mentioned is the side showing ‘up’ of the pinwheels):
1. blue floral Brighter Days Paper
2. pink floral Always Blooming Paper
3. mint green Dream Chaser Paper
4. purple striped Happy Thoughts Paper
5. mint/pink floral Smile Often Paper
6. yellow plaid Go Bravely Paper
7. light pink Stay True Paper
8. salmon pink Chase Beauty Paper
9. rainbow Full Color Paper
Step 3: Grab one paper square and a pair of scissors. Starting at one corner, snip from the corner to close to the center and stop before getting all the way to the center. Rotate to the next corner and snip again. Repeat for all 4 corners of all 9 patterned paper squares.
Step 4: Fold every other corner to the center, add a dab of liquid glue, and press an Enamel Dot in the center until the glue dries. Repeat for all 9 patterned paper squares to create 9 cute paper pinwheels!
Step 5: Scatter the pinwheels across the background paper, tuck a 3x4” photo into the top left section, and nudge the pinwheels around until you like the placement. Glue the pinwheels in place.
Step 6: Trim ¼” strips from the following (9) papers (I listed the length of my stems but you may want to make yours longer/shorter depending on the placement of your pinwheels):
1. 5” length of yellow plaid Go Bravely Paper
2. 7” length of rainbow striped Happy Thoughts Paper
3. 4” length of pink floral Always Blooming Paper
4. 6” length of mint wallpaper Dream Chaser Paper
5. 9” length of rainbow striped Smile Often Paper
6. 5” length of floral Stay True Paper
7. 8” length of rainbow Full Color Paper
8. 3” length of mint/pink floral Smile Often Paper
9. 5” length of light pink striped Stay True Paper
Step 7: Tuck the paper strips at slight angles under the paper pinwheels to make stems, glue them in place, and trim off any extra hanging over the edge.
Step 8: Attach a Title Ephemera with foam squares at the top and use the Puffy Alphabet Stickers to create a word below. Write journaling and stamp the date under the title.
Step 9: Scatter flowers from different types of embellishments (Ephemera, Cardstock Stickers, Vellum Embellishments, Chipboard Flair, and Puffy Stickers) into the “garden” to fill some of the gaps and create a beautiful scene and use foam squares on some pieces to add depth and dimension.
Step 10: Cover the photo with scrap paper and splatter white acrylic paint on top to tie the whole page together. Add a tab Puffy Sticker overlapping the top edge of the photo to finish.

Wreath Layout by Audrey Mutschall


Wednesday, May 7, 2025

Hello friends! Audrey Mutschall here sharing the layout I created for International Scrapbook Day 2025 in Paige's Happy Scrappy Place Facebook Group! My challenge was to create a wreath layout. Wreath layouts are so fun to make because the possibilities are endless; you can use flowers, leaves, a cut file, or simply arrange die cuts and ephemera into a wreath shape.
For my layout, I fussy cut a whole sheet of flowers from Paige’s Turn the Page collection. This is an older collection that can still be purchased digitally (and it’s one of my personal favorites!). I arranged the flowers into a circle on a sheet of textured white cardstock and then added fussy cut speech bubble sentiments from another paper in the Turn the Page collection. I added my photo on the right side of the wreath and embellished it with a bow. I trimmed the white cardstock down to 11.25” square, adhered it to a yellow ombre paper, then back-stitched a border around the layout using variegated embroidery floss. Lastly, I added a few fussy cut butterflies and some Thickers. I hope this inspires you to create a wreath layout for your next project!
SUPPLIES: Patterned papers, die cuts, stickers: TURN THE PAGEwhite cardstock

Thank You Beyond Words Card by Paige Evans


Tuesday, May 6, 2025

Hello lovely scrappy friends! I made a bonus card with the Lovely Blooms collection for the Pinkfresh Studio May 2023 Create & Connect virtual event - can't believe it was two years ago already!
Finished card size: 4¼x5½”
Step 1: Cut an 8½x5½” block from the blue/leafy Live in the Moment paper then fold it in half to create the card base.
Step 2: Fussy cut the same leaves from more of the Live in the Moment paper and attach them on top using foam squares for dimension.
Step 3: Punch a 2” circle from a solid pink part of the Live in the Moment paper then add Puffy Alpha Stickers along the top and bottom curves to say “thank you”.
Step 4 (optional): Machine stitch around and around three times over the circle and sentiment for texture and interest.
Step 5: Attach the round sentiment to the center of the card using foam squares.
Step 6: Fussy cut “beyond words” from a piece of the Choose Happy paper and add it to the sentiment to finish.

Thanks for stopping by! Let me know if you have any questions and have a happy scrappy day!
SUPPLIES: Lovely Blooms collection by Pinkfresh Studio at SBC and ACOT

Scraplift Layout by Ashley Neu


Monday, May 5, 2025

Hello friends! It’s Ashley Neu here sharing the layout I created for International Scrapbook Day 2025 in Paige's Happy Scrappy Place Facebook Group! International Scrapbooking Day is one of those days that I mark in the calendar every year. It is dedicated time to be in my craft room and let those creative juices flow! Paige hosted a day full of fun on iNSD and I was privileged to host one of the challenges. My challenge was scraplifting a scrapbook layout. The layout I picked was one from Allison Davis. Her layout inspired me because of how she spanned her photos all the way across the layout, even having them run off the edges. My photos are of my youngest daughter jumping off this rock wall that we found while visiting a local waterfall site. She had so much fun coming up with funny poses while in midair. My job was to try and snap the perfect photo, timing each photo just right! Here is my version of the scraplift.
To begin my layout, I dug out Paige’s Adventurous collection. I found this super fun purple checkered paper from the Project Pad. My daughter’s sweatshirt is this fun purple-blue color and I wanted to use colors in the layout that were captured in the photos. I grabbed 6 patterned papers from the Adventurous collection and pulled one patterned paper from Paige’s Blooming Wild collection. Next, I cut 3/4" strips and adhered them to the purple checkered paper, varying the heights for a fun look. I matted the photos on a piece of white cardstock, leaving a small gap between each photo. I found the perfect spot to adhere the photo strip and trimmed the slight overhang. Next I grabbed a fun piece from the Journaling Die Cuts and adhered it below the photo strip. This is where I created the title cluster. The title pieces came from the Puffy Phrase Stickers. I also used a handful of flowers from the Floral Die Cuts and framed in the title. I created a floral cluster above the photos and added in a small word sticker from the Sticker Book.

Thank you for stopping by Paige’s blog today! I hope you were able to find lots of inspiration and participate in some or all of the challenges on Paige’s Happy Scrappy Place Facebook Group. Go ahead and give scraplifting a try if you haven’t done so already!
SUPPLIES: Patterned papers, stickers, die cuts, embellishments: ADVENTUROUS

Our Story Layout by Paige Evans


Sunday, May 4, 2025

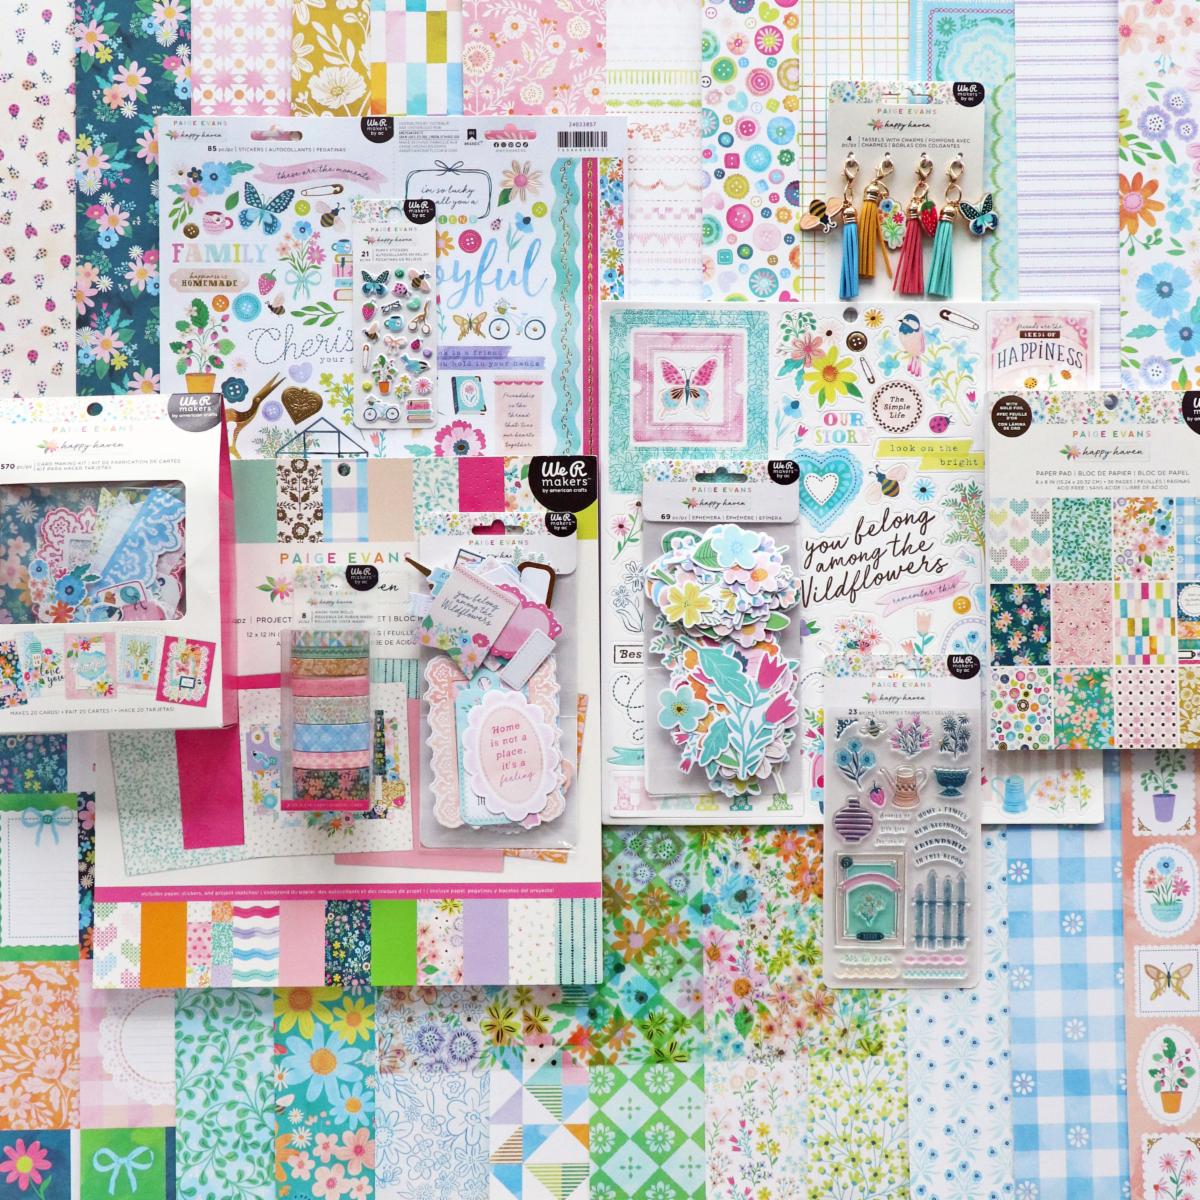
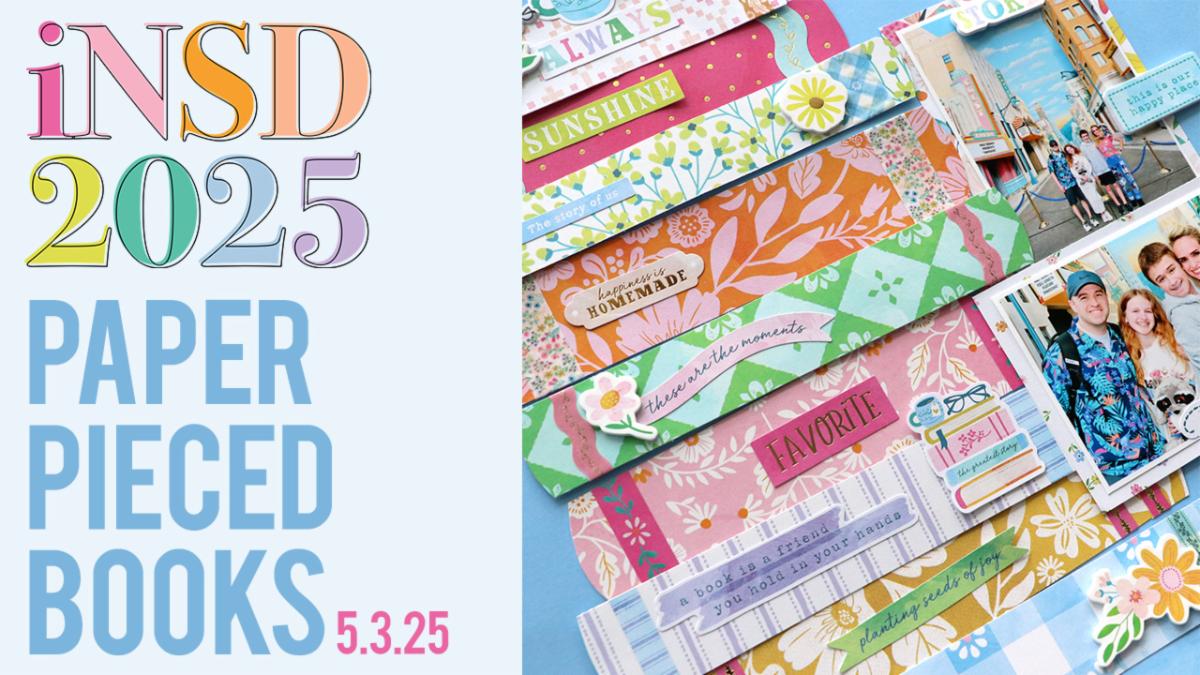
Here is the layout I made LIVE for iNSD using my brand new HAPPY HAVEN collection and featuring paper pieced books!
You can watch the replay of me making this layout live here:
PAPER BOOK DIMENSIONS: From the top to the bottom of the stack of 9 paper books, these are the measurements:
1) light pink geometric paper from the 12x12 Project Pad - 5 x 1¼”
2) dark pink with gold dots paper from the 12x12 Project Pad - 5¾ x 1¼”
3) yellow mini floral Paper 8 - 7 x 1”
4) orange/pink floral from the 12x12 Project Pad - 7 x 1½”
5) blue/green diamonds Paper 9 - 7¼ x 1¼”
6) pink floral Paper 4 - 6¾ x 1½”
7) purple stripes Paper 1 - 8 x 1¼”
8) yellow floral Paper 5 - 7½ x 1¼”
9) blue checkered Paper 7 - 8 x 1¼”
I used Washi Tape and sentiments & borders from the Cardstock Stickers and the sticker sheet in the 12x12 Project Pad to decorate the books and make them look more real. I stacked the books on a solid blue paper from the 12x12 Project Pad, alternating using foam tape and liquid glue and notice I staggered them slightly to look more lifelike. A few flowers from the Foam Stickers adorn the books and I topped the stack with a few stickers. I matted my 4x3" and 3x4" photos with papers from the 12x12 Project Pad and added a spot for journaling from the Journaling Die Cuts plus a few more bits and pieces as shown.
I loved putting this page together with you and can't wait to see your versions! Be sure to tag me so I can see! Have a happy scrappy day!
SUPPLIES: Patterned papers, die cuts, stickers: Happy Haven at SBC or Happy Haven at ACOT


Stitched Hearts Layout by Paige Evans


Saturday, May 3, 2025

Happy International Scrapbook Day 2025!! I have a jam-packed-full-of-fun day happening over in my Happy Scrappy Place Facebook Group including 9 challenges & prizes, 2 giveaways, 9 free cut files, and a LIVE scrapbooking session with me at 3pm Pacific/6pm Eastern Time! To join in the fun, simply refresh the FB page every 30 minutes for new content! My challenge is to add hand stitching. 
For this layout I used my new Happy Haven collection and embroidered the stitched hearts printed on one of the papers in the 12x12 Project Pad. I used all 6 strands of thread for the most thickness & texture. It took me about 9 hours to embroider this paper. Before stitching I trimmed the paper at an angle and cut out a little section so I could have an unstitched place to add photos.
Above are the DMC thread colors that I used to cross stitch the hearts printed on the patterned paper. I mostly stuck to tone-on-tone (pink thread on the same shade of pink heart) however, I wanted to use ALL the thread colors that match Happy Haven so sometimes I didn't stitch with the exact same thread color, but the same family - shades of blue thread on blue hearts, shades of yellow thread on yellow hearts, shades of pink thread on pink hearts, etc. Give me all the colors :)
Once the stitching was finished I adhered the pieces to a sheet of white cardstock and tucked two 3x4" photos into the bottom. I embellished every full stitched heart with a teeny tiny sticker tone-on-tone and I used icons from the mini puffy stickers, stickers in the 12x12 Project Pad, foam stickers, cardstock stickers, or stickers found in the boxed cards. I also fussy cut a few elements from the buttons patterned paper.
I created the title with a sticker from the 12x12 Project Pad stickers, wrote journaling above it with a pink pen, and clustered additional flowers around it. I simply love hand stitching and hope you'll give this challenge a try! Please post your challenge project in my Happy Scrappy Place Facebook Group by 11pm Pacific Time on Saturday May 17th 2025. Winners will be announced in my Facebook Group on Monday May 19th 2025. Open worldwide. I can't wait to see what you create!
SUPPLIES: Patterned paper, stickers, die cuts: HAPPY HAVENwhite cardstock; DMC threads: 602, 3806, 3689, 819, 3779, 3854, 728, 11, 834, 704, 964, 992, 162, 3325, 211, and 3810; foam mat; paper piercer; sewing needle; liquid glue; foam adhesive; 12" paper trimmer; scissors; journaling pen

International Scrapbook Day 2025


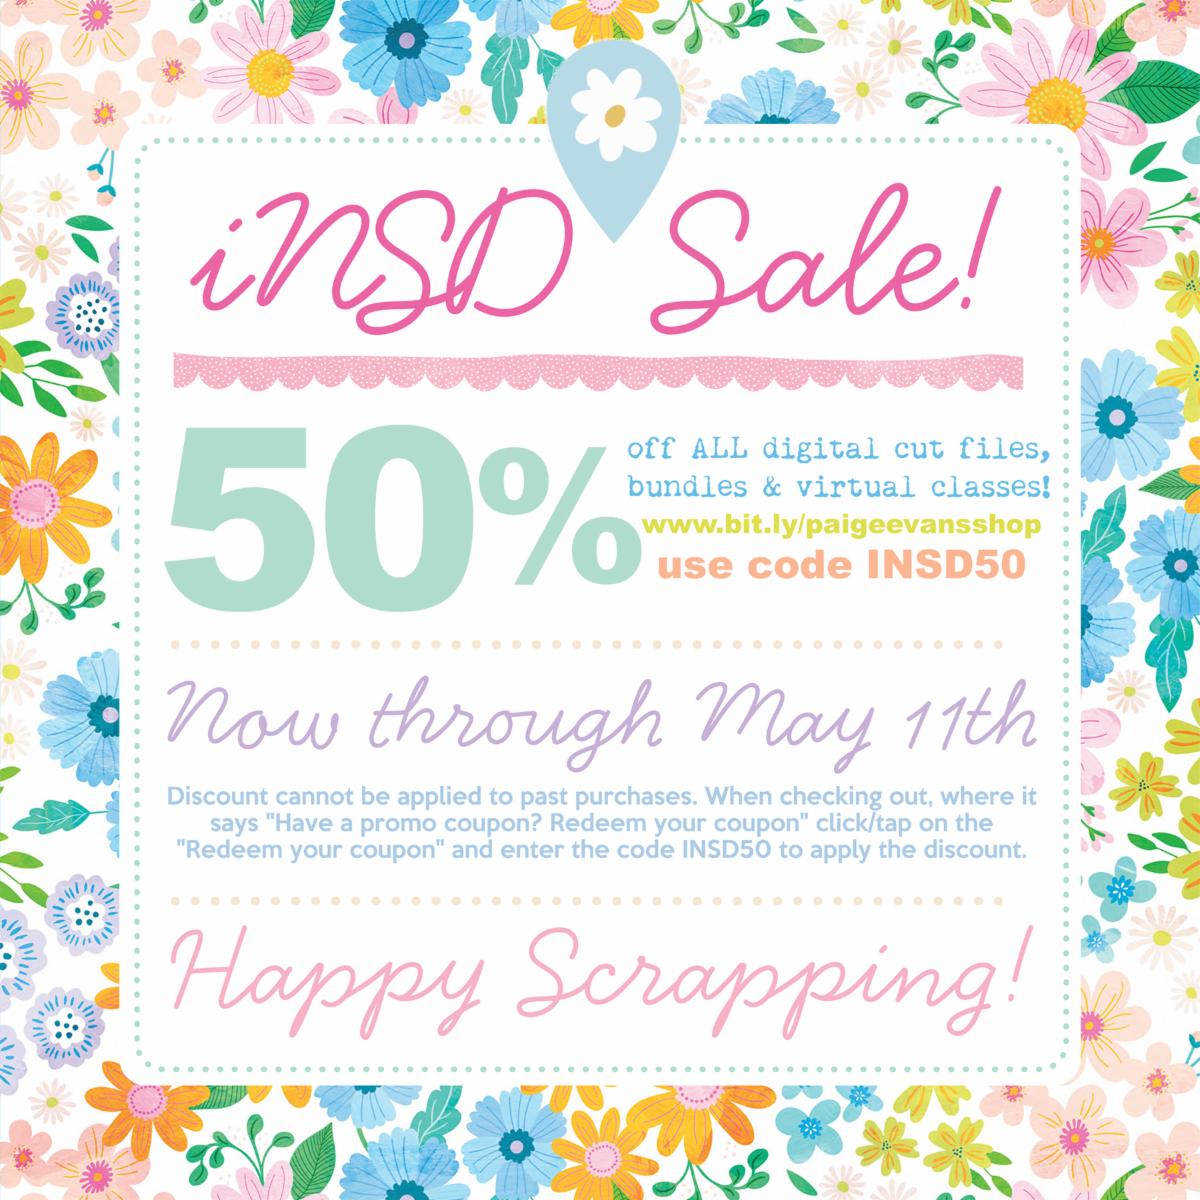
Now through May 11th enjoy 50% off ALL single cut files, cut file bundles,

& virtual classes in MY SHOP with coupon code INSD50.

PAIGE'S SHOP
SINGLE CUT FILES
CUT FILE BUNDLES
MINI ALBUM CLASSES
LAYOUT CLASSES

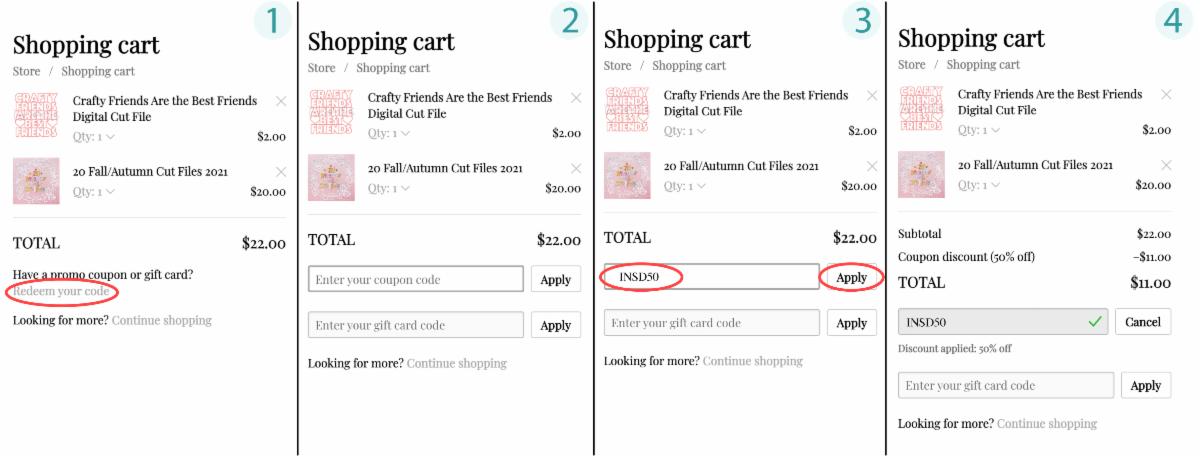
When checking out, click/tap on the "Have a promo coupon? Redeem your coupon" and enter the code INSD50 to apply the discount. Discounts cannot be applied to past purchases.

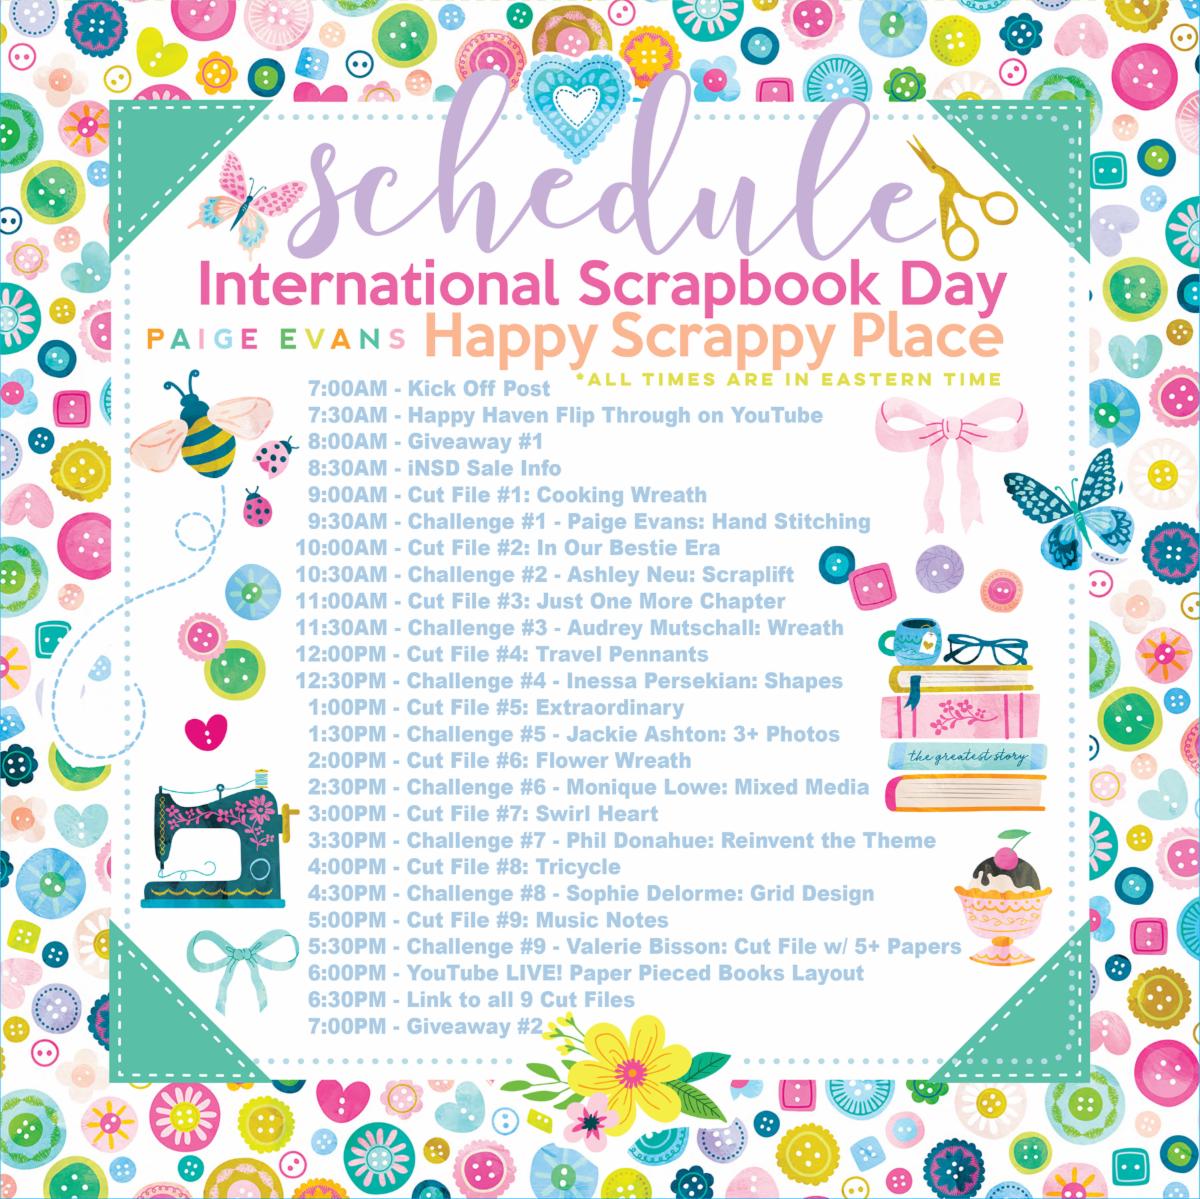
International Scrapbook Day 2025 is tomorrow - Saturday May 3rd! Join me and my design team in my Happy Scrappy Place Facebook Group for a special day filled with 9 challenges & prizes, 2 giveaways, 9 free cut files, and a LIVE scrapbooking session with me! To join in the fun, simply refresh the page every 30 minutes for new content and the schedule is posted below.

HAPPY SCRAPPY PLACE FB GROUP

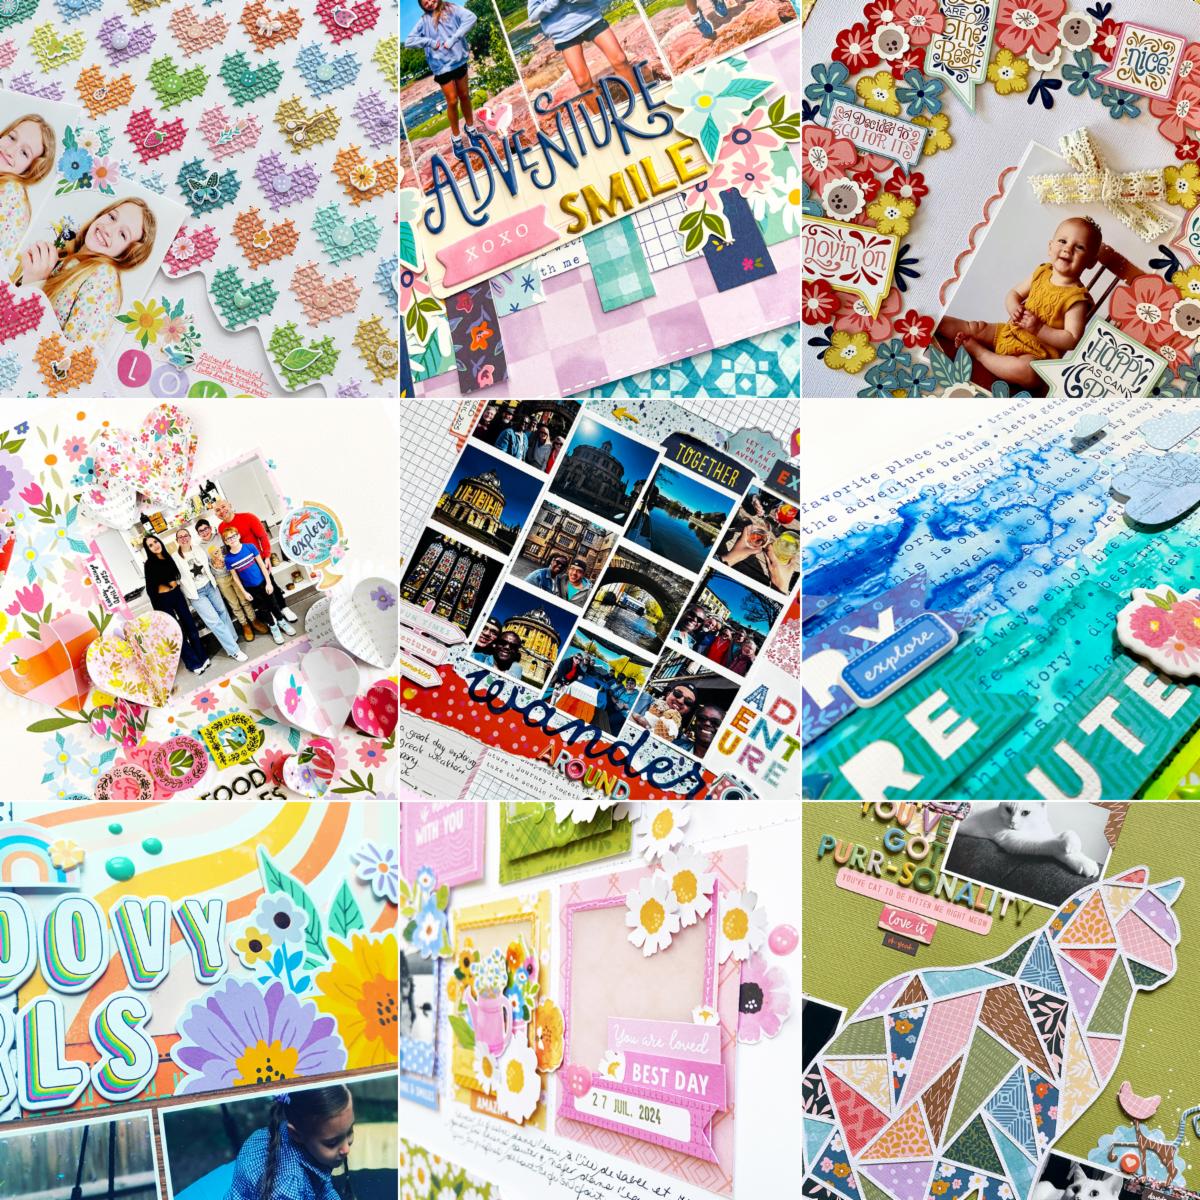
Below is a sneak peek of the 9 challenges that we've curated for iNSD 2025!

Please note: all projects created for the challenges should be new and made specifically for these challenges and they do not have to use my collections or cut files unless specified in the challenge. All challenge projects should be posted in the challenge post comments by 11pm Pacific Time on Saturday May 17th 2025. Winners will be announced in my Facebook Group on Monday May 19th 2025. Open worldwide! I can't wait to see what you create!

Tomorrow I have a flip through of my Happy Haven collection going up on my YouTube channel! Join me as I walk through all 24 products which is my 19th and final signature line with American Crafts. From birds and butterflies to garden icons, friendship sentiments, and flowers galore, this collection is perfect for all your spring pages and so much more!

Please note that throughout the video I may reference offering pre-orders in my shop, however I will not be receiving my order of Happy Haven so pick it up whenever and wherever you can! I have affiliate linked to where you can purchase Happy Haven at scrapbook.com and A Cherry On Top below:

HAPPY HAVEN AT SBC
HAPPY HAVEN AT ACOT

Join me LIVE at 3pm Pacific/6pm Eastern time on my YouTube channel to learn how to create a layout featuring paper pieced books using my brand new Happy Haven collection! This live will last around an hour, is free to watch, anyone in the world can join in the fun, and the video will be saved in my MWMM Playlist so if you can't join the live you can watch it later and/or watch it again! An electronic cutting machine is not needed to create this page, we will cut and paper piece the books together during the live!

YouTube LIVE

Below are the two giveaways I have planned in my Happy Scrappy Place Facebook Group tomorrow to celebrate International Scrapbook Day 2025! There may or may not be a surprise third giveaway at the end of the day ;)
Here is a sneak peek of the 9 freebie cut files that will be given to you throughout the day in my Happy Scrappy Place Facebook Group tomorrow to celebrate International Scrapbook Day 2025!

IN CASE YOU MISSED IT

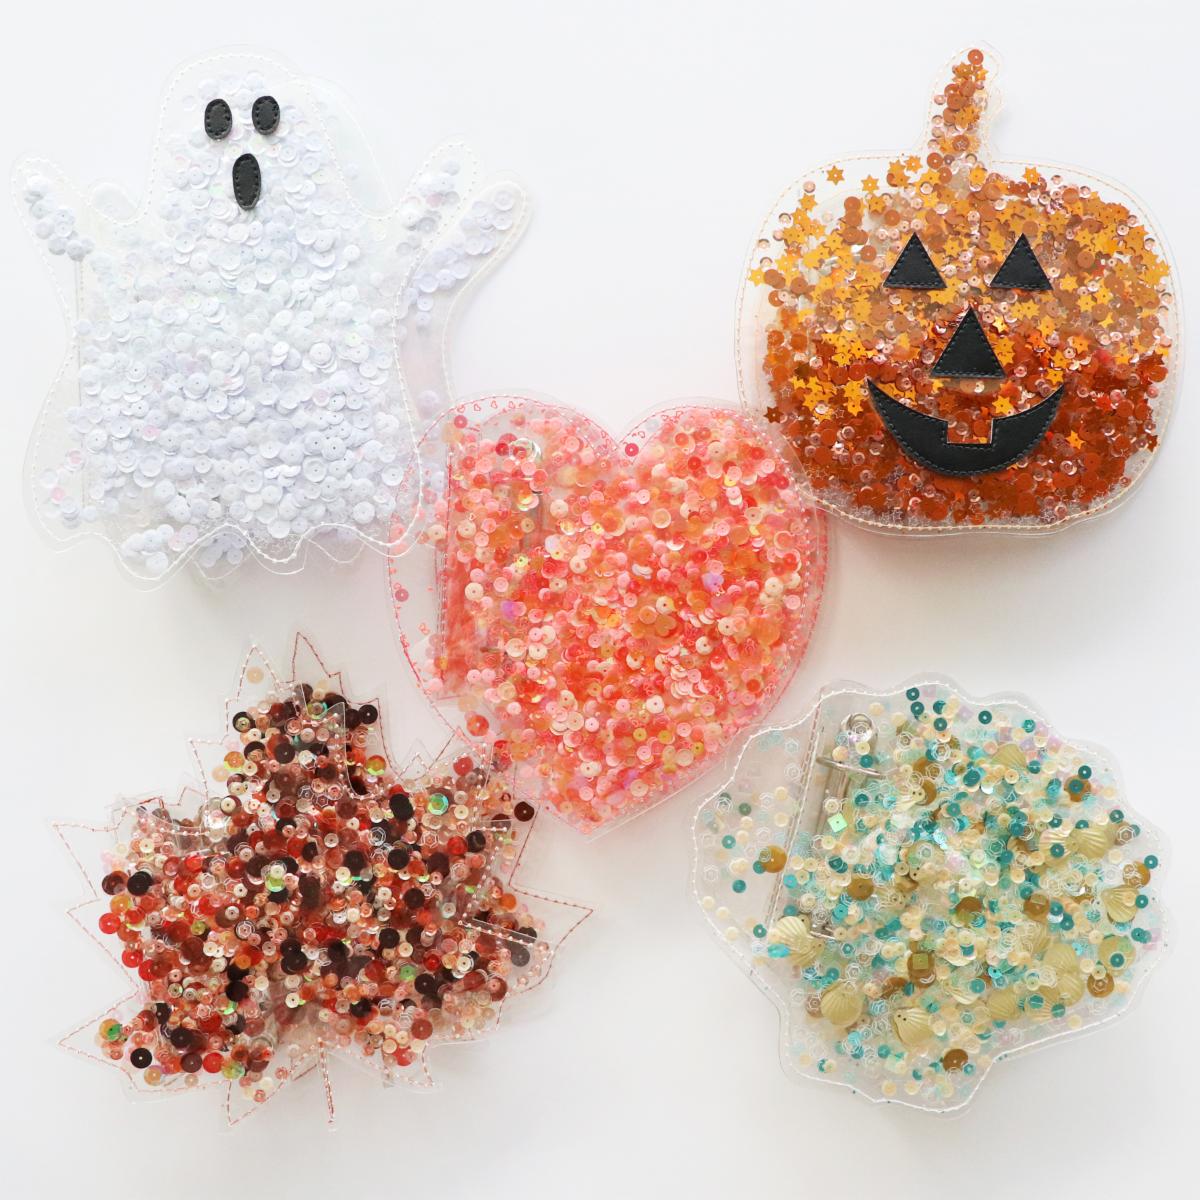
I have one bundle of all 5 new sequin albums available for pre-order, shipping around May 22nd 2025!

SEQUIN ALBUMS

There are a few spots left to join us for 2 fun-filled days of learning, crafting & creating at Lovely Lane Weekend!

LOVELY LANE WEEKEND

Join me on an Alaskan Cruise & Crop July 24th-31st 2026! Only 4 spots left! Let me know if you have any questions & I hope to "SEA" you there!

CRUISE & CROP

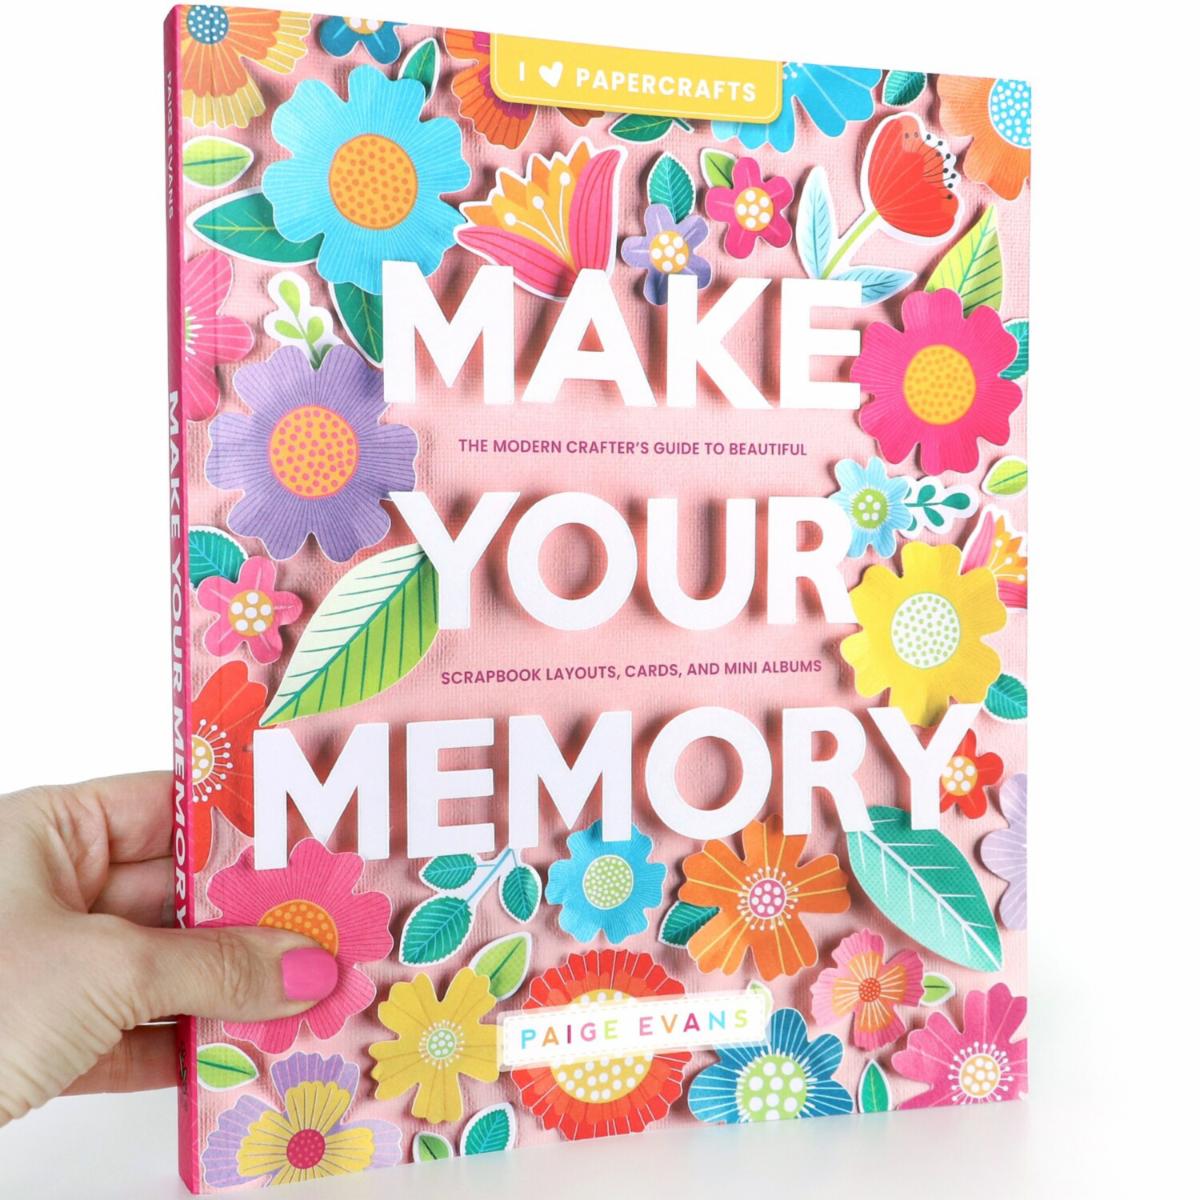
I have signed copies of my Make Your Memory Book filled with photo tutorials for creating layouts, cards, and 3 mini albums!

MAKE YOUR MEMORY BOOK

Paige Taylor Evans © // Quinn Creatives DESIGN