
Heeey friends! I have a new mini album to share with you today, focusing on mixed media and my new STENCILS and then I embellished with my old Whimsical collection (sold out now but you can find the entire digital collection HERE).
Here is a tutorial for creating the base of this mixed media mini album and then a flip through at the end of the finished book:
I began by die cutting six 5 3/4" hearts from thick, white, smooth Bazzill Basics cardstock. Then I coated the front side of each heart with white gesso and let them dry and then coated the backs and let them dry. Next I grabbed my STENCILS (I currently have 7 available for purchase)...

...and scraped white modeling paste through with a palette knife to create awesome texture on the front of each heart, let them dry, then did the backs - one design per side so I could feature all 12 of my STENCILS.

Once the modeling paste dried, I grabbed a piece of sandpaper and smoothed the edges. Time for paints and sprays! I used a different color of acrylic paint on each heart and used lots of water and picked up some of the excess with paper towels. I sprayed coordinating colors and dropped inks on top for more interest and let everything dry between coats.
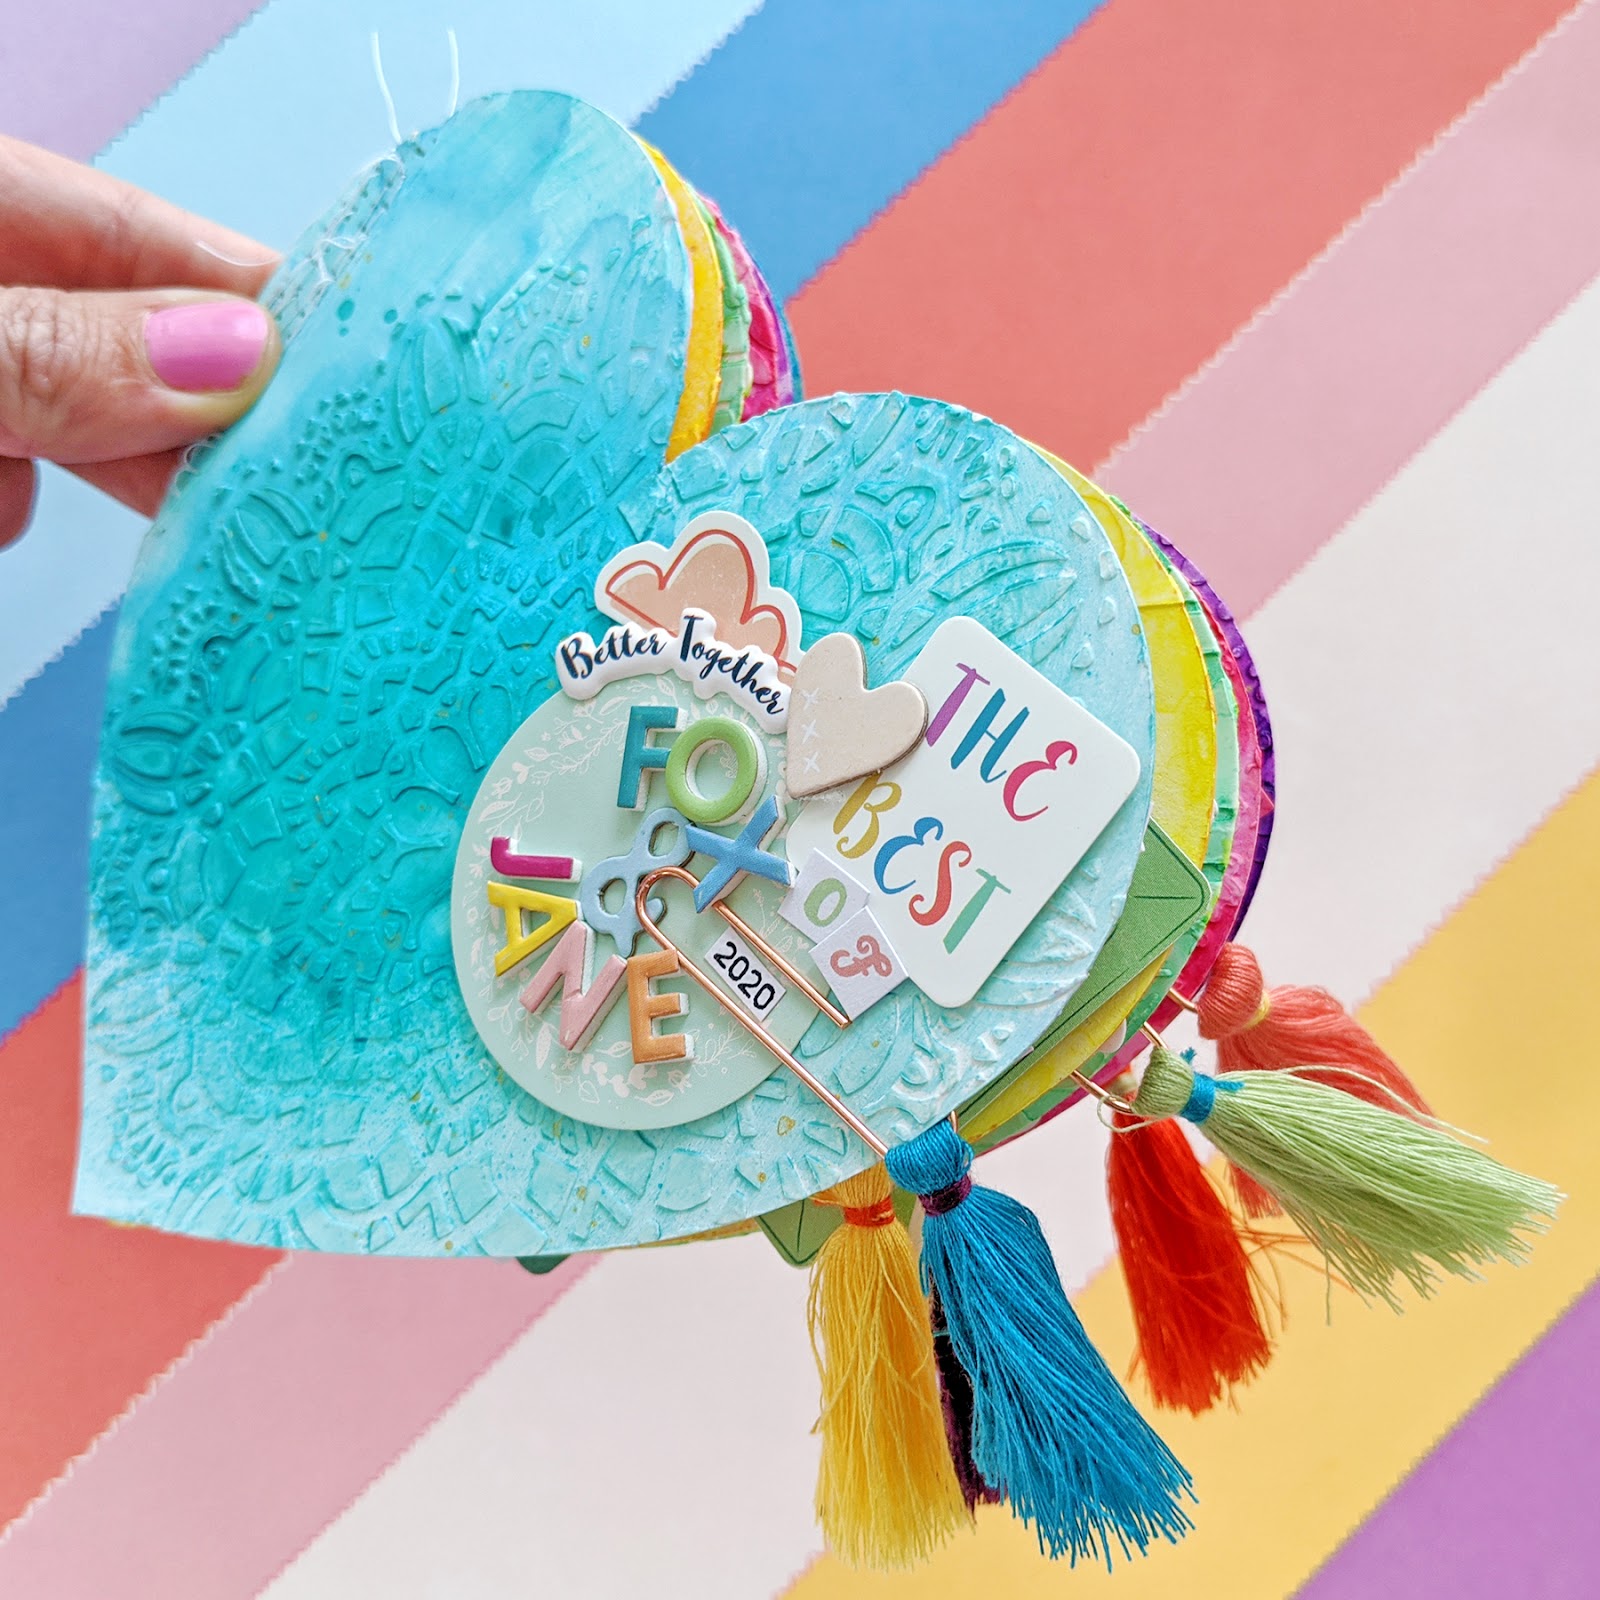
To assemble the album I figured out the order I wanted the hearts and then used a scoring board and scored 1/2" from the left side of each heart. I piled the hearts together and machine stitched repeatedly down the left edge. The base is complete! Time for photos and embellishments! I decided to make this album about Fox and Jane so far in 2020. Again, I used my Whimsical collection so everything you see is from it.

The cover features my old Doily STENCIL then I layered stickers and made the title. On every page I added a tassel paperclip for texture and to help turn the pages.

Here is the first spread with my Flowers stencil on the left and Sunburst Rays stencil on the right. I tried to keep the stickers and photos layered together in clusters to let the texture from the backgrounds shine through. It's a bit of a sticker sneeze situation, and I'm A-OK with that :)

The first page features Fox and Jane on their last day of in-person school at the beginning of March. There are a lot of school and craft-themed embellishments in Whimsical so it fun to add as many as I could to this page.

The second page has pics of the kiddos eating at some of our favorite places.

I had lots of pictures I wanted to include so I stapled 4 of them together and added them to the top right side.

The second spread has the Leopard Print stencil on the left and Chevrons stencil on the right with more clusters and photos of Fox and Jane being their cute selves.


On the third spread I used the Tiles and Flower Garden stencils on the third spread with layered pics of them in the great outdoors on the left and gaming together on the right.


The fourth spread uses my Wonky Hearts and Polka Dots stencils and photos from Easter and the last movie we saw in the theaters before quarantine.


On the last spread I used my older Heart Confetti stencil on the left and Fish stencil on the right with photos of the kids hugging and then swimming in various bodies of water.


The back cover features my old Star Confetti stencil. If there is enough interest in my retired stencils I can place a new order for them, just let me know in the comments. Otherwise, you can find all of my current stencils HERE.

I hope you enjoyed seeing how this mixed media mini album came together! It was a fun creative exercise for someone who doesn't particularly love the messy side effects lol :) But the results are totally worth it! I hope you're inspired to pick up my STENCILS and get crafty! See you again soon!

SUPPLIES: STENCILS; Bazzill Basics cardstock; gesso; modeling paste; acrylic paints; sprays; scoring board; Patterned papers, stickers, Thickers, tassel paperclips, embellishments: WHIMSICAL digital collection


Wow wow wow!! This is absolutely AMAZING! Loving the colors and textures you made and loving the photos!! Pinning this!!!!
ReplyDelete