Hello crafty friends, Amber Mitchell here on Paige's blog today to share this fun project I created using a handful of Paige's cut files and the colorful Go the Scenic Route collection!
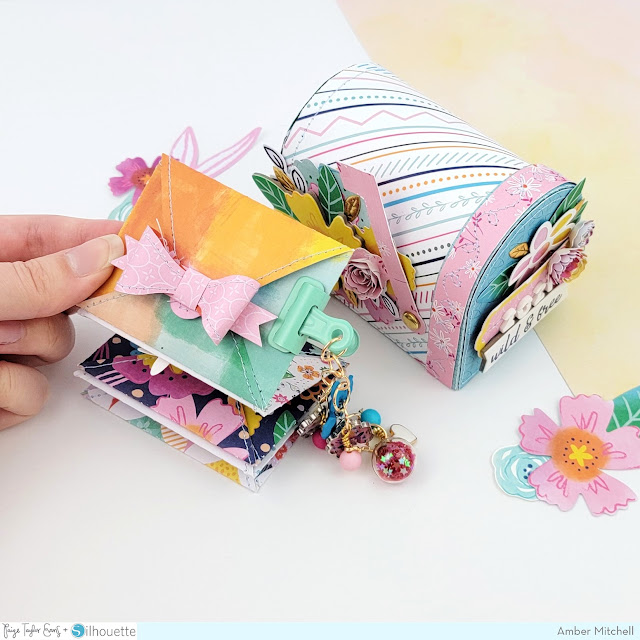
Mini albums have been one of my favorite things to create the past couple of years. I love how fun and personalized they can be. Paige's Envelope Mini Album with Tags cut file makes the process of creating a mini extra fun. It's easy to put together and I love how interactive it is. This is actually my second time using this cut file because it's so versatile!!
To kick off this project, I first cut 5 individual envelopes from the 6x8 Paper Pad. I then cut 5 of the tags and the bow included in this cut file from scrap papers I have from Go the Scenic Route. With all my pieces cut, I used my sewing machine to add stitching in light blue thread along all of my pieces.
I then assembled all of my envelopes together and accordion folded them. Note: I did resize the cut file down to create a smaller version of this for my mini album.
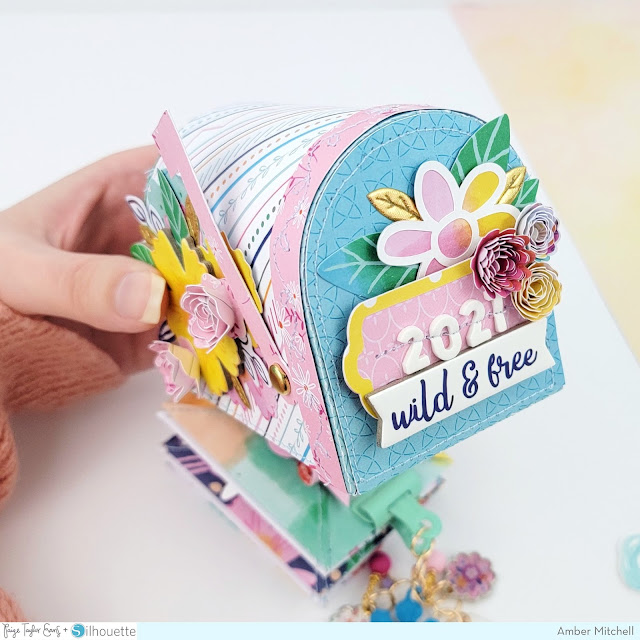
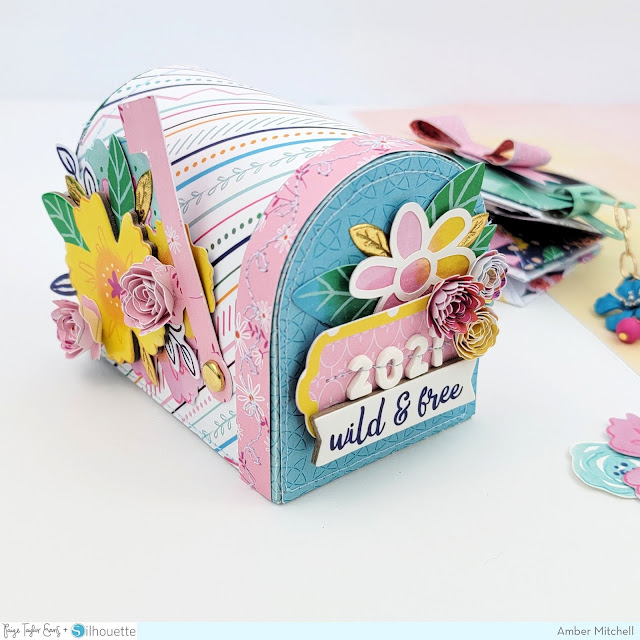
Since my album is on the smaller side, I decided to create a storage box for it. After some deliberation, I thought a cute paper mailbox was the way to go! Plus, it fits the travel theme of this collection perfectly!
To embellish the outside of my mailbox, I used a few different cut files from Paige: the Set of 3 Labels cut file had the perfect shaped label to create the number plate for the front of my mailbox, which I marked with "2021". I used the Mini Foam Thickers to do this. Behind the number plate I attached a small flower from the Hand Drawn Flower Set cut file. I cut this flower from white cardstock and backed it with scrap papers from the collection. I love the happy, spring feeling that it added to the project!
And as always, I used some of Paige's Rolled Flowers cut files to brighten things up and add dimension. When it came to embellishing the rest of the project, I used a mixture of the Chipboard Stickers, Floral Die Cuts, and Ephemera Die Cuts, all from Go the Scenic Route.
The last touch was to add some fun, happy charms to the mini album itself. I used a bulldog clip to attach them. I love how the bright blue Flower Charm from Bloom Street complemented the two Charms from Go the Scenic Route. A few extra bits from my stash tied everything together!
Thanks for joining me on the blog today! I'll see you next time with another fun project!
SUPPLIES: Patterned papers, stickers, die cuts, charms, embellishments: GO THE SCENIC ROUTE; Die cut machine: Cricut; Cut files: Envelope Mini Album with Tags, Set of 3 Labels, Rolled Flowers, Hand Drawn Flower Set by Paige Evans
Location: California, USA / Blog: Happy Crafty Studio / Instagram: @bambidearr / YouTube: bambidearr / Pinterest: bambidearr


Such a cute & fun project. I'm thinking I'd like to make this for Easter gifts, almost like a Christmas stocking. Where is the mailbox from? Is it also a cut file? Thank you for sharing.
ReplyDeleteThe mailbox is a cut file from the Silhouette Design store. They have many different styles :)
DeleteI am constantly blown away and inspired by your creativity. Everything you design and create is so charming and cute Amber. LOVE, love, love it all 😍xK
ReplyDelete