
Hi friends! Heidi Lewis here and I am so excited to rejoin Paige's Cut File Design Team!
Today, I want to share with you my 4-step process for making a layout.
.JPG)
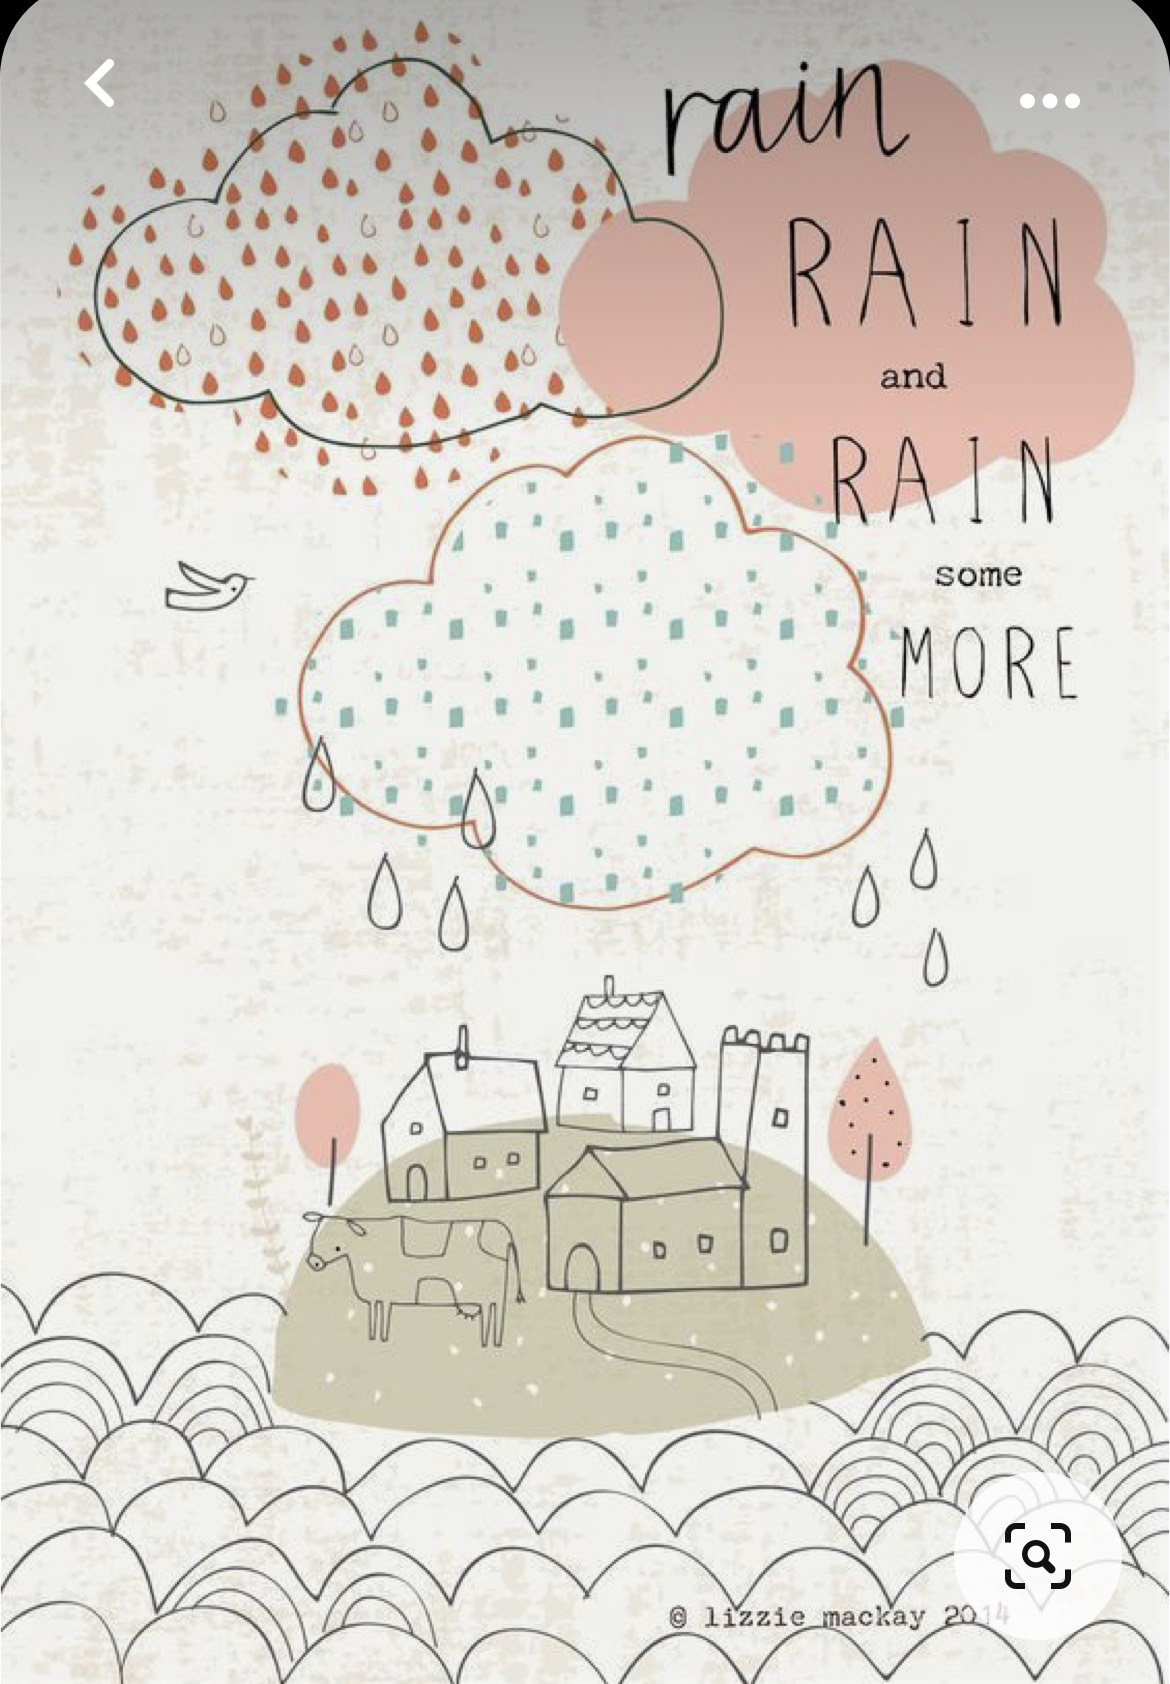
1) First I find an illustration on Pinterest as the starting point for my layout design. This is the illustration I chose to work with:
2) Next, I head over to the Silhouette design store and pick one or two cut files that will help me recreate the illustration. Paige has over 2000 cut files which makes it easy to find any shape I need. For this layout, I used the Cloud Trio and Lace Border cut files.
3) I upload the images into Cricut Design Space and adjust the size and colors of the cut file. I often add squares or rectangles as photo place holders to determine the size and placement of my photos. Once I’m happy with the design, I choose my papers and start cutting. Here’s what the layout looks like in the design phase:
.JPG)
4) Since I plan the layout design ahead of time on the computer, I can start playing with embellishments right away! I like to refer back to my inspiration to help me choose the icons I use on my layout. For example, I pulled some chipboard houses and trees from Bungalow Lane and some rainy day stickers from Bloom Street to create my little scene. The last thing I do is find a photo that matches the colors or theme of the layout. I love the creative process, so the photos are almost an afterthought for me lol.

Hope you enjoyed seeing a little peek into my creative process!
SUPPLIES: Patterned papers, stickers, Thickers, die cuts, sequins, enamel shapes, embellishments: SPLENDID; white cardstock; Cut files: Cloud Trio and Lace Border by Paige Evans


Post a Comment