
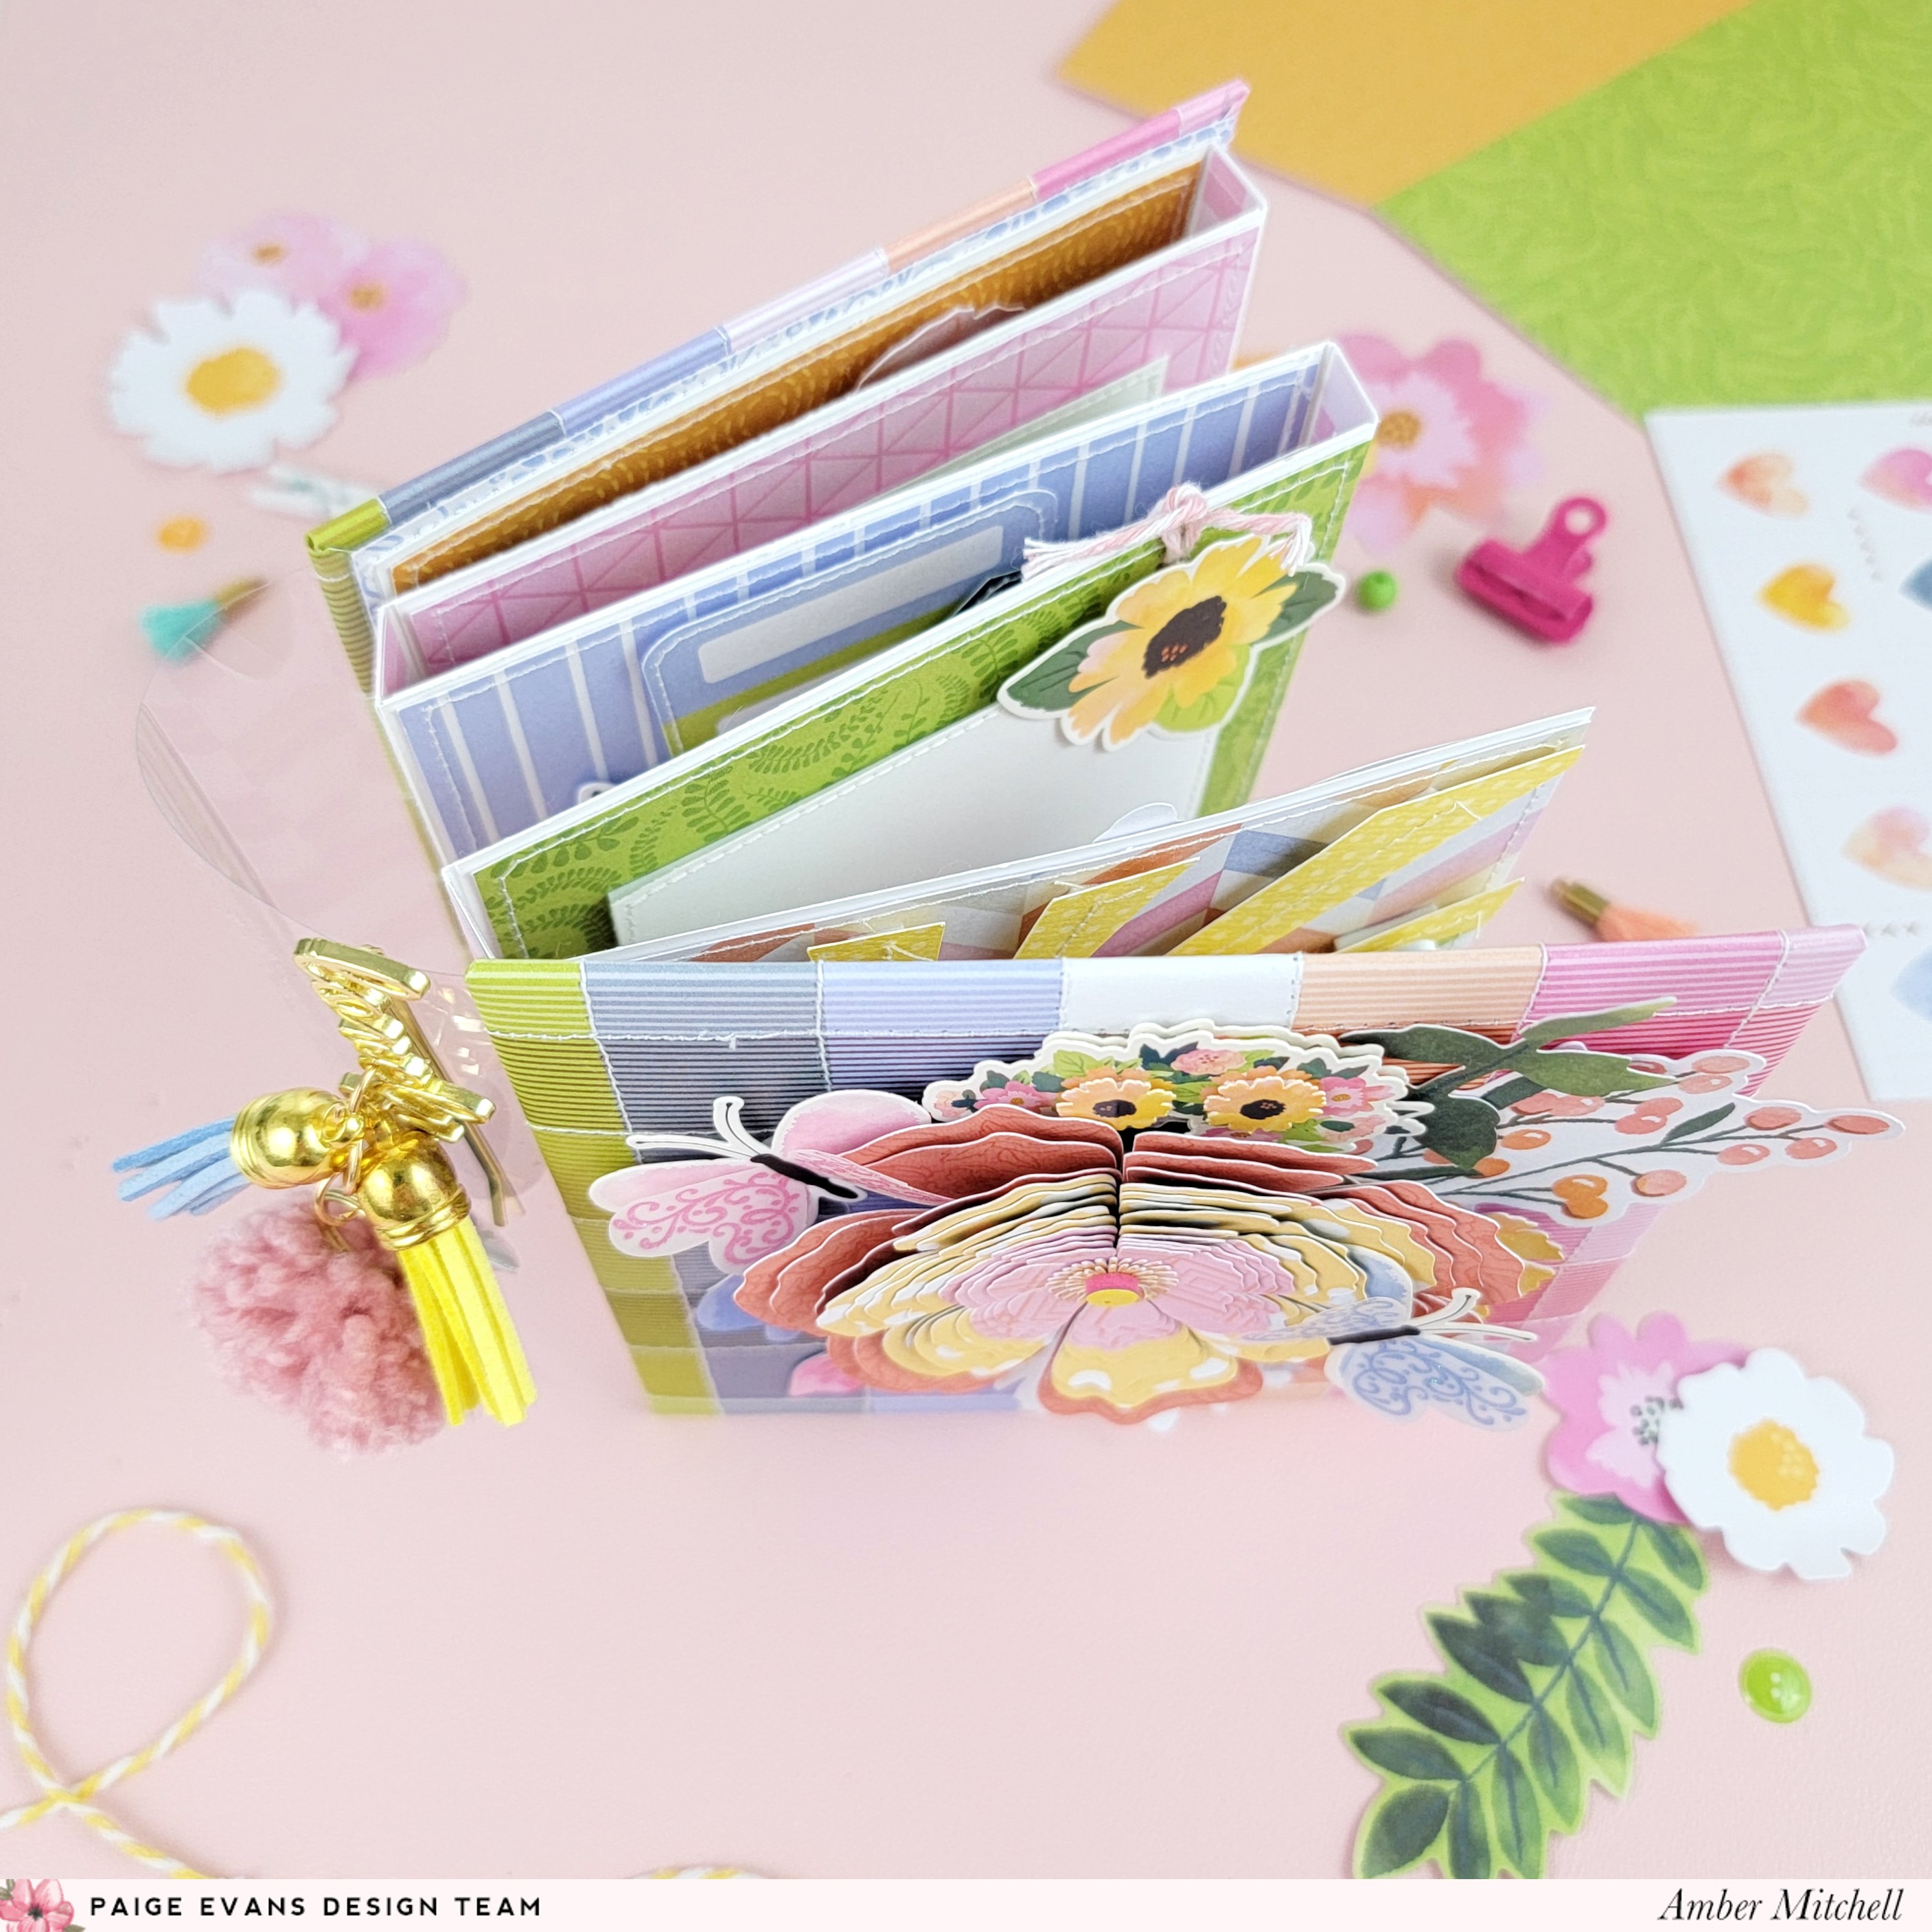
Hello crafty friends! Amber Mitchell here on Paige’s blog today to share with you an accordion-fold mini album that I created using the Garden Shoppe collection, chipboard, and clear acetate. Accordion mini albums are some of my favorites to make - they’re easy to put together, they have a ton of space but are also compact, and they’re interactive which makes them fun to flip through!

To create the front and back cover of this album I used two pieces of chipboard that measured 5 x 5 inches. I chose a colorful grid patterned paper from the 12x12 Paper Pad to wrap the chipboard with. Before wrapping the chipboard though, I first used my sewing machine to stitch along the edges of all of the colored squares. This added a lot of extra texture to the covers.

After wrapping my covers, I took a sheet of clear acetate that measured 4.75 x 6 inches and adhered both ends of it to the inside edges of my covers using super sticky double-sided tape. The length of this acetate will determine the size of the spine, so feel free to change the measurements based on your preference! To finish off the base, I lined the inside of my covers using sheets of patterned paper that measured 4.75 x 4.75 inches.
To create the accordion-fold pages for this album, I used sheets of patterned paper that measured 4.5 x 9.5 inches. I scored these papers on the long side at 4.5 and 5 inches. This creates a half inch gusset which provides plenty of room for dimensional embellishments. I used 4 sheets like this and adhered them together to create my pages. I then folded them accordion style and adhered the back of the last page to the inside of the back cover, fixing the entire group of pages to the base.

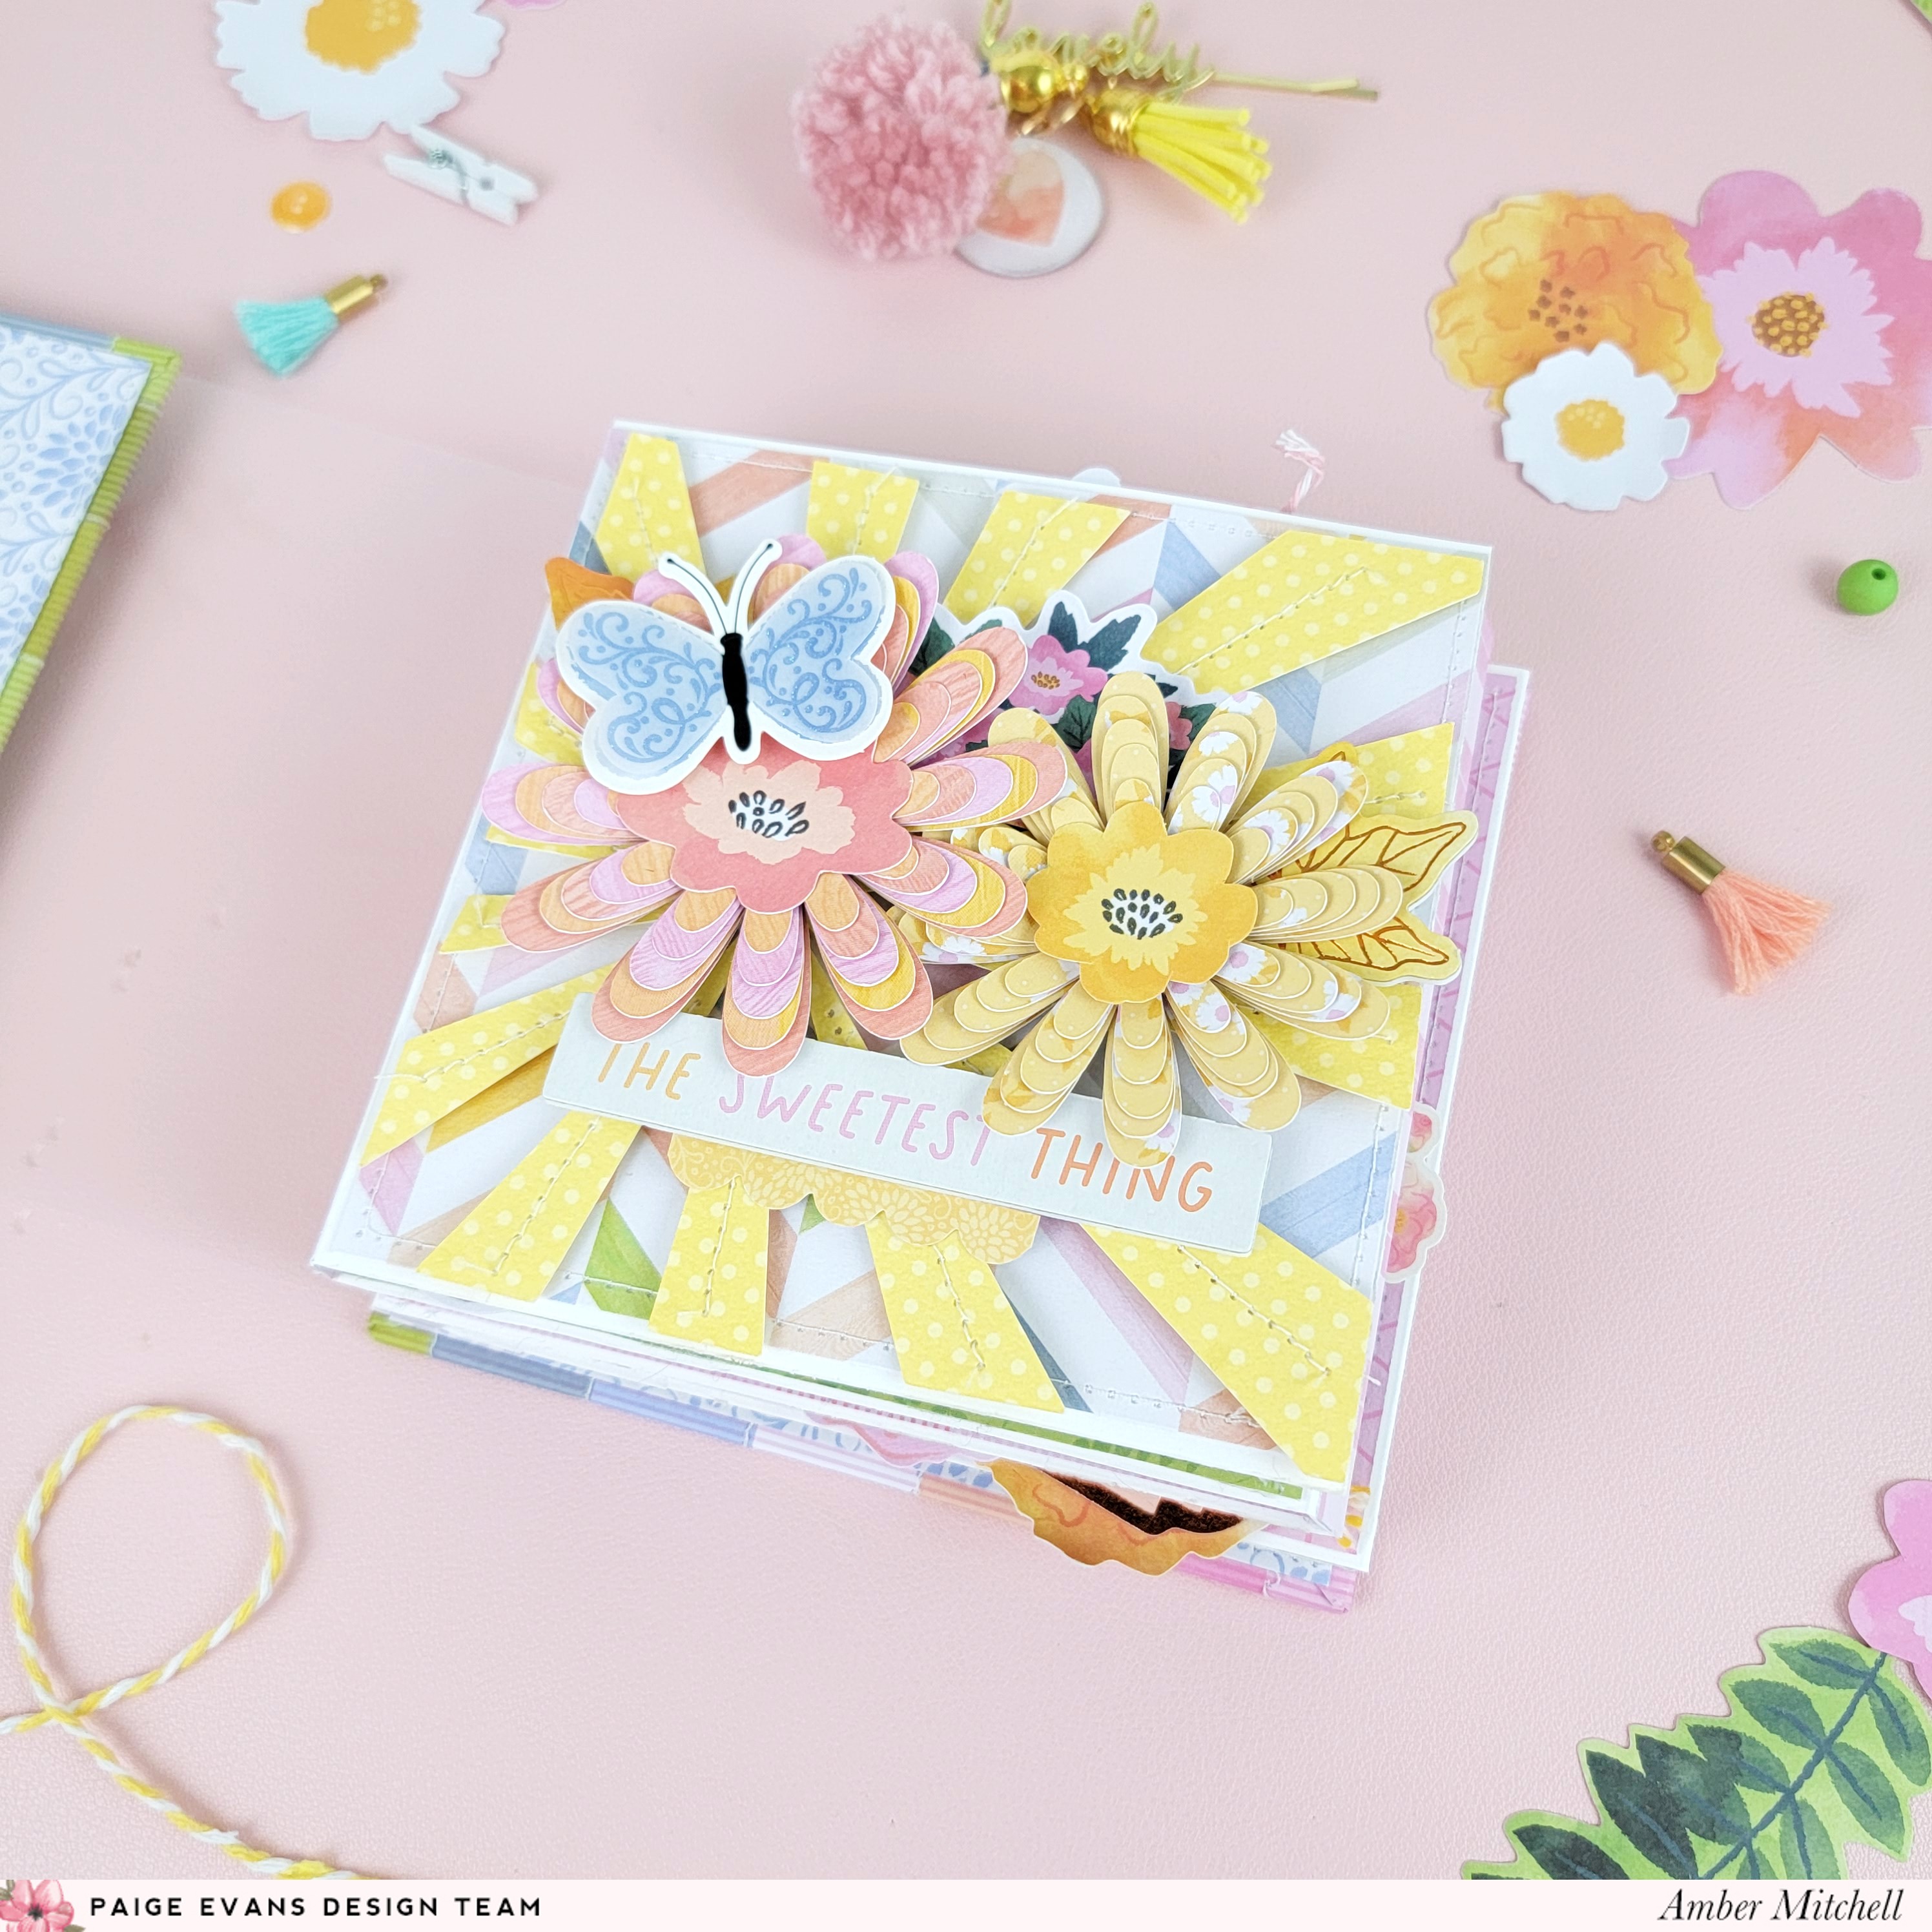
With the base of the album complete, I moved onto the best part - embellishing! I decided that I wanted a large statement piece on the cover of this album so I used one of the flowers from Paige's Layered Flowers and Leaves cut files to create an extra-large three-toned flower. I adhered this to the center of the front cover and then added a mix of flowers from the Floral Die Cuts around it. To finish off this cluster, I added a sentiment sticker from the Cardstock Stickers and a few butterflies from the Butterfly Stickers.

To decorate the title page, I used two cut files from Paige. The first was the Sunburst Rays Background. I machine stitched along all of the sunburst rays and then used foam tape to glue it down. The foam tape allows for subtle dimension and makes it look like the rays are popping off the page. I then used another flower from the Layered Flowers and Leaves to create two different sized flowers. For the title, I used a sentiment from the Foam Phrase Stickers.

For the rest of the album, I used a mix of different interactive elements. I started by laying down different sized photo mats that I made from white cardstock. I then added pockets to two pages to allow extra room for photos and journaling. Over some of the larger photo mats I added interactive cut aparts. One is a tag that can be flipped up to reveal journaling and the other is a fun cut-apart that an extra photo can be added to. I used pieces from the 8-Page Sticker Book, Ephemera Die Cuts, and Layered Stickers to add embellishments around these elements. For a finishing touch, I created a small dangle of tassels, a handmade pompom charm, and a handmade enamel charm. I attached this dangle to a clip and I added that to the spine.

This album was so much fun to make! I love how interactive and colorful it is! Garden Shoppe is definitely shaping up to be one of my favorite collections to work with!
Thanks so much for stopping by my post today! I’ll see you next time with another fun project!
SUPPLIES: Patterned papers, die cuts, stickers, embellishments: GARDEN SHOPPE; white cardstock; chipboard; clear acetate; Cut files: Layered Flowers and Leaves and Sunburst Rays Background by Paige Evans

Location: California, USA / Blog: Happy Crafty Studio / Instagram: @bambidearr / YouTube: bambidearr / Pinterest: bambidearr


Post a Comment