
Hey crafty friends! Amber Mitchell here on Paige's blog today to share with you a mini album that I created using a binder ring mechanism and the Floral Transparency paper from the Sugarplum Wishes collection. I've been wanting to try my hand at creating a handmade, ring bound album for a while now and I'm so happy with how this one turned out! I also learned quite a bit during this process and I'm excited to make another in the future!
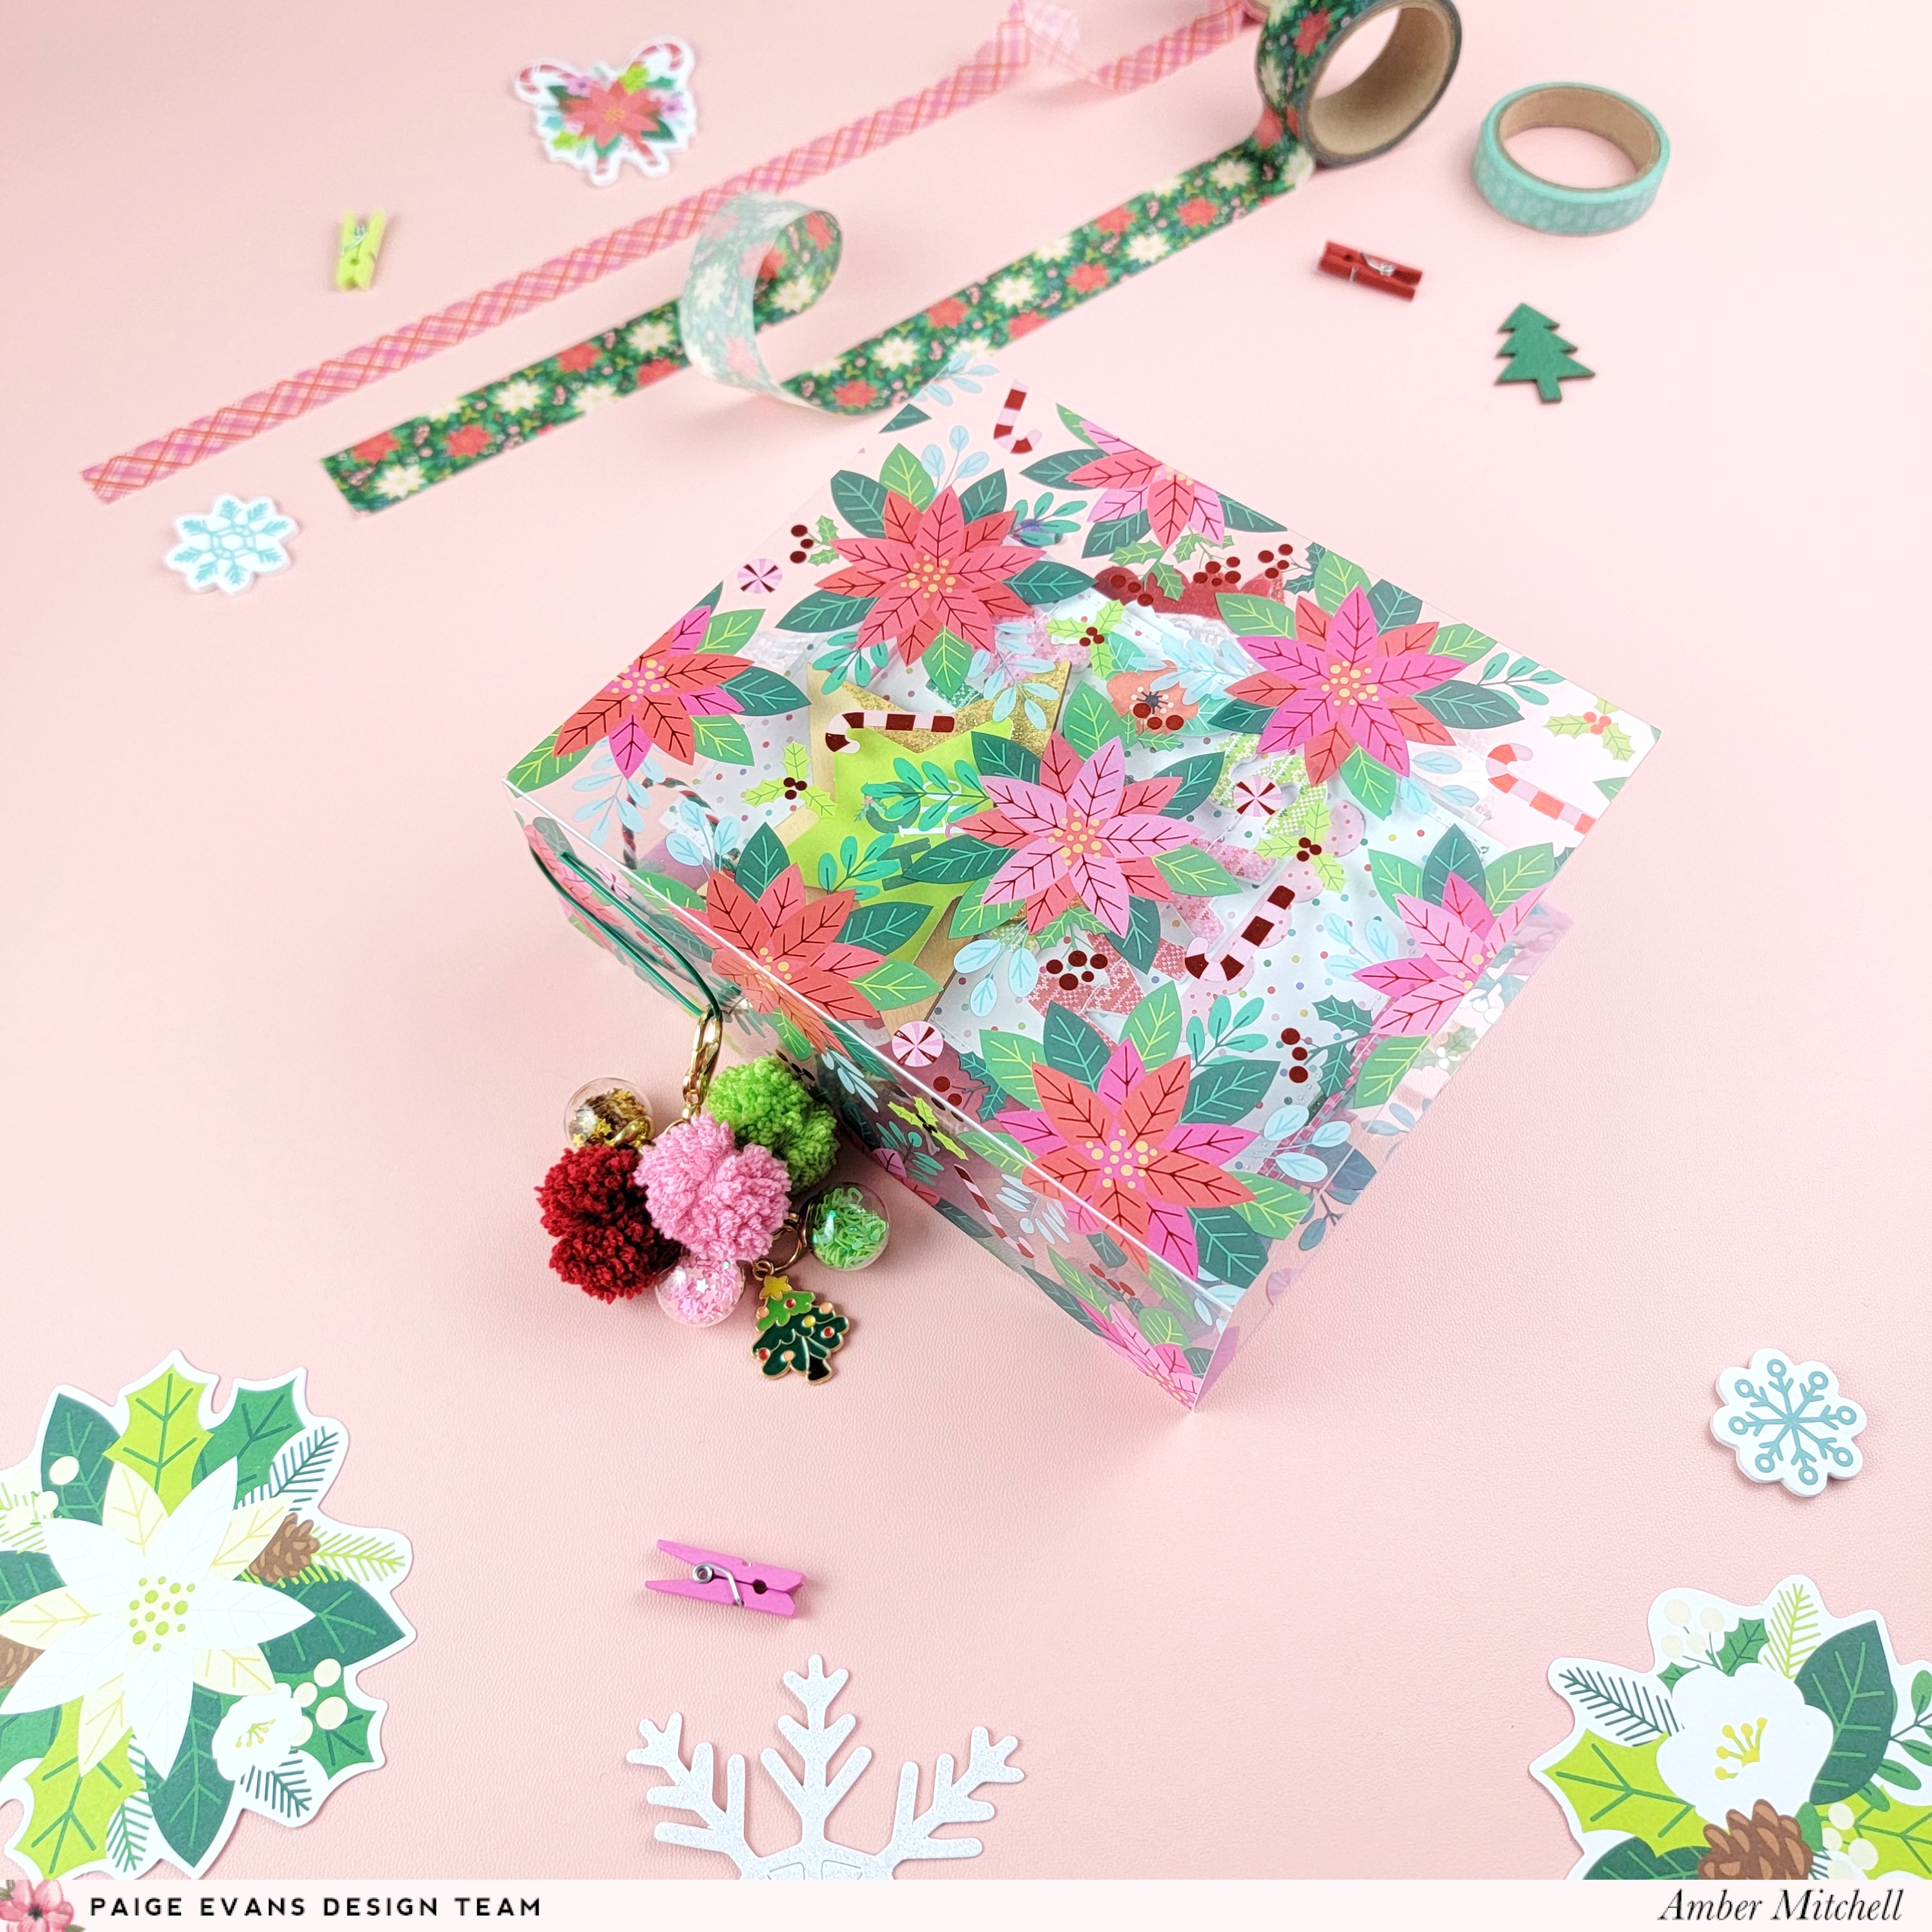
Creating the base of this album only took a short time and was relatively straightforward. I first started by trimming a 6x12 inch sheet from the Floral Transparency. I love the red foiling on this specialty paper and thought it would make for the prettiest album base! I scored this sheet of paper at 5 and 7 inches on the 12 inch side. I then used a scoring tool to crease these lines really well so that the base would hold its shape. Next, I used a binder ring mechanism in pink, that I bought on Amazon. I attached this mechanism to the bottom of the album base, about half an inch away from the spine. Part of trying something new is learning the do's and the don'ts of a particular process. This was my first time working with a mechanism and my first attempt at securing the mechanism to the base did not go so well. Luckily, I had some eyelets in a similar shade of pink on hand - I used these to attached the mechanism to the base. It's not as clean a look as it would have been with the proper bits and pieces, but it worked and held the mechanism securely in place! So, in just a few steps, the base of this album was ready to go!

When it came to embellishing the outside of this album, I opted not to. I think that the beautiful flowers and red foiling on the Floral Transparency were decoration enough and I really wanted to keep it simple to let those stand out. I did, however, create a small dangle of handmade pompom charms and few store bought holiday charms that I attached to the spine using a large, dark green paper clip. I think this added just enough "fun" to finish off the base!

The pages of this album vary in shape, size, dimension, and texture. Whenever I create a ring-bound album I like to experiment with different types of pages that I can make by hand. It can be a fun challenge and I always love how the various pages look together!

For a few of my pages, I just used double-sided sheets of paper that measured 3.25x5 inches. I created these by machine stitching two sheets of patterned papers from the 6x8 Paper Pad together. I liked the smaller icon images that this paper pad had in its patterns. I created another page using a half circle shape that I cut using my Cricut. I love half circle pages and lately I find myself trying to include them in as many projects as I possibly can!

For some more fun, I created a couple of pages using plastic photo sleeves that I cut down in size to fit in the album. To these pages I added wooden Christmas shapes and sequins that matched the holiday theme and the colors in the Sugarplum Wishes collection. I also created a page using an envelope that I made using a paper from the 12x12 Paper Pad and my We R Makers Envelope Punch Board.
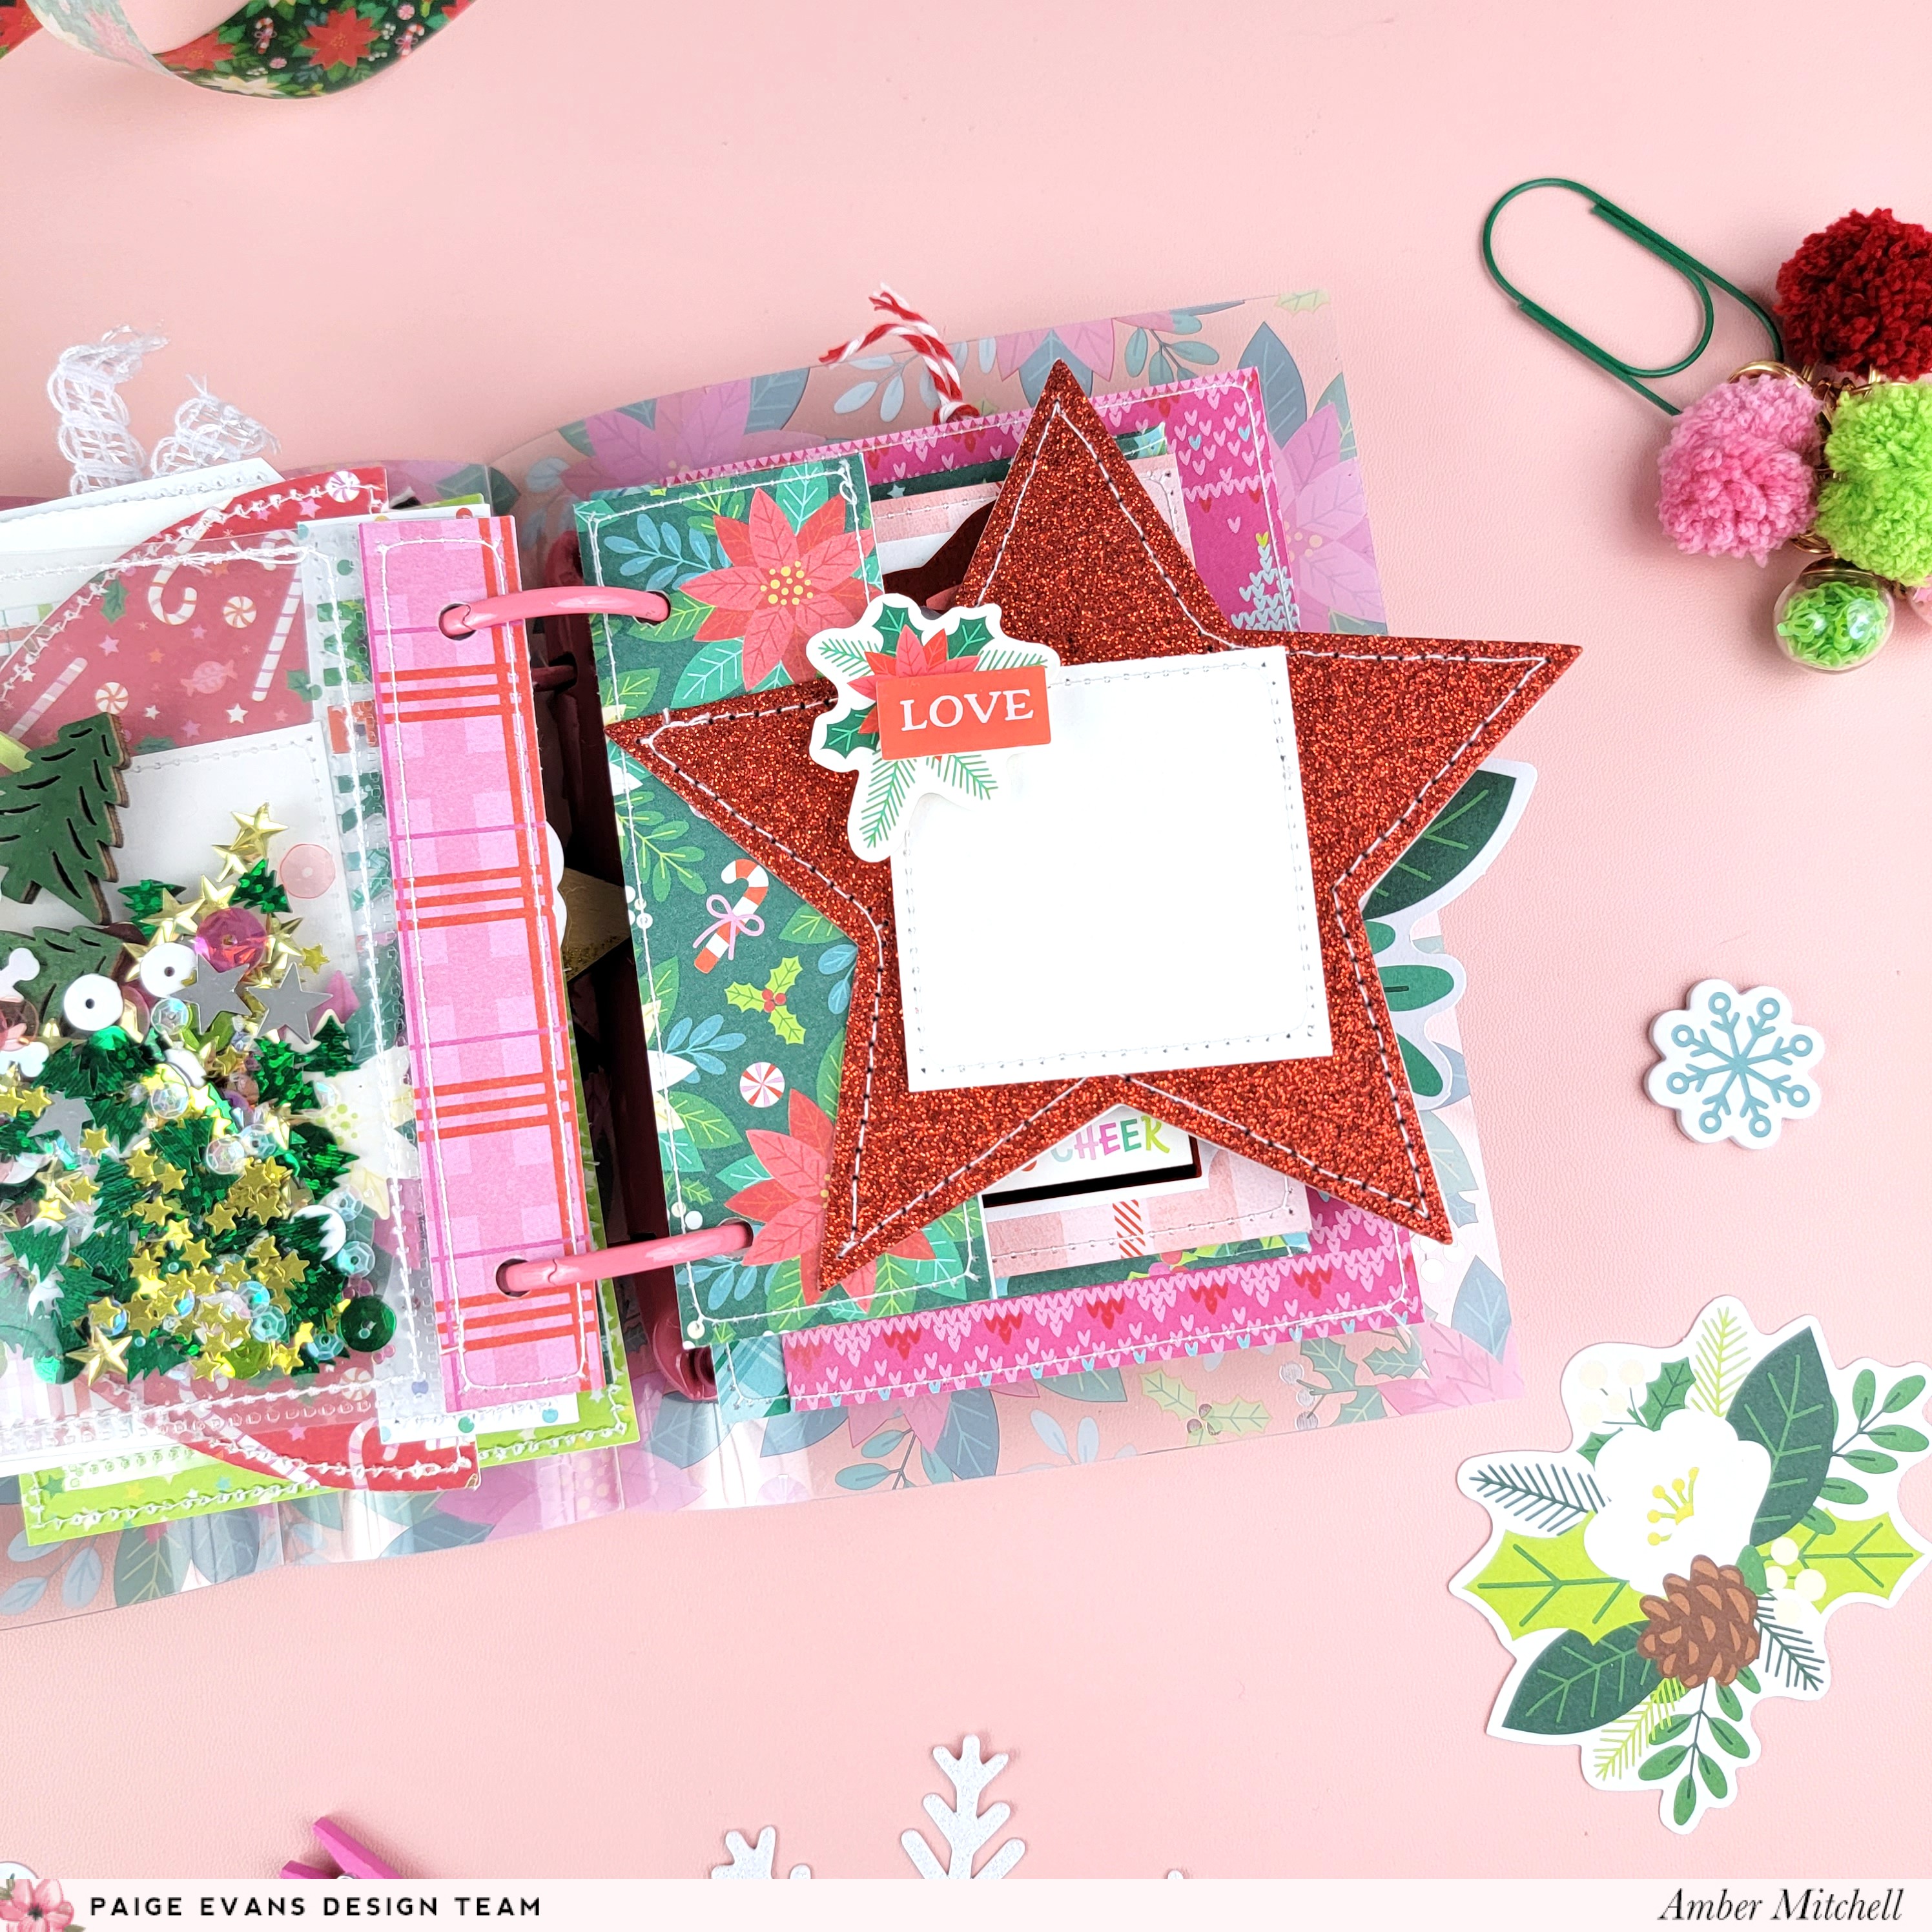
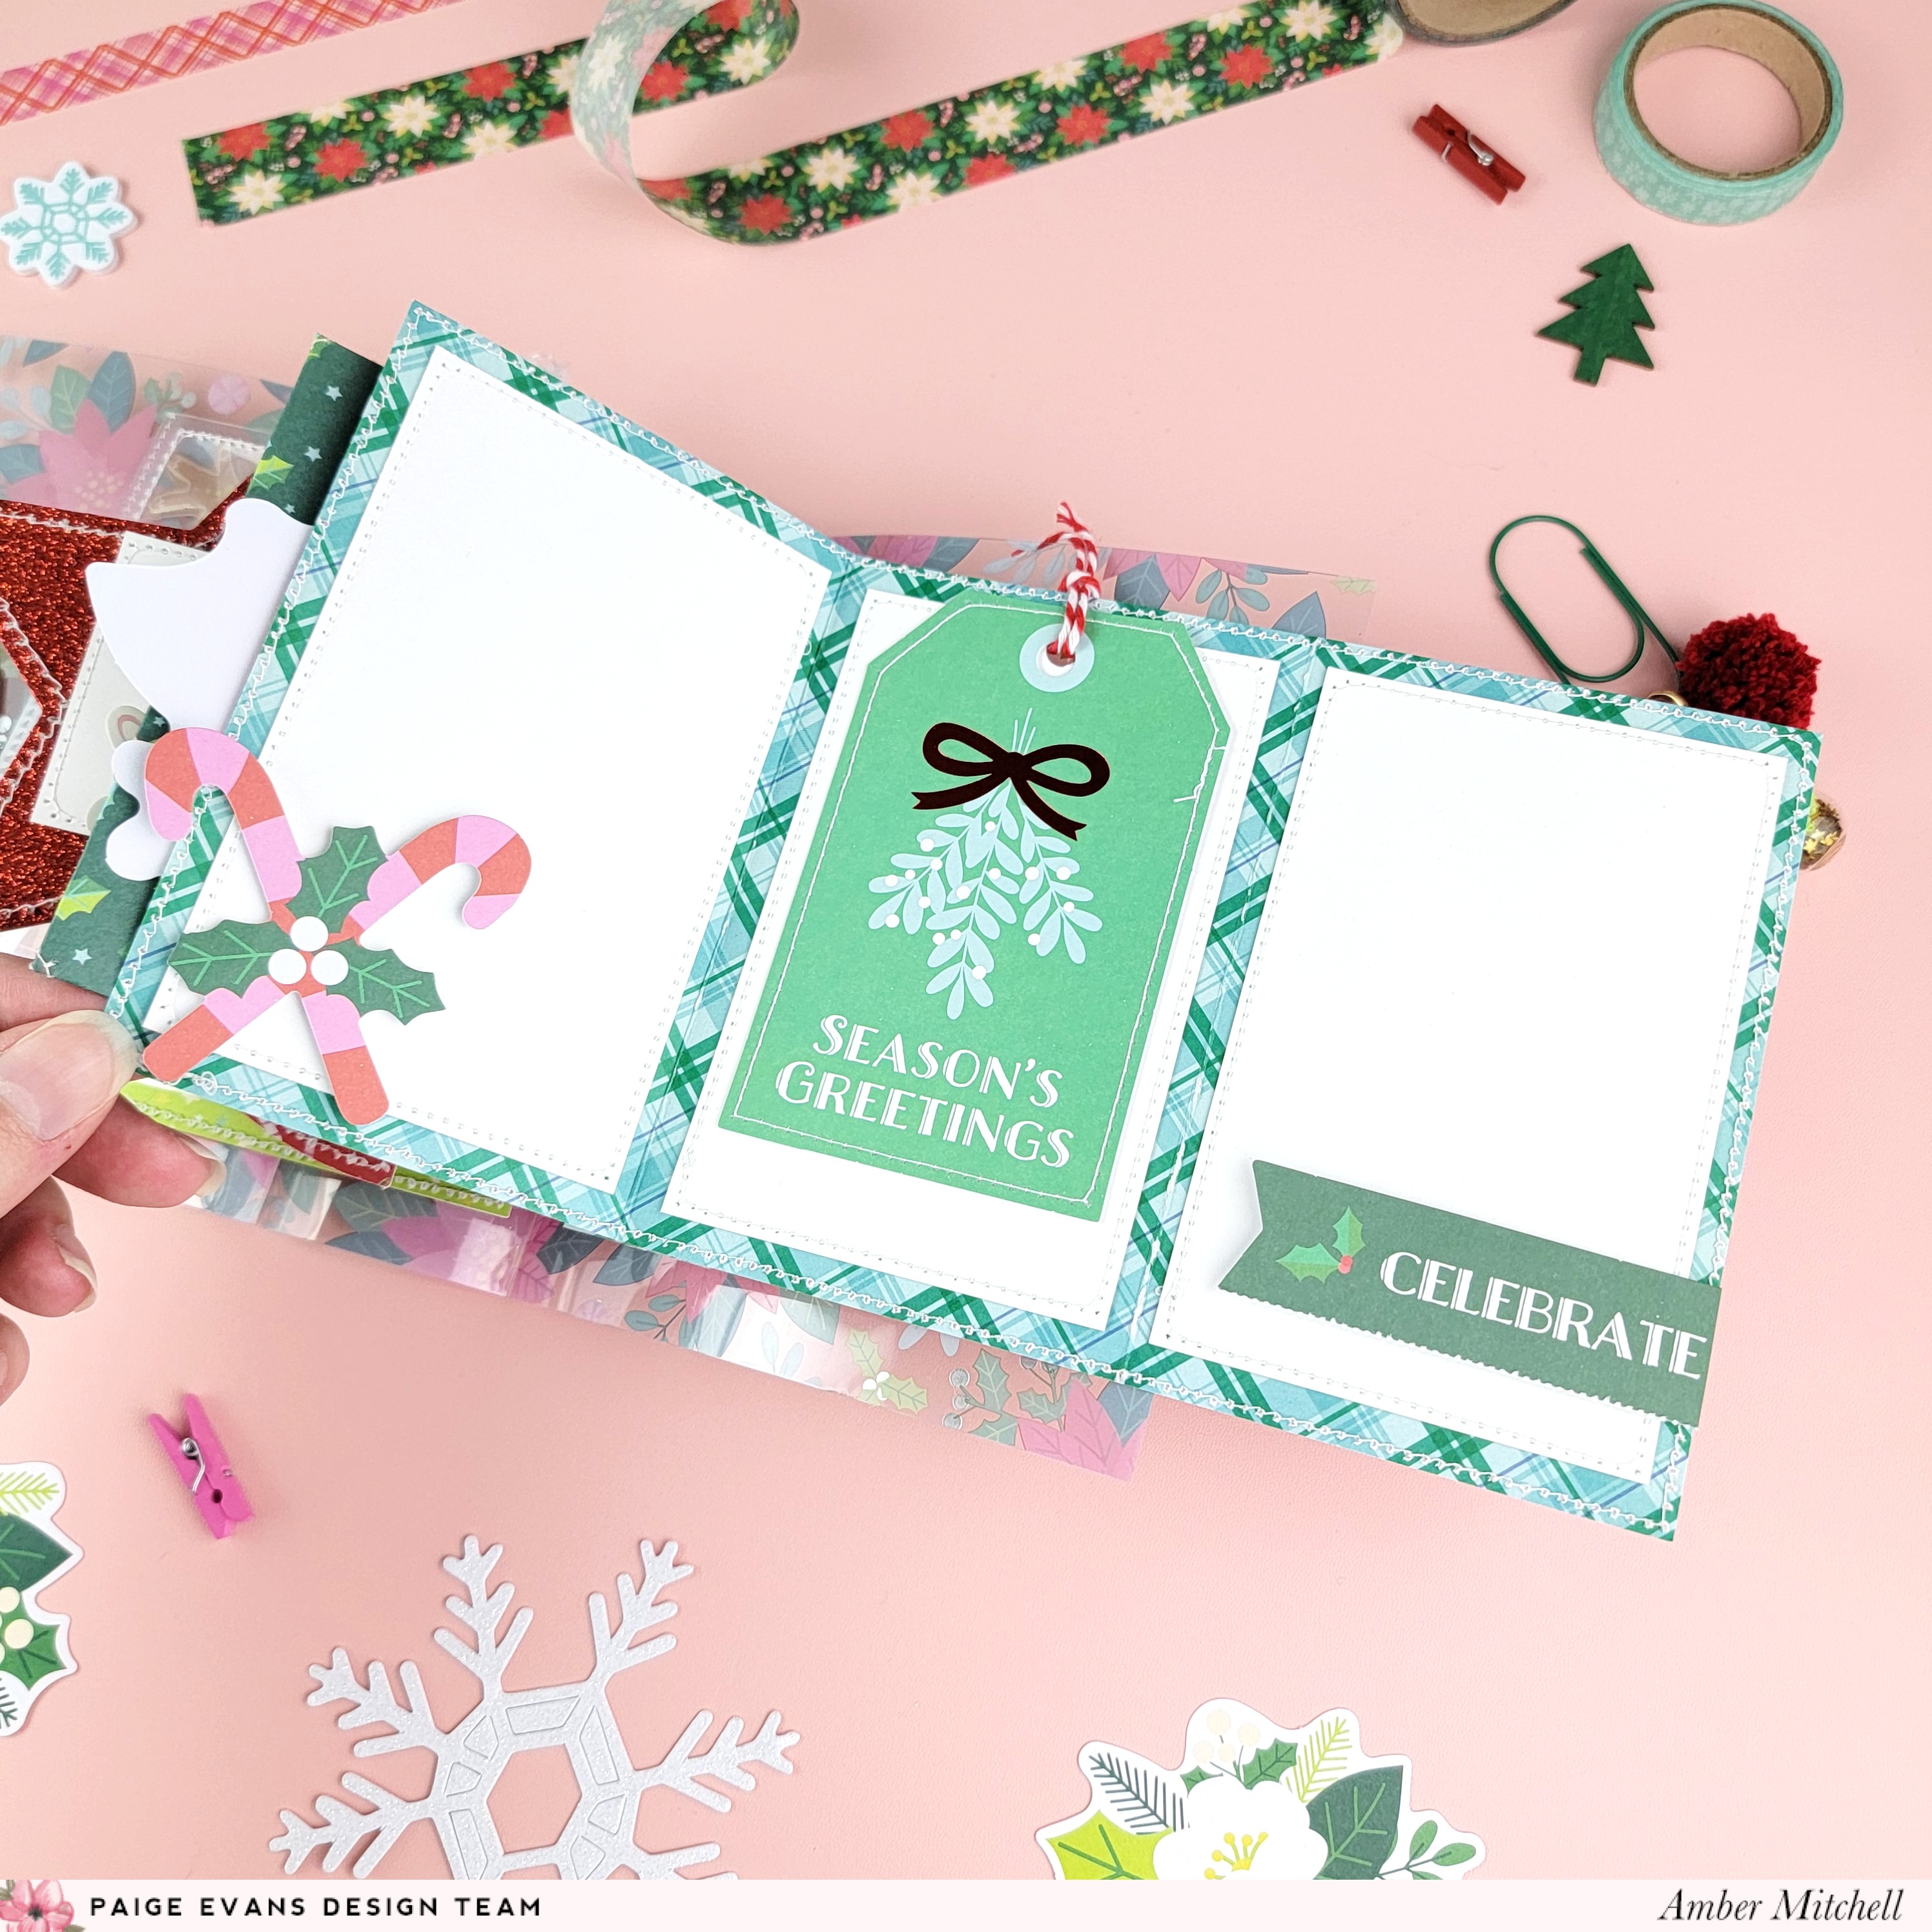
I always love adding interactive pages to my projects, so I created a couple for this album! The first is a pocket page that holds a tag; this is a great way to add journaling or small memorabilia, or even extra photos to an album! The second interactive page I created is the last page in this project. I created a page that folds out into three panels. I love adding pages like this because it's a great way to save on space and make the album more fun to flip through!

When it came to embellishing all of the pages of this album, I went a bit holiday crazy and added a bunch of different elements from the collection. I used both the Thickers and the Mini Thickers to create titles. I used the Foam Stickers to add dimension (can never have enough, I just love chunky albums). And I used the Mini Puffy Stickers to fill in any empty spaces and to add a little bit of extra detail and fun here and there! I used a tree from the Cross Stitch Kit to embellish the pocket page that I created. I also used the Enamel Dots to create faux ornaments on this tree and add some extra texture to it!

And of course, I used all of the fun pieces and icons in the Sticker Book, Cardstock Stickers, Floral & Snowflake Die Cuts and Ephemera Die Cuts to add a bunch of festivity throughout the project as whole!
I had so much fun making this album and I'm looking forward to trying this technique with the binder ring mechanism again! Thanks so much for stopping by my post today! I'll see you next time!
SUPPLIES: Patterned paper, embellishments, die cuts, stickers, embellishments: SUGARPLUM WISHES

Location: California, USA / Blog: Happy Crafty Studio / Instagram: @bambidearr / YouTube: bambidearr / Pinterest: bambidearr


Hi!! I thought I left a comment earlier. Hmm.....just wanted to say how much I LOVE LOVE LOVE your album!! SO SO CUTE!!! And especially the little babbles on the side!!! The cute little pom poms and the little filled ornaments?! Can I ask where you found those? Did you need to fill them up on your own??? HOW VERY CUTE!!! Have a nice day!!! Peggy
ReplyDelete