The One with the Scrappies Recap


Sunday, July 19, 2015

Yesterday I drove two hours down to Munich to teach how to create two layouts to 20 lovely ladies at the super cute Scrappies shop!

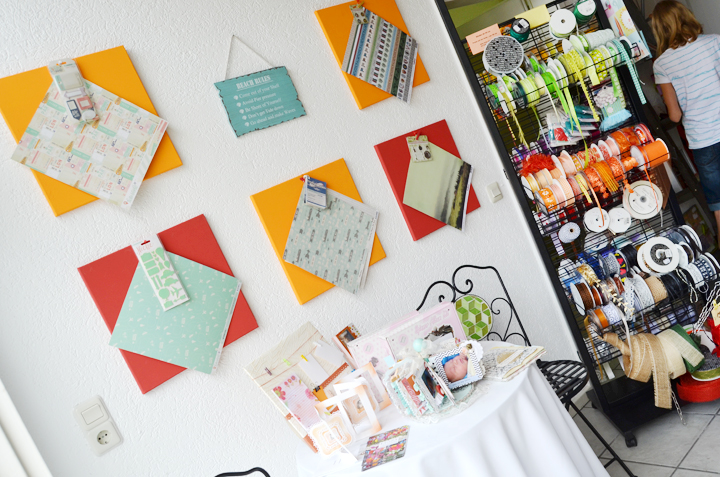
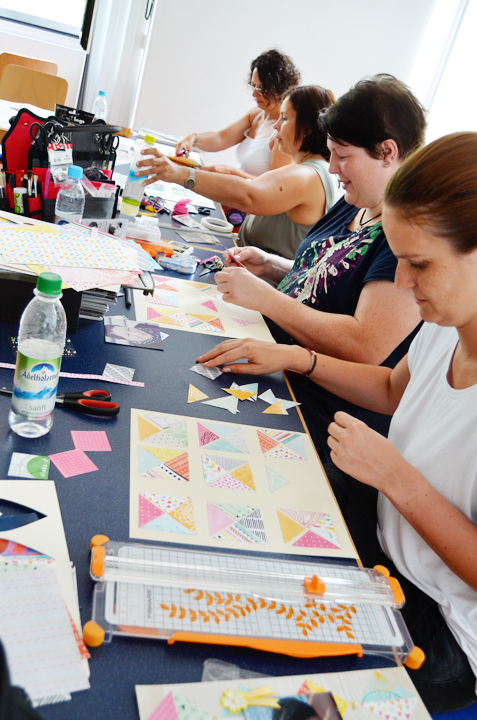
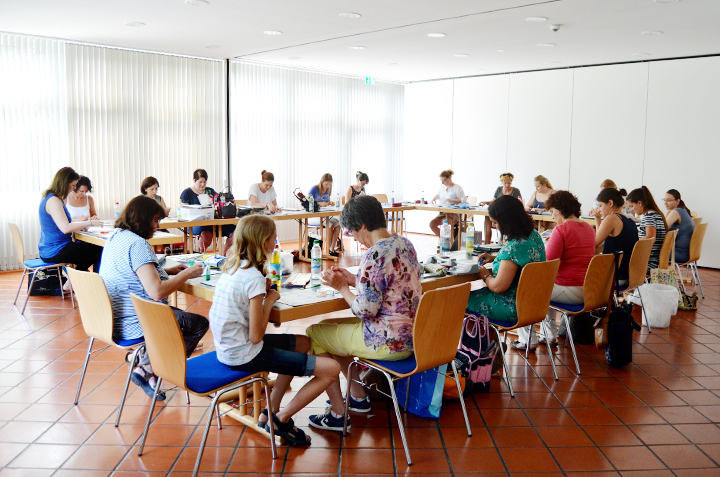
I was having a blast chatting with the ladies I didn't have much time to document how cute this local-scrapbook-store is, but seriously, it's a gem!! I miss LSSs!
Reminds me of my days working at my very first job: a scrapbooking store in Redmond Washington called Yesterdays! It's been out of business for a decade or so, but it was lovely while it was open.
We walked across the street to the crop and got right to work!
Here is the first layout we made featuring the Amy Tangerine/American Crafts Rise & Shine collection and patterned paper triangles:
DREAM by Paige Evans

JOURNALING SAYS: There was a bench set up outside Fox's school one morning so of course I used it as an opportunity to snap some pics of you two. Not that you cooperated or anything, silly little guys. It's so true to your personalities though, this is real life! :)

HOW TO: Use the woodgrain paper as your background. Trim (2) 2” (or 5.5cm) squares from each of the remaining 11 papers. Cut each square in half diagonally to make triangles. Piece the triangles onto the background to create 16 squares. Adhere (3) 2” square photos across the center. Journal on either side of the photos. Place a paper flower between the photos and add a “dream” bottleap. Tie ribbon into a bow and glue it below the flower and next to the bottlecap. Embellish the layout with jewels.
SUPPLIES: Patterned paper, ribbon: American Crafts; Bottlecap, jewels, flowers: ScrapBerry’s; Other: paper cutter, scissors, adhesive, pen, (3) 2”x2” photos
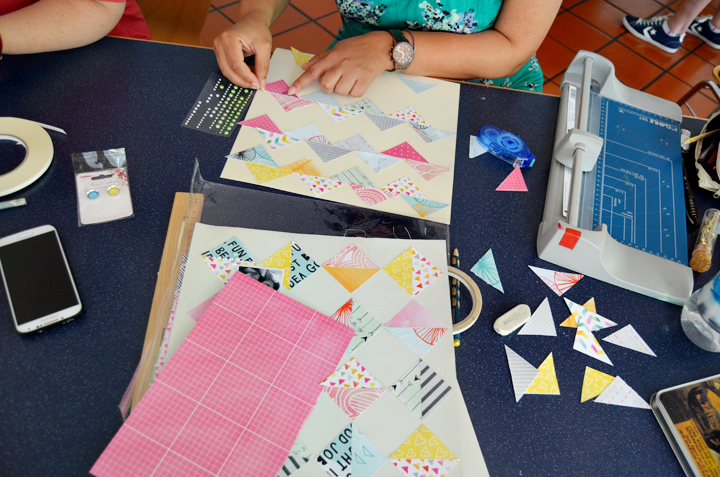
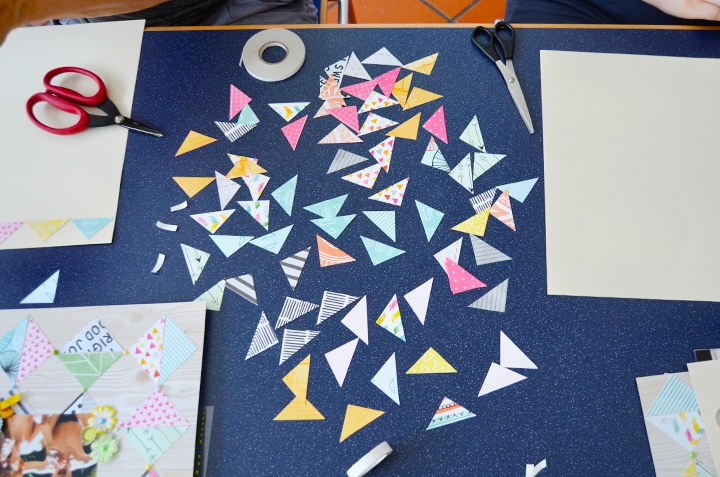
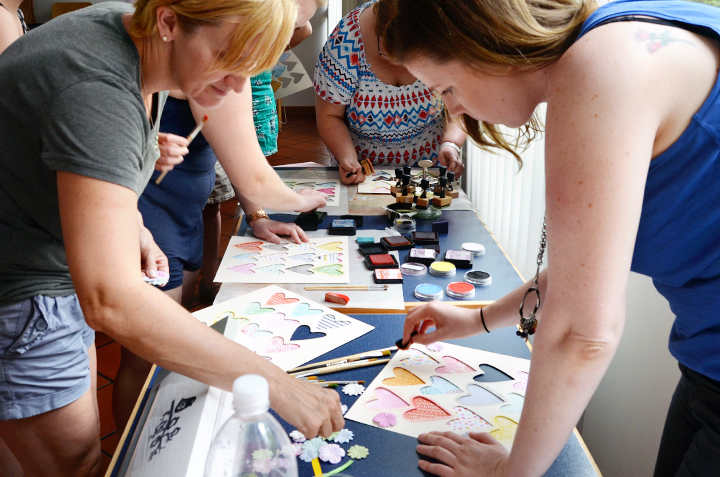
With all of the leftover triangles, I showed a few different options for what to do with them and then Sandra was so nice to give everyone another piece of cardstock so they could make an extra layout if they wanted.
I love when people think outside the box and pick and choose their own colors of papers.
Triangles galore :) :) :)
Paper piecing.
Then we took a break for lunch and shopping! We ate delicious pizza. One kind even had pears and nuts on it!

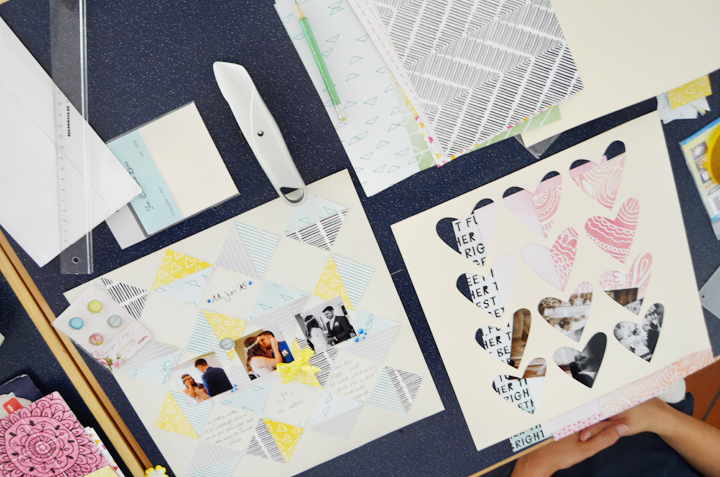
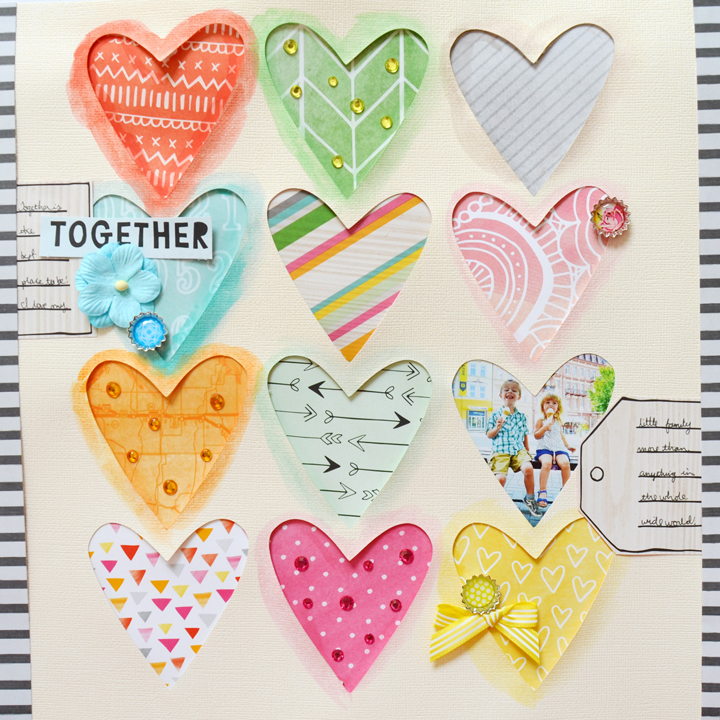
Then we worked on the second layout, also using the Amy Tangerine/American Crafts Rise & Shine collection and I showed how to use a Silhouette Cameo.

TOGETHER by Paige Evans

JOURNALING SAYS: Together is the best place to be! I love my little family more than anything in the whole wide world!

HOW TO: Die cut 12 hearts from cream cardstock using a Silhouette Cameo machine. Turn the cardstock over and place dimensional adhesive around each heart. Hand cut 11 hearts from patterned papers and one photo – use an inside heart as a template and trim one heart about 1/8” wider all around, then use that heart as a template to cut the other 10 paper hearts and a photo. Back the open hearts with the paper and photo hearts. Watercolor around most of the hearts, matching the color of paint with the color of paper. Add jewels to three of the hearts and three bottlecaps to three different hearts. Tie ribbon into a bow and add it below a bottlecap. Trim out a title from patterned paper and glue it along with a paper flower above another bottlecap. Cut out a journaling tag, trim it in half, then add it to the sides. Trim striped patterned paper strips and glue them to the left and right edges. Journal on the tag pieces.

SUPPLIES: Cardstock, patterned paper, ribbon: American Crafts; Bottlecaps, jewels, flowers: ScrapBerry’s; Other: paper cutter, scissors, adhesive, dimensional adhesive, pen, 3”x3” photo
Busting out the inks!
We took turns coming up to the mixed media table and adding ink and chalk around the die cut heart edges to really make the colors pop!
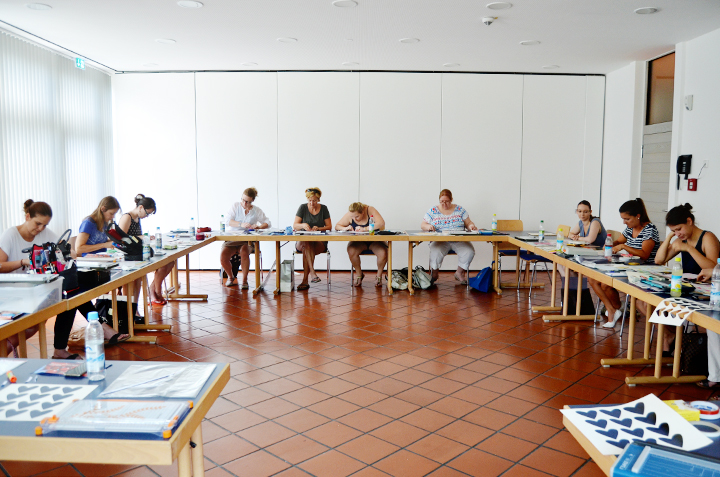
Such a fun day filled with inspiration and shared interests!
I might be back if we can work out the details to teach a bookbinding workshop, so stay tuned!

3 comments

  1. It looks like you had a lot of fun =)

    ReplyDelete
  2. How fun! LOVING all the photos and loving the lo's you made for the class!! Gorgeous!!!

    ReplyDelete

Paige Taylor Evans © // Quinn Creatives DESIGN