
Hi friends! I'm here today with a new layout featuring my Sketch & Stitch Flower Frame Cut File and Go the Scenic Route collection.

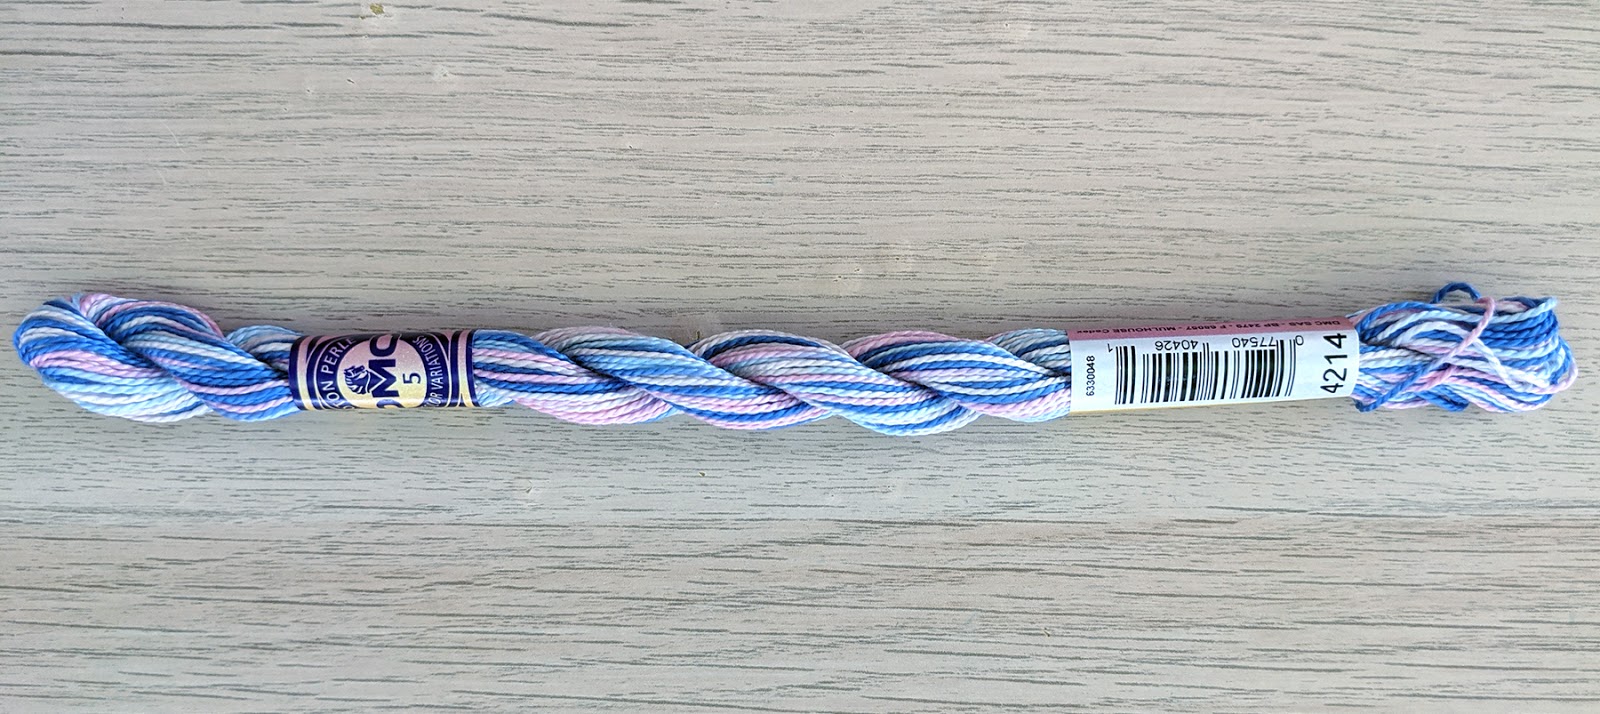
When I saw the beautiful variegated colors of this DMC Pearl Cotton thread, I purchased three skeins and immediately ran home to pick a cut file that I could stitch - I chose my Sketch & Stitch Flower Frame Cut File! The flowers in these variegated thread colors would look beautiful, I hoped :)
I had my Silhouette Cameo draw the design first with a yellow Sketch Pen and then the second tool cut the holes for hand stitching. I have a bunch of Sketch & Stitch Cut Files available in my Etsy shop if hand stitching is your jam! I had a lot of time coming up via a road trip and family reunion and needed a good project to keep me busy. Sketch & Stitch Cut Files are always great for road trips and days when you don't want to do anything, but still want to feel like you're accomplishing something :) I did a basic backstitch and used all the strands of the thread. Here are a few in-progress shots:

Up at the Evans' cabin for the family reunion, I was almost finished stitching when a rainbow graced us with its presence! So pretty!

All done stitching! I would say it took about 12 hours to hand stitch this design. And I had 12 hours of time with nothing to do, so, it was totally worth it to me :)

The project sat for a few weeks while I waited for my new collection to arrive - the colors of Go the Scenic Route coordinate perfectly with the variegated thread! I took this photo of Jane during the family reunion (which is when I stitched most of this) and our visit to the South Park City Museum, so I felt like this photo was meant to go with this layout.

To begin embellishing, I used a bunch of coordinating colors of the glitter Enamel Dots and placed them in and around the stitched frame. These add pops of color and interest and help draw the eye all around the page. Then I mixed in a few of the dark blue leaves from the Floral Die Cuts around the outer edge of the frame to amplify the leaf theme.

I printed my 3x4" photo at home and adhered it to the center of the page. I cut the scalloped floral card from the Ephemera Die Cuts in half and tucked the pieces under the top and bottom edges of the photo. I also layered two more Ephemera Die Cuts under the left edge of the picture.

Then I started layering embellishments in three clusters around the photo. I mostly used the Floral Die Cuts as well as a "perfect" sentiment from the Puffy Phrase Thickers, a "one of a kind" sentiment from the Cardstock Stickers, and a heart Chipboard Sticker. I varied the kind of adhesives to attach all of the embellishments to create different depths and layers.

To finish I wrote journaling with a blue pen below the photo in an open space. Note to self to stamp the date - I've been so good about that lately, I need to keep it up :)

I hope this layout inspires you to try my Sketch & Stitch Flower Frame Cut File as well as check out my new Go the Scenic Route collection! Have a great day and I'll be back soon with more scrappy goodness!


SUPPLIES: Die cuts, stickers, enamel dots: GO THE SCENIC ROUTE; Cut file: Sketch & Stitch Flower Frame by Paige Evans; Thread: DMC 4214; Die cut machine: Silhouette Cameo 3


Wow wow wow wowwwwwwww! All that GORGEOUS stitching! LOVING the thread you used too!!!!! And that photo of Miss Jane is ADORABLE!!! I loveeeeeeee this!
ReplyDeleteI feel like I use the same superlatives over and over and your gorgeous layout deserves so much more. Like, all of them and some that I've just made up ! Epic, stunning, a treasure, stitch-a-licious. I wanna say omgosh, omstars, omheavens but that just seems repetitive. You inspire me with your creativity, dedication and love for what you do. This is magnificent in every way. (sorry if this is over the top, that's how I roll)🥰😍🌸
ReplyDelete