
Hi friends! I have a new layout and process video to share with you showing you how to create a penny tile style background with my new Go the Scenic Route collection!

Check out the process video to see how this layout came together from start-to-finish:
The idea for this layout came from @giorgiarossini - I saw her circles background and then made my own version with a paper-on-same-paper design! I started by die cutting my Circles / Penny Tile Background cut file from the rainbow patches B-side of Paper 21. I carefully peeled off the positive portion and saved it for the next step.

I grabbed another sheet of Paper 21 and placed the positive background piece on top in the exact same position, then secured the papers together with Washi Tape onto my workspace.

I peeled off the circles from the sticky mat one at a time, row by row, keeping them in the same order, distressed the edges with a pair of fine-tipped scissors, and then adhered them back into the same spot on the new background with foam squares for dimension. I peeled off the top layer to reveal the penny tile background! Super cool :)

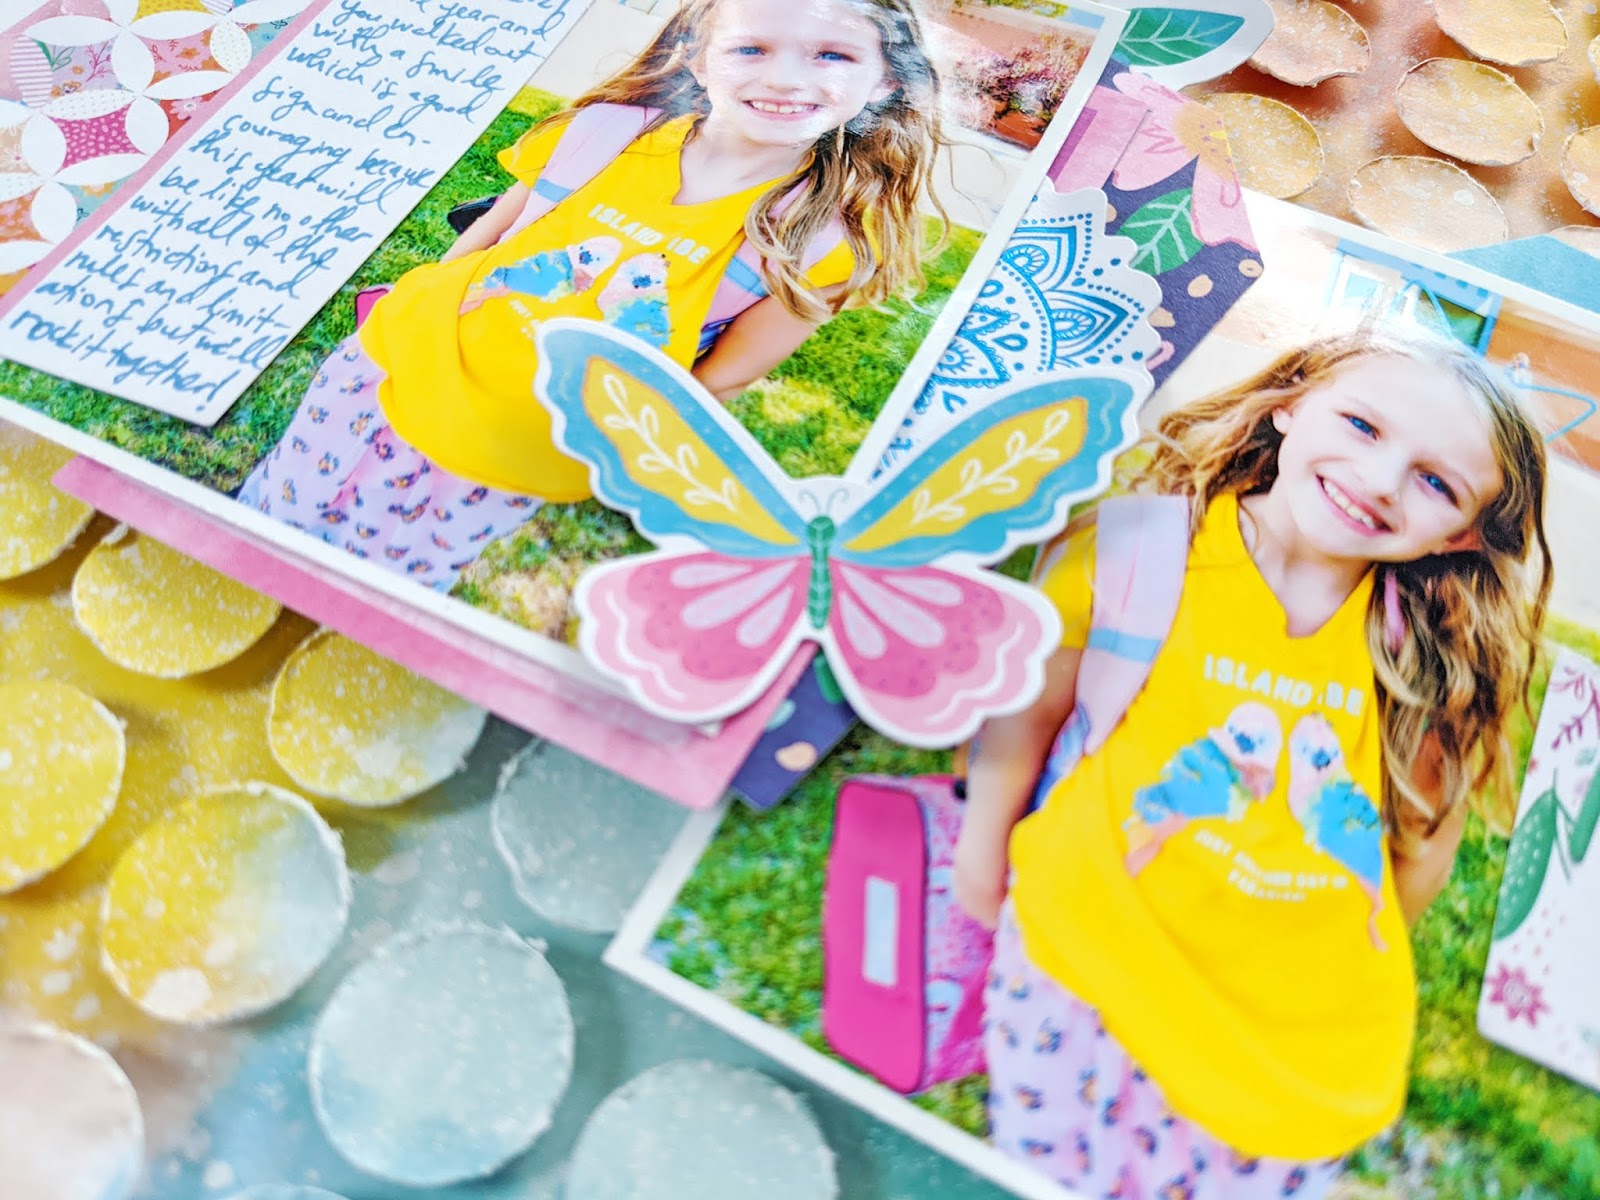
To draw more attention to the photos/embellishments/title cluster, I used a toothbrush to splash watered down white acrylic paint on the background and sped up the drying time with a hairdryer I keep at my work table.

I layered two photos of Jane after her first day of school last month and layered all kinds of Ephemera Die Cuts underneath and a journaling spot overlapping the left edge of the left photo on some unimportant white space. I wrote journaling with a dark blue pen.

The title is "adventure awaits" from the Puffy Phrase Thickers since this school year is sure to be an adventure! I glued a butterfly Ephemera Die Cut between the photos and bent up the wings for dimension.
To go along with the school theme I added a globe and a pen Cardstock Sticker and then tucked a bird Chipboard Sticker under the top left corner because Jane loves birds and I try to always add one :)

That finishes up this layout! I hope you are inspired to create a penny tile style layout using my new Go the Scenic Route collection and Circles / Penny Tile Background cut file!
SUPPLIES: Patterned paper, stickers, washi tape, die cuts: GO THE SCENIC ROUTE; white acrylic paint; Silhouette Cameo; Cut cile: Circles / Penny Tile Background by Paige Evans


Whenever I think that you can't outdo yourself, you prove me WRONG!! This is absolutely AMAZING!!! I loveeeeeeee all the penny circles, the colors, the photos... just LOVE it ALL!!! Pinning!
ReplyDeleteAdding to my PIN board ❤️❤️❤️ Fabulous!
ReplyDeletevery beautiful !
ReplyDelete