
Happy New Year! I'm here with my very first layout of 2021 featuring paper feathers made with my Go the Scenic Route collection. This might be my last layout made with Go the Scenic Route for awhile, my new collection is sitting on my desk and calling my name!!

To begin, I folded a piece of patterned paper in half and cut half a feather shape from it - once opened it's a full feather. With the feather still folded in half I used fine-tipped scissors to make a whole bunch of slits into the paper, opened it up, and plucked out a few of the snips to make it look more like a real feather. I traced the half feather onto 22 Go the Scenic Route patterned papers, cut them all out, and feathered them all. That's the part that took the longest of this whole layout and took about an hour and a half.

Then I grabbed a piece of smooth white cardstock and glued all of the feathers to the background. The feathers are very dimensional and will mostly likely get squished once they go into a scrapbook, but some of the texture will hold and last as I've seen with my previous super dimensional layouts :) It's all good!
Next: photos. I didn't have time to go through my thousands of photos to find a perfect picture to match. I decided to make one to fit. I enlisted the help of Jane to go find her favorite bird plushies. She has one or two. If you've been following this blog since Jane was a tiny tot, you'll recall she's erbsessed with birds. She has chased pigeons around 43 countries and walked around "flapping her wings" for several years as a toddler. She knows the names and kinds of dozens of birds. She's just so cute.

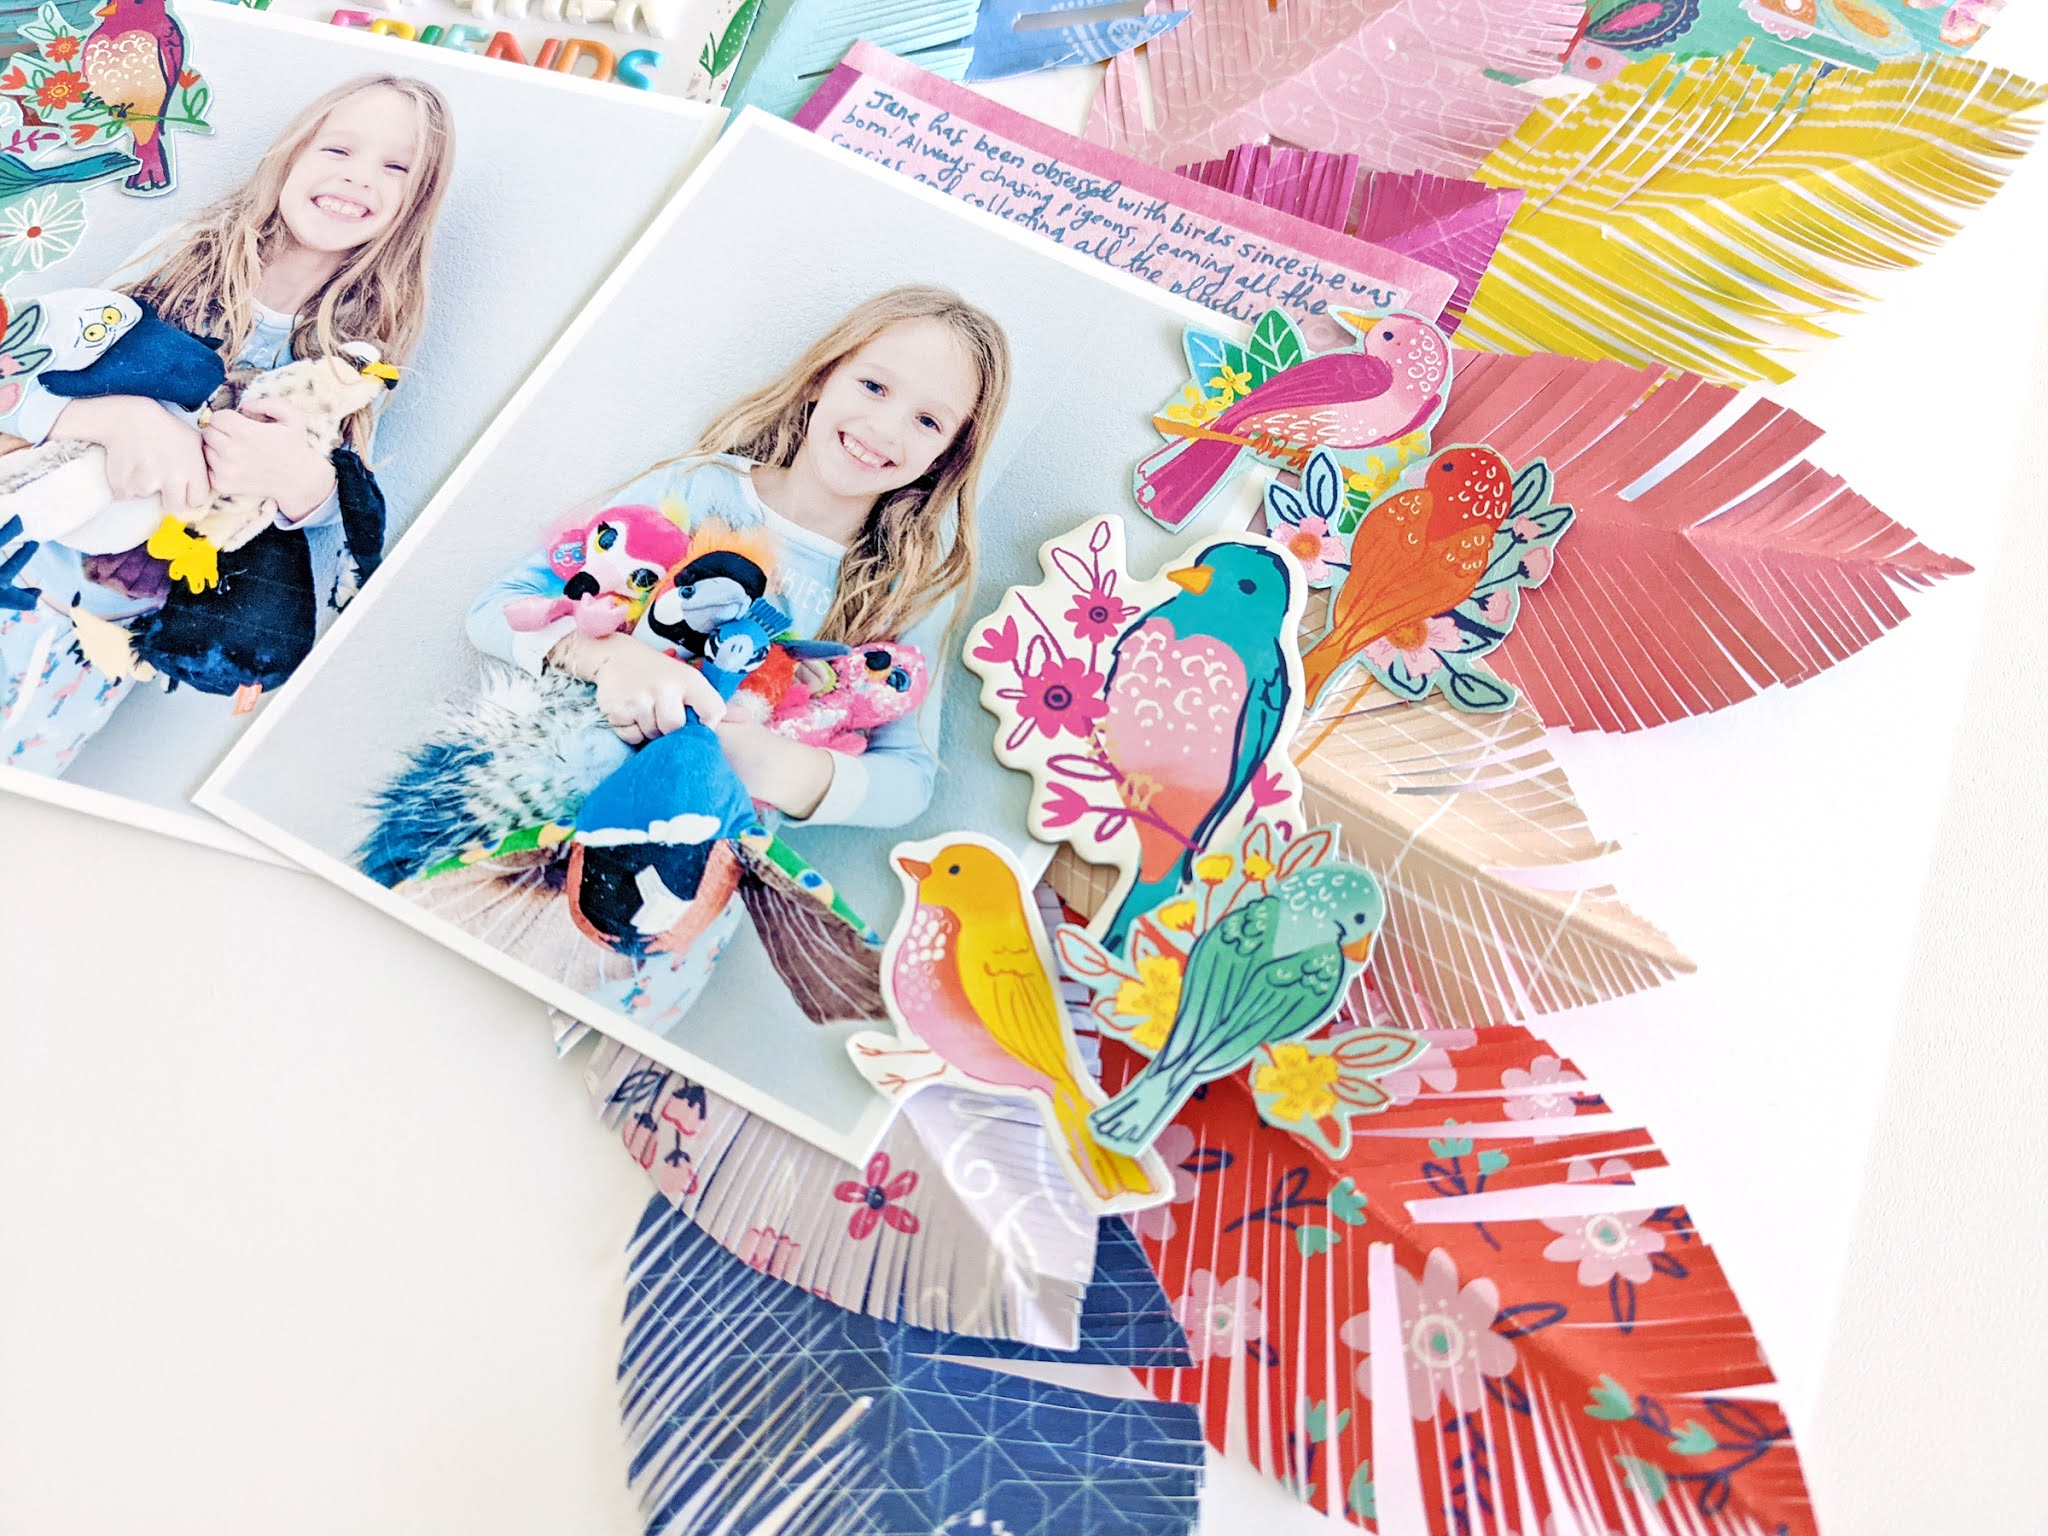
So Jane grabbed two armfuls of birds, I snapped some pics, edited them, printed them out, and here they are! Photos taken literally yesterday have now been scrapped and forever documented :) I glued them slightly overlapping to the middle of the page. Then I fussy cut a bunch of birds from Paper 15 and adhered them to the left and right edges of the photos. I snuck in a bird from the Chipboard Stickers and three more from the Cardstock Stickers.

For the title, I tore a piece of a floral journaling spot from the Ephemera Die Cuts and added Mini Foam Thickers from my old Pick-Me-Up collection on top to say "feather" and used a mix of colored letters from the Puffy Word Stickers underneath to say "friends". I tucked the title above the top of the left photo. For journaling I tore another piece of a journaling spot, this time a pink one, from the Ephemera Die Cuts and wrote on it with a blue pen. I tucked this one under the top of the right photo. Done and done!

I hope you are inspired to make paper feathers using my Go the Scenic Route collection to document someone you know who is obsessed with birds :) Thanks for stopping by and have a happy New Year!

SUPPLIES: Patterned papers, stickers, die cuts: GO THE SCENIC ROUTE; Cardstock: Bazzill Basics; Mini Foam Thickers


Just amazing and clever Paige. What a cool technique and perfect for someone without an electronic cutter! The colourful feathers are great propping up your photos with a light background. You're sweet Jane makes a cutie assistant ! I adore the title too being both white and colourful. 💚🧡💛❤️xK
ReplyDelete