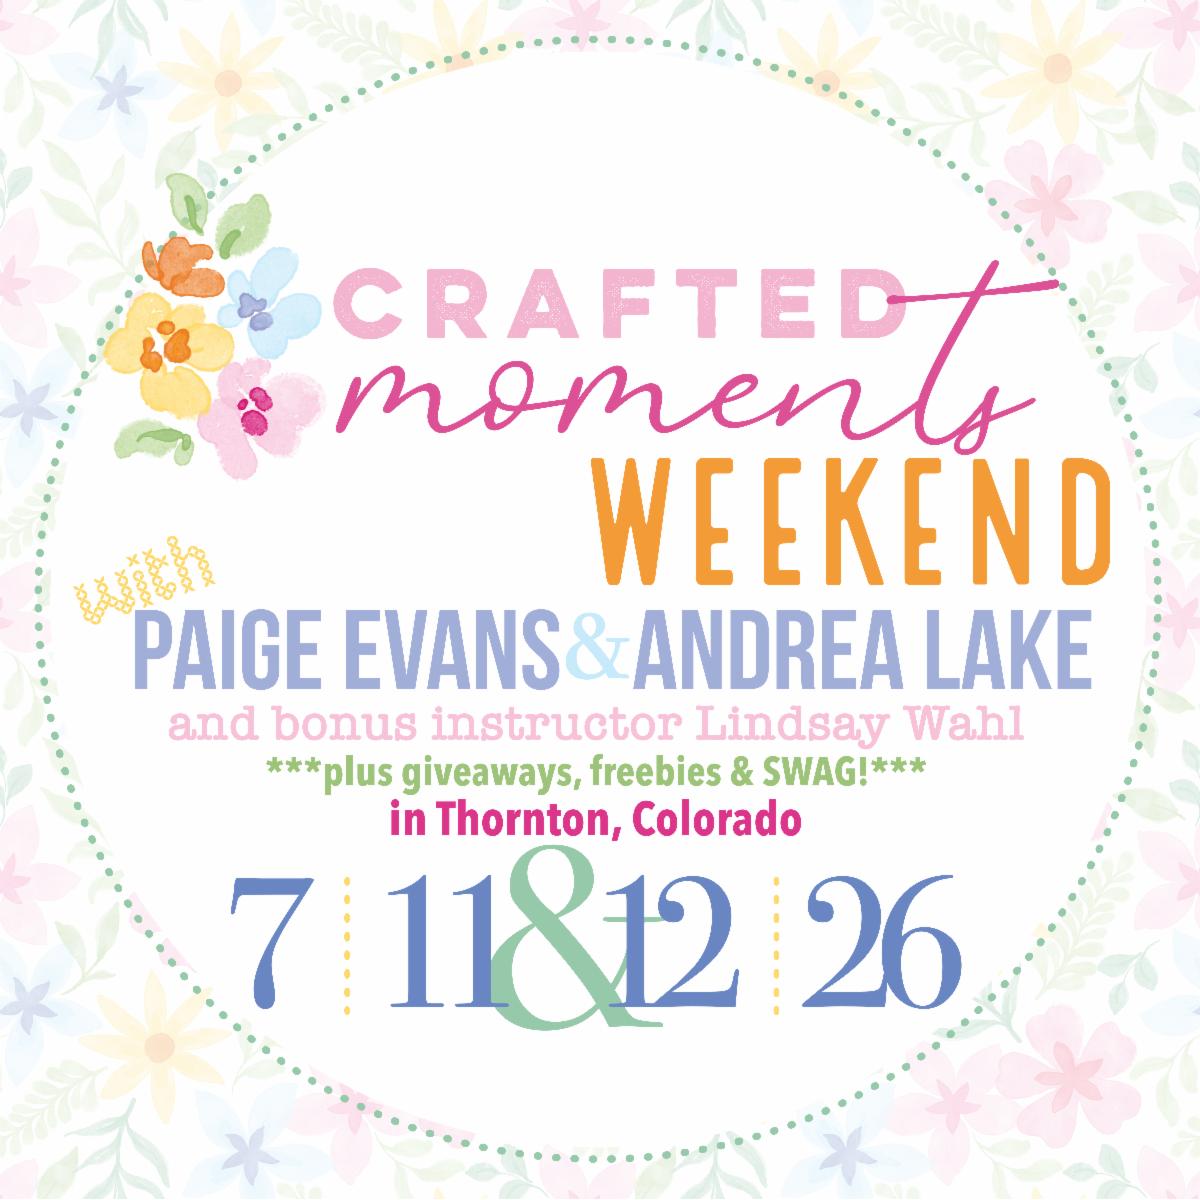
Registration is now open for our CRAFTED MOMENTS WEEKEND in-person event in Thornton, Colorado! Let me know if you have any questions by adding a comment to this post and we hope to see you in July!
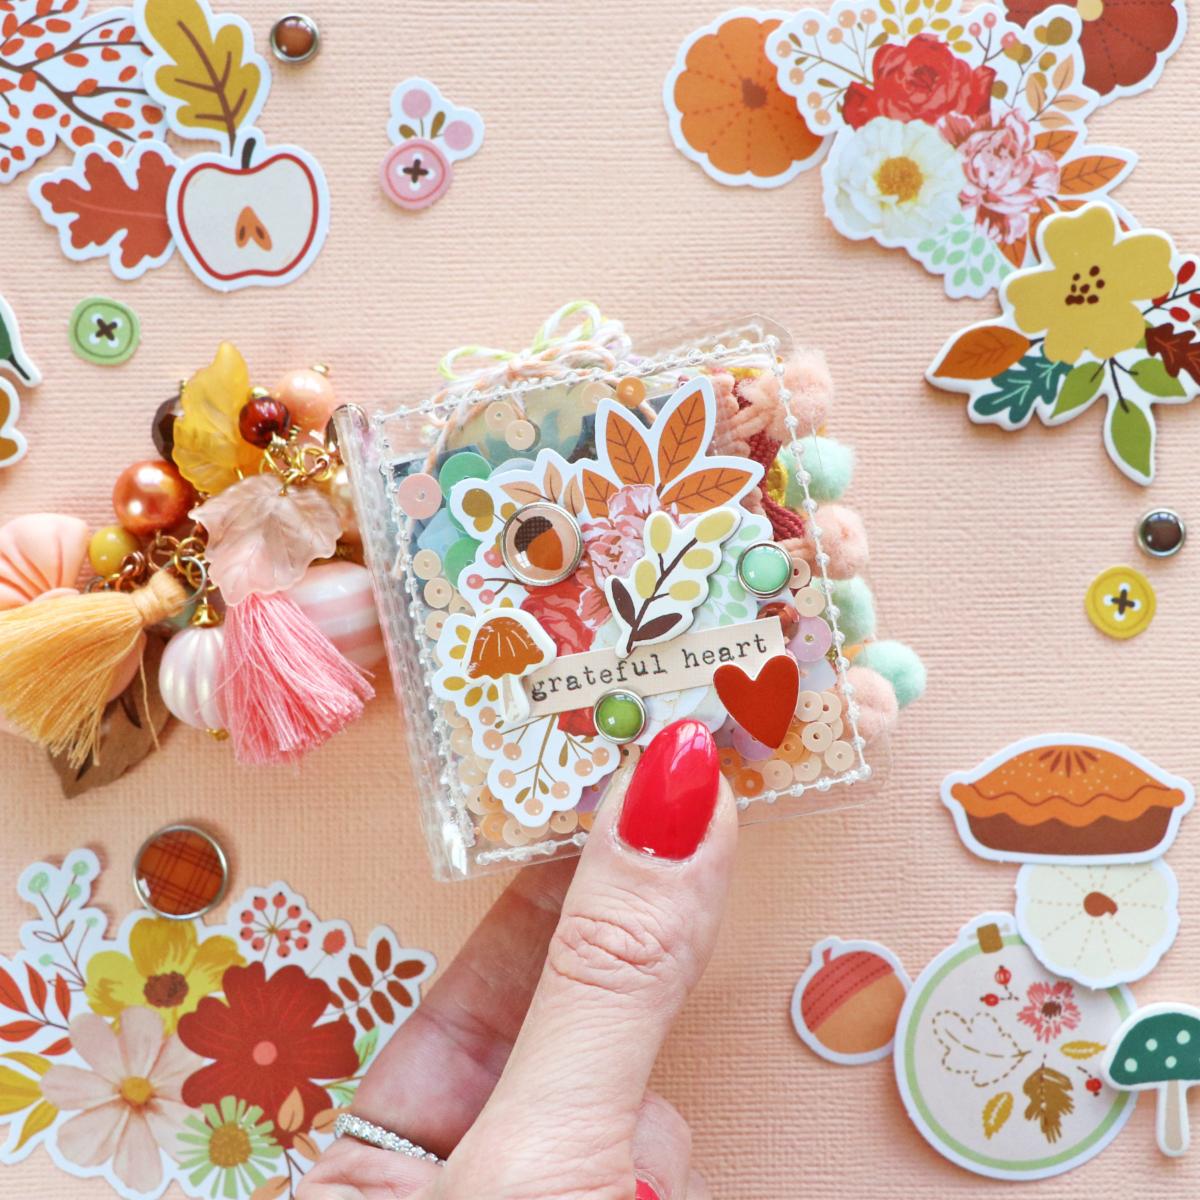
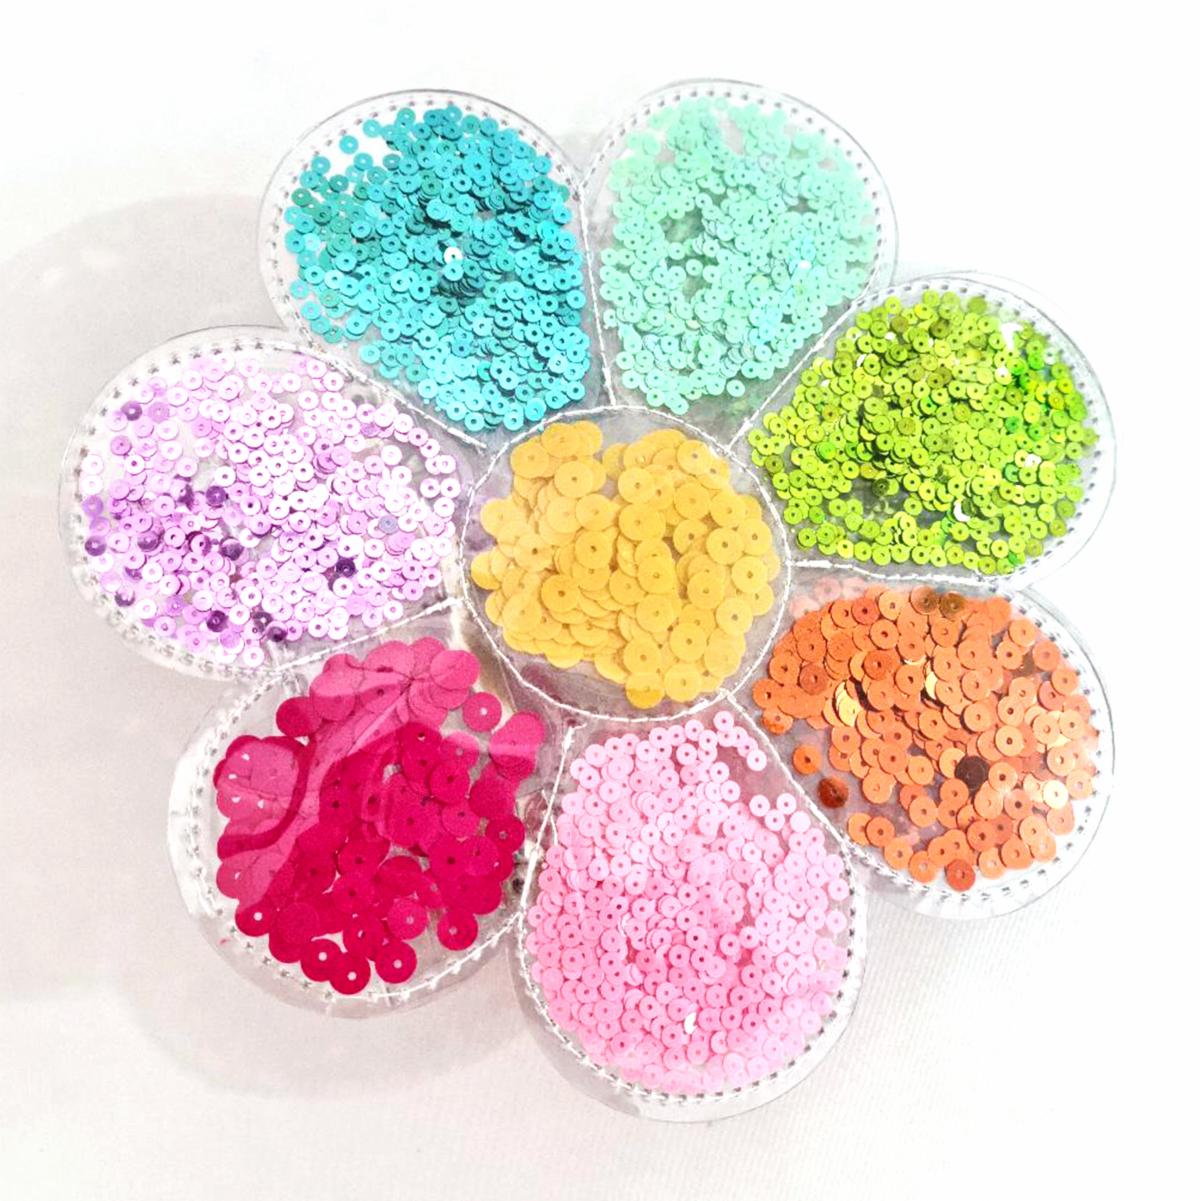
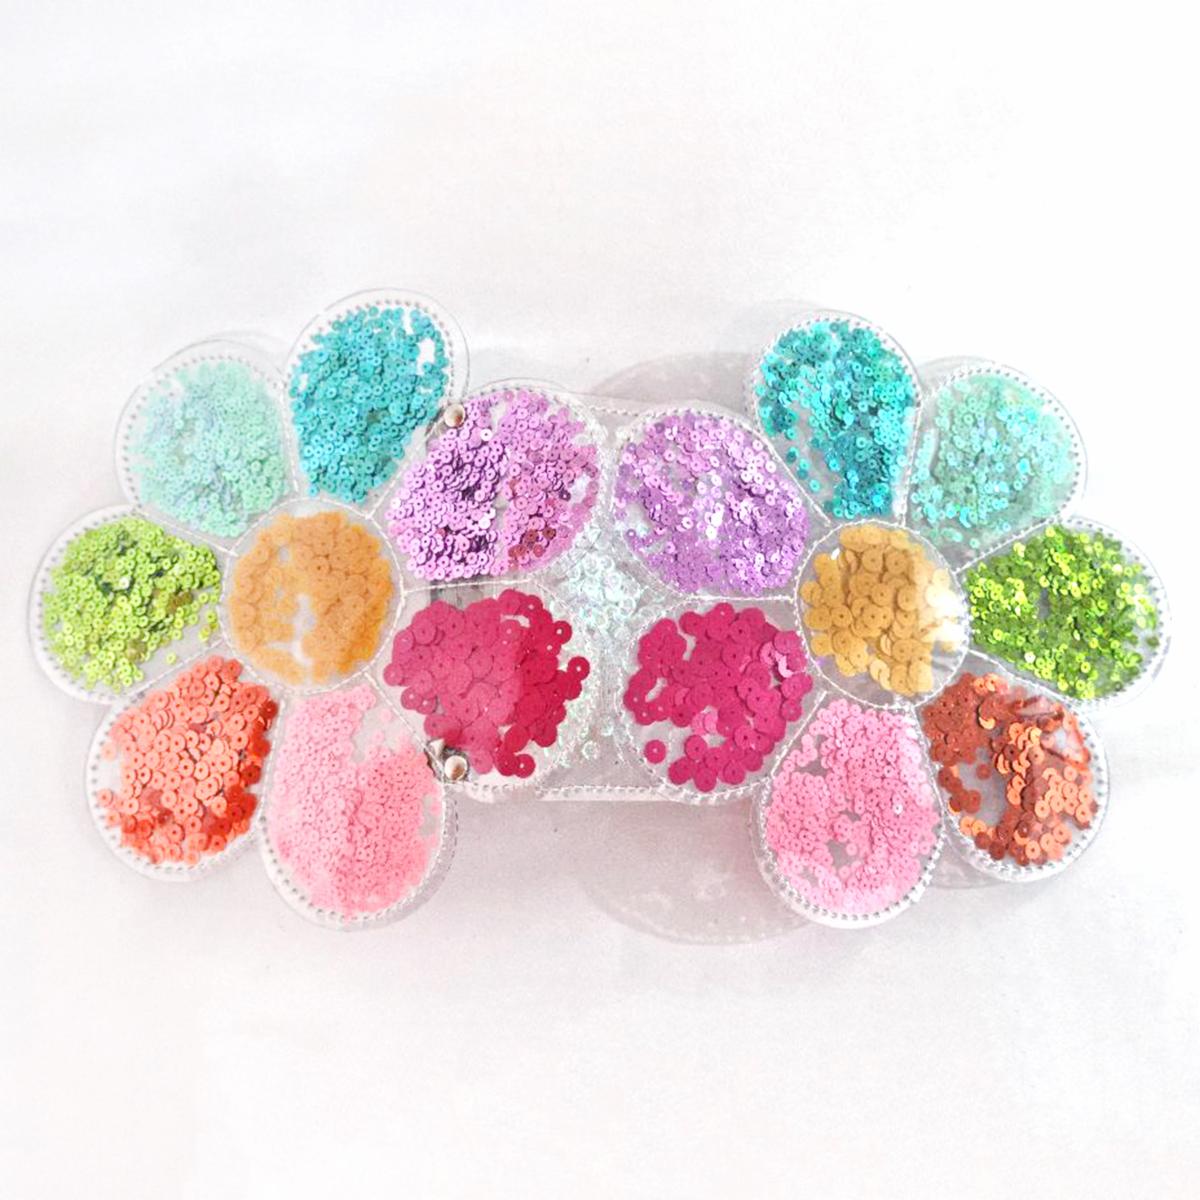
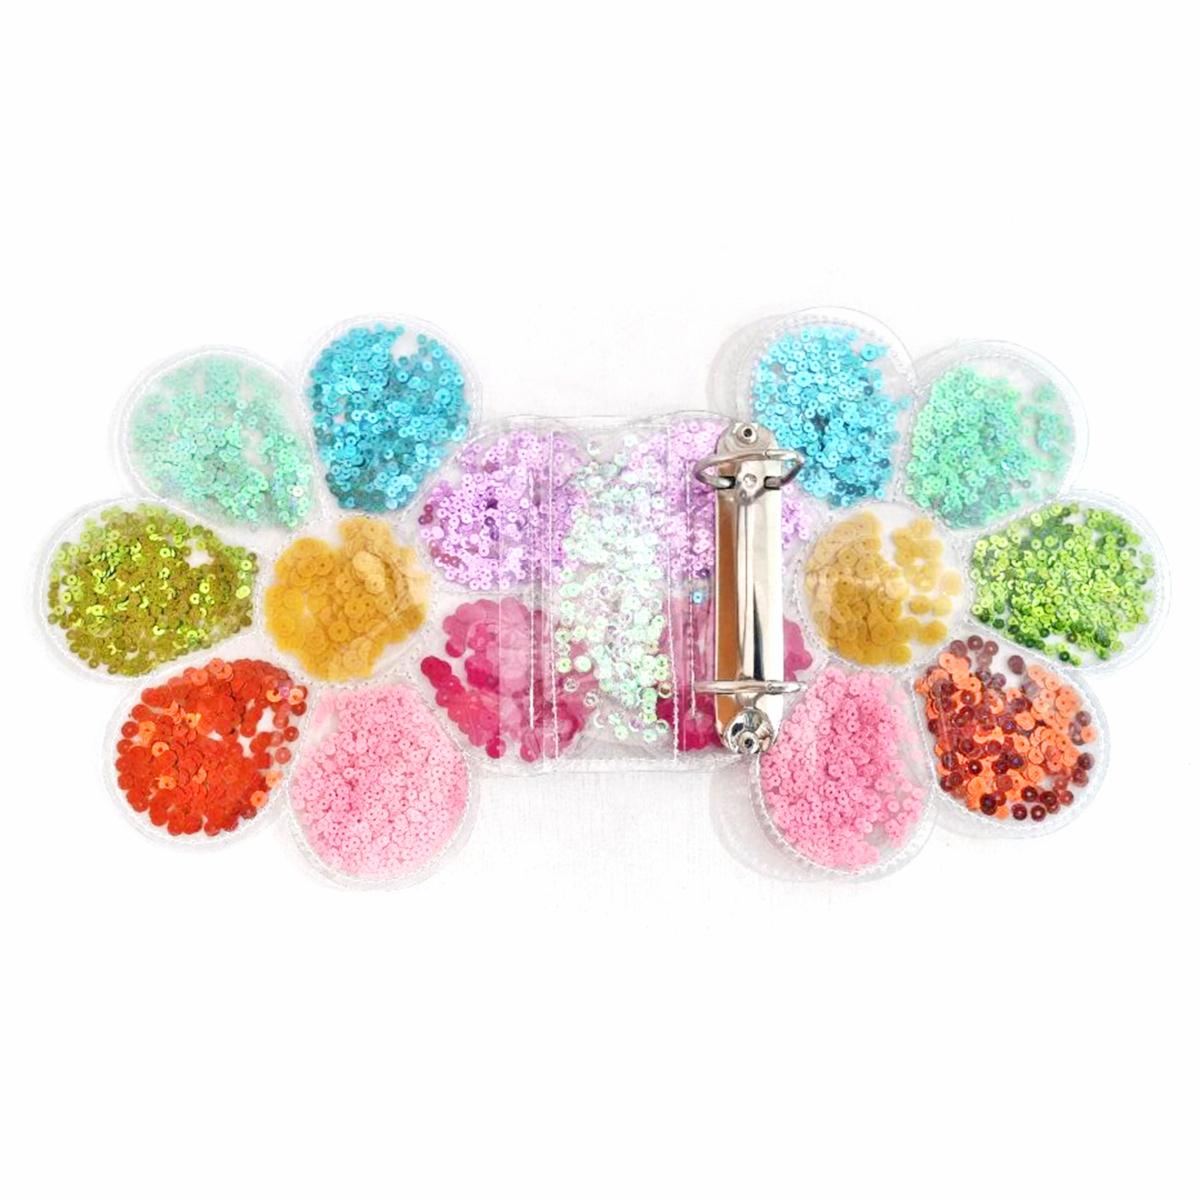
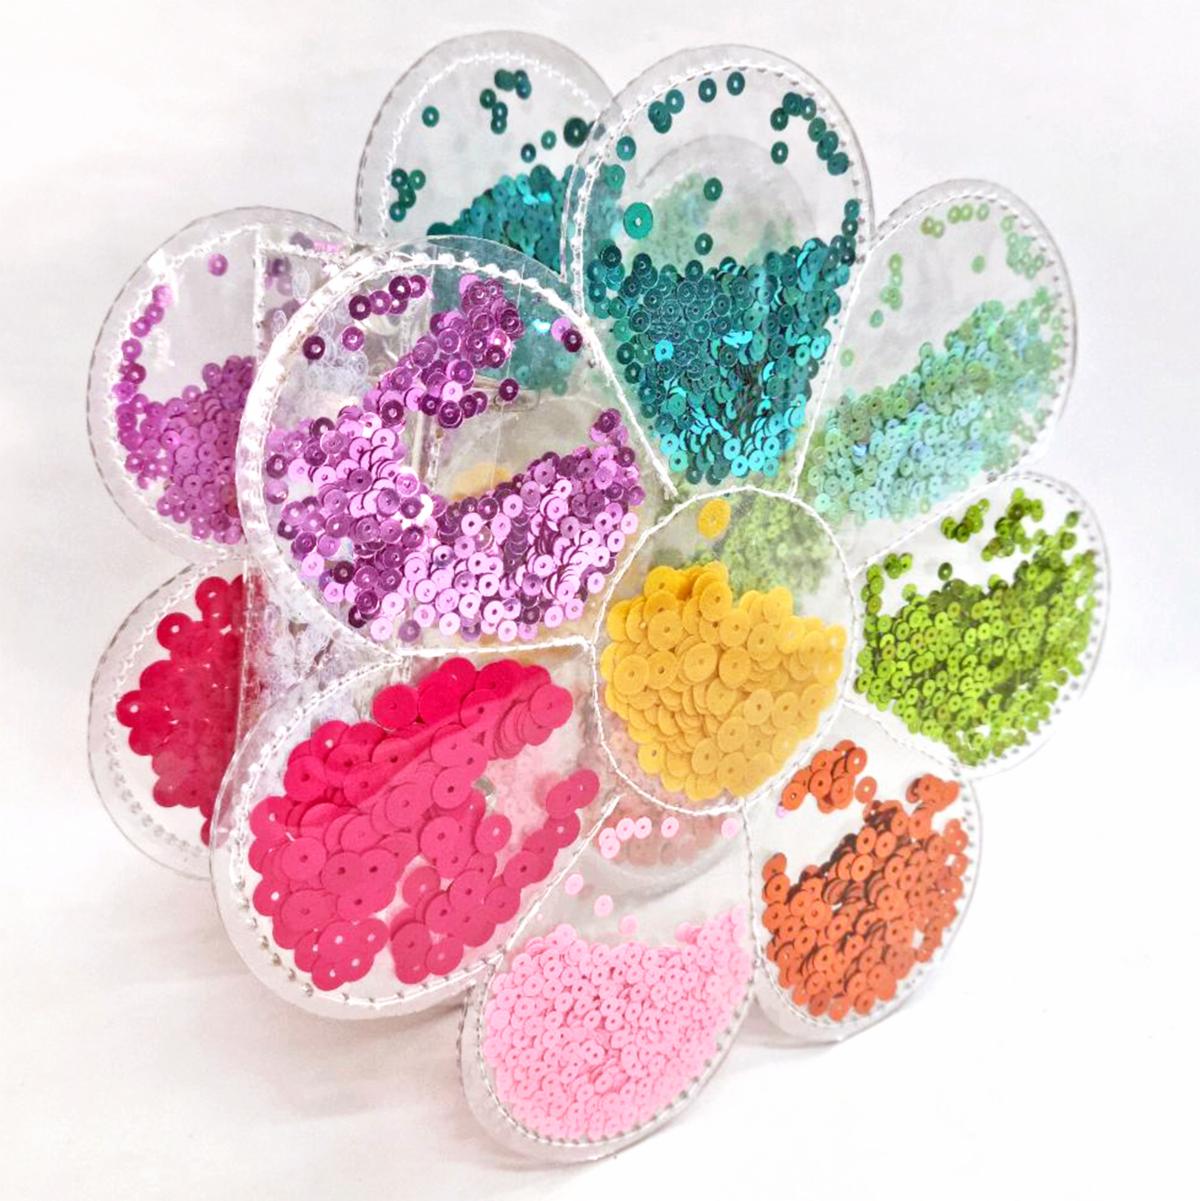
Join Paige Evans & Andrea Lake along with bonus teacher Lindsay Wahl for two fun-filled days of learning, crafting & creating! Plus goodie bags, freebies, bonus content, pop-up shopping, and fun with friends! We will use Paige's 4th collection with Pinkfresh Studio called CRAFTED MOMENTS to make at least six beautiful 12x12 layouts, fill a custom and exclusive to this event flower sequin album handmade by Gi DeMello (it's sooooo cute!! Sneaks below!), create a mini album (with twinkle lights!!), and you'll have lots of leftovers for making even more bonus projects! You will receive the entire CRAFTED MOMENTS collection and it will be revealed soon! Every person gets half of a 6 foot table to craft at during the event and it’s open seating, doors open at 9am on July 11th to choose your preferred spot.
***If you are traveling from out of town and want to stay at the hotel, discounted room rates are available which you can book HERE. Rooms have been blocked from Saturday July 4th until Saturday July 18th 2026. Make sure you select the dates before clicking on the 'Check Availability' button when making your reservation. If you'd like to reserve your room outside this window, please call Diane Sanborn at 720-221-2744 and she will assist you.***
SCHEDULE:
Saturday July 11th 2026
9am-10am: Meet'n'Greet & Early Bird Shopping
10am-1pm: Paige's Flower Mini Album Class
1pm-1:15pm: Group Photo
1:15pm-3pm: Lunch Break
3pm-6pm: Paige's Layouts Class
6pm-9pm: Dinner/Crop Time/Games & Prizes
Sunday July 12th 2026
9am-9:30am: Chat, Pictures, Shopping
9:30am-12:30pm: Andrea's Mini Album Class
12:30pm-2pm: Lunch Break
2pm-5pm: Andrea's Layouts Class
5pm-6pm: Lindsay's Bonus Class
6pm-9pm: Dinner/Crop Time
COST:$375 - includes class materials, bonus content, swag bags, and more! Travel, hotel, and food is not included.
VIRTUAL OPTION: If you would like to receive the kit and watch the event from home, simply purchase a spot and send me an email at paigetaylorevans@gmail.com to let me know you'll be attending virtually. The kit will ship the week of the event. FREE SHIPPING within the USA - for international shipping please send me an email for a shipping quote. The classes will be recorded for watching whenever you have the time.
CANCELLATIONS:If for any reason you are not able to attend, a full refund will be sent up to 60 days before the event. Within 60 days of the event you will be sent the kit materials to create the projects or you can find someone to replace your spot.
FACEBOOK GROUP:Upon registration you will be emailed a PDF which has the link to join the private Facebook group where all communication will take place - to join please type the email address you used to register. If you do not have Facebook, please let Paige know so she can email you info.
NOTES:About a month before the event, a PDF with photos and instructions, additional supplies to bring (all materials to create the projects aside from basic things like adhesives and tools will be provided in the event kit), places to eat, and more info will be uploaded into the Facebook group. I am tinkering with the idea of an "open house & make'n'take" in my Happy Scrappy Place the Friday before the event?! Stay tuned for more details!
We can't wait to see you in-person and have a happy scrappy time together!
Below are photos of the custom and exclusive to CRAFTED MOMENTS WEEKEND attendees flower sequin album handmade by Gi DeMello in Brazil that we will fill in Paige's mini album class on Saturday!
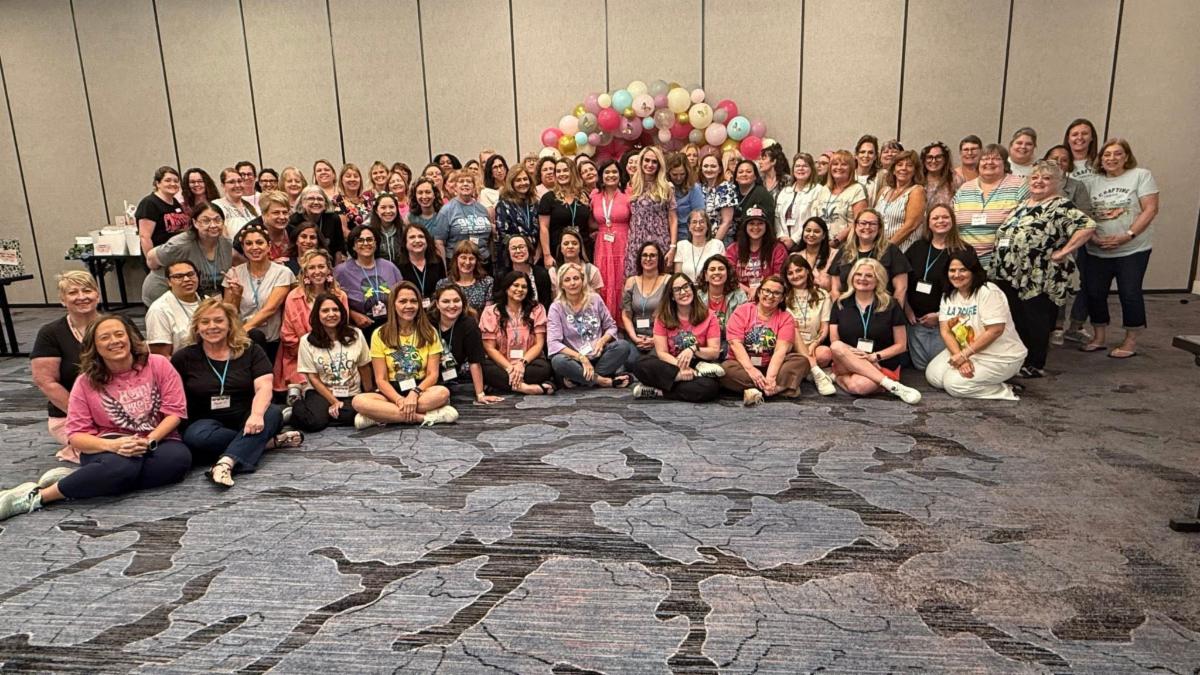
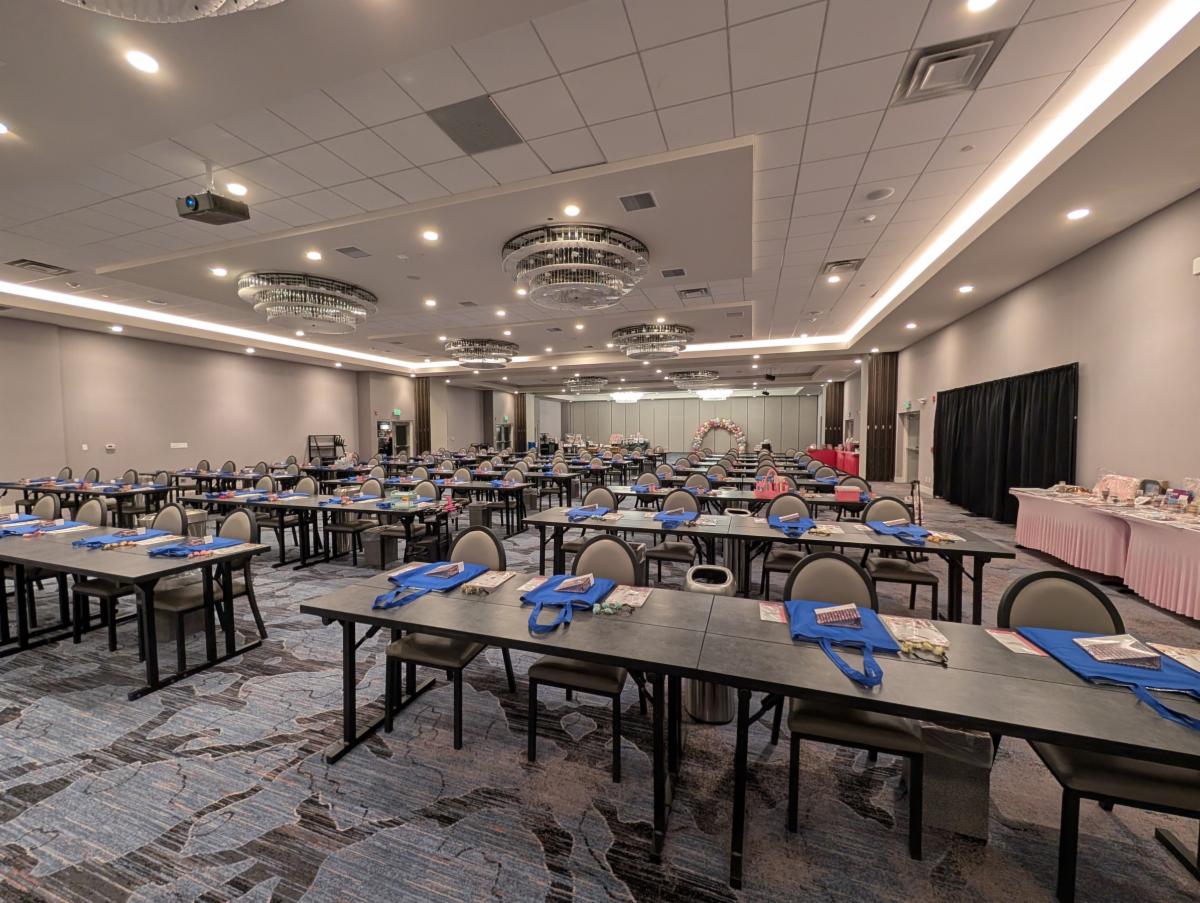
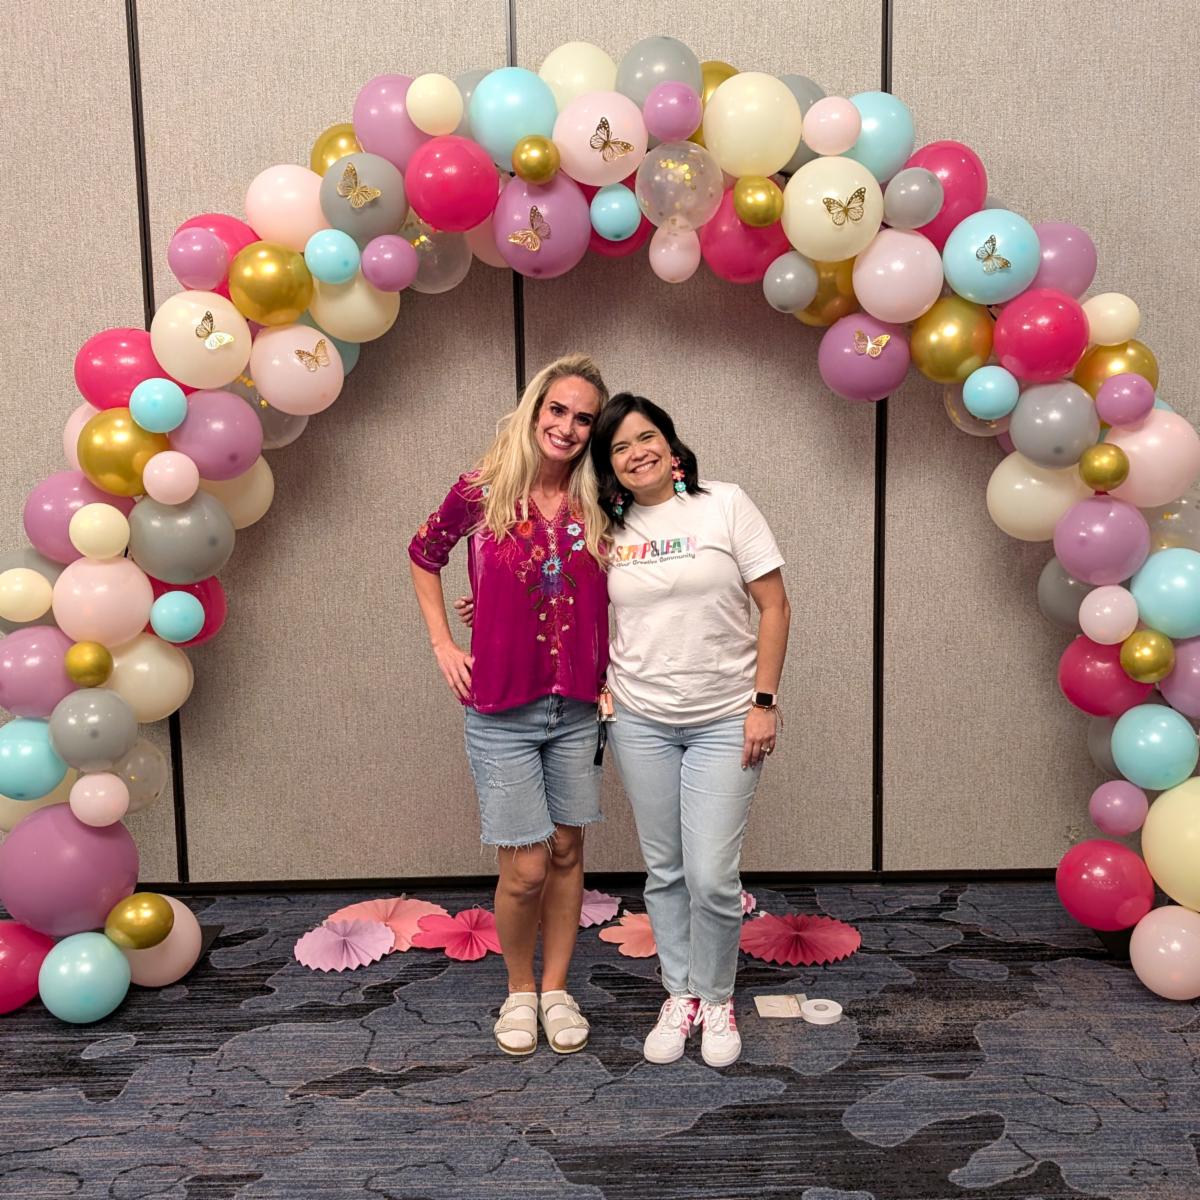
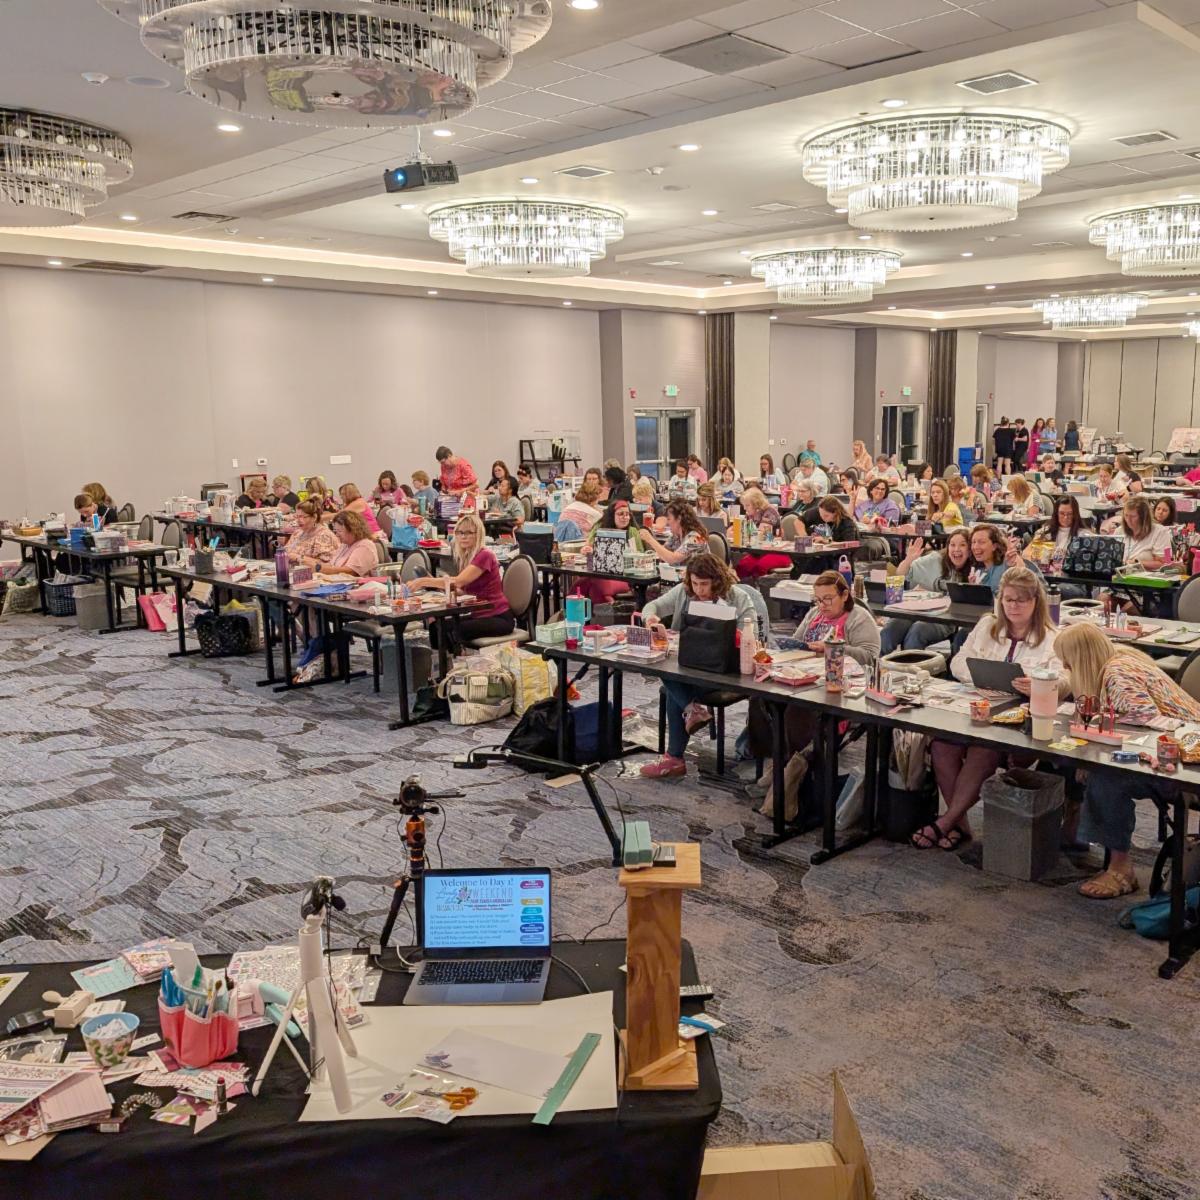
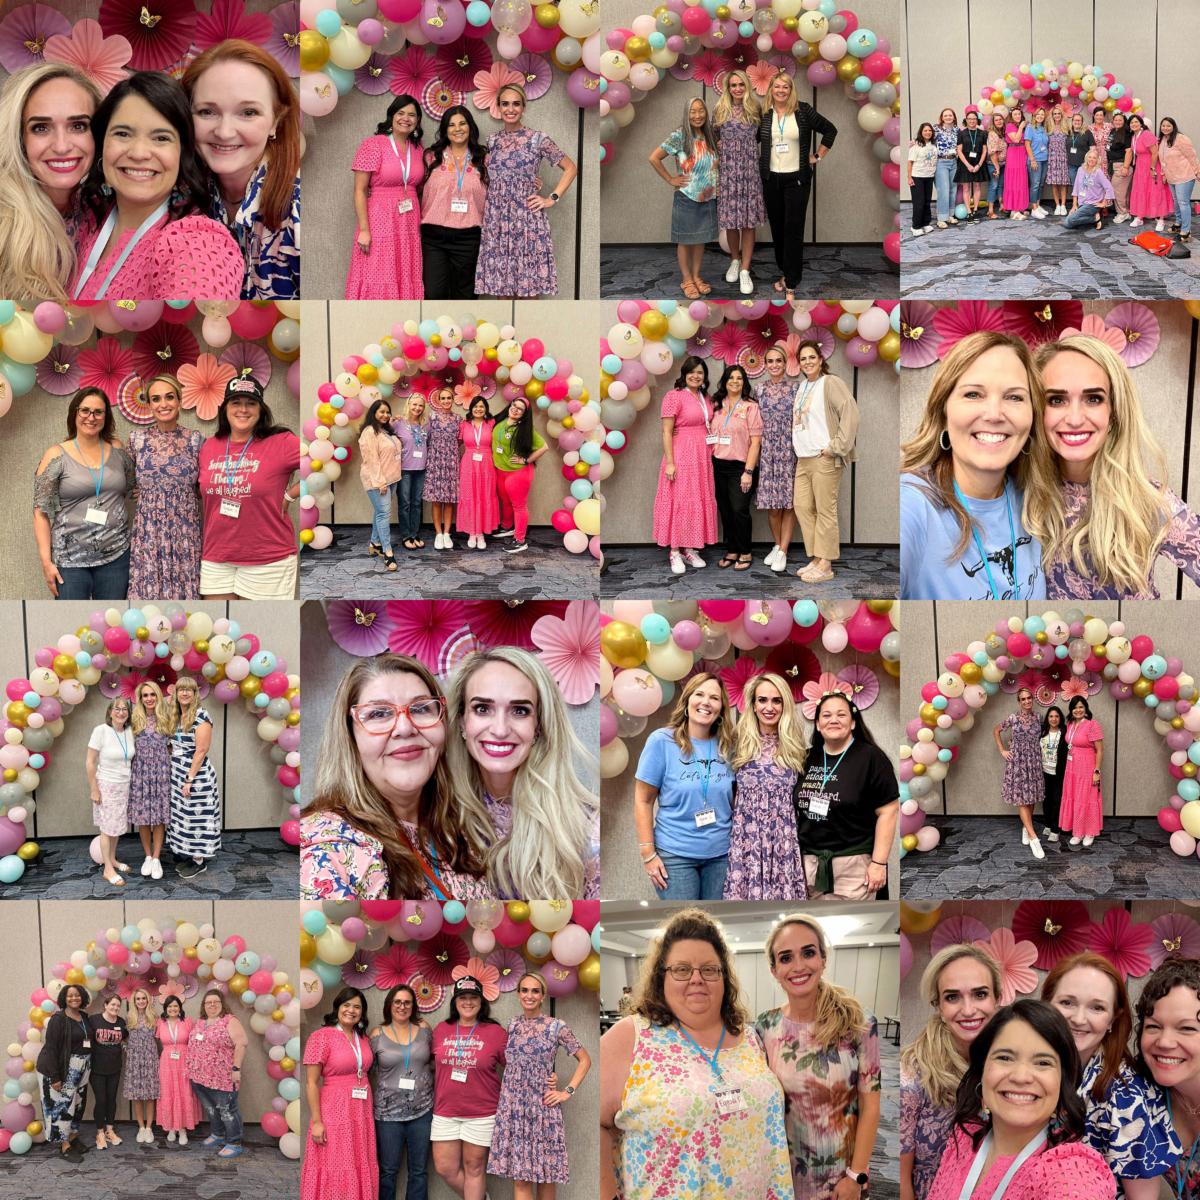
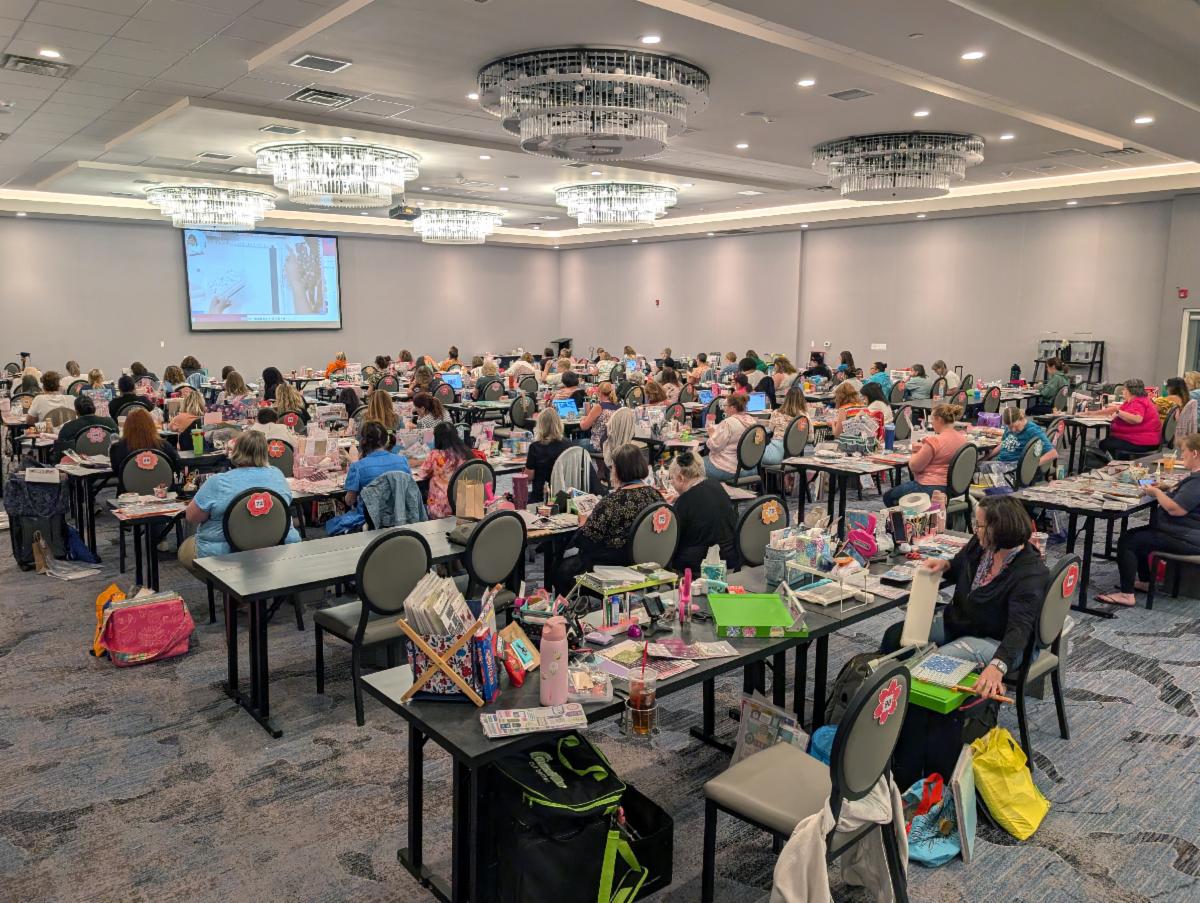
Here are some pictures from our previous event in Colorado called
Lovely Lane Weekend to see the space and how much fun you'll have!
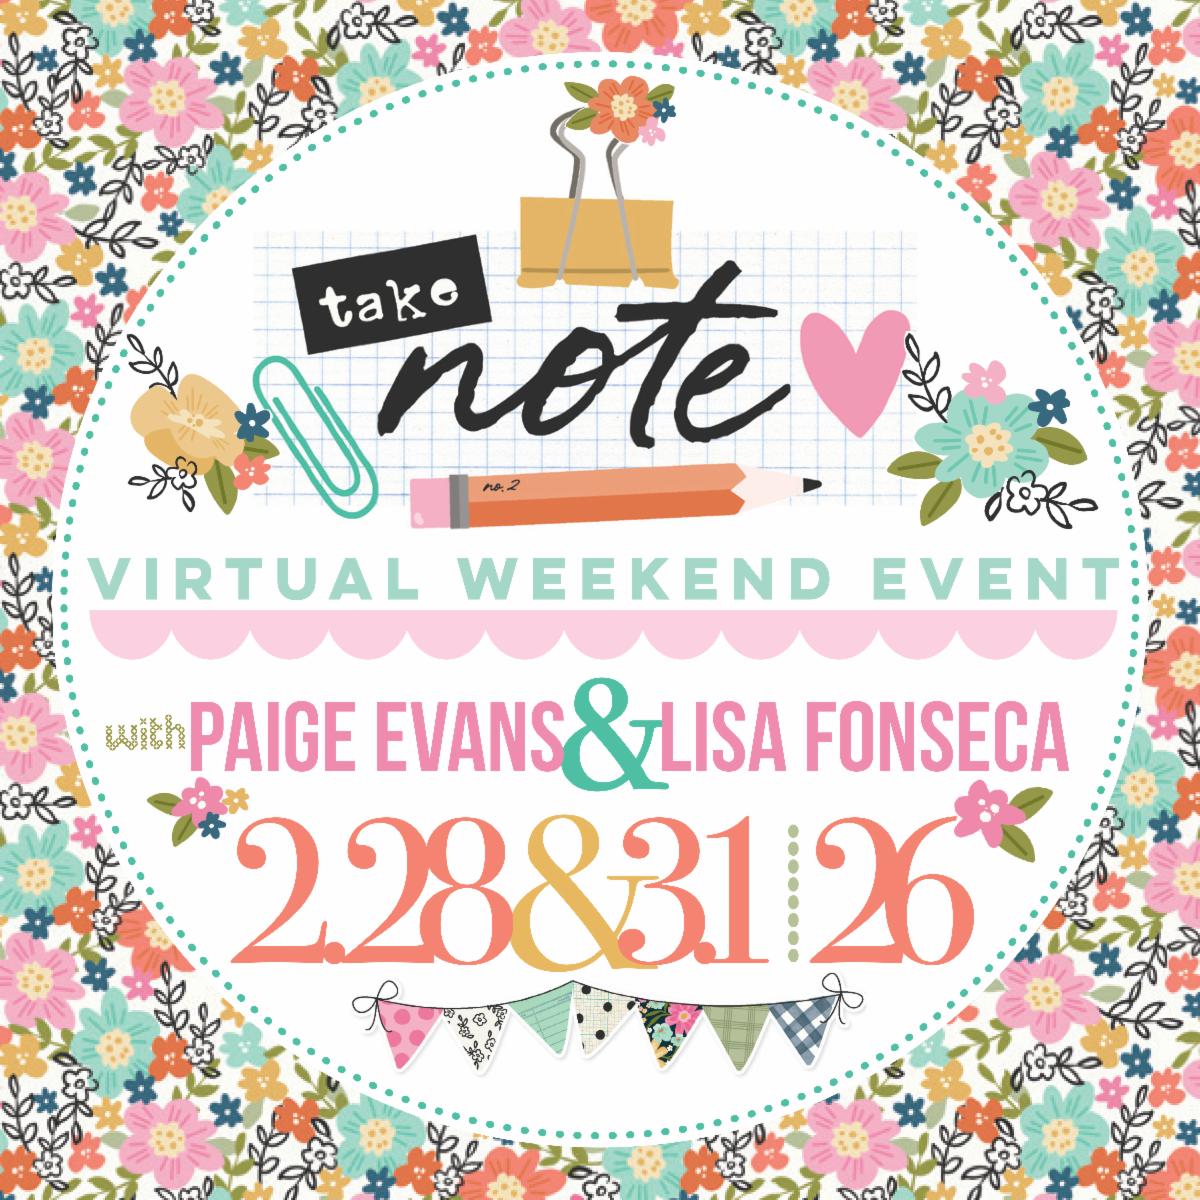
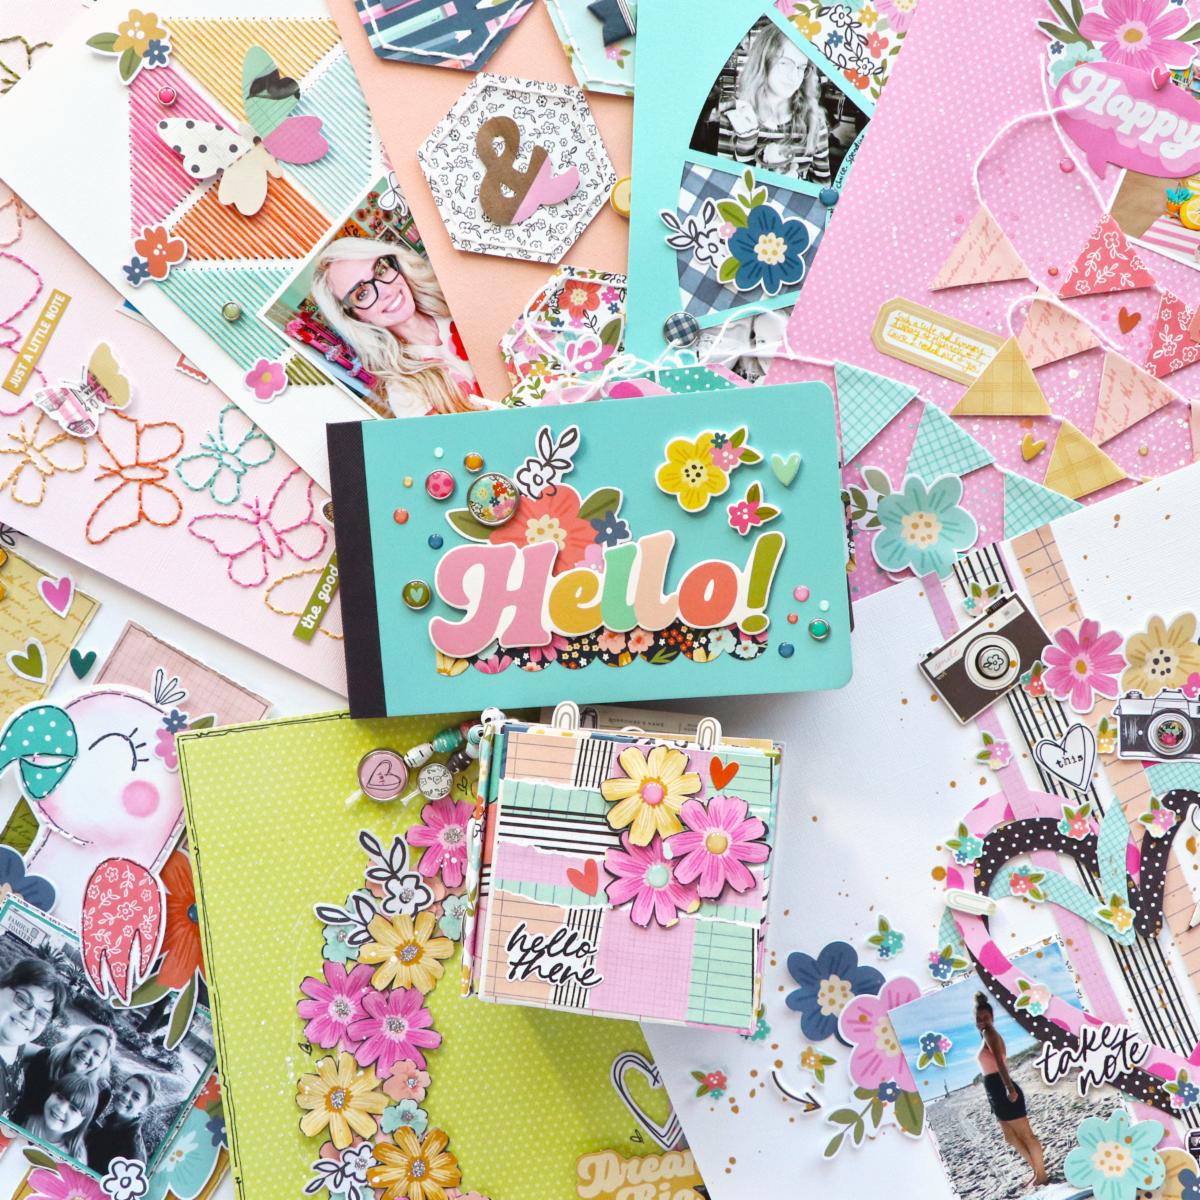
It's almost time for Take Note Virtual Weekend! Join me & Lisa Fonseca for 2 fun-filled days of virtual learning, crafting & creating! Lisa is flying to Denver so we can both teach from my Happy Scrappy Place! We will use the Take Note collection by Simple Stories to create (8) 12x12 layouts, make an adorable interactive handmade mini album, and fill a SN@P 6x4" Flipbook! Kits are sold out so please email me at paigetaylorevans@gmail.com let me know if you are interested in the kit option, I may be able to put more together. Below is a sneak peek of all the projects we'll create at Take Note Virtual Weekend!
There are 2 spots left to join me on an Alaska Cruise & Crop July 24th-31st 2026! We'll set sail from Seattle on Royal Caribbean's Voyager of the Seas then on the two days at sea enjoy three classes learning how to make 12x12 layouts and a mini album! Sneaks of class projects coming soon!
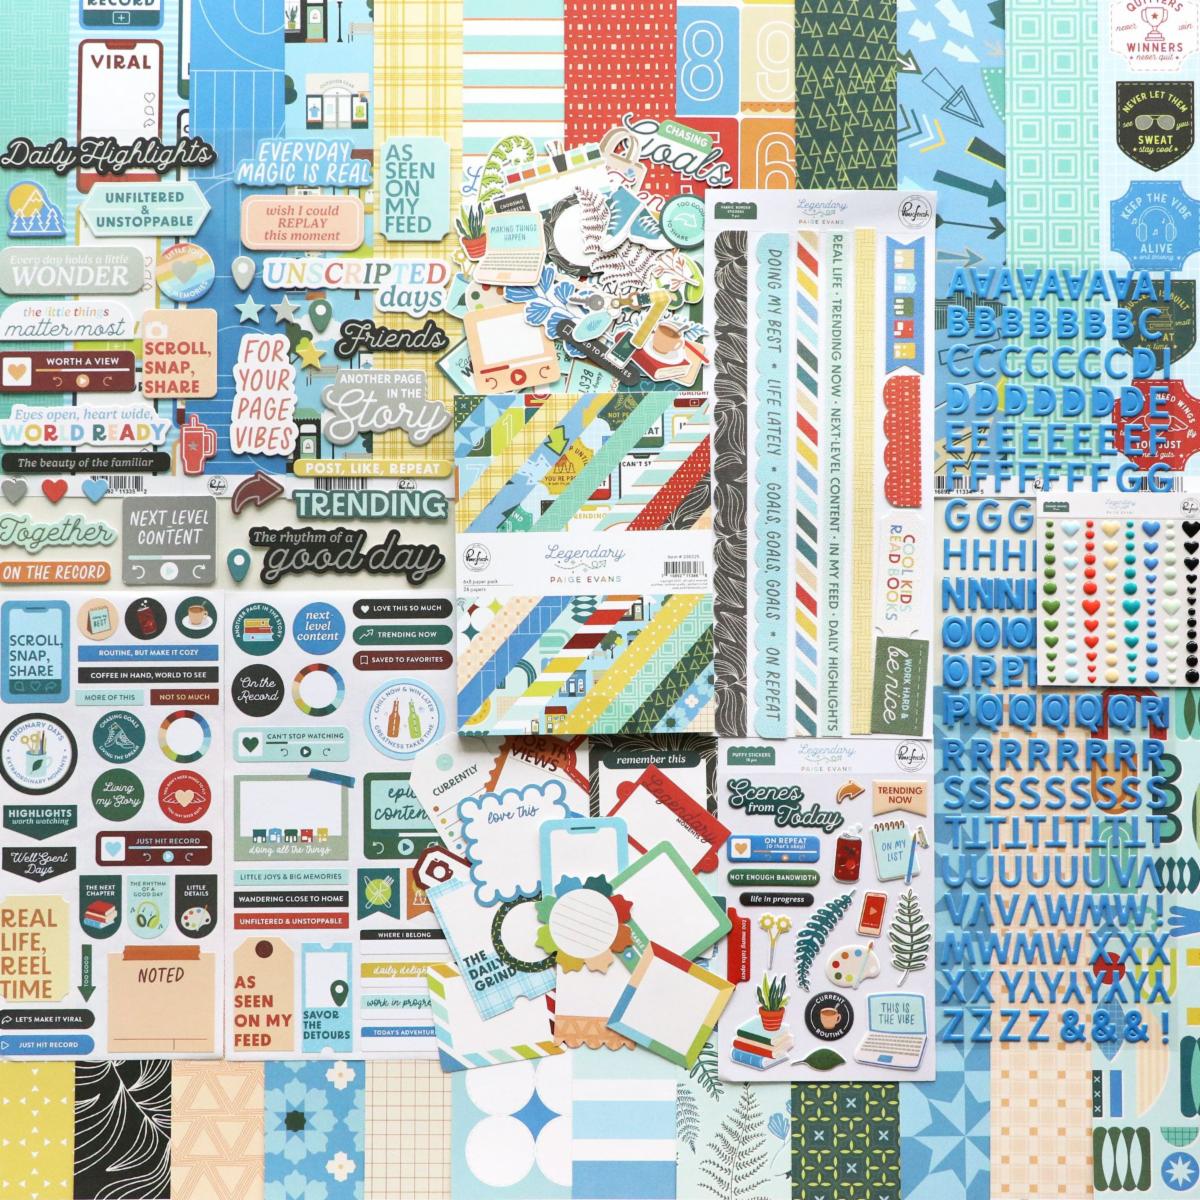
My next kit & virtual class will use my Legendary collection with Pinkfresh Studio! We'll create a whole bunch of 12x12 layouts during start-to-finish process videos (I have filmed 12 layouts already!). You can reply to this email to be on the first-to-know list when this kit & class is available!
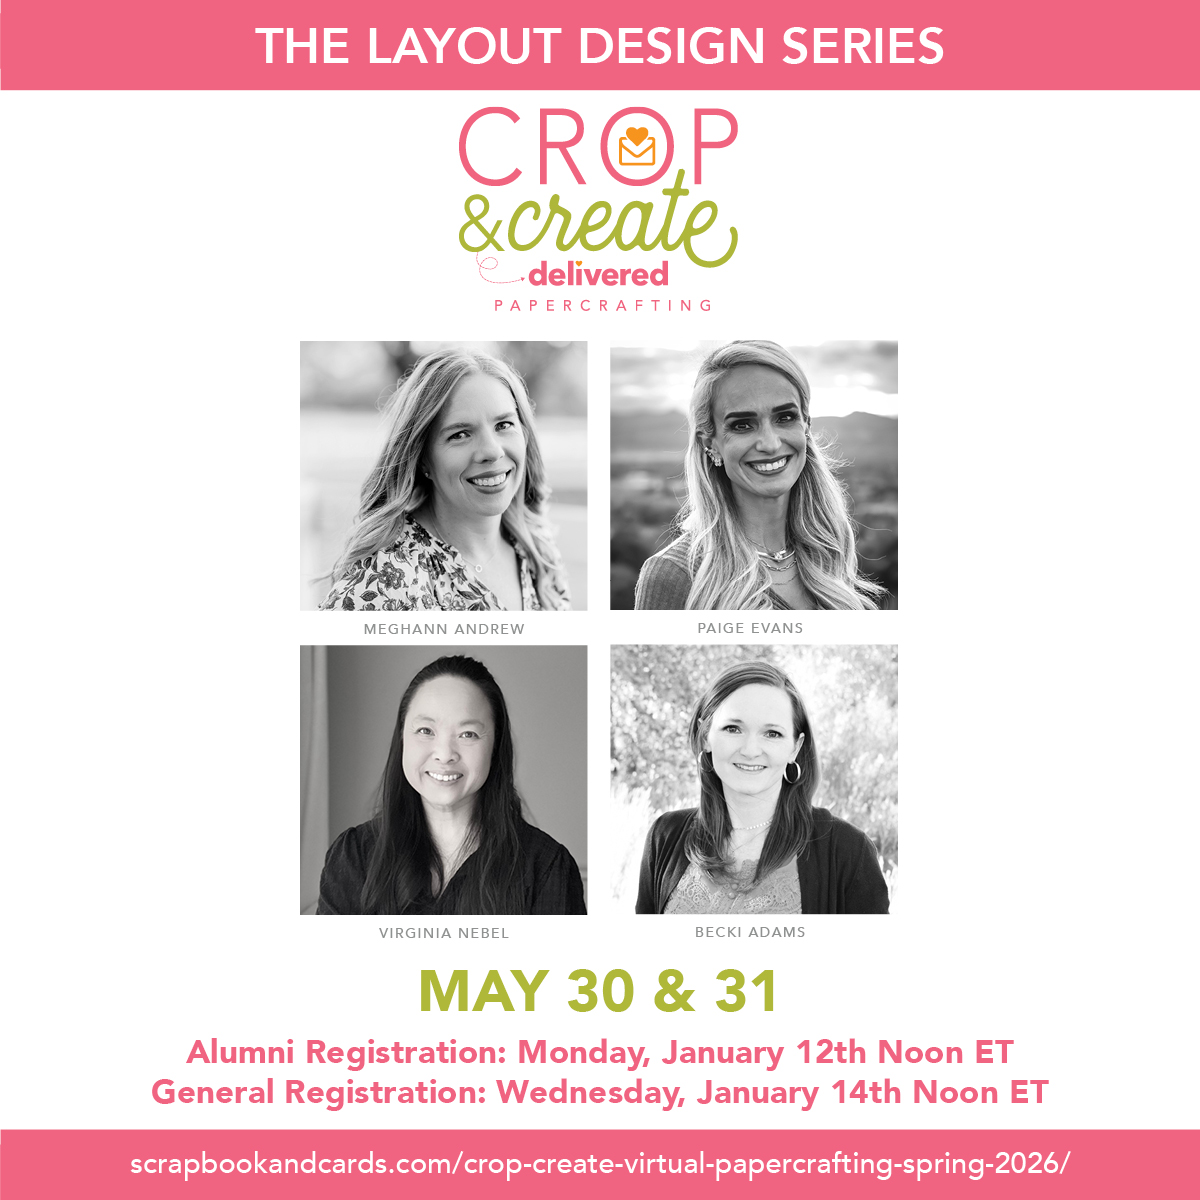
Join Paige Evans, Meghann Andrew, Virginia Nebel & Becki Adams virtually for a creative journey at the 10th Crop & Create Delivered Papercrafting – Layout Design Series event on May 30th & 31st 2026! This weekend will be packed with inspiration, creativity, and connection within our vibrant community of papercrafters!
The next batch of micro sequin albums handmade by Gi DeMello in Brazil is almost ready to ship to me! If you are on the waitlist look for an email from me soon! If you'd like to be notified when they're in my shop please reply to this email. These adorable micro sequin albums are $18 each + $6 shipping and include a free virtual class!
Hello crafty friends! Antonia Sherlock here and today I’m sharing a special layout I created using Paige's Lovely Lane collection! It’s special because it documents an achievement in my professional life, and also, because I used practically no patterned paper on this layout - which is most unusual for me!
I wanted the hexagon frames from the Chipboard Stickers to be the focal point of my layout, as these are so exquisite. I placed them on the white cardstock background stacking them one above the other. I placed the two larger frames in the center - one for my photo and one for the title. I used both the Puffy Alpha Stickers and the Mini Puffy Alpha Stickers for the title. I tucked Floral Die Cuts behind the larger frames. I used the smaller hexagons to create embellishment clusters, using inspirational phrases and small embellishment pieces from the various embellishment packs in this collection - so many texture choices: Cardstock Stickers, Chipboard Stickers, and Puffy Stickers! To complete the clusters, I added heart Enamel Dots and wrote my journaling around the hexagons. I also added some gold ink splatters as a final detail. I hope you find my layout inspiring and thanks so much for stopping by!
SUPPLIES: Patterned papers, die cuts, stickers, enamel dots: LOVELY LANE
Hello friends! Ali Skifton here and today I’m sharing a heart-filled layout featuring me and my mom. I used the free heart cut file from a recent Paige Evans Newsletter along with her gorgeous Lovely Lane collection and I just love how it all came together!
The pretty floral papers from the 6x8 Paper Pad were perfect for backing the hearts. I added a photo of me and my mom that was taken at my dad’s birthday and this collection felt like the perfect fit to highlight my beautiful mother. To give the hearts some dimension, I used crafty foam tape to pop them off the page. I decorated three of the hearts with extra Floral Die Cuts and Puffy Stickers, adding foam squares behind the flowers to make them really stand out. Each cluster was finished with Cardstock Sticker word strips and a few Enamel Dots for extra detail. To fill in some of the white space between the hearts, I grabbed a coordinating purple ink and stamped small dots across the background. I love how it ties everything together. Hearts aren’t just for partners - they’re perfect for celebrating any loved ones in your life!
SUPPLIES: Patterned papers, die cuts, stickers, enamel dots: LOVELY LANE; Cut file: Hearts Background by Paige Evans
Hi friends! Valerie Bisson here sharing a layout with you featuring Paige’s Lovely Lane collection for that perfect pairing of an amazing Northern Lights display.
Since I chose to make a page showcasing Northern Lights I thought the stars from the Hearts & Stars Die Cuts were the perfect starting point. I decided to use all the stars in the pack, scoring and folding each one for a little bit of dimension and interest. For the background I chose the blue cardstock from Paige’s Adventurous collection found in the 12x12 Project Pad. I splattered white acrylic paint across the entire background to add to the starry effect I wanted to create. When that was dry I added my photo in the center with the title right above using the Mini Puffy Alpha Stickers and the Puffy Alpha Stickers. In addition to the title I added a sentiment from the Rub-Ons. Next I added my journaling block right below the photo which I got from the Legendary collection Journaling Die Cuts. After this I added all the stars scattered to fill the background using dimensional foam adhesive. Lastly I sprinkled Enamel Dots throughout for more pops of color. I love how this page turned out and I hope it sparks an idea for you on your next layout!
SUPPLIES: Die Cuts, Rub-Ons, Puffy Alpha Stickers, Enamel Dots: LOVELY LANE; Journaling Die Cuts: LEGENDARY; Cardstock: ADVENTUROUS
Hello scrappy friends! Here is a new layout I made for Scrapbook & Cards Today with a "mix & match two collections" theme so I chose to mix & match Lovely Lane and Legendary!
I started with a light blue textured cardstock background for a clean slate that wouldn't distract from the colorful patterned papers. Then I chose 11 papers from the Lovely Lane 6x8 Paper Pad and 10 papers from the Legendary 6x8 Paper Pad and used my 2-Inch-Square with Stitching Holes Cut File to cut a 2-inch-square with stitching holes from all 21 of those papers.
I backstitched with a coordinating color of DMC thread through each square - it took about 6 minutes to stitch each square. I placed the squares sideways in a diamond shape across most of the background and left the bottom right corner empty for a place to showcase photos.
After adding two 3x4" photos of Jane on the empty space I topped each stitched square with a small color-coordinating embellishment such as a die cut, layered sticker, puffy sticker, and/or enamel dot. I used a dark green "Scenes from Today" Puffy Sticker from Legendary to make the title under the photos and then wrote journaling with a very dark green pen below.
I absolutely loved mixing & matching Lovely Lane and Legendary patterned papers and embellishments with another one of my favorite things: stitching! Thanks for stopping by!
Once all the pages were finished, I assembled everything with the gold binder rings to create a sturdy and reusable calendar.
I added photos of my family to make this calendar extra special. Because it’s a perpetual calendar, it can be enjoyed year after year, making it both functional and decorative. I truly love how it turned out!
Thank you so much for stopping by today. I hope this project inspires you to mix collections and create something handmade that you can enjoy all year long!
Hey all! Nicole Santos here sharing this faux pocket page that I made with two of Paige's cut files and her Very Merry Christmas collection!
I started by using the 6x8 Paper Pad to make 6 different pocket cards. I cut out two of Paige’s cut files of presents - one of these is from Paige's Shop called Presents and the other is from a past Newsletter which you can sign up for HERE. I added one of the cut files to the title card and then added my title “ADVENTS” made with the Puffy Alpha Stickers over the top of it. I added the other cut file to the last card with a pic of me and my advent. I liked the look of both cut files with no backing - I thought that they really stood out. I embellished my pockets with lots of different goodies from the Very Merry Christmas collection. I then added all my pockets to a piece of 12x12 cardstock to add to my album. I finished off my page with white splatters of paint. Thanks for popping on to read all about my layout. I hope it gives you some inspiration to use all your crafty goodies from Paige! Make sure you subscribe to her newsletter so you don’t miss out on any of the free cut files that Paige sends out!
SUPPLIES: Patterned papers, die cuts, stickers: VERY MERRY CHRISTMAS; Cut files: Presents and Presents by Paige Evans


.jpeg)

.jpeg)
.jpeg)
.jpeg)

.jpeg)