
In a creative rut? Lost for inspiration? Turn back to your old scrapbook pages and give them a new spin with current product! Here is a layout I made for fun, scraplifting the design of a page I made back in 2014, only this time I made the chipboard frames from scratch using my new Go the Scenic Route collection.

Check out the process video to see how this page came together from start-to-finish:
Here is my original page I scraplifted:

I began by making the paper frames. First I measured the frame sizes on my original page and trimmed Go the Scenic Route patterned papers to the same size.
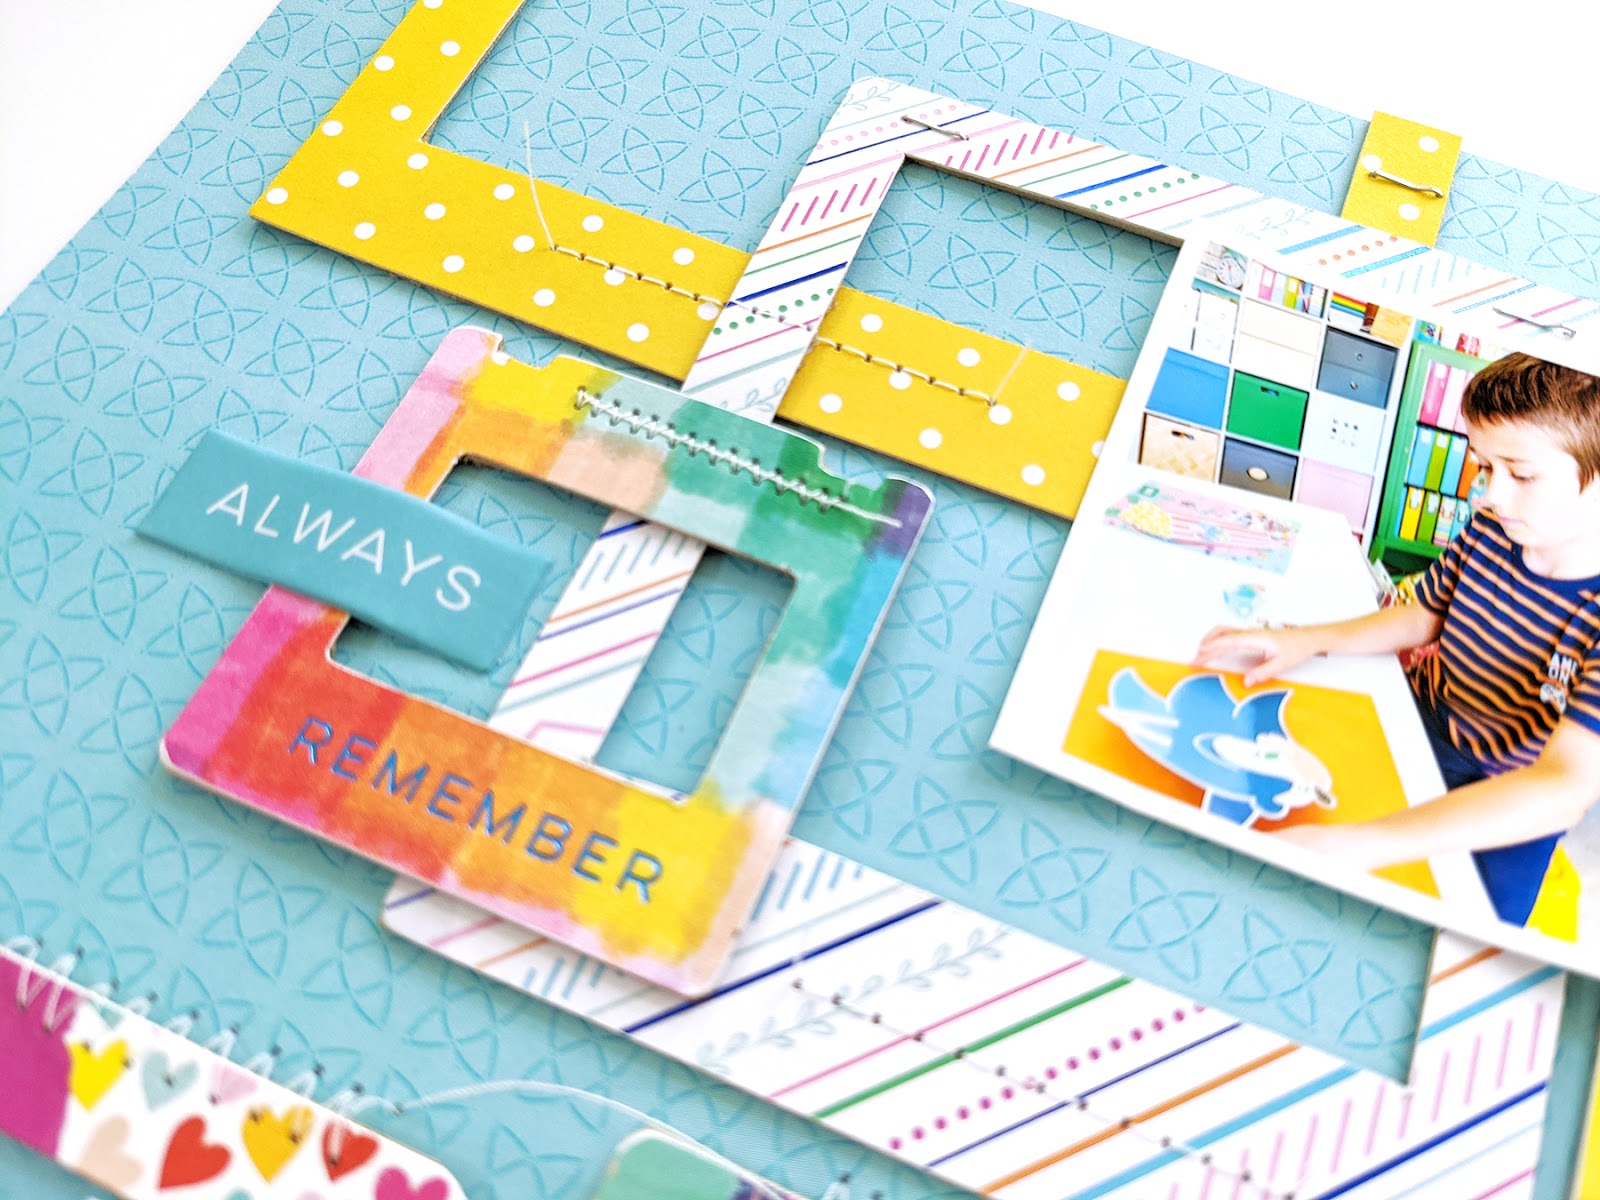
Then I got out my mixed media/spray adhesive box, placed all the frames upside down inside, and sprayed the backs of them with the spray adhesive. I quickly and carefully pieced the paper frames onto a piece of chipboard.

Then I cut out the frames from the chipboard. I rounded most of the corners with scissors and then used a piece of fine sandpaper to wear down the edges and corners, making the frames look legit, as if they came in a package like that!

Following the placement of the frames on my original layout, I placed my handmade chipboard frames across the blue geometric B-side of Paper 13. I attached them in place lightly with adhesive and then secured them with a Tiny Attacher as well as machine stitching, varying the type of stitch for interest and texture.

After trimming the threads (only partially, I kept them quite long again for texture and whimsy), I added four 2" square photos on top and embellished minimally with pertinent sentiments from the Cardstock Stickers and Puffy Phrase Thickers. I tacked two Flag Paperclips onto the photos. To finish, I wrote journaling on one of the perforated tags found in the Ephemera Die Cuts using a blue pen.

I hope you are inspired to try making your own chipboard frames with my new Go the Scenic Route collection and turn to your older pages to scraplift yourself when you're looking for inspiration! Thanks for stopping by, see you again soon!

SUPPLIES: Patterned papers, stickers, die cuts, paperclips: GO THE SCENIC ROUTE; Journaling pen: American Crafts; Tiny Attacher; Sewing machine: Brother; Thread: Coats & Clark; Printer: Canon Pro-100; Canon photo paper


What an AWESOME and AMAZING idea!! I loveeeeeeeeeee this (the original and your new one scraplifted!!)!!!! Just absolutely FUN ... looks like a maze!!!!!!
ReplyDelete