

This page might look like it took a long time to create, but it really didn't and it’s super easy to re-create! All you need are two pieces of the same paper (I used Paper 14 from my Horizon collection), a paper trimmer, and some scissors to make the distressed & quilted background.
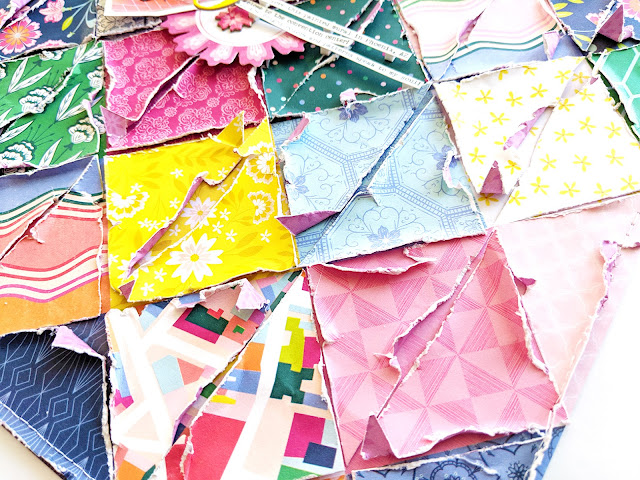
I simply cut up Paper 14 into triangles, heavily distressed those triangles, and then put them back in place on a new piece of the very same paper (I used one from the 12x12 Paper Pad).

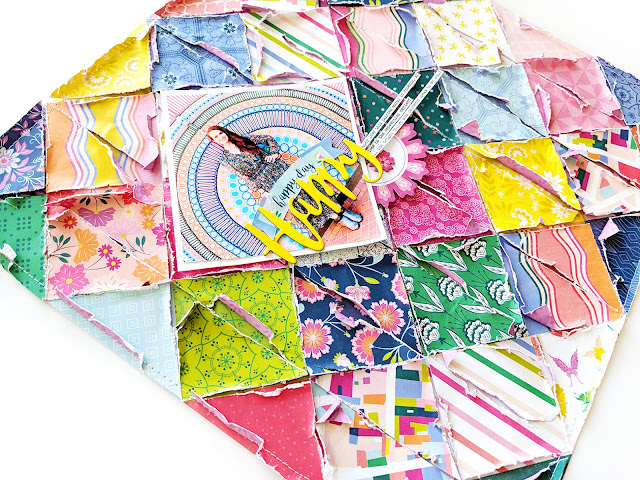
Usually I would machine stitch little paper bits like this in place, but I wanted the focus of texture to be on the paper and not machine stitching. That said, I did add machine stitching around the layout edges to create a border and used strong adhesive to attach the triangles in place.

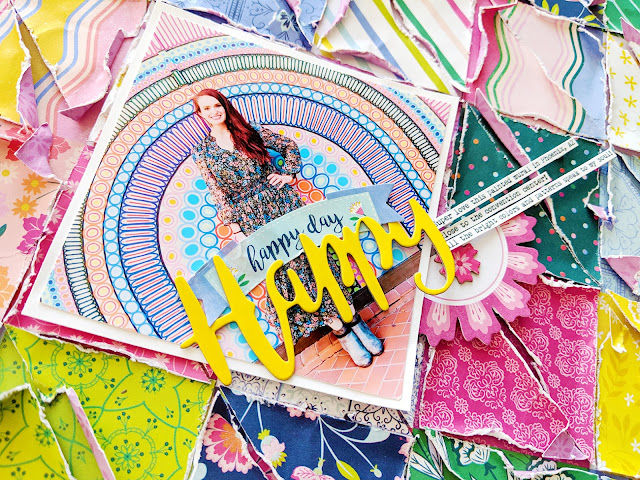
Since the background is very busy, I didn’t add much else: a photo, a title on top of the photo made with a "Happy" Chipboard Sticker, journaling strips (I used my favorite font called Remington Noiseless), and just a pinch of Stickers & Ephemera Die Cuts, all in the same area to draw the eye into the photo and keep the focus there.
Find the start-to-finish process video and more tips & tricks over in Lesson 2 of Paige's Pages 18 at Big Picture Classes!
 SUPPLIES: HORIZON: Paper 14, 12x12 Paper Pad, Chipboard Sticker, Stickers, Ephemera Die Cuts
Also, it's my 34th birthday :)

I simply cut up Paper 14 into triangles, heavily distressed those triangles, and then put them back in place on a new piece of the very same paper (I used one from the 12x12 Paper Pad).

Usually I would machine stitch little paper bits like this in place, but I wanted the focus of texture to be on the paper and not machine stitching. That said, I did add machine stitching around the layout edges to create a border and used strong adhesive to attach the triangles in place.

Since the background is very busy, I didn’t add much else: a photo, a title on top of the photo made with a "Happy" Chipboard Sticker, journaling strips (I used my favorite font called Remington Noiseless), and just a pinch of Stickers & Ephemera Die Cuts, all in the same area to draw the eye into the photo and keep the focus there.

Find the start-to-finish process video and more tips & tricks over in Lesson 2 of Paige's Pages 18 at Big Picture Classes!

Also, it's my 34th birthday :)


HAPPY BIRTHDAY!!! Great lo!
ReplyDeleteI hope you had an AMAZING birthday!! I love love love this! LOVING that AWESOME photo with those fabulous colors and love love love all the distressing!!! Absolutely GORGEOUS!!!!!!!!
ReplyDeleteI hope you had a great birthday! Beautiful layout and photo! Love those distressed triangles!
ReplyDelete