

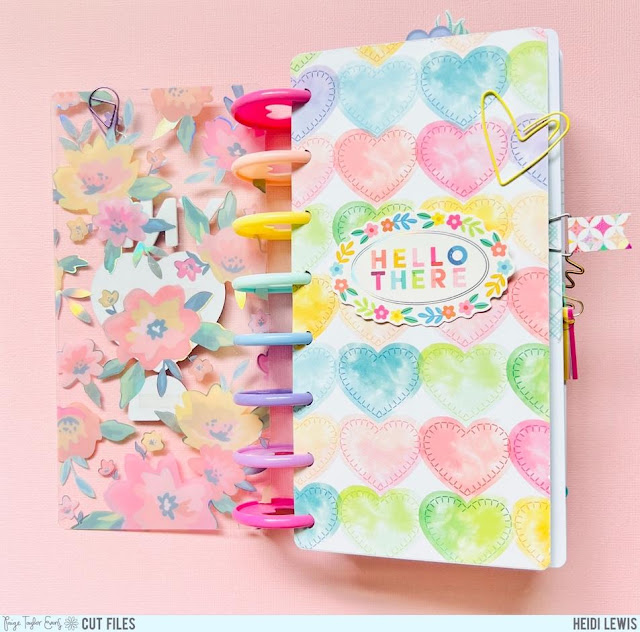
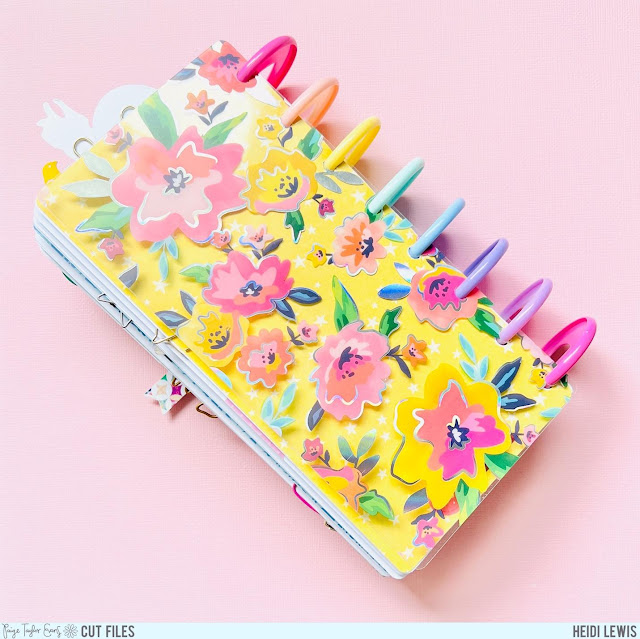
Without further ado, let’s make this mini! The cover is made from fFloral transparency paper sized to 8 in (H) x 4 in (W). I made the title for the album from Thickers and Chipboard Stickers. Of course, I had to add a Flower Charm attached with a coordinating paperclip.

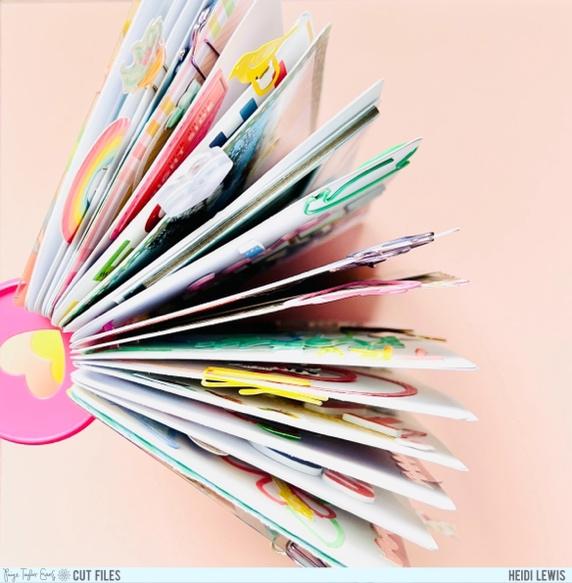
The entire album is bound with planner discs using the Multi Cinch Tool. The finished album turned out very chunky, so I added a paper clip to every page to utilize as a page-turner. All the embellishments and papers in the album are from Blooming Wild.
The first page in the album is a simple title page made from the A-side of Paper 20 and a Cardstock Sticker.
Then the fun with the cut files begins! My first spread uses the Drinks cut file to document my love of flavored soda. Most of my pages in the album are made from smooth white cardstock, but in circumstances where the cut file fit on one page, I added a splash of color with patterned paper. For this spread, I used the B-side of Paper 14.

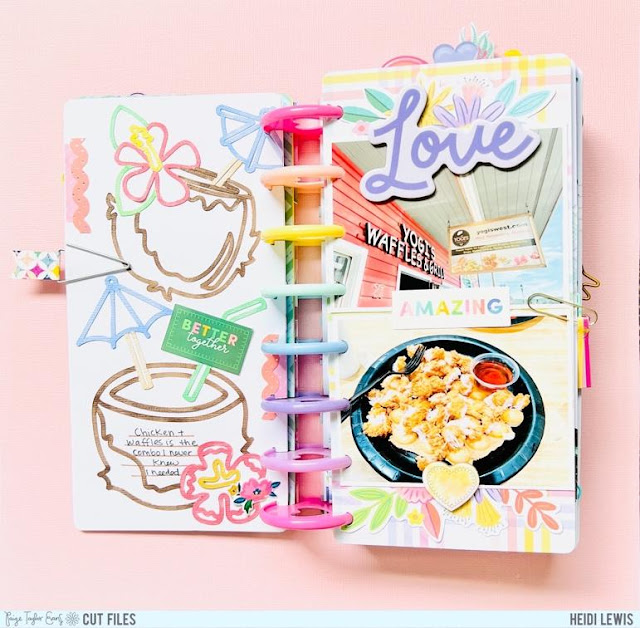
Next up is another food spread featuring the Tropical Drinks cut file. The opposite page uses the A-side of Paper 03. The spread is embellished with Cardstock Stickers, Chipboard Stickers, Washi Tape, and Floral Die Cuts. I used lined journaling stamps and a black journaling pen to incorporate photo captions throughout the album.
I love it when a cut file fits the theme of my pictures. How perfect do these Pinwheels go with the windmill in one of the photos and the star in another photo?

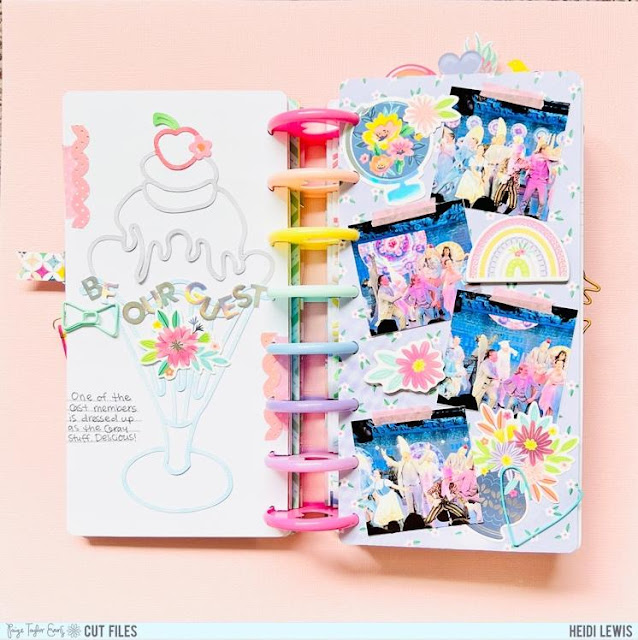
This next cut file and photo combination are also perfect. The Ice Cream cut file represents a cast member dressed up as the “gray stuff” in a stage production of Beauty and the Beast. I like the balance of pairing a simple page with a busy one.
Some of the cut files, such as these Banners, beg for a double page spread. I love how perfectly the Thickers and pennant from the Sticker Book fit inside the banners.

The Cool at the Pool cut file also needed a double page spread to truly shine. I love the rainbow colors! Do you spy the little mermaid paperclip?

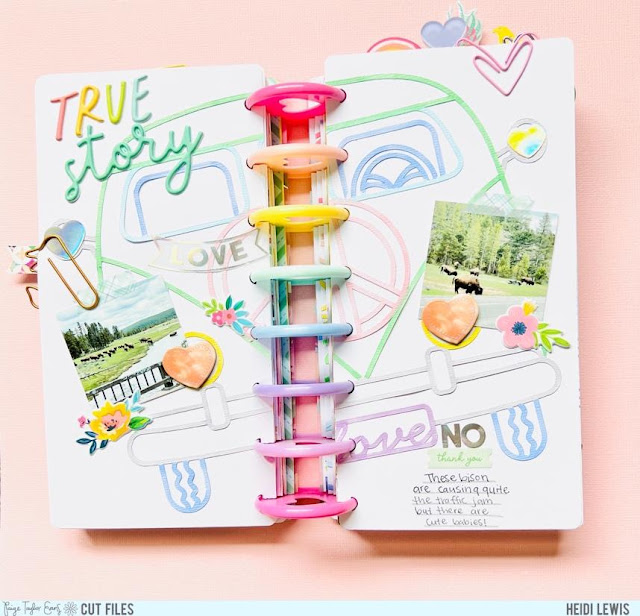
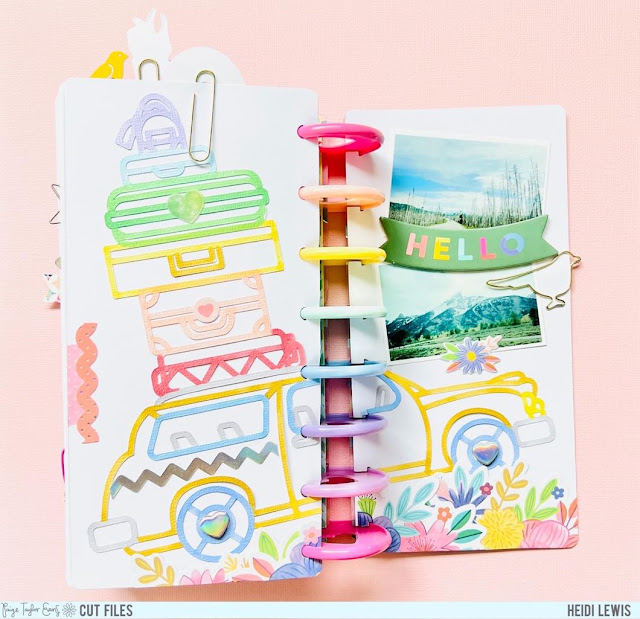
Next up is the VW Bus which is the perfect cut file for documenting a road trip. It makes my heart happy how the holographic heart Stickers look like reflective side mirrors.
An album like this needs a lot of titles, so using a cut file for some of your titles (like I did for this Travel page) can help conserve your Thickers and stickers. You can never go wrong with some tone-on-tone embellishing and a colorful floral background (Paper 11).

Next up is a Floral Flip Flop combined with a full-page title. Don’t be afraid to mix and match your Thickers to make a fun title! A little bit of Washi Tape is perfect for filling in extra space.

The interpretation of a cut file doesn’t always have to be literal to use it. For example, the splashing water in the Splash Zone cut file looks like a splashing geyser to me even though I technically didn’t get splashed.

On the next spread I used another title cut file, this time one that says Picnic. It cracks me up how the hand paper clip looks like it’s about to grab some of the food off the page. I accidentally cut my 8x4 photo a little too small, but a Washi Tape border saved the day!

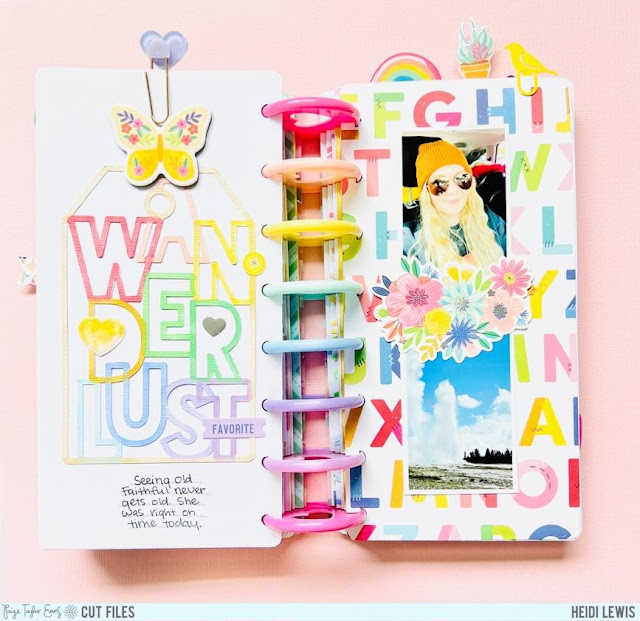
One of my favorite scrapping techniques is matching shapes. On this spread I paired letters with letters by matching the Wanderlust Tag with Paper 8.
I used the Family and People cut file from the Family and Friends bundle on this page. The little people icons just scream national park to me (if you know, you know lol). Did I already mention I like matching? See how I matched the plaid in Paper 1 with the plaid jacket in the photo.

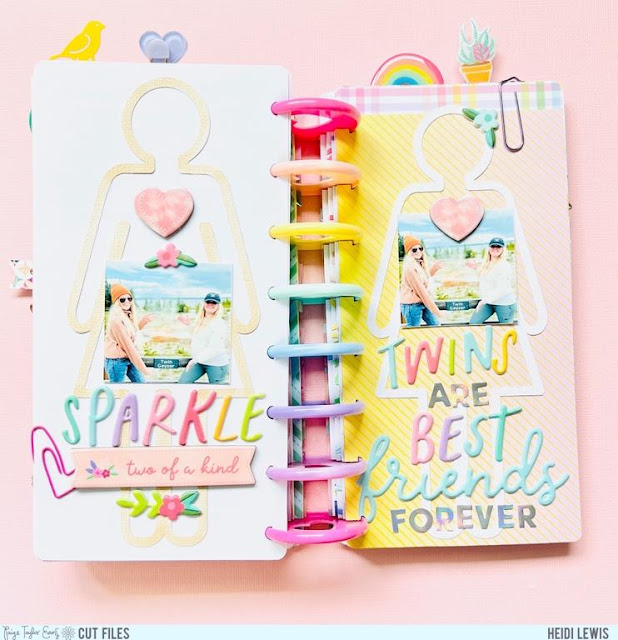
I love how you can customize the Family and People icons to whatever your family may look like. For this layout, I colored one girl with markers and left the other white to make a pair of twins to go with the picture of me and my twinner posing in front of the twin geyser. I used the B-side of Paper 03 for my background and a combination of Thickers and stickers to make the title.
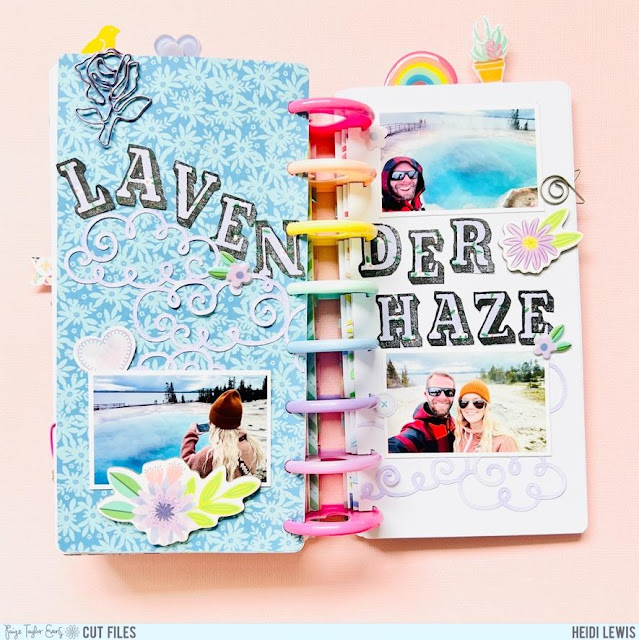
For the next spread I used the clouds from the Airplane cut file to represent steam from the prismatic pool. I stamped my title onto Paper 6 and then fussy cut the letters. I used the B-side of Paper 8 for my background.
I love the simplicity of this spread. I used the Camping Scene cut file to make an outdoors scene. The mini holographic alpha stickers from the Sticker Book are perfect for long titles.

I really leaned into the rainbow theme for this layout lol. I colored the Waves Background in rainbow colors and then paired it with rainbow-themed photos, title, and embellishments. Give me all the colors!

Last but not least is the vintage Station Wagon cut file. This cut file is so perfect because it looks like the yellow historic wagons you can use to tour Yellowstone park. I embellished the spread to look like the station wagon is driving through a field of wildflowers.
Well that’s it my friends! It took me about a week total to make the album start to finish.

Thanks for learning how to make this album with me! I hope you feel inspired to use one or both the Summer Cut File Bundles to document all your summer adventures!
SUPPLIES: Patterned papers, die cuts, stickers, Thickers, charms, embellishments: BLOOMING WILD; white cardstock; Cut files: 20 Summer Cut Files, 24 Summer Cut Files, and the Family and Friends by Paige Evans

Instagram // Facebook // Pinterest


Post a Comment