
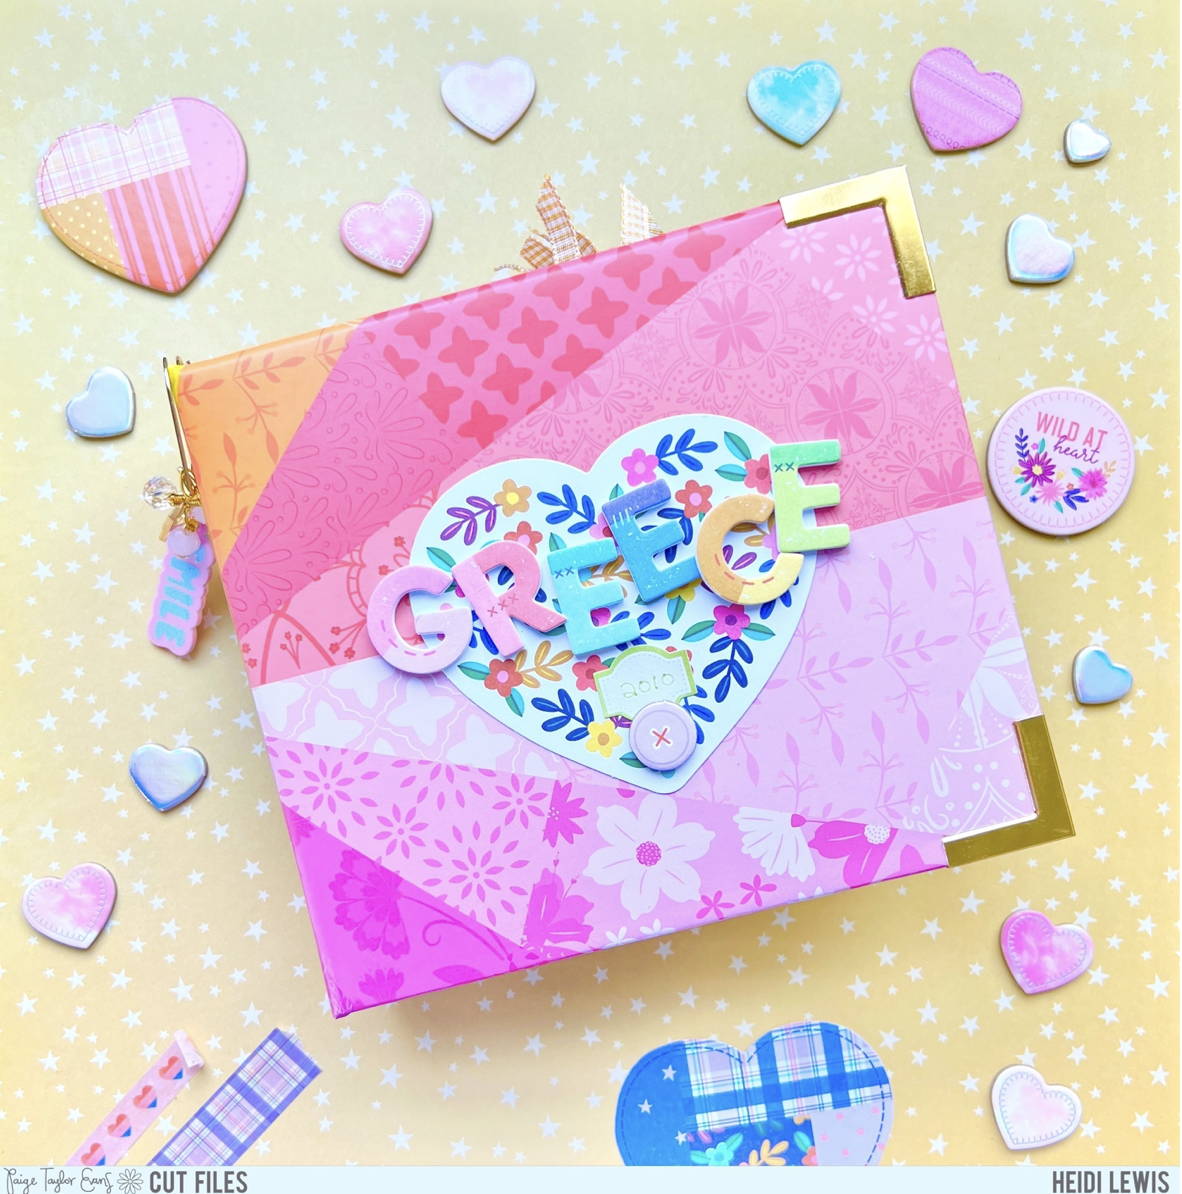
I used the 4x4 Color Wheel album for my base. Additional 4x4 sheet protectors are out of stock right now, but you can still copy this album exactly by cutting your paper (or photo) into a 4.5 (W) x 4 (H) inch square, punching holes directly into the sheet, and then adding it directly to the album. (Pro tip: use the sheet protectors that come with the album as your punching guide.) Paige demonstrates this technique in her 4x4 mini album class, which can be purchased here.

For my title page, I hand-stitched a rainbow onto a sheet protector and added a tab from the Sticker Book to make it easier to turn the page. This technique would also work on clear acetate!

For my title page, I hand-stitched a rainbow onto a sheet protector and added a tab from the Sticker Book to make it easier to turn the page. This technique would also work on clear acetate!

My next page is essentially a second title page because it can be seen through the first page. I embellished a 4x4 photo with clear stickers from the Sticker Book and added a paperclip from my stash to serve as a page-turner.

The theme for this album is 4x4 cut files! So after the title pages, I started alternating a cut file page with a photo page. What better cut file to kick off the album than Bon Voyage! I colored the cut file with alcohol markers and added tone-on-tone embellishments. It makes my heart happy how the Cardstock Sticker fits perfectly inside the “O.” The page on the right is a 4x4 photo embellished with more Cardstock Stickers and a flamingo paper clip. I used paperclips, stickers, and tabs throughout the album as page-turners.

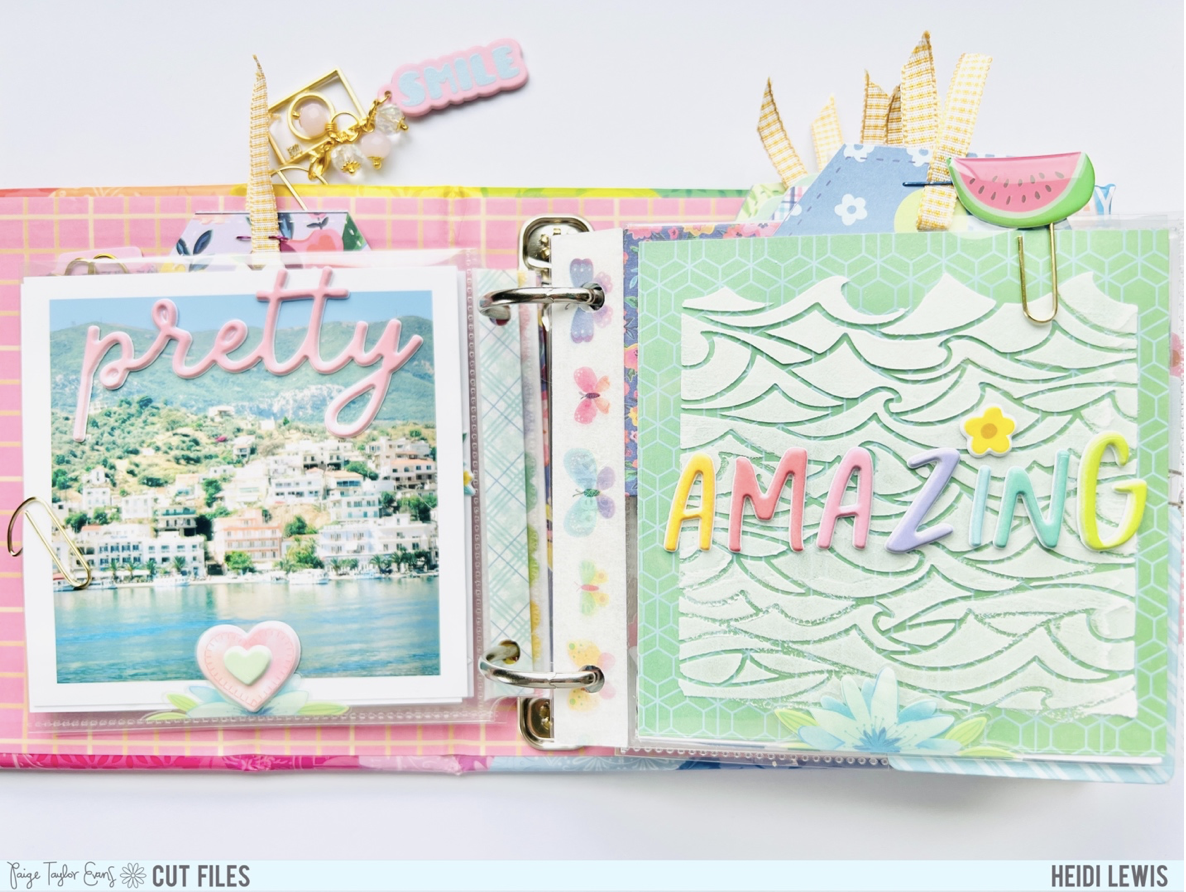
For the page on the left, I embellished a 4x4 photo with Puffy Phrase Stickers. For the page on the right, I used the Waves from the 20 Summer Cut Files as stencil to apply texture paste to Paper 12. Then I layered a Puffy Phrase Sticker over the top.
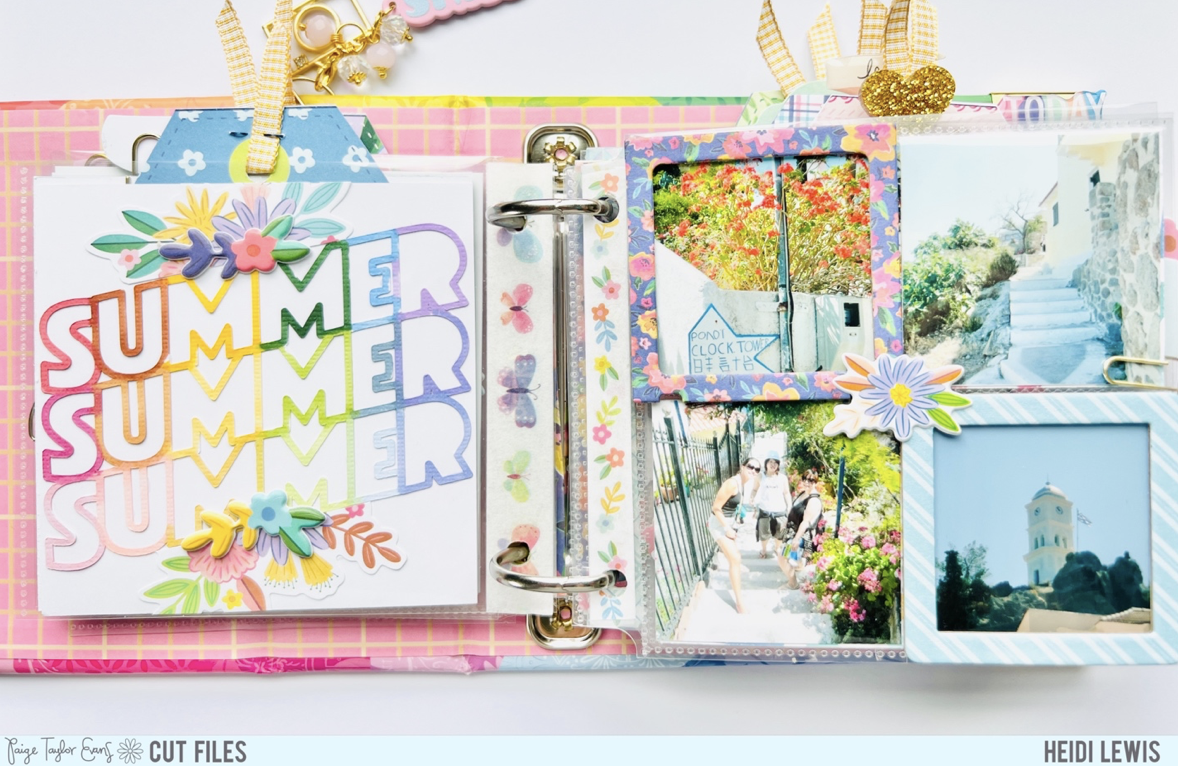
The next spread features the Summer Summer Summer from the 24 Summer Cut Files colored with alcohol markers in a rainbow ombre. I cut a Floral Die Cut in half and added it onto either side of my title and layered flowers from the Puffy Phrase Stickers on top. The opposite spread features four 2x2 photos with Chipboard Frame Stickers layered over two of the photos. I centered a Mini Flower Puffy Sticker over the center of the page.
The page on the left uses two 2x2 photos. I love how the 2x2 squares of Paper 8 match the blue water in my photos. I layered Chipboard Frame Stickers over each of the 2x2 squares and placed a chipboard heart in the center. To make the page on the right, I ink blended Paige's Sunburst and Rainbows Background cut files onto smooth white cardstock. Then I collaged a sun from a heart Chipboard Sticker and phrases from the Sticker Book.

For the page on the left, I cut out the Flowers cut file twice and colored it with alcohol markers. Then I adhered it to white cardstock and added black paint splatters. I love how this cut file looks just like the geraniums in my photo. Trust me, Paige has a cut file for EVERYTHING! A clear bee from the Sticker Book, Floral Die Cut, and Puffy Phrase Sticker finish off the page. The right page is a 4x4 photo with a Puffy Phrase Sticker title.

The next spread features another 4x4 photo on the left with a matching cut file page on the right inspired by my photo to apply pink texture paste through the Flower Background cut file to light blue cardstock. I layered a Floral Die Cut, heart Chipboard Sticker, and Puffy Phrase Sticker onto my pink floral background.

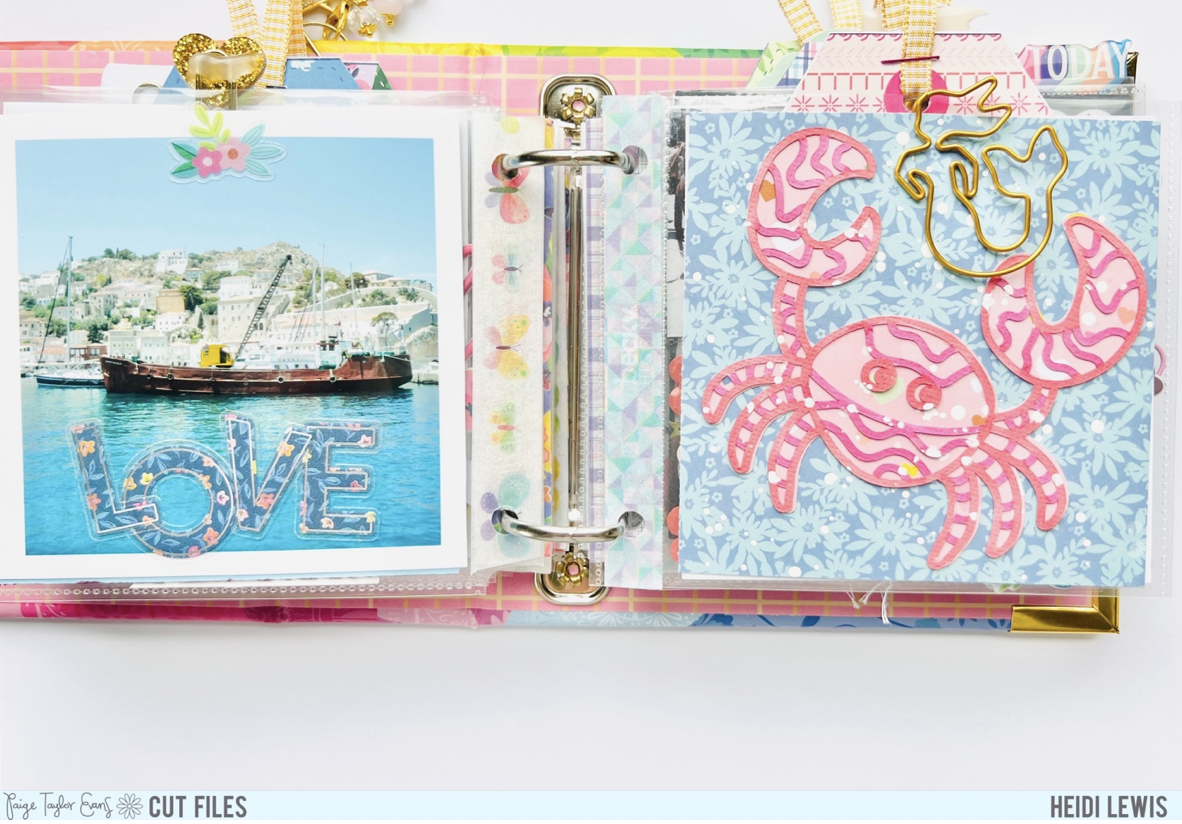
If you’re nervous to work with cut files on such a small scale, I recommend choosing simple designs, such as this cute little Crab friend. Another trick for working on a smaller scale is to either color the cut file with markers or use solid backing pieces or do both!
The Map cut file is another simple design that works great on small scale. For this page, I backed the Map with Paper 8 and added a heart Chipboard Sticker. Easy peasy layout! For the next page, I used 2x2 pocket pages and filled 2 of the pockets with sequins and the other 2 pockets with photos. Alternatively, you could glue sequins directly to paper or machine stitch one of the 4x4 sheet protectors that comes with the album to create your own pocket page!
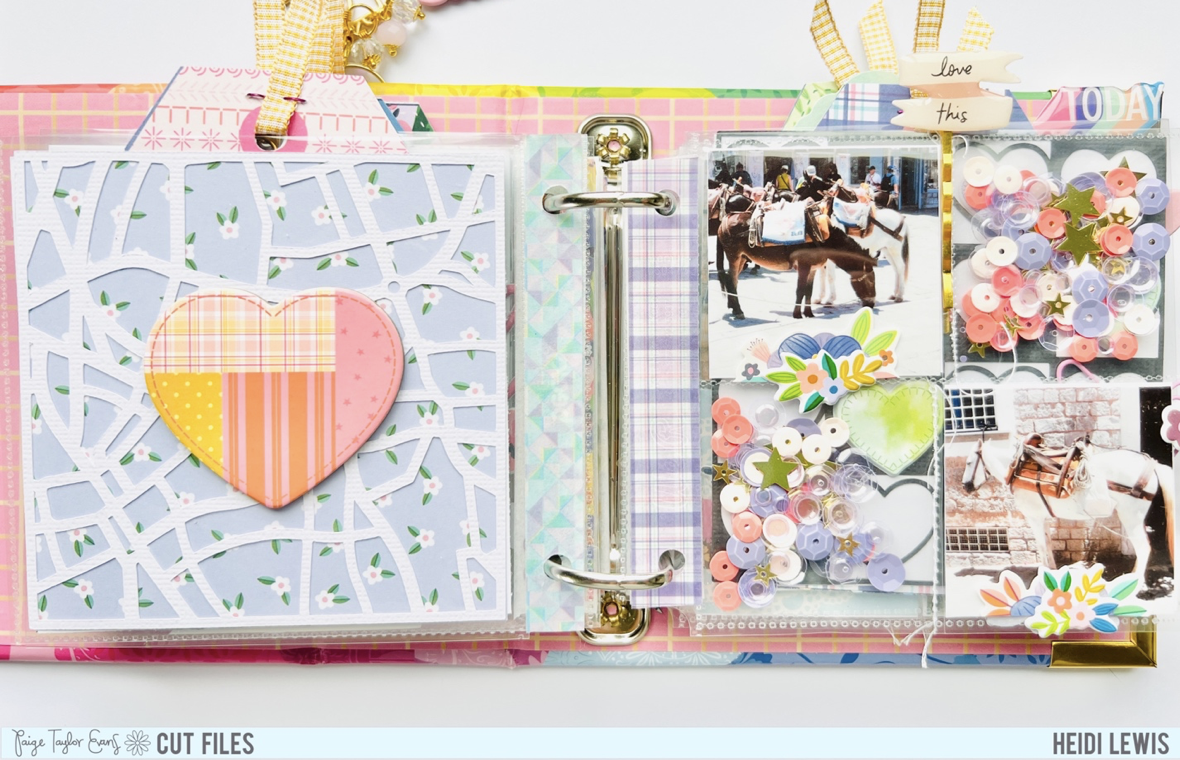
Besides picking simple designs, I let my pictures inspire my choice of cut file. This Heart Grid cut file looks just like the checkerboard in my pictures. I used a combination of hearts from the Puffy Phrase Stickers and clear hearts from the Sticker Book as “chess pieces” on my board.

Don’t be afraid to repeat the same technique throughout a mini album because it helps give the album a cohesive look. For example, I made another rainbow title with tone-on-tone embellishing, but this time with the Good Times cut file. These 2x2 Paper Pads from the Splendid collection are still available on Scrapbook.com and fit perfectly inside the 2x2 pocket pages.

This next spread is one of my favorites! I was pleasantly surprised that my Cricut could cut the Fish Wreath from the 24 Summer Cut Files so small! I colored the fish in rainbow order and backed the cut file with a solid piece of Paper 7. The colors in the striped paper just happened to line up perfectly with the coloring I did on the cut file. Sweet serendipity! And the round Chipboard Sticker fit perfectly inside the wreath. Lucky day!

Repetition helps achieve a consistent look in a mini album. This time I repeated the technique of using a cut file as a stencil. For the left-hand page, I applied texture paste through the Clouds Background directly on top of my photo. The page on the right went awry when the Mountains Are Calling from the 24 Summer Cut Files ripped trying to cut it out of white cardstock. No biggie, I just cut it out again with holographic vinyl and used it like a giant sticker. Using vinyl is a great solution if you want to use a more intricate cut file on a smaller scale.

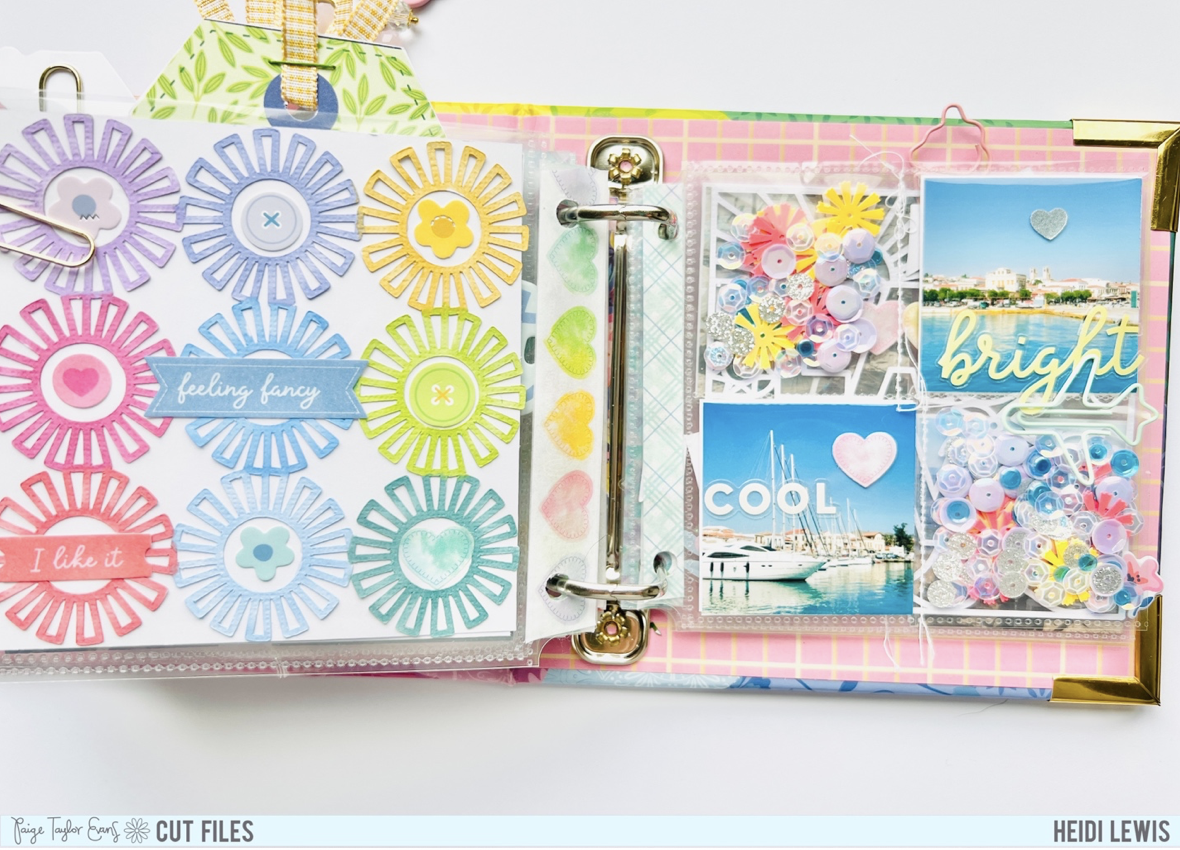
Next up is the Sunburst Background. I felt inspired to match the sun ray shape in my sequins pocket. Once again, I used rainbow markers and tone-on-tone embellishing to decorate my cut file. Also, I couldn’t resist making more shaker pockets. All of the sequin mixes for this project are from the Magical Mixery store on Etsy. Also, in case you haven’t noticed yet, a lot of my 4x4 pockets have tags fussy cut from Paper 9. The tags serve as journaling spots, or can just add extra decoration if you don’t care for journaling. You can add the tags directly to the album rings if you aren’t using pocket pages.
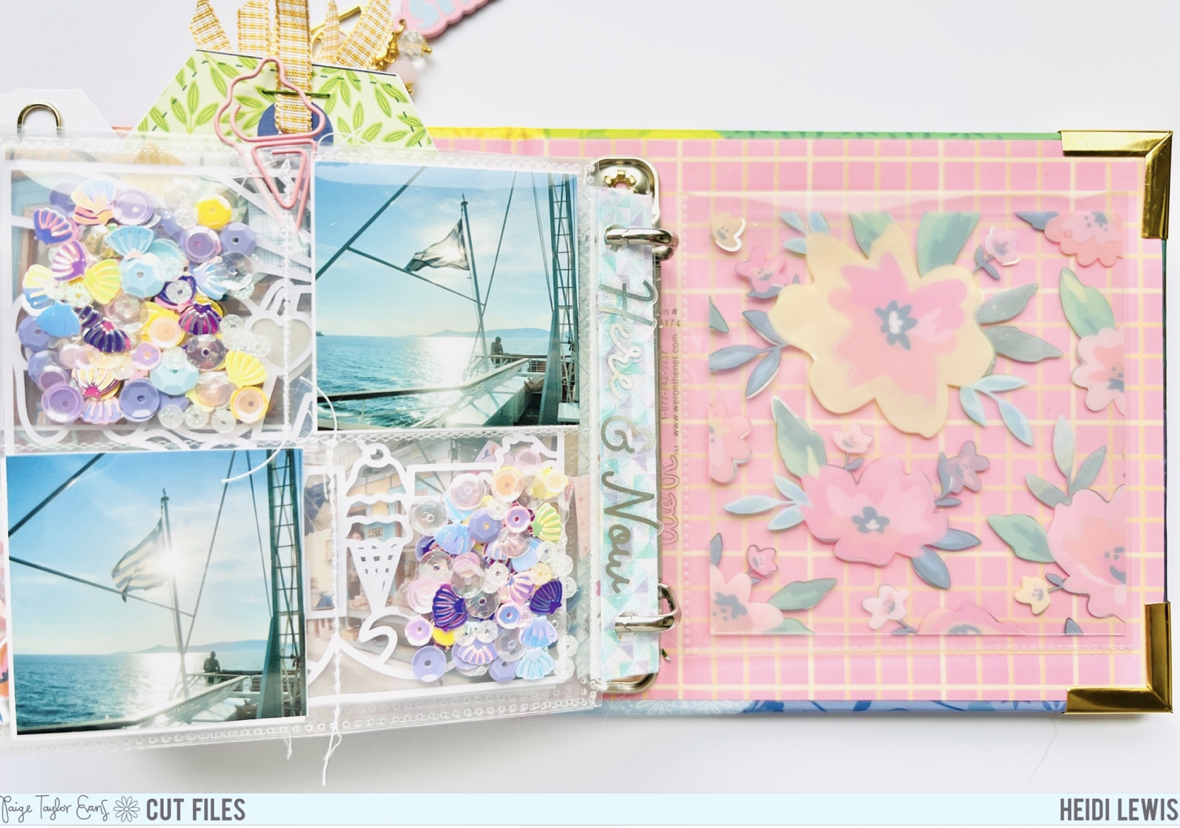
I kept my last spread very simple because I liked how the Beach Time cut file looked as an overlay for the next page. I cut it from white cardstock, slipped it into a sheet protector, layered hearts from the Sticker Book over the sunglasses, and called it a day. You could also achieve the same look by gluing the cut file to clear acetate and adding a Washi Tape border.

The last page with photos is a another 2x2 shaker pocket. I love the look of layering clear stickers on top of my photos! A piece of Floral Transparency serves as the end page.
Well, that’s a wrap folks! I hope this project gives you some inspiration on how to utilize Paige’s cut files in an extra small format! The 4x4 Mini Albums are my FAVORITE!
SUPPLIES: Patterned papers, die cuts, stickers, Thickers, embellishments: BLOOMING WILD; 4x4 Mini Album; white cardstock; Cut files: Bon Voyage, Sunburst, Rainbows Background, Flowers, Flower Background, Crab, Map, Heart Grid, Good Times, Clouds Background, Sunburst Background, Beach Time, Waves from the 20 Summer Cut Files, Summer Summer Summer, Fish Wreath, and Mountains Are Calling from the 24 Summer Cut Files


Post a Comment