
Hi crafty friends! Amber Mitchell here on Paige's blog today to share with you a fun journal that I created using Blooming Wild!

I created this project for one of the challenges for the iNSD event in Paige's Happy Scrappy Place Facebook Group. The challenge I came up with was to use trims on a project. So that's what I did here by adding various types of trim to a handful of the pages in this journal!

To create the base of this journal, I created a variety of pages and hand stitched them together using a saddle stitch. Most of the pages in this journal measure 8 x 8 inches, including the cover. In addition to these pages I included a round page that, when folded in half, creates two half-circle pages. I also included two smaller pages that I made from a pair of 3 x 4 inch cut-apart cards. To finish off the pages, I added a sheet of vellum for texture and some bullet dot paper for extra journaling space. I used a large needle and white embroidery thread to bind all of these pages together. When folded and stacked, the pages were quite thick, so I used an awl to carefully poke holes at 1-inch intervals down the length of the journal and then used those as a guide for stitching.

Once the pages were stitched together, I moved onto embellishing. I started by adding a variety of trims from my stash to the edges of some of my pages. I used trims that I thought matched the colors and theme of the Blooming Wild collection. I love using pom pom trim because it's so fun, so I added two colors of that to the journal. I also added white heart trim and, well, another white heart trim (this one frillier) to tie everything together. I just LOVE the look that trim gives to a project; it's fun and colorful and adds so much texture and character!

I used scrap paper to create both the heart on the cover of the journal and the photo mats on the inside pages. I love adding photo mats to projects; they look great behind photos and it's a great way to use up those smaller bits of leftover papers. I backed the heart on the cover with a sheet of thin acetate to give it a more finished look and then added a title using some puffy phrase stickers that I had left over from the Bloom Street collection.

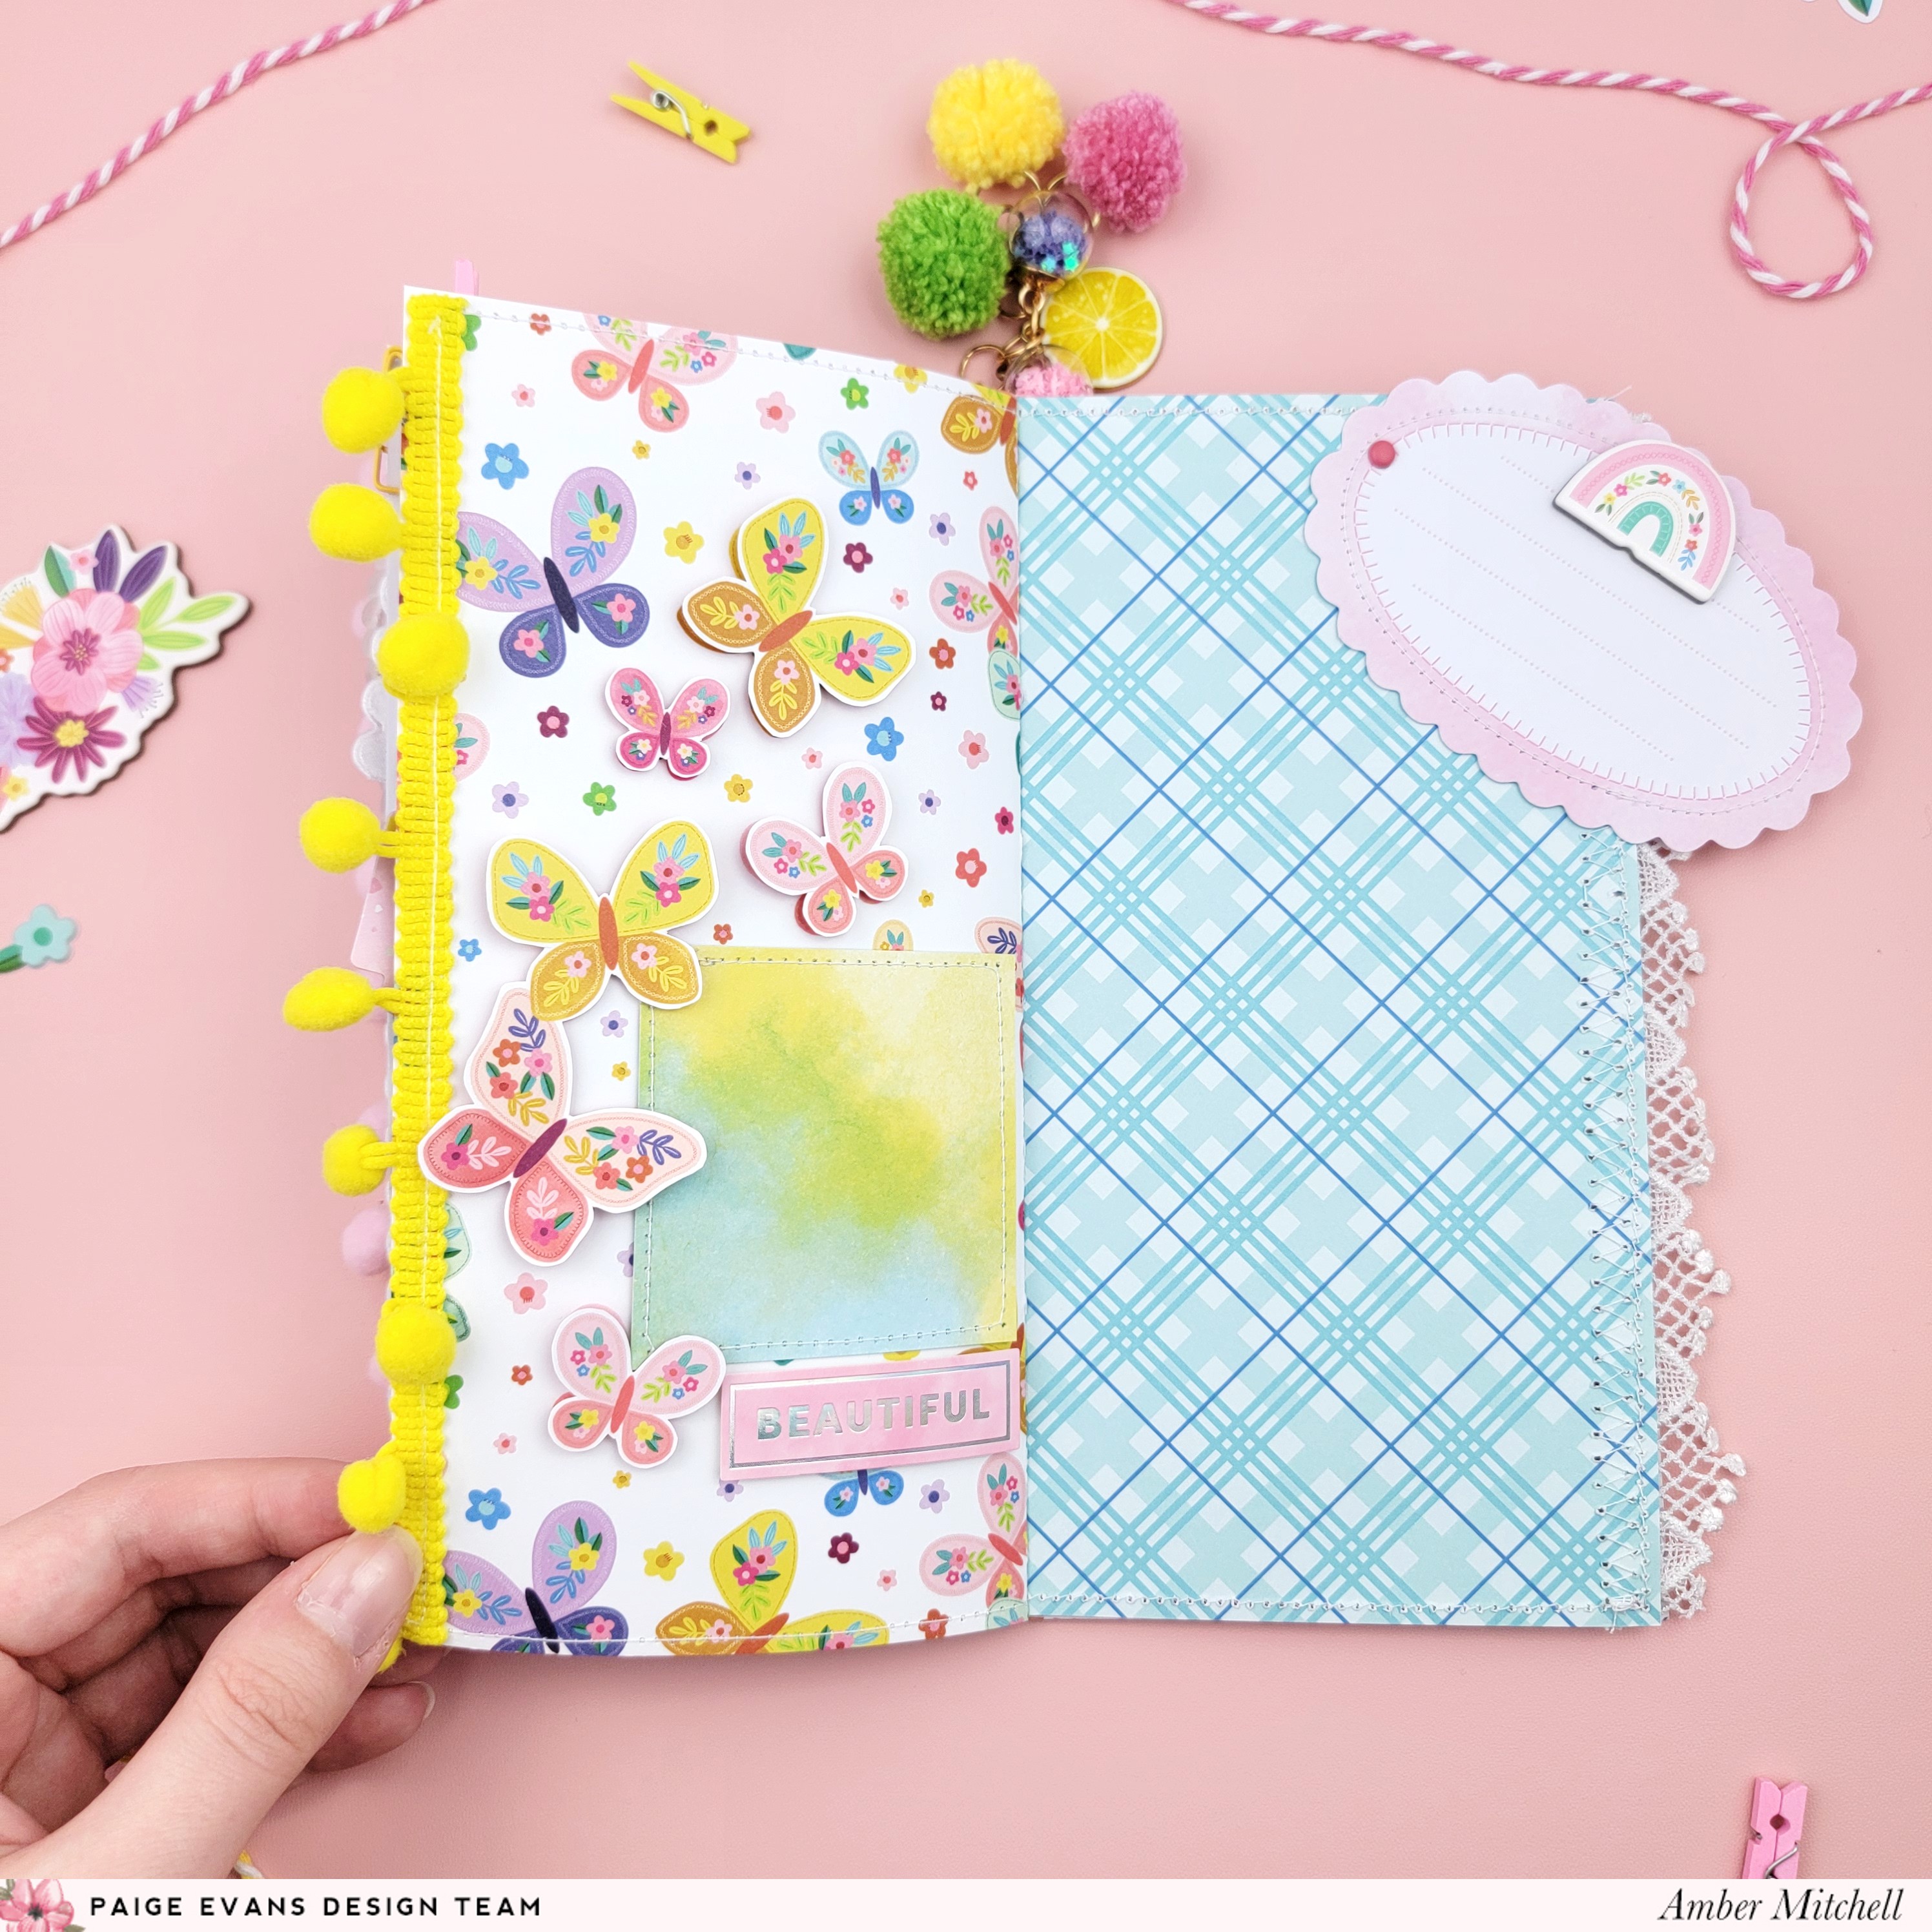
Throughout the journal I used a ton of butterflies that I fussy cut from Paper 16. I can never have enough of two things: butterflies and flowers. So I used those butterflies and some flowers from the Floral Die Cuts to create clusters around the photo mats.

I used the Cardstock Stickers to add sentiments around the photo mats and used some of the smaller Chipboard Stickers to add dimension here and there throughout the project. I also added some large titles to a few of the pages using Thickers from my stash.

I clipped in extra journaling cards from both the Journaling Spots and Paper 1 for added space (I even added some extra scraps of trim under these clips for a bit more fun). Finally, I finished off the journal by adding a dangle of handmade pom pom charms and bits from my stash to the binding.
I love how happy & bright this project is! And I had so much fun creating it! Using trim is a great way to add that finishing touch to a project and I hope you decide to give it a try! Thanks for stopping by my post today!

SUPPLIES: Patterned paper, die cuts, stickers, embellishments; BLOOMING WILD

Location: California, USA / Blog: Happy Crafty Studio / Instagram: @bambidearr / YouTube: bambidearr / Pinterest: bambidearr


Post a Comment