The One with Allie's Bridal Shower


Monday, March 11, 2013

My mom (Malm) and Tanya flew into Burbank from Seattle late Friday night (Fox and Jane were already asleep), I picked them up, and we headed straight to Yogurtland. Yeah, we have our priorities straight :)
Then we came back to our apartment, got ready for bed, and started watching Silver Lining Playbook. We set our alarms for 5am and went to bed for a few hours. We were up and on the road before Fox woke up. So Grandma and Tanya didn't even get to say hi to him, wah wah!
It was suuuuuper foggy at the peak of the mountains.
But then it opened up to blue skies with scattered clouds amid snowtipped mountains. 
Rollin' rollin' rollin'
Four hours later we arrived in Las Vegas - Henderson to be exact - for my little sister's bridal shower. 
Her fiance's sister is the one to credit for all the adorable decorations.
I've never met Tate (the fiance) before. I skyped with him the morning of the day he proposed so I was super anxious to finally meet this guy! He wasn't at the shower, but from the throngs of women that showed up, I can tell that he and his family are loved. Seriously, I have never seen so many people at a bridal shower before!
It was a brunch so there were little treats, snacks, and desserts. All yummy.
The first game we played was "Famous Couples". I won :) And then there was a page of quotes and we had to guess whether Allie or Tate said them. I got 12 out of 19.
Jane was a hit, everyone loved her, natch.
Jane sat in my lap across from Allie while she opened presents and often turned back to look at me. What a cutie patootie. 
Allie. Hauled. It. In. Like, dang.
She got artwork from her future niece, enough lingerie to wear something different every night for a month, about 6 super cute aprons, a gift certificate from my mom for a tan and wax before the honeymoon, a lovely pistachio green KITCHEN AID (I don't even have a Kitchen Aid!), a Dyson vacuum (we were married for almost 5 years before we could afford a Dyson!) and lots and lots more. She did good. 
All my mom's girls. I love this photo.
Jane conked out on the drive over.
Note to self: cute idea - large scrabble tiles with family member's names.
Their bengal cat was all up in everyone's business cuz she's so nice and friendly.
After some lunch we went to the mall for a few minutes. 
We went into two stores: Anthropologie and Williams Sonoma. 
The sunset as we were heading out to dinner was immaculate.
We waited an hour and 20 minutes to get into the Italian restaurant. It was delicious - definitely worth the wait. Then we drove down The Strip! Vegas, baby! Sin City! What happens in Vegas stays in Vegas!
What I wouldn't give to have Fox meet Buzz and Woody!
All of the lights and sounds and atmosphere were so exciting!

Allie and Tate promised that Luv It Frozen Custard was not to be missed - they lived up to their word!
Uncle Tate with Jane. He's such a nice guy, I'm excited for him to become an official member of our eternal family!
By this point it was like 9:30pm, two and a half hours after Jane's normal bedtime, and I had no idea that the next day was daylight savings, so we headed to my mom's friend's house and immediately went to bed. I woke up to this sweet little girl:
We dropped Allie back off at Tate's house and then made our way back to Los Angeles!
What a whirlwind of a trip! It went by so fast and every second was a blast. I want to go on more girl's trips, like, yesterday!

The One with MIA in Vegas


Sunday, March 10, 2013

I've been MIA in Vegas with the girls for Allie's bridal shower! 
Me, Jane, Malm, Allie, and Tanya.
Let's just say this was the highlight of the trip:
Recap coming tomorrow!

The One with Lately (According to My Phone)


Thursday, March 7, 2013

If my phone were to tell the story of our lives lately, this is how it would go:
Jane turned 7 months old and is as cute, pretty, and precious as ever.
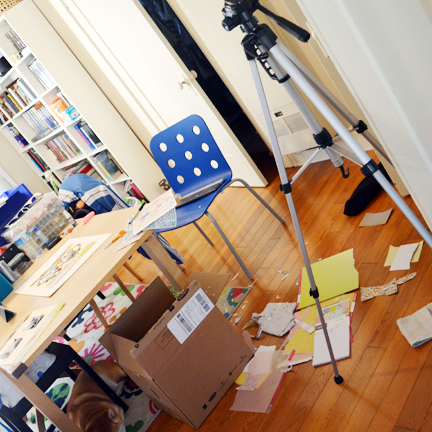
This is how our dining room table looks after I film my Scrap Your Stash videos... It's like a tornado whipped through!
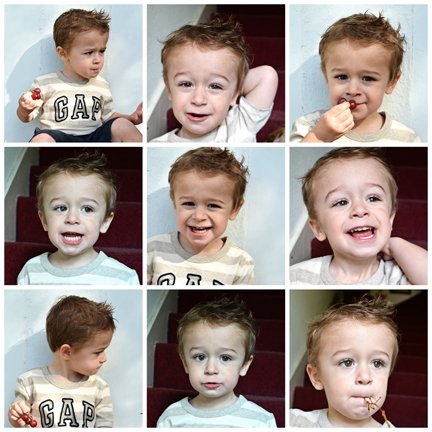
Oh. My. Goodness. I may be 100% biased, but WOW he sure is a fox. He seriously looks older than 2 here, no?
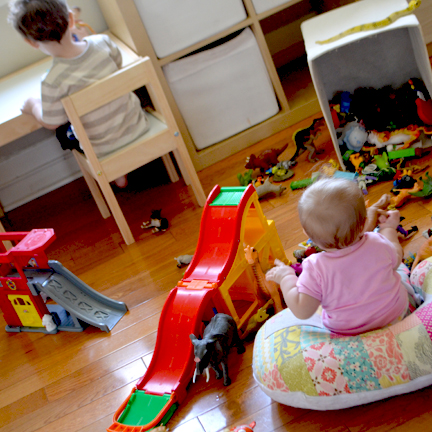
My favorite part of the day: play time!
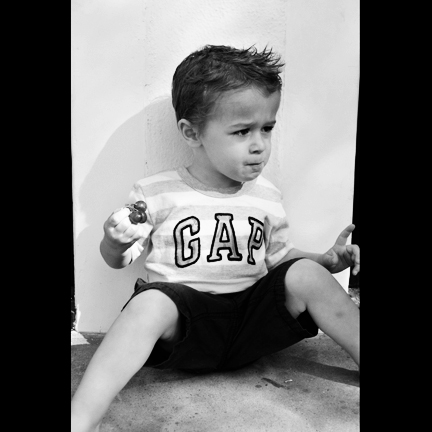
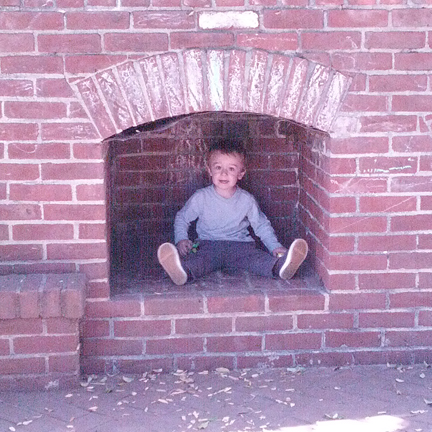
I'm trying to figure out how to style Fox's hair. He would only pose for these pictures if he could eat some grapes. Whatever works!
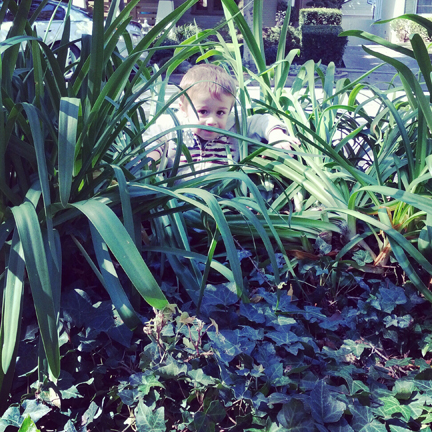
We were on a walk and all of a sudden he ran and jumped in these bushes?? Boys.
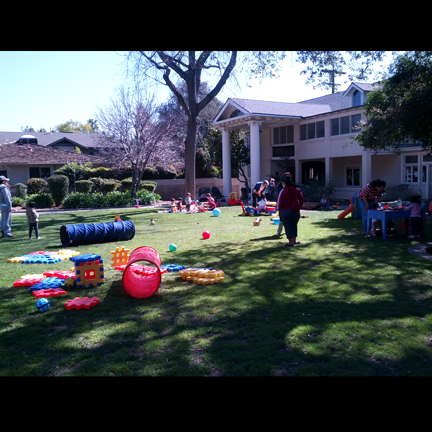
There is a group of moms with babies and kids that meets at Eddie pPark three times a week for pre-school. You have to sign up months in advance and pay some money. But, it's a public park, so sometimes we just show up and crash the party.
One morning last week I took the kids to IKEA. We ate some lunch. It was good.
Jane was happy eating her mum mums.
Char-broiled Fox for dinner!
This is one of the things I picked up from IKEA - we needed this like a year ago!
Sittin' pretty.
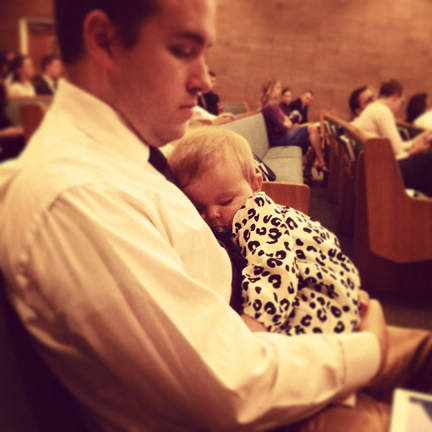
Daddy/Daughter snuggles during Sunday School. She's almost outgrown the sleeping in our arms stage so we have to take advantage of them while we still can!
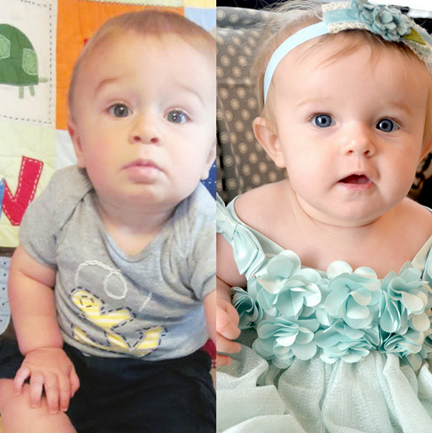
Fox at 7 months on the left | Jane at 7 months on the right
I think they definitely look like siblings!
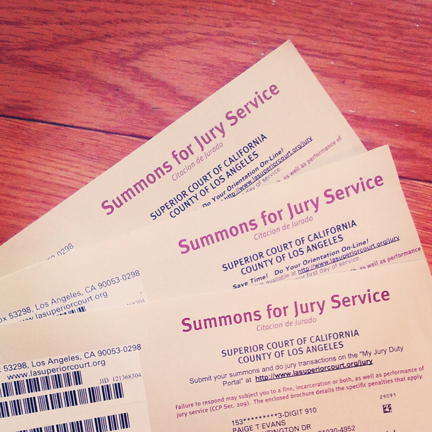
Dude. I've been summoned for jury duty THREE times since living here. I got out of the first two, but for some reason now that I have two kids and am still nursing, they won't let me out again. BUT, we'll be moving before I'm supposed to appear so I'm getting out of it one way or another! Seriously California, pick on someone else.
That's what we've been up to lately!

The One with Installations by Şakir Gökçebağ


Wednesday, March 6, 2013

I'm a fan of unusual art/modern art/the kind of art that makes you think "why didn't I think of that"?
Always have been. 
Probably always will be. 
I saw these installations from Åžakir GökçebaÄŸ (say that ten times fast!) and fell instantly in love.
Who knew toilet paper could look so... pretty?
Shoe laces arranged intricately.
Fun stuff.

The One with Jane's Snort Laugh


Tuesday, March 5, 2013

I finally kinda caught Jane's snort laugh on camera. Half of the snorts are me trying to get her to snort. I swear she snorts on command.

Silly billy.

The One with the "I Saw How Much He Loved You" Layout


Monday, March 4, 2013

I saw this quote on Pinterest:


and thought it would be the perfect title for a layout about Chris holding his babies for the very first time using the brand new Maggie Holmes line by Crate Paper.
 photo HeLovedYou.jpg
I NEVER KNEW HOW MUCH I LOVED YOUR DADDY UNTIL I SAW HOW MUCH HE LOVED YOU

Journaling says: Seeing Chris hold Fox and Jane for the first time was nothing short of magical. He was so happy to finally meet and get to know his son and daughter. After nine long months of anticipation and feeling them kick, to be able to see them face-to-face is what life is all about. I love my little family so much!

Note: I know the subject is about a boy, my husband, Chris, but it's a layout from my perspective to my children about why I love him so I chose to use doilies and flowers and jewels and pearls :) It's still kind of manly though with the woodgrain background right? Also, about the pictures - Jane is on the left and Fox is on the right. I can tell because in Jane's photo Chris is wearing a t-shirt and has a beard and in Fox's he's wearing a nice dress shirt and is clean cut. When Jane decided she wanted to be born she came FAST - no time to get dressed up and shave!

How to: Die cut a long title from woodgrain paper then back the shapes with patterned paper. Cut a large doily in half and adhere the halves on the left and right edges. Place two small photos between the die cut words. Layer stickers and chipboard pieces cut in half around the photos and slip on jewel clips over the doilies. Drop spray mist over the layout and add pearls and jewels on top.

Supplies: Patterned paper, jewel clips, chipboard (journaling spot, photo corners, word), label stickers: Crate Paper; Pearls, jewels: Recollections; Doily: Wilton; Pen, adhesive: American Crafts; Spray mist: Studio Calico; Die cut machine: Cameo by QuicKutz
 photo HeLovedYouDetail.jpg
I LOVE this new line and can't wait to use it more!

The One with Tips for Getting Published


Sunday, March 3, 2013


Thanks to Cassandra Cyr for the idea to write this :)
I get emails a lot from people wondering if I have any tips or pointers for getting picked up. Well, here ya go!

TIPS FOR GETTING PUBLISHED

Make note of what we’re looking for!
Scrapbook Trends/CARDS/Simply Handmade/Cricut/Cricut IdeaBooks/Create Idea Books calls are all updated the day after a call ends (well, at the moment it’s taking a bit longer because we’re changing staff, but they will be!) on this website: http://northridgepublishing.com/forms/submit-creation. Write down the calls you’re interested in submitting to and get to work! Pay close attention to deadlines because once they’re over, they’re over and can’t be submitted to.

Submit to very specific calls!
Challenges and articles receive the fewest submissions, so your chances of getting picked up increase by submitting to those. Open-ended or catch-all calls like “showcase” receive dozens, if not hundreds, of submissions, and when only 6 or so layouts can be picked out of hundreds, well, do the math :) The narrower the call, the better.

Keep track of product/supplies you use!
As you’re creating your projects, write down what you’re using somewhere. When you submit your projects, it’s so very helpful for us if you include the supplies you used along with a sentence or two about your project. Sometimes people say “supplies available upon request” in the “supplies” field, but that’s no good. When we’re writing the supplies and tip and we have a question about a product/technique, it’s so much easier and faster to look up the supplies you used in your submission form rather than email you and wait sometimes days or even weeks for a response. Bottom line: include your COMPLETE list of supplies - from big ticket items like patterned paper and embellishments to things you maybe wouldn’t think of like the font you used for typing journaling or the brand of pen and adhesive.

Use current/new product!
We want to be on top of current trends so using new product is a must. Also, we work 6 months in advance so even brand new product will be half a year old by the time your projects are in print. Getting your hands on CHA product in advance is always a bonus!

Use trendy techniques!
Stay on top of techniques by scrolling through galleries like twopeasinabucket.com and scrapbook.com. Read design team blogs (like American Crafts, Crate Paper, BasicGrey, Pebbles, Studio Calico, Elle's Studio and more) and see what their designers are doing. It’s okay to scraplift an idea/technique, just try to vary it slightly and make it your own! Currently we’re seeing a lot of layering, clustering, white backgrounds, spray mist, painting and artsy-fartsy-ness, feathers, wood veneer embellishments, die cutting backed with patterned paper, doilies, chevron, banners, honeycomb, and stitching. Keep up with the trends!

Use great photos on your layouts!
Unless the requirement is “scrapbooking poor quality photos” always use great photos. Photos straight from the camera aren’t usually great – unless you know how to use your camera, lighting is usually dim and not enticing. Luckily there are free picture editing programs like Picasa and free “actions” on Photoshop so with a click of a button you can make your photos look professional. The better quality your photos, the better your chances of getting picked are!

Take great photos of your projects!
Along the same lines as using great photos on your layouts, take great photos of your layouts/projects! You don’t need to put them in a fancy set up scene, unless you want to, but really all we want to see is the project itself. Crop out the background! Make sure lighting is awesome (again, this can be achieved after the picture is taken and then you can fix it in a photo editing program).

Keep trying!
Sometimes it takes awhile to build up and define and figure out your own style. Keep on keeping at it and submit submit submit! The more you submit the better your chances of being seen and noticed and then picked up are.

If you are picked up, do everything correctly!
Once you’ve been picked up (CONGRATS!) make sure you fill out all the paperwork and requirements necessary and complete everything ON TIME! If you’re consistently sending in things late… well… we may not pick up your stuff for awhile :) Or if your forms are incomplete and we have to keep hassling you for information, we’ll remember that too :)

Good luck! Let me know if you have any questions! I’m happy to help!

The One with the Garden Girl Die Cut & Shapes-Themed Layout


Friday, March 1, 2013

A new month means new projects from the Garden Girls! This time the theme is Die Cuts & Shapes.
Here's how I interpreted the theme:
Photobucket
1ST RICE CEREAL

Description: Even the simplest of shapes - a circle - can be turned into an interesting design by folding over the edges and attaching them side-by-side! A large die cut turns into a mask by spraying over it with mist. And die cuts trimmed in half become interesting shapes to adorn layout edges. I'd been saving these pictures of my daughter Jane and her first experience with rice cereal for just the right paper line - I was ecstatic when I saw the brand new My Girl line by American Crafts - could the colors match any better? From the pink hearts on her bib to the blue of her Bumbo and the gray shadows - all of these colors are found in My Girl. It was meant to be. By adding a sprinkling of jewels the viewer's eye is directed all around the page. A ribbon bow, wooden veneer heart, scalloped border punching, puffy flower stickers, and glittered die cuts complete the girly theme.

Journaling says: The first time you ate rice cereal you did great! You were chomping and swallowing like a pro! You seemed to like it, despite what your facial expressions say. Love you!

How to: Die cut a large doily from scrap cardstock, set it over a gray cardstock layout base, spray over the doily with white mist, then remove the doily mask. Punch 30 circles from double-sided patterned papers, fold the left and right sides of each circle towards the middle, then align the shapes in three rows across the top of the layout. Stitch through a few of the circles and top others with puffy flower stickers. Create a title/embellishment cluster on the top right corner. Add four small photos below the circles border; punch a scalloped border across the bottom of one of the photos. Journal on a wooden veneer card then tuck it under one of the photos and embellish with a ribbon bow, scalloped border sticker, flower sticker, and a glittered flower cut out from the page of a mini album. Trim a flower die cut and add it to the bottom left corner topped with a fabric label sticker with the date stamped on it. Sprinkle pink jewels across the layout.

Supplies: Cardstock, patterned paper, stickers (fabric label, "just adorable," puffy flowers, scalloped borders, wooden heart), ribbon bow, wood veneer journaling spot, mini album pages, pen, stamps (date, "on this date"), scalloped border punch: American Crafts; Mini alphabet stickers: October Afternoon; Spray mist: Studio Calico; Ink: StazOn; Die cut machine (Cameo), doily die: Silhouette; Sewing machine: Brother; Thread: Coats & Clark; Circle punch: Fiskars; Jewels: Recollections
Photobucket
Photobucket
Photobucket
Until next month!
Paige Taylor Evans © // Quinn Creatives DESIGN