Upcoming Classes!


Tuesday, February 9, 2016

Just wanted to fill ya in on some upcoming classes I'm teaching in Germany and Italy over the next few months! I keep these updated in the "CLASSES & WORKSHOPS" tab at the top of my blog for future reference!

On Saturday April 23rd 2016 I will be teaching FIVE layouts at Scrappies near Munich, Germany! The class goes from 10am-5pm and includes a light lunch, drinks, everything you'll need to make all the layouts, and instruction from me, all for €70!

Sneaks of the layouts we'll be making:
You can register now by visiting scrappies.de!

*********************************************************************************

On Saturday April 30th 2016 I will be teaching a layout workshop at Ebern scrappt in Ebern, Germany (near Bamberg)! The price is €72 for FIVE layouts using mostly Fancy Free, food, a flea market, and a really fun time like always!
Sneaks of the layouts we'll be making:
If you're interested, email Lena at blaueshasi@gmx.de to reserve a spot! Hope to see you there!

*********************************************************************************

On Saturday and Sunday May 28th and May 29th 2016 I will be teaching a layout and mini album workshop in Sant'Agata Feltria, Italy!!
Here are sneaks of the layout and mini album we will be creating:
For more information about this event, please contact Serena at info@scrapiteasy.com. It's going to be such a wonderful time in such a beautiful setting!

*********************************************************************************

On Saturday September 17th 2016 I will be teaching a layout workshop at Ebern scrappt in Ebern, Germany! The price will be €72 for four layouts using really great supplies, food, a flea market, and a really fun time like always! Sneaks of the layouts coming this summer!
If you're interested, email Lena at blaueshasi@gmx.de to reserve a spot! Hope to see you there!

*********************************************************************************

And that's all I have on the calendar right now! If you're ever interested in hosting a workshop or if you have a shop I'd LOVE to teach and spread the scrapbooking love! Send me an email: paigetaylorevans@gmail.com. Have a lovely day

Kerri Bradford Studio - The History Project Class Layout


Monday, February 8, 2016

My talented friend Kerri from Kerri Bradford Studio has created another amazing class called The History Project!

About The History Project
- Takes scrapbooking out of the equation so you can focus on writing the stories and not the foo foo. - It's considered a journaling class so you don't need to be a scrapbooker to take it.
- Class is self-paced so anyone can join at any time and have access to all the prompts.
- Over 50 prompts to help you recall the stories. They are more in-depth than any journal you'd get at a book store. Sooo many questions to help you get your mind thinking.
- Includes over 50 accents to use in your journal.
- Includes writing tips to help you go beyond the basic answers and bring your reader into your stories.
- Includes ideas of how to include memorabilia and other fun tidbits that you may or may not have.
- Great for families to work on together. It's amazing the perspective between siblings... and parents too!
Here is the layout I made to go along with a giveaway to a free spot in her class over on my instagram: @paigetaylorevans:
 photo Vacation by Paige Evans for blog.jpg
VACATION by Paige Evans

DESCRIPTION: There are so many amazing cut files included in this class, how to pick just one?! 
I suppose I could have used more than one, but ya know me, I like to make one BIG one :) I chose the "VACATION" cut file and used a photo of me and my brother from when we were kids on vacation in Utah.

JOURNALING SAYS: When we were little we used to take many family vacations to Utah. I loved visiting both sets of grandparents, cousins, aunts, and more. Here we had climbed to the top of "Y" Mountain overlooking Provo.

HOW TO: Paint over a mint cardstock background with white paint and let it dry. Drop pink, yellow, orange, blue, and green spray mists over the dried paint. Die cut the "VACATION" word from white cardstock then back each letter with a patterned paper (from Fancy Free of course :) - back the "N" with a square photo. Bunch up three pieces of thread and attach them to the layout with a few embellishments to create a visual triangle. Journal below the photo to finish.

SUPPLIES: Cut file: Kerri Bradford Studio; Patterned paper, puffy cloud and sentiment stickers, chipboard heart, layered sticker, Cardstock, pen, adhesive: American Crafts; Die cut machine: Silhouette Cameo; Thread: Coats & Clark; Paint: FolkArt; Spray mist: Studio Calico

DETAIL SHOTS:
 photo Vacation Detial 1 by Paige Evans.jpg

 photo Vacation Detial 3 by Paige Evans.jpg

 photo Vacation Detial 2 by Paige Evans.jpg

Head on over to my instagram to enter the giveaway to Kerri's class!

PaperWorld 2016


Sunday, February 7, 2016

Like unto CHA in the states, Europe has a big craft fair tradeshow called PaperWorld held in Frankfurt. American Crafts attended last year and went once again this year, and, once again, I went to help out and do demos!

I left home around 5am on Saturday morning and drove 3 hours to Frankfurt. Whenever we travel I rely so heavily on Chris to keep track of things like where we parked and how to get places. I don't have the best memory so when I travel solo I take pictures of where I park so I can find my way back easily.

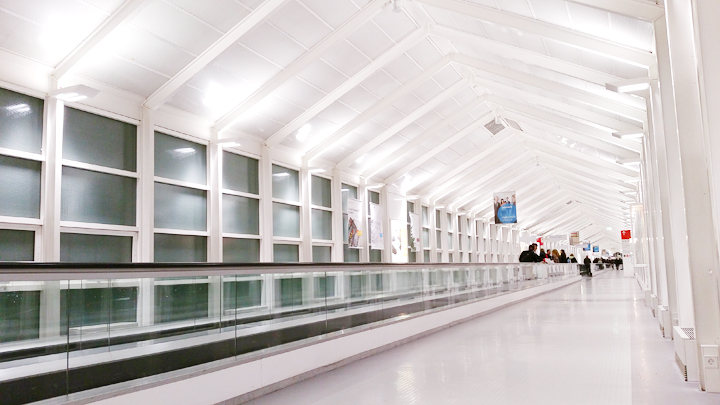
There are three of these moving walkways to reach Hall 4 where AC was exhibiting. The Messe is SO BIG!


Sandra and Alex checking out the amazing Minc.

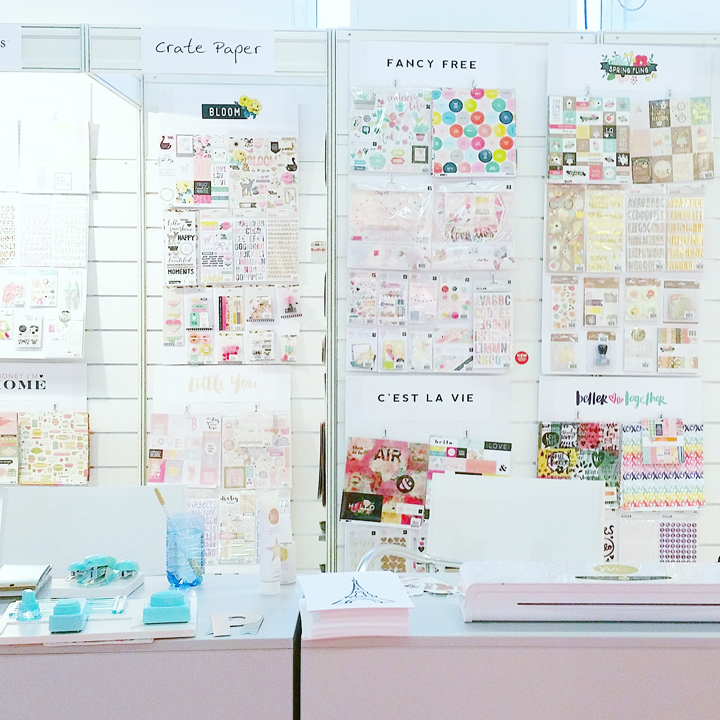
All of the new collections, Fancy Free included! :)

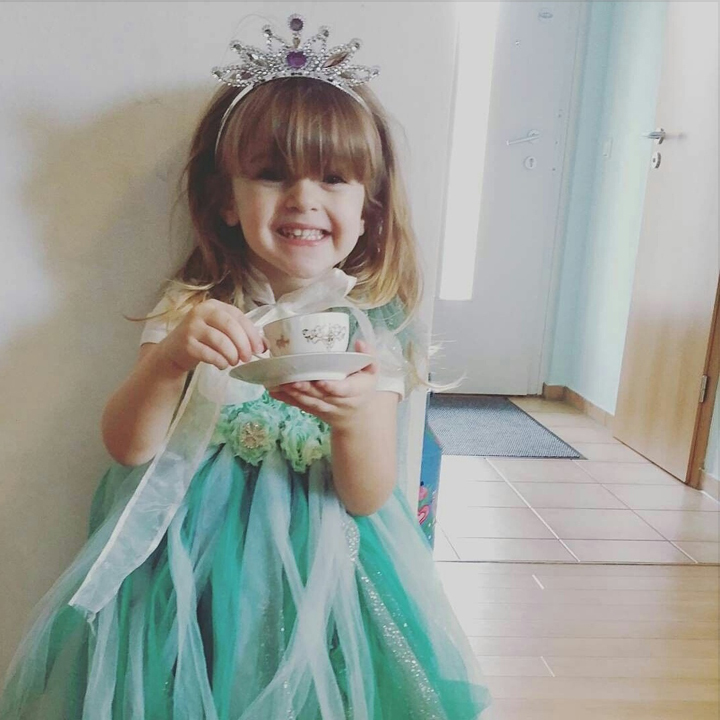
Meanwhile back at home Chris took Jane to her friend's birthday party - princess tea party themed - and sent me THE cutest picture of Jane! Seriously, this is my all-time favorite picture of her. Can't wait to scrap this.

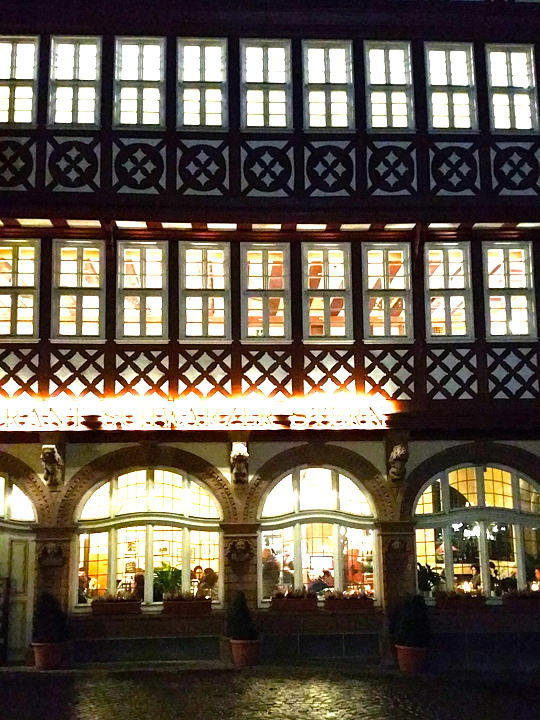
For dinner we couldn't find a place that had room for all four of us close to the Messe so we drove into the Old Town center to the same place we went last year.

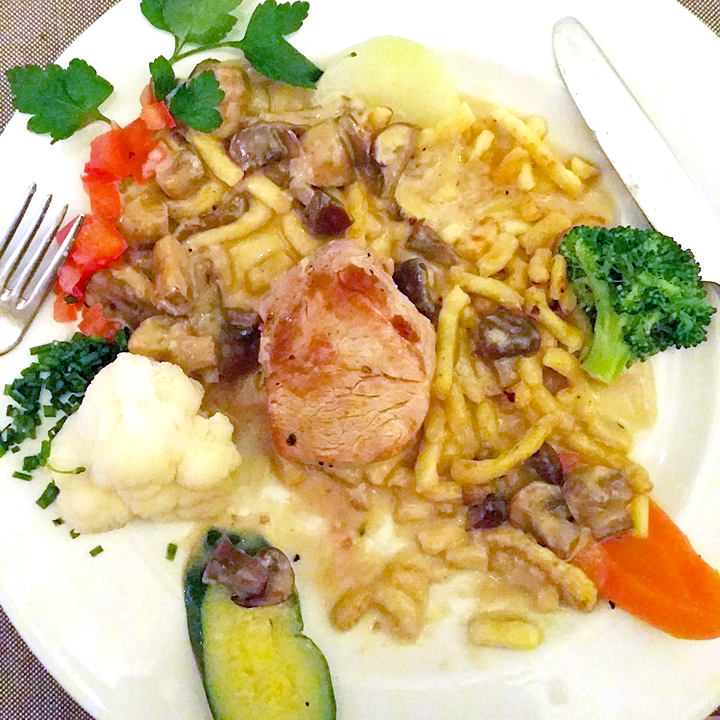
I saw someone with a plate of Käsespätzle (kind of like the German version of mac'n'cheese) and tried to find anything on the menu that included it. Success! And, SO GOOD.

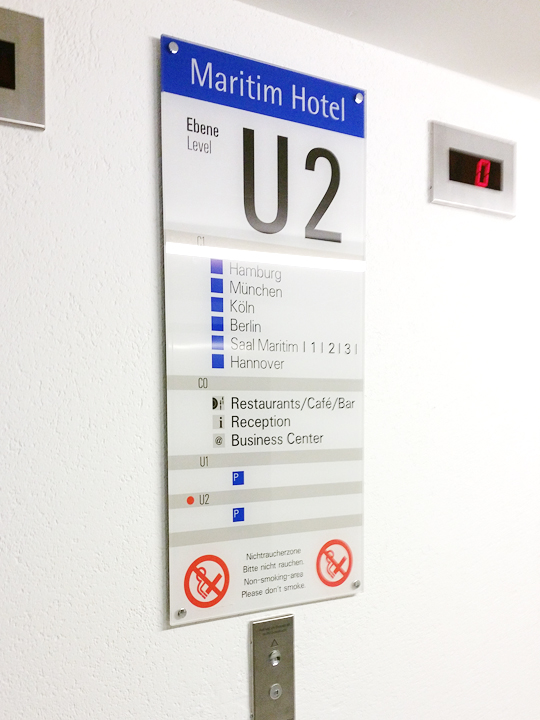
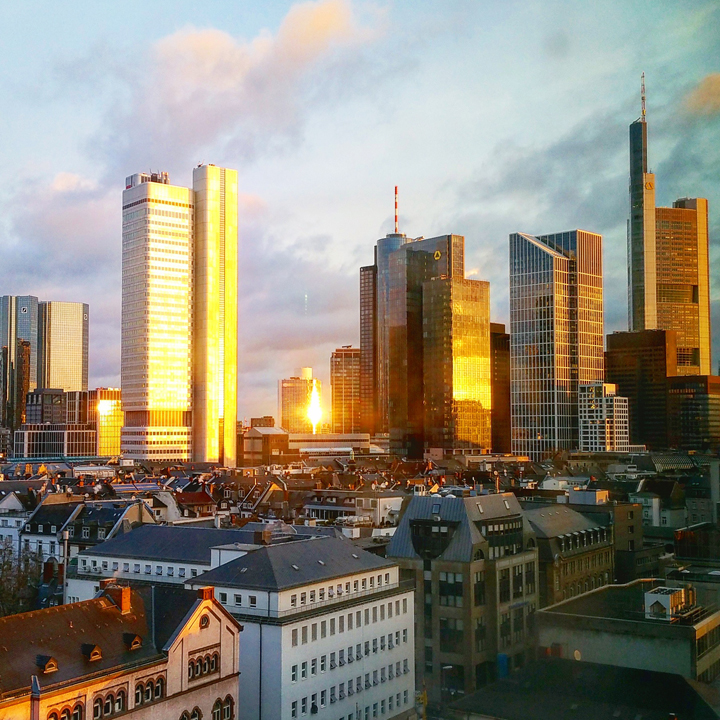
When I walked into my hotel room I gasped out loud at the view. We hardly ever stay in hotels, let alone ones that afford such views from such height. I never wanted to sleep, I could just stare out the big ol' window all day every day!

The sun shined for a little bit the next morning! Ah!

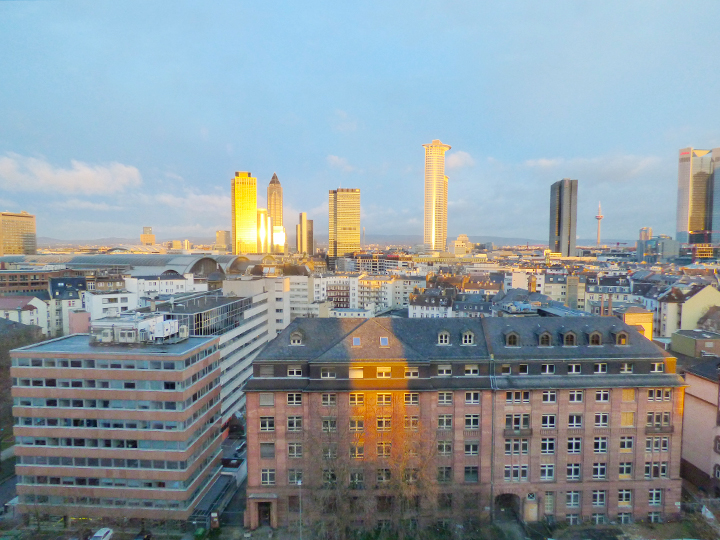
The "Messe" where the show is, is right by the pointed skyscraper where the sun is shining in the photo below:

Not bad Frankfurt, not bad!

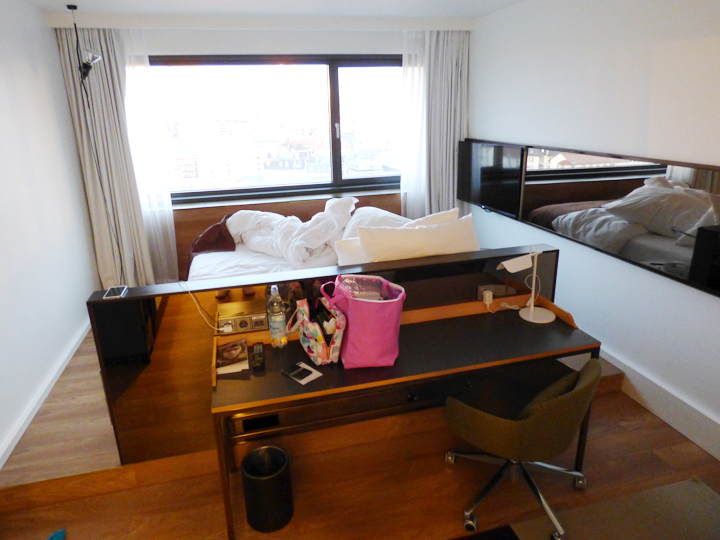
My hotel room. Small, cute, and quaint.

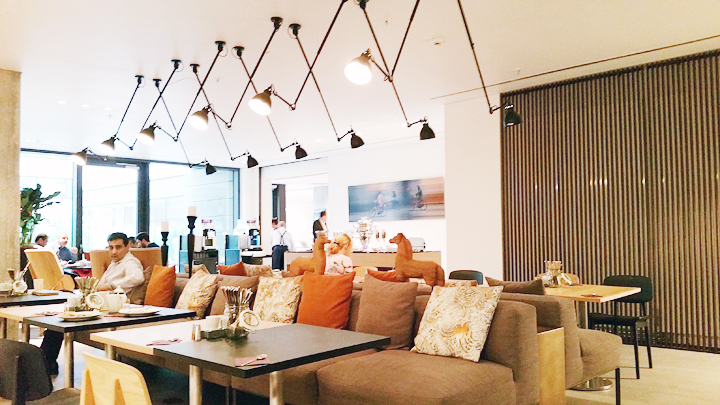
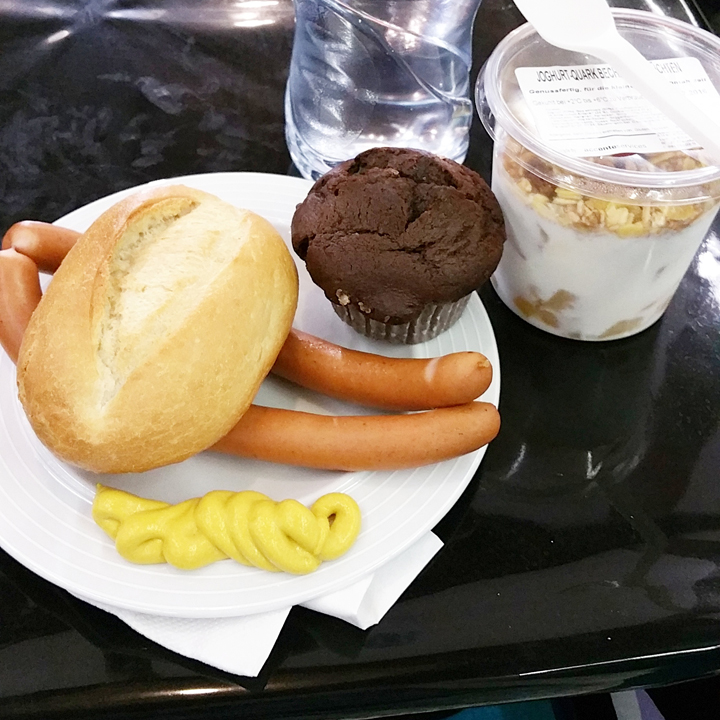
Got some breakfast in the hotel: cereal and waffles and bread with nutella.

As I was flipping through the newest AC catalog I found one of the papers I designed way back in 2008 still available!! So funny!

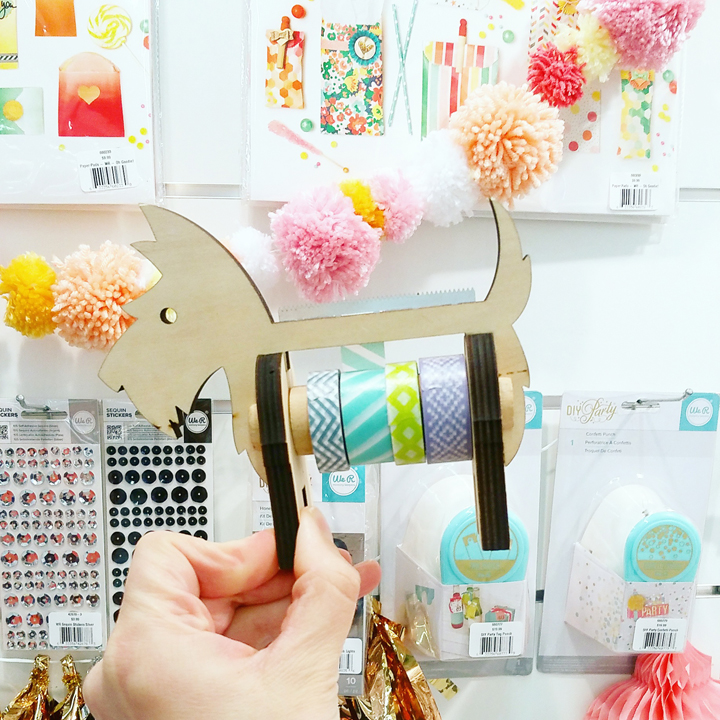
I need this Scottie dog washi tape dispenser in my life like yesterday! (It's from We R Memory Keepers).

Lunch! So Deutsche :)

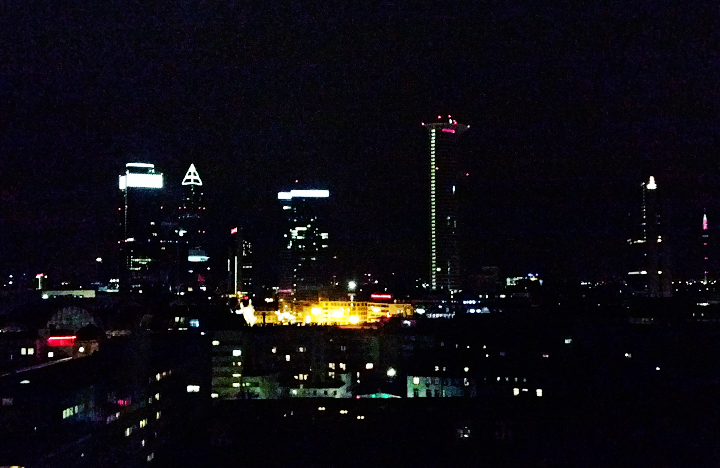
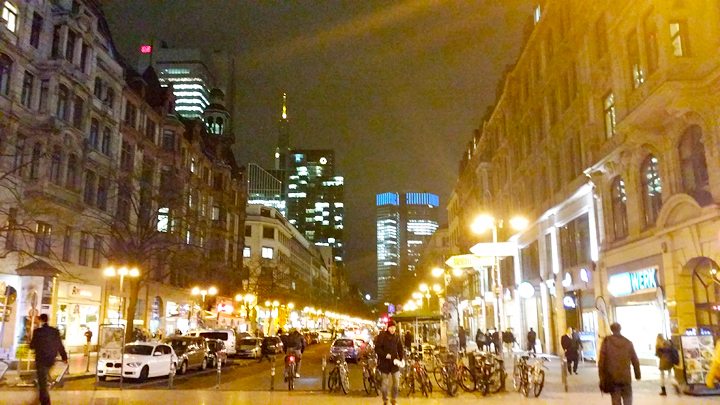
Downtown Frankfurt at night.

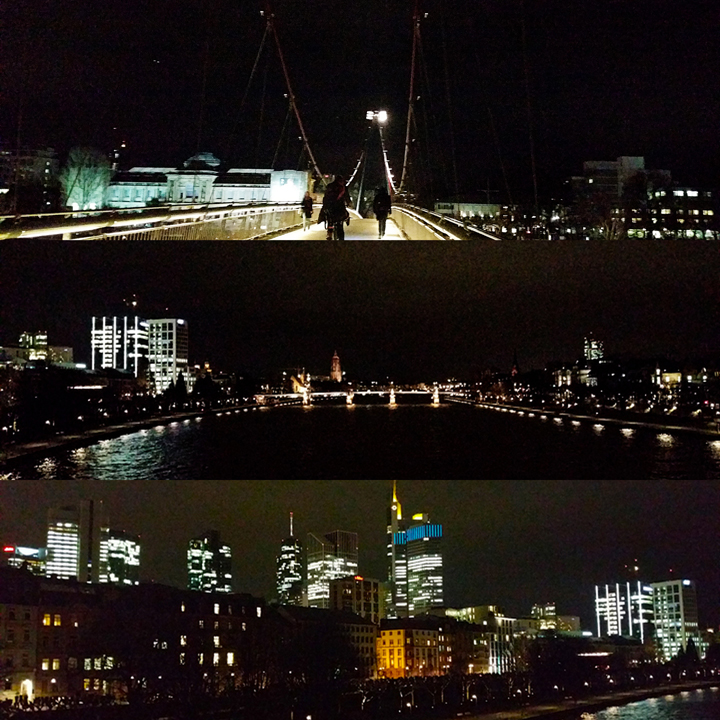
The hotel was right on the Main (pronounced "mine") River and close to a pedestrian bridge so I quickly walked to it and about halfway across to see what I could see.

Last day of the 4-day show!

Reminds me of LA! Peace out Frankfurt!

SUCH A FUN TIME at PaperWorld!

My favorite thing was talking with people I've met at classes, meeting with fellow scrappers I've met on instagram, seeing real life scrappy friends and hosts of classes I've taught, store owners, of course my AC colleagues, and more. Can't wait til next year! Probably my last since we won't be in Germany in 2018, waaaaah!

F is for Favorite Layout


Saturday, February 6, 2016

Hello!! I'm back today with another page featuring Fancy Free - available oh so soon!
F IS FOR FAVORITE by Paige Evans

DESCRIPTION: One of my favorite products in Fancy Free is the Thickers (named Paige, lol):
It comes with THREE sheets of Thickers for the same price as a regular pack of Thickers - score! On this layouts I wanted to show how Thickers can be used as a design element instead of just a title or phrase.
JOURNALING SAYS: What to do, oh what to do to pass the time until naps - you need them as much as I do, it's the best part of the day! :) Take family selfies of course! You guys are my everything.

HOW TO: Adhere a photo onto the colorful polka dot paper then arrange an alphabet of Thickers around - I made sure the "F" was above the photo so I could make the title "F is for favorite". Stitch over each letter to secure them in place. Journal on the right side of the pic then embellish lightly.

SUPPLIES: Patterned paper, Thickers, die cuts, wood veneer, tag, puffy stickers, chipboard: Fancy Free by Paige Evans/Pink Paislee; Adhesive, pen: American Crafts; Sewing machine: Brother; Thread: Coats & Clark

DETAIL SHOT:
Do you like patterned Thickers? Do you think they're easier or harder to use than solid colored Thickers? What's your favorite texture of Thickers - chipboard, foam, glitter, etc?

"Today" and "Love This" Layouts Made with Paige Kits


Monday, February 1, 2016

Another fun new product in Fancy Free is the Paige Kits!
 TODAY by Paige Evans

DESCRIPTION: I love to die cut intricate backgrounds using a Cameo and then spend hours backing each section with a different patterned paper. It takes a long time, but I love the look. Paige Kits are designed for those who don't have a Cameo or are short on time, but still want to create that same look! In each Paige Kit there is a pre-die cut shape or background, a single piece of patterned paper, a title, and a few embellishments. Simply place the die cut on top of the patterned paper using the provided foam adhesive and VOILA! Instant amazing page! Also worthy of note: I didn't use anything besides contents from the kits on both pages shown today so you can get an idea of what's exactly in each kit.

JOURNALING SAYS: Pulling up to the docks in Copenhagen, Denmark, we took the cool glass elevators up to get breakfast and then down to the decks to de-board.

HOW TO: Place a bit of the provided foam adhesive on the back of the pre-die cut heart then carefully align it on top of the coordinating patterned paper. Instantly amazing page already! :) Add a pair of photos and the embellishments included in the kit on either side of the heart. Journal on the card and stamp the date to finish. 

SUPPLIES: Paige Kit: Fancy Free by Paige Evans/Pink Paislee; Adhesive, pen, roller date stamp: American Crafts

DETAIL SHOTS:


*********************************************************************************

TODAY by Paige Evans

DESCRIPTION: Here is the other Paige Kit with a geometric background!

JOURNALING SAYS: Definitely one of those days when you kiddos fall apart at the drop of a hat - but we pressed on and enjoyed our Rhine River Cruise! Tantrums are temporary, memories are forever.

HOW TO: Place a bit of the provided foam adhesive on the back of the pre-die cut geometric background then carefully align it on top of the coordinating patterned paper. Instantly amazing page already! :) Add a photo and the embellishments included in the kit to the center of the layout. Journal on the card and stamp the date to finish. 

SUPPLIES: Paige Kit: Fancy Free by Paige Evans/Pink Paislee; Adhesive, pen, roller date stamp: American Crafts

DETAIL SHOTS:

Are you excited about this product?! It would be fun to see how they can be used with other supplies too and not just the ones included in the kit!
Paige Taylor Evans © // Quinn Creatives DESIGN