Mask Layout by Stefanie Ried


Thursday, January 7, 2021

  Hi friends, happy New Year! Stefanie Ried here sharing a new layout perfect for this past year involving masks. What was unimaginable a year ago is already a natural companion today. It is now part of it. This has also kept me very busy over the last few months. In my #stayhome album I have already created a page with mini masks in the spring. Since then, on my to-do list was always a layout with masks. And even if it is not a fun theme, you can bring some color to the layout with colorful papers. Especially in these times, it does good to hold such memories.

The size of the papers for the masks is 4.5x2 3/4" and I scored at the lines shown below.

After that I folded it as can be seen in the photo below.

The mask is almost ready. On the narrow edge create a score line at 1/4" on each side,

 Then fold these edges over and stitched with the sewing machine on the outside edge.

On the back side I attached the strings to the masks. To make them look more like fabric on the layout and not lay so flat, I curved them a bit in the middle with my fingers.

To glue them down I used 3D glue dots. One mask is a photo. All done!

Keep taking care of yourself and stay healthy!


SUPPLIES:
 Patterned papers, stickers, embellishments: GO THE SCENIC ROUTEwhite cardstock
Blog: steffiried.blogspot.com / Instagram: @steffiried / Pinterest: @steffiried / Facebook: stefanie.ried.96 YouTube: Steffi Ried

Memory Explosion Boxes in Michaels Stores!


Wednesday, January 6, 2021

Big news!! Have you been to your local Michaels recently? Maybe you'll spy an endcap with my mug filled with Memory Explosion Boxes and colorful supplies?!?! It's also all available at Michaels online!!

I've got a biiiiiig ol' smile behind that mask!
 You'll find everything you need (and then some!) to create unique gifts and memory holders in the form of an explosion box.
There are four different base boxes to choose from and then all the extra essentials: Large White Memory Explosion Box / Large Kraft Memory Explosion Box / Small White Memory Explosion Box / Small Kraft Memory Explosion Box / 12x12" Paper Pad / Sprinkle 12x12" Paper Pad / 6x6" Paper Pad / Double Sided 6x6" Paper Pad / Foil 6x6" Paper Pad / Glitter 6x6" Paper Pad / Decorative Trim Assortment / Embellishment Mix / Heart Paper Clips / Celebration Banner Stickers / Balloon & Gift Layered Stickers / Celebration Stickers / Phrase Stickers / Envelope Stickers / Adhesive Pocket Cards / Chipboard Frame Stickers / Pink Letter Stickers / Puffy Photo Corner Stickers / Shapes & Phrases Die Cuts / Travel Die Cuts / Birthday Die Cuts / Holographic Paper Doilies / Holographic Glitter Set / Mint Glitter Set / Blue, Pink & Gold Glitter Set / Confetti Washi Tape / Rainbow & Pastel Washi Tape / Rainbow & Holographic Washi Tape. All-in-all there are 32 products in this program that all coordinate together perfectly to create beautiful handmade gifts and unique photo boxes.

I have made an example with the Large White Memory Explosion Box and Small Kraft Memory Explosion Box which I will share here over the next couple weeks so be sure to come back!

Here are all of the supplies available to create your own Memory Explosion Boxes (these are clickable links so go on and click away!):

Here are pictures of all the pieces of ephemera included in the three sets of die cuts:
Birthday Die Cuts
Oh hey there! So surreal lol.  I have always loved creating explosion boxes and now they're more accessible and easier to create than ever - no die cutting machine or cut files required!
I am so excited to see your versions of these explosion boxes so swing by your Michaels today and grab one of everything then be sure to tag me on social media so I can comment and re-share!

Go for a Spin Layout by Shimelle


Tuesday, January 5, 2021

 Hello crafty friends! Shimelle here and I hope the new year is treating you well! I'm starting it with tea cups and plenty of color to complement some older photos that bring me lots of happiness in the middle of the dark and cold winter!

I started by cutting Paige's Stacked Mugs cut file from white cardstock then backing it with five different patterned papers from the Go the Scenic Route collection. I then chose a sixth pattern for my background. All six papers are included in the 12x12 Paper Pad, or if you choose the individual sheets, they are Paper 1Paper 3Paper 8Paper 13, and Paper 24.

This page has so much color and pattern that I kept the rest of the embellishment pretty minimal. The butterflies come from the Cardstock Stickers and the tags are from the Ephemera Die Cuts. To hang the 'magical' tag, I cut through the 'string' of the cut file, fed the tag onto that string, then adhered it in a spot that would cover the cut line. My journaling is in white, over to the right of the cups. The title started with a Puffy Phrase Sticker that said 'let's go on a road trip' but I cut it down to just 'let's go' then finished the title with the Mini Foam Thickers from Pick-Me-Up and the super cute and bright Foam Thickers from Go the Scenic Route. (By the way, those little Pick-Me-Up Mini Foam Thickers are one of the most versatile lettering products ever, so if you don't have them in your stash, I would literally suggest you pick them up!)

What's the first cut file you're using this year? Please share in the comments - I can't wait to hear your scrapping plans!


SUPPLIES: Patterned papers, stickers, Thickers, enamel dots, embellishments: GO THE SCENIC ROUTEMini Foam Thickerswhite cardstock; Die cut machine: Silhouette Cameo; Cut file: Stacked Mugs by Paige Evans
Location: London / Blog: Shimelle / Instagram: @shimelle / Facebook: Shimelle / YouTube: Shimelle Laine / Pinterest: glittershim

You Got This Layout by Maija Männistö


Monday, January 4, 2021

    Hi friends, Maija Männistö here to share my first layout for 2021 with Go the Scenic Route! I don’t really make New Year’s resolutions, but I do like to make plans and have aspirations for the New Year. And this year I don’t need much. Just being better than 2020 is all I need. We so got this!

The cut file I chose is the You Got This title. Perfect meaning behind it and even more perfect to add lots of colors and patterns to the layout. I chose 10 different papers from the 6x8 Paper Pad to back the letters. I adhered them with foam tape to give the cut file more dimension. To make the cut file really stand out from the page I used Paper 19 as the background.

For the title I made a banner from Paper 13 and topped it with white cardstock. I hand wrote the words and did the year 2021 with the colorful Foam Thickers. Behind the banner I adhered a super cute bird sticker from the Chipboard Stickers. For embellishments I chose several pieces from the Floral Die Cuts and placed them into spots slightly under the cut file. I also added tiny hearts from the Chipboard Stickers.

Thank you so much for stopping by today, have a lovely and crafty day and New Year!


SUPPLIES: Patterned papers, stickers, Thickers, die cuts, embellishments: GO THE SCENIC ROUTEwhite cardstockwatercolors; Die cut machine: Silhouette Cameo; Cut file: You Got This by Paige Evans
Location: Finland / Blog: Mai Makings / Instagram: @maimakings / YouTube: Mai Makings / Pinterest: Mai Loves

Planner Plans by Paige Evans


Sunday, January 3, 2021

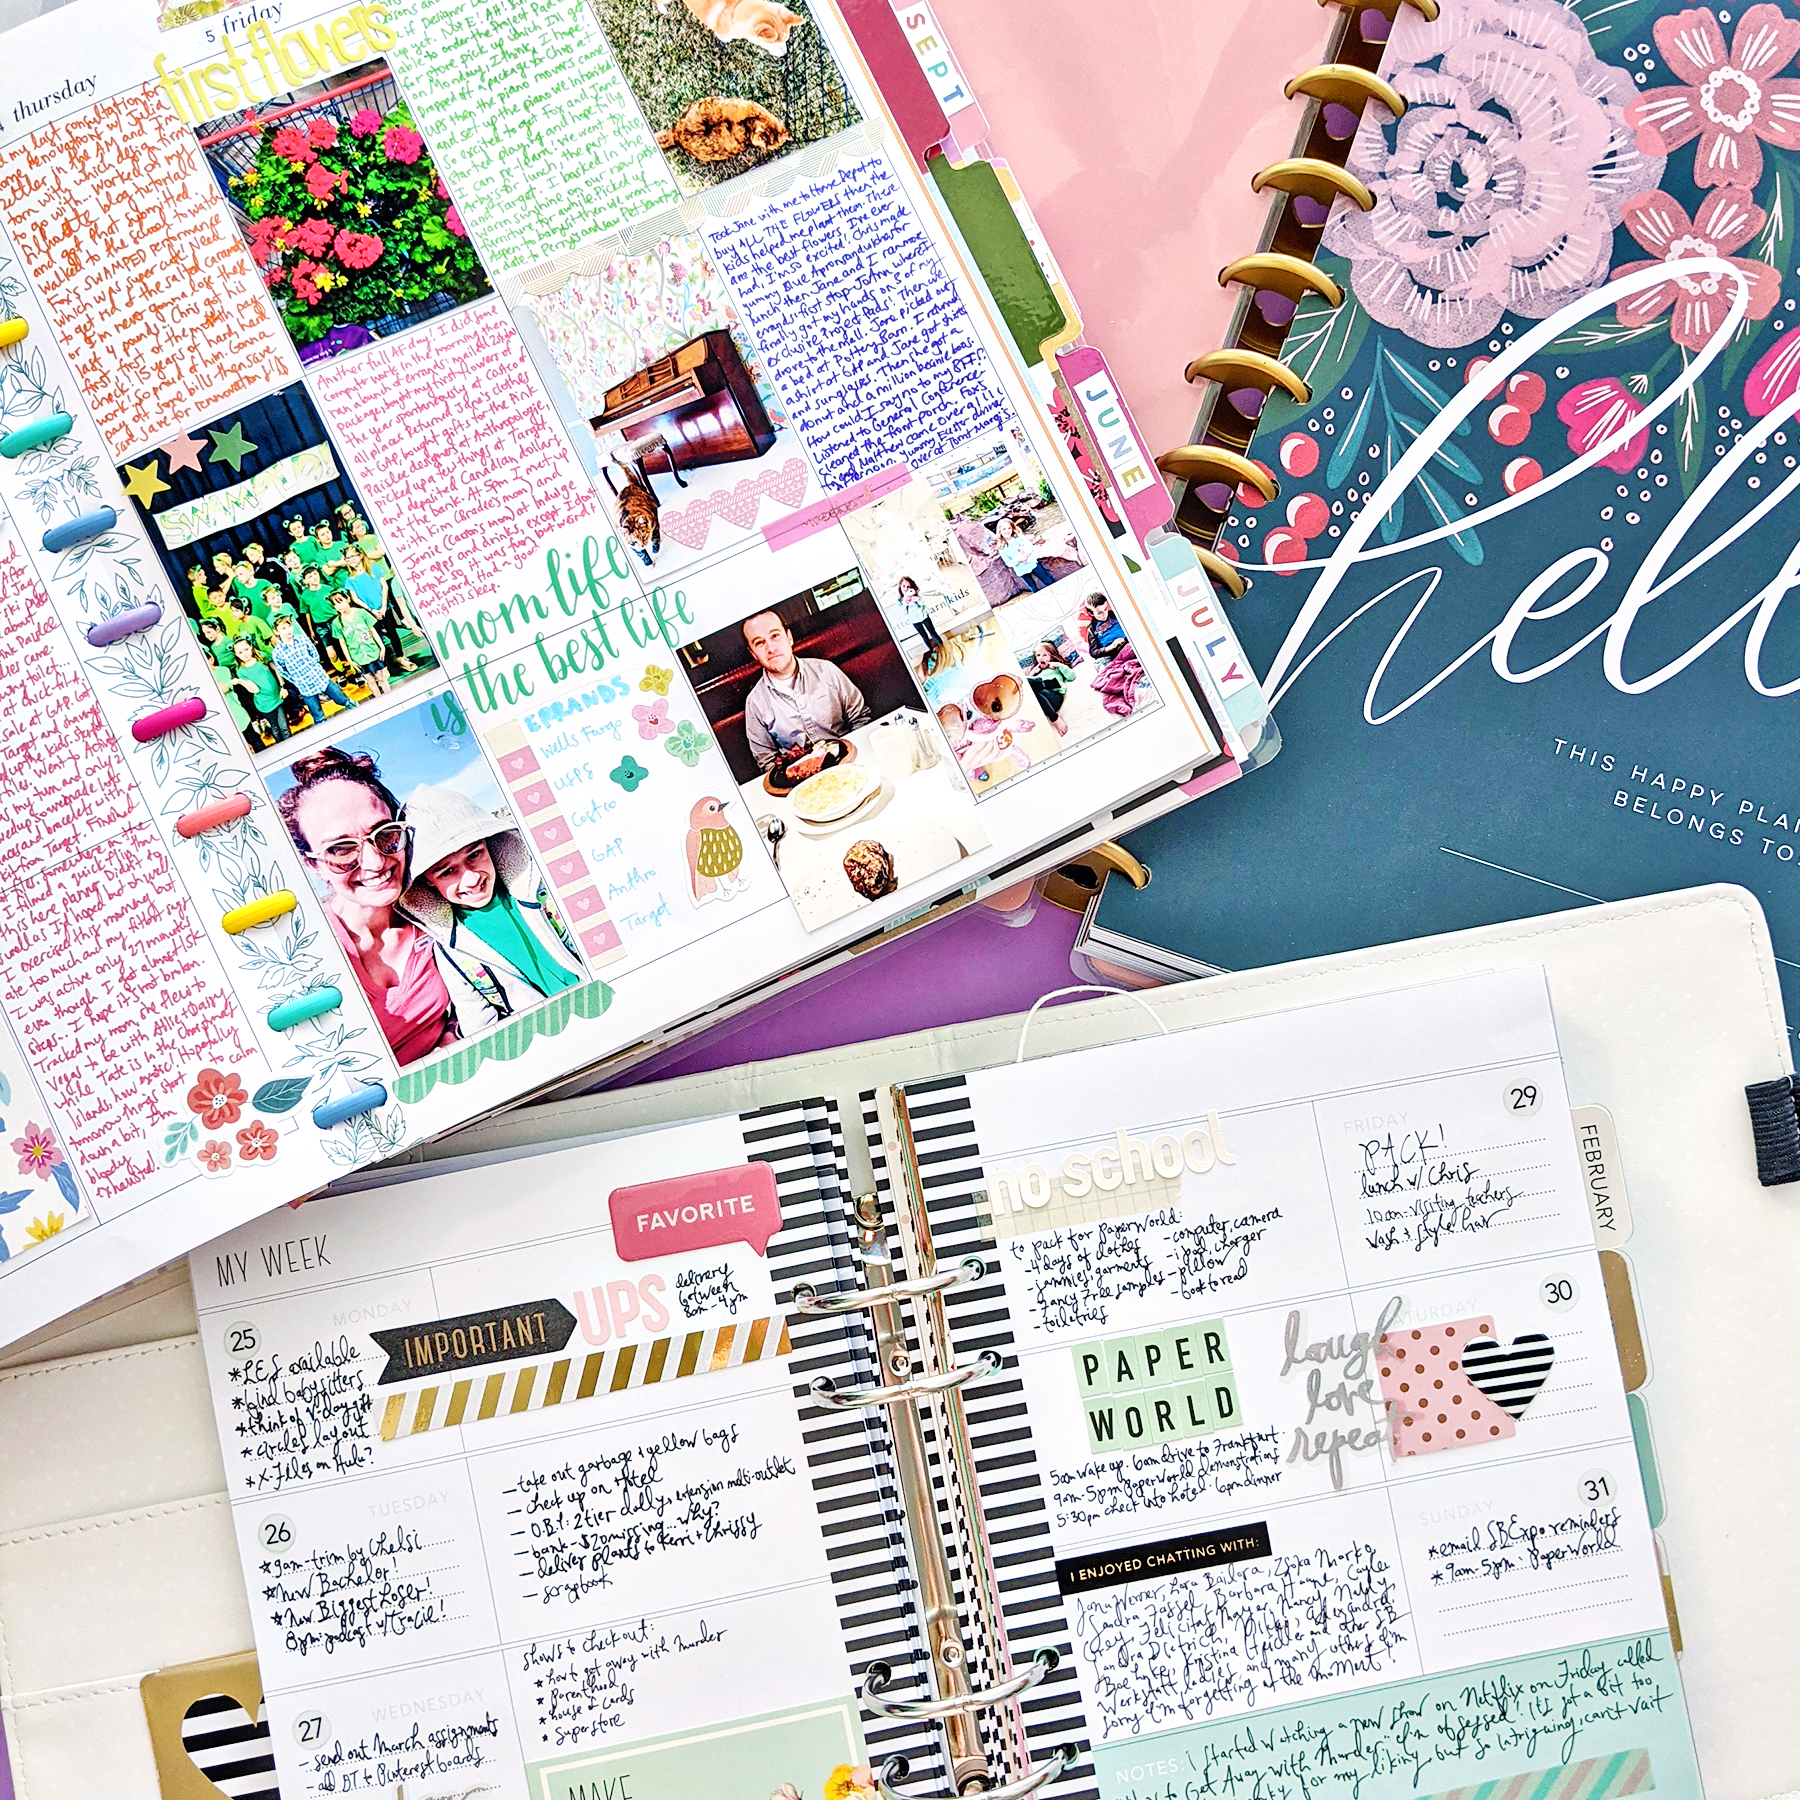
If I'm being completely honest, I have a love/hate relationship with planners. I LOOOOOVE looking back through them and reliving precious memories! But I hate that I can't keep up with them lol. I've started and stopped "planning" twice before. Let's take a look!

The first time I started officially "planning" was back in January 2016 in a Heidi Swapp binder. You can watch a YouTube video flip through HERE. I lasted about 2.5 months and then I dunno what happened. Truthfully, I think I'd rather be using my time to make layouts and mini albums? But I love looking through my old planners! So there has to be a compromise.

My second attempt at planning was in March 2019 and I lasted 6 weeks. I purchased this beautiful Happy Planner and loved decorating it with pieces from my 30-page Paige Evans #StickerBook as well as bits & ephemera from my current collection at the time, Whimsical.
I started the first week in March and got through the second week of April.

Here's a look at the overview calendar of March - so bright, busy, and fun!

And then the four weeks of daily spreads in March:
Wow so many memories are conjured up looking through these!

Something that bothers me about these planners though is that Sunday is on the last day of the week instead of the first day. Are all their planners like this? It's not a huge deal, but I'm just very used to having Sunday be the start of the week.

Highlights of March.
Moving onto April!
The calendar overview is only partially filled out.
Filled out first spread of April 2019:
And then it looks like I got overwhelmed with Designer Destination commitments and put planning on the backburner.
I've decided though, I'm not a PLANNER, I'm a DOCUMENTER. My life is 10000% ruled by Google Calendar. Every appointment, every task, every meeting, etc., is digitally added and deleted with the swipe of a finger AND I can access it at the drop of a hat on my computer and phone anytime, anywhere. I get so much satisfaction deleting things from my calendar and having it empty. And I move things around a ton which I find when I put them in my planner bothers me because if it's in pen I can't erase it. I'm weird, I know.
I really really really love looking back through the two planners I briefly started! So much so that on New Years Day I went to Michaels and got a 2021 Happy Planner. I'm making notes of everything I'm doing every day and hope to be able to dedicate some time every week to fill it up. I'm not going to use it as a planner, I'm going to use it as a visual journal. Yup! I'm sticking with Google Calendar to plan my life and will use the planner to decorate my day-to-day life all pretty. Bring on the flowers!
What about you, do you plan/journal?

Too Happy Layout by Zsoka Marko


Saturday, January 2, 2021

Hi there friends, I hope you guys are well! Zsoka Marko stopping by today to share a new layout I've created for the Paige Evans Design Team! I've used the awesome Go the Scenic Route collection on this project.

First, check out the process video: https://www.youtube.com/watch?v=oayPpfOZFMw&feature=youtu.be

I really wanted to use this gorgeous green Paper 5 for my background, but I didn't want the map to be visible. This time I was going to use non-travel themed photos, so I thought the map didn't make much sense. It broke my heart a little because it is absolutely beautiful. I do have another sheet of this paper though, so I will definitely use it in the future!

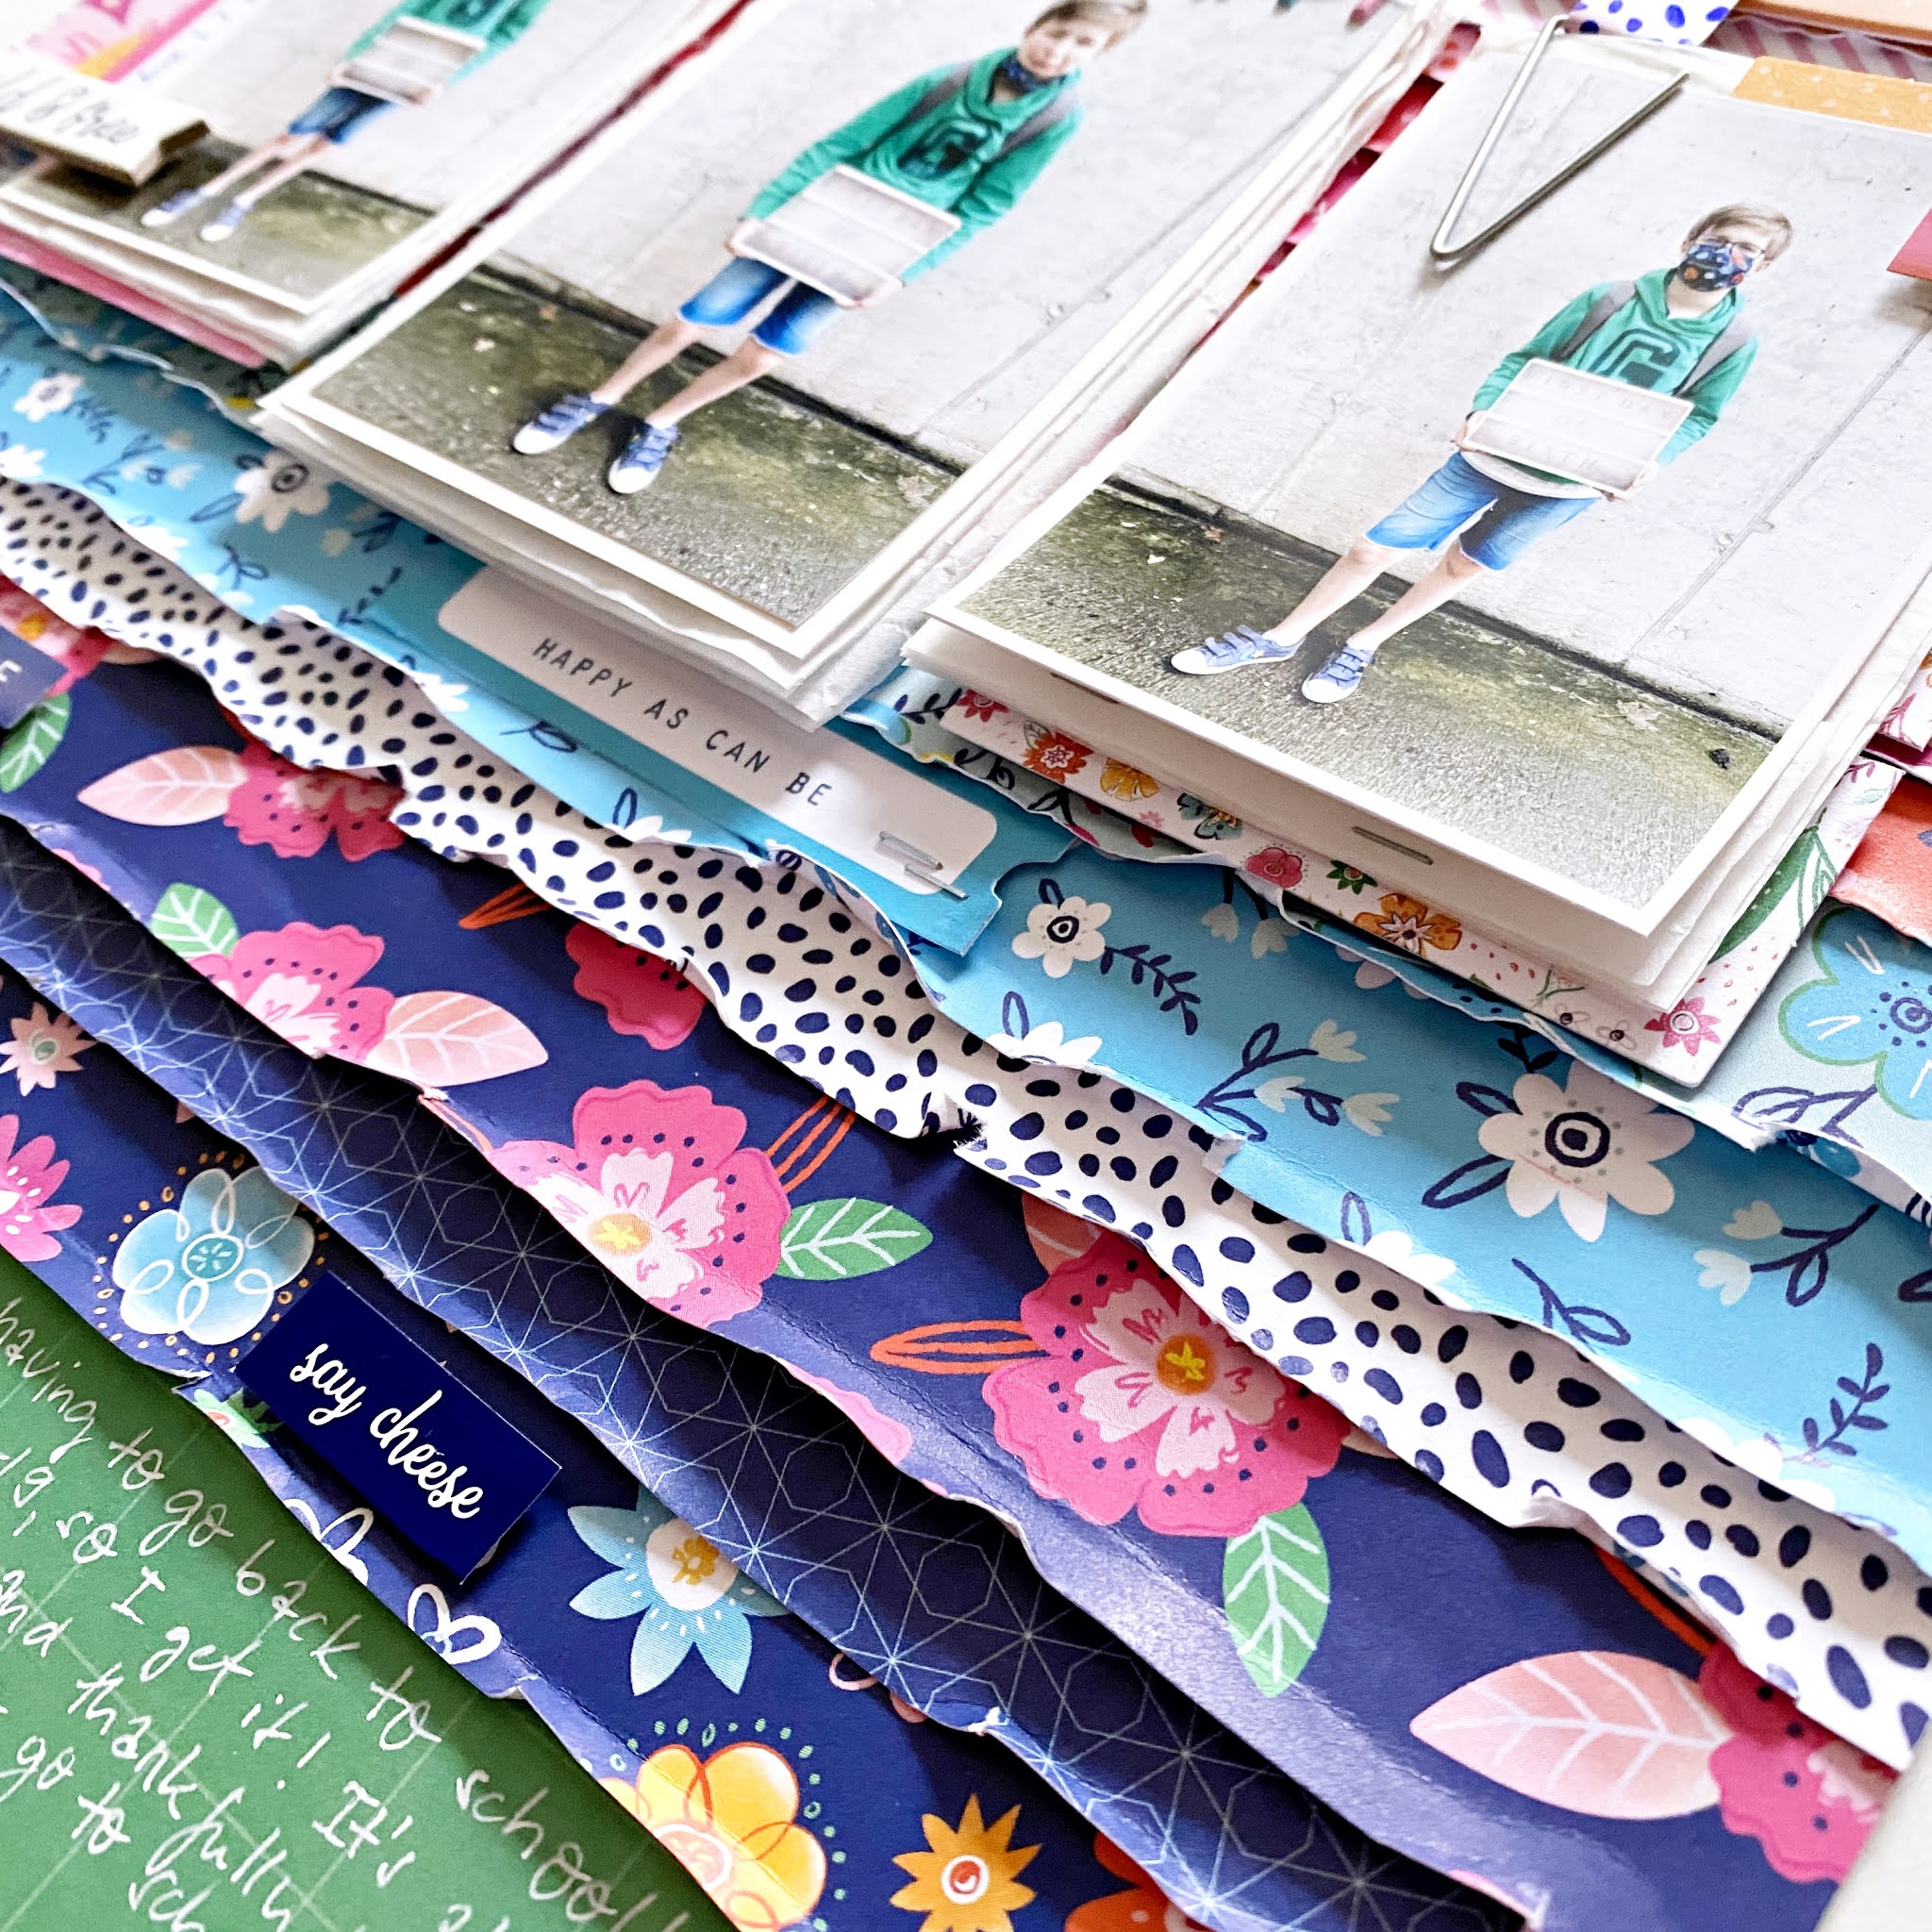
I started thinking about ideas, how I could cover up this large part of the background in a fun way. Paper 23 in the collection has all kinds of strips on it, and this inspired me to cut paper strips. I cut this paper apart, also a few more from other papers, most of which I didn't end up using. It was hard to know in advance how many I would need exactly. I then started gluing them down. I only added liquid glue at the top part of each strip so I could later bend up and distress the bottom part to add dimension and texture. I kind of organized the strips by color, from lightest to darkest, from top to bottom. I added tissue paper as well as Ephemera Die Cuts behind my photo then adhered them to my background. I originally wanted to use the Foam Thickers to create my title at the bottom, but I just didn't have the right letters in the right colors so I ended up going for the tiny Puffy Word Stickers - I just used letters from different words to create a fun and colorful title. Which by the way is sarcastic (the title I mean), because my kid was clearly not too happy about having to start school haha!

I selected a few embellishments: Chipboard StickersEphemera Die CutsCardstock Stickers, and a Flag Paperclip that matched the colors in the background and I added them using mostly foam adhesive. I stamped my date onto a label and tucked it behind one of the photos. Last but not least, I added my journaling using a white gel pen. I absolutely love using white gel pens on darker backgrounds!

That's it for today! I hope I could inspire you in some small way! Thank you so much for stopping by! Have a wonderful day!


SUPPLIES:
 Patterned papers, die cuts, stickers, flag paperclip, embellishments: GO THE SCENIC ROUTE

Blog: apocketfullofscrap.blogspot.com // Instagram: @zsoka_marko // Facebook: Zsoka Marko // YouTube: Zsoka Marko

Feather Friends Layout by Paige Evans


Friday, January 1, 2021

 Happy New Year! I'm here with my very first layout of 2021 featuring paper feathers made with my Go the Scenic Route collection. This might be my last layout made with Go the Scenic Route for awhile, my new collection is sitting on my desk and calling my name!!

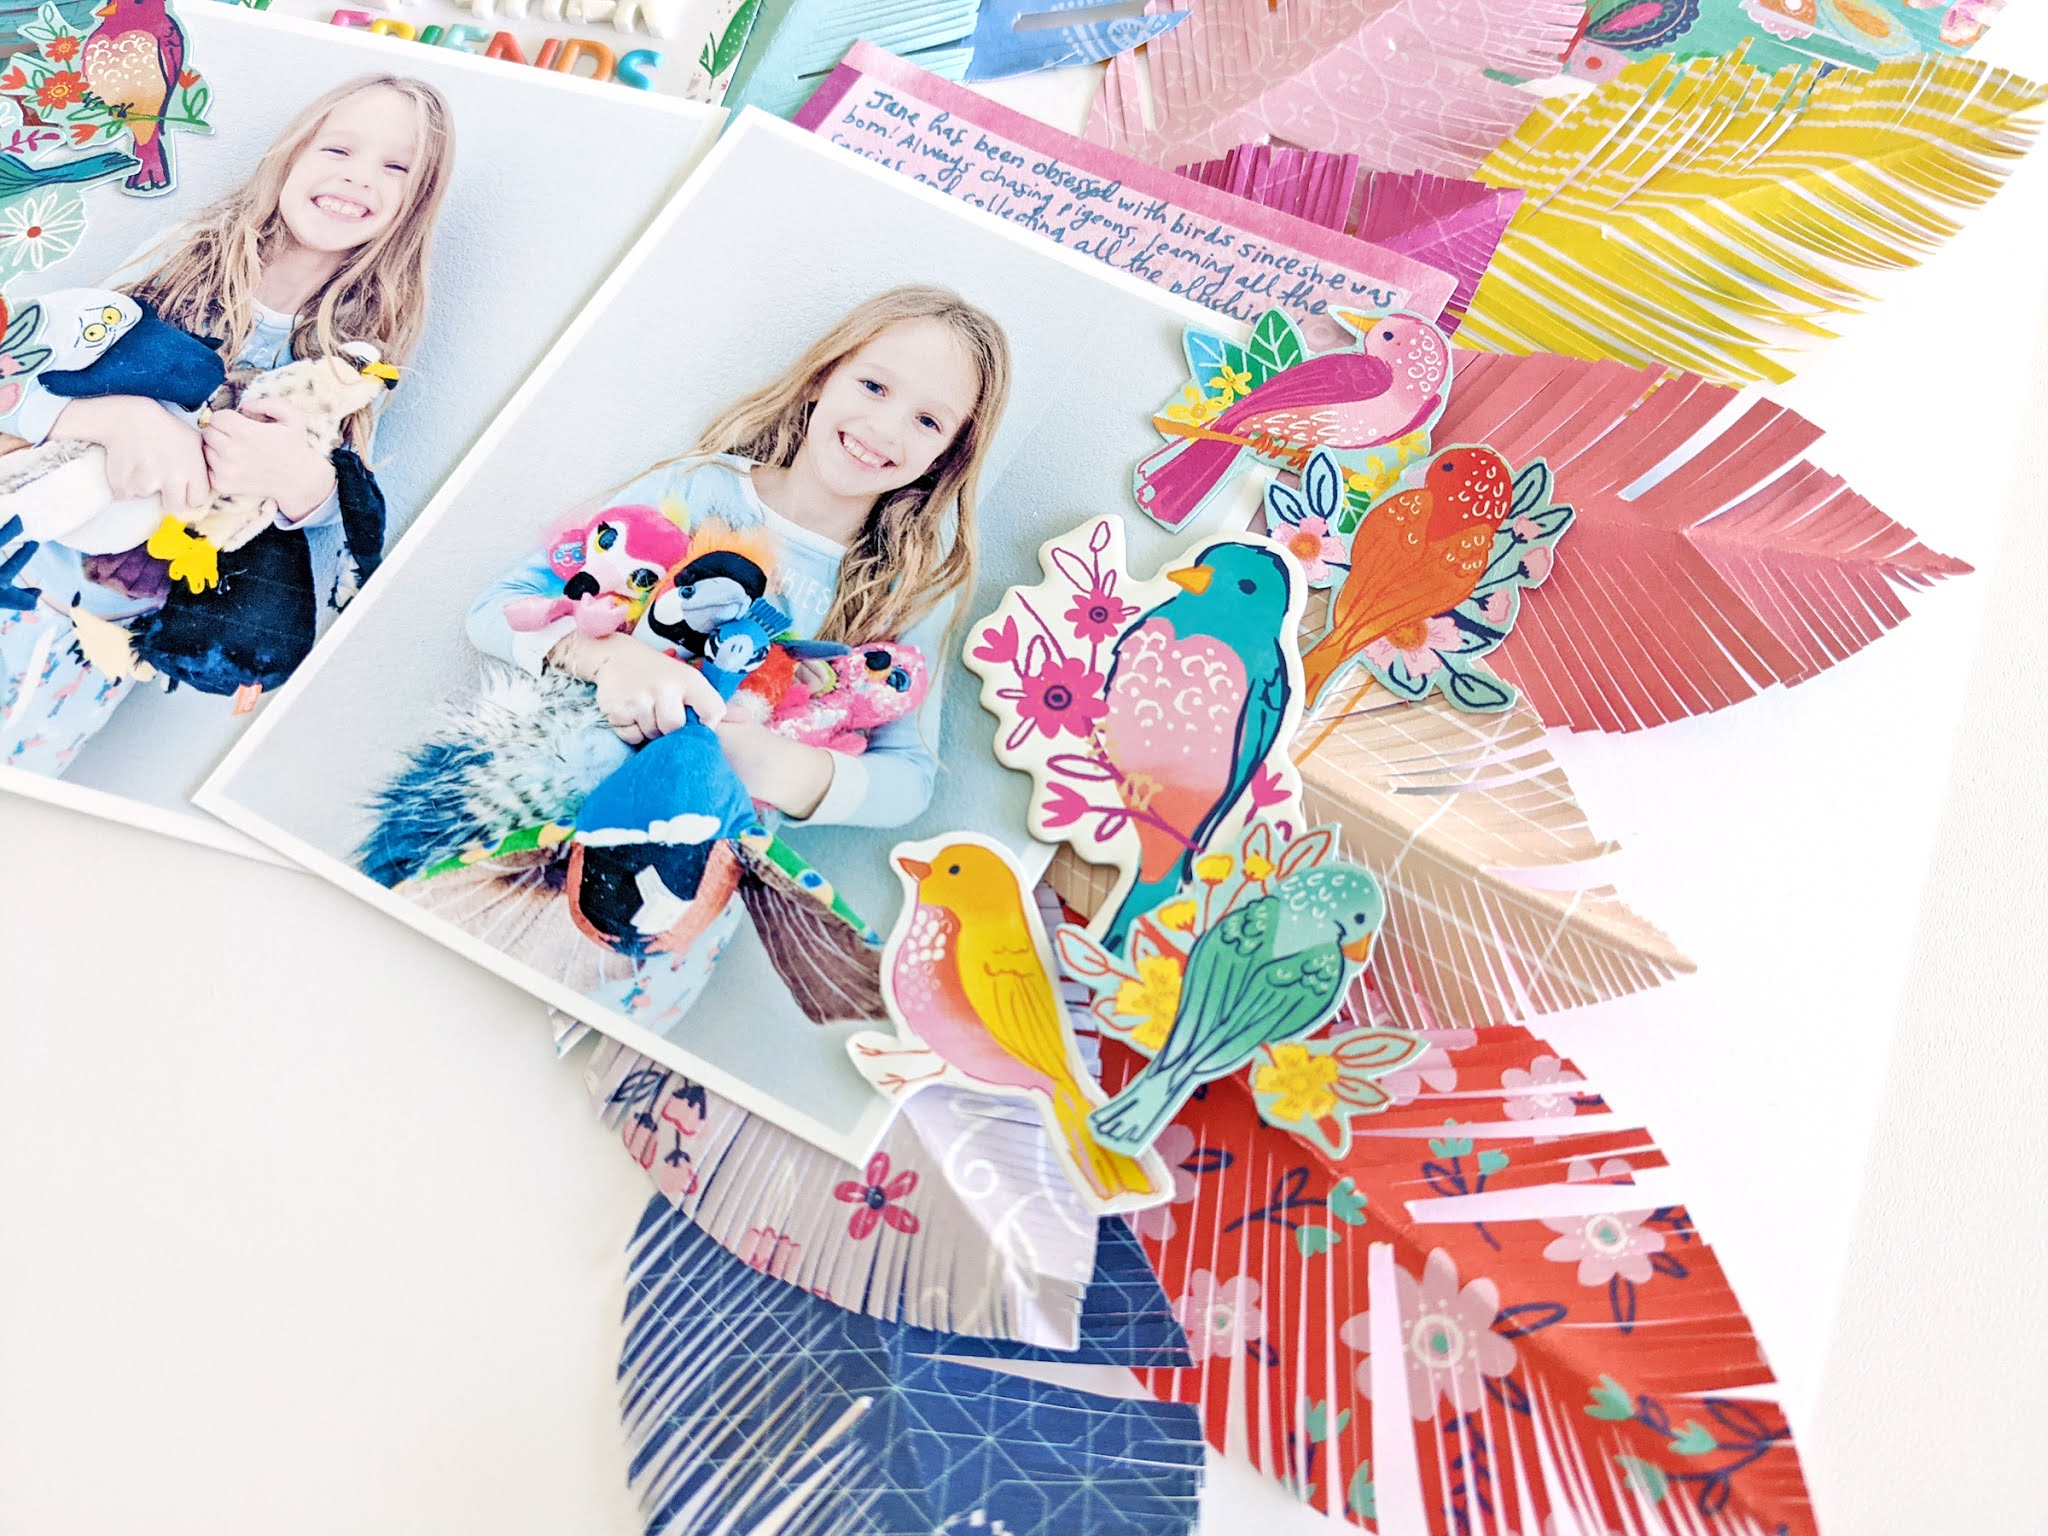
To begin, I folded a piece of patterned paper in half and cut half a feather shape from it - once opened it's a full feather. With the feather still folded in half I used fine-tipped scissors to make a whole bunch of slits into the paper, opened it up, and plucked out a few of the snips to make it look more like a real feather. I traced the half feather onto 22 Go the Scenic Route patterned papers, cut them all out, and feathered them all. That's the part that took the longest of this whole layout and took about an hour and a half.
Then I grabbed a piece of smooth white cardstock and glued all of the feathers to the background. The feathers are very dimensional and will mostly likely get squished once they go into a scrapbook, but some of the texture will hold and last as I've seen with my previous super dimensional layouts :) It's all good!
Next: photos. I didn't have time to go through my thousands of photos to find a perfect picture to match. I decided to make one to fit. I enlisted the help of Jane to go find her favorite bird plushies. She has one or two. If you've been following this blog since Jane was a tiny tot, you'll recall she's erbsessed with birds. She has chased pigeons around 43 countries and walked around "flapping her wings" for several years as a toddler. She knows the names and kinds of dozens of birds. She's just so cute.
So Jane grabbed two armfuls of birds, I snapped some pics, edited them, printed them out, and here they are! Photos taken literally yesterday have now been scrapped and forever documented :) I glued them slightly overlapping to the middle of the page. Then I fussy cut a bunch of birds from Paper 15 and adhered them to the left and right edges of the photos. I snuck in a bird from the Chipboard Stickers and three more from the Cardstock Stickers.
For the title, I tore a piece of a floral journaling spot from the Ephemera Die Cuts and added Mini Foam Thickers from my old Pick-Me-Up collection on top to say "feather" and used a mix of colored letters from the Puffy Word Stickers underneath to say "friends". I tucked the title above the top of the left photo. For journaling I tore another piece of a journaling spot, this time a pink one, from the Ephemera Die Cuts and wrote on it with a blue pen. I tucked this one under the top of the right photo. Done and done!
I hope you are inspired to make paper feathers using my Go the Scenic Route collection to document someone you know who is obsessed with birds :) Thanks for stopping by and have a happy New Year!

SUPPLIES: Patterned papers, stickers, die cuts: GO THE SCENIC ROUTE; Cardstock: Bazzill Basics; Mini Foam Thickers 
Paige Taylor Evans © // Quinn Creatives DESIGN