
How 'bout another swoonworthy layout by design team member Stefanie Ried?!
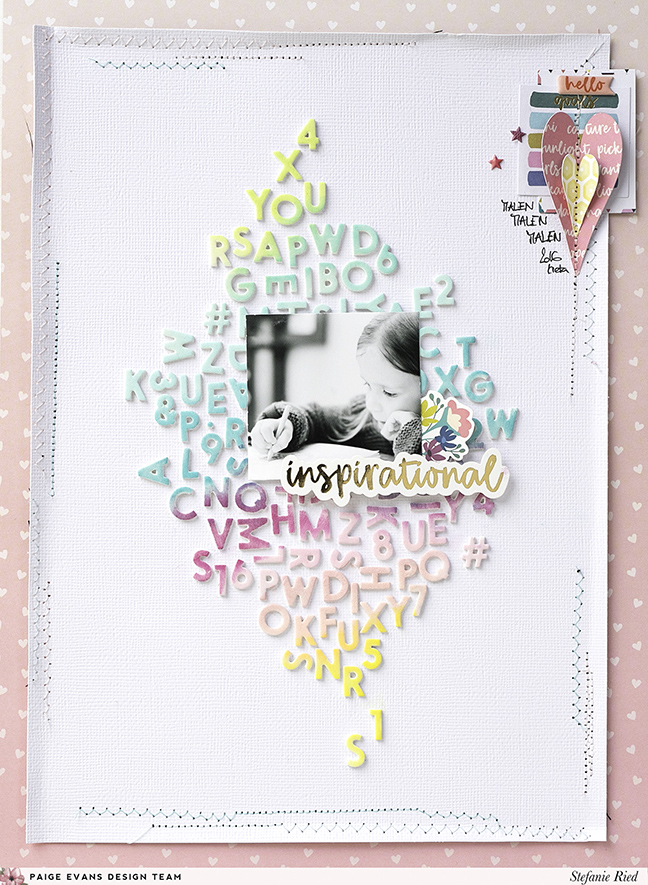
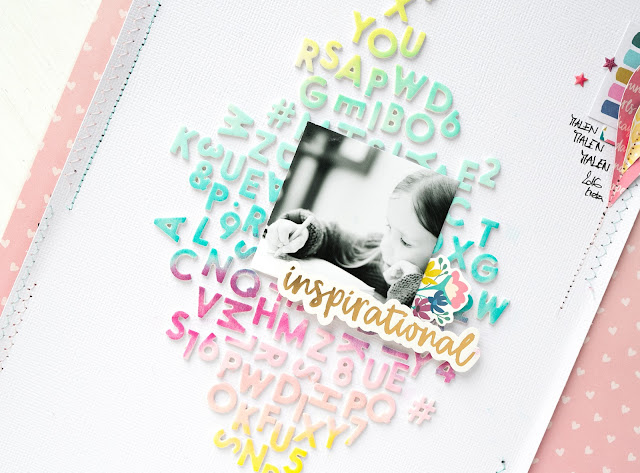
Have you already used the Mini Thickers from the Pick-Me-Up collection? I like the size and because of the neutral colors they are very versatile. For this layout I have turned them into a colorful background.
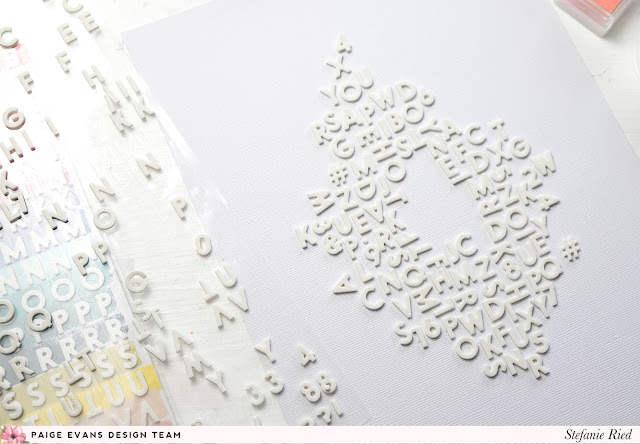
 The Mini Thickers are made of foam and have a rough surface so the color keeps better.

First I glued the Mini Thickers on white cardstock. I left the middle of the cardstock empty so that the photo could be placed there.
I decided to use stamping ink to color the stickers. The best are mini stamp pads because you can color small areas easily and quickly.
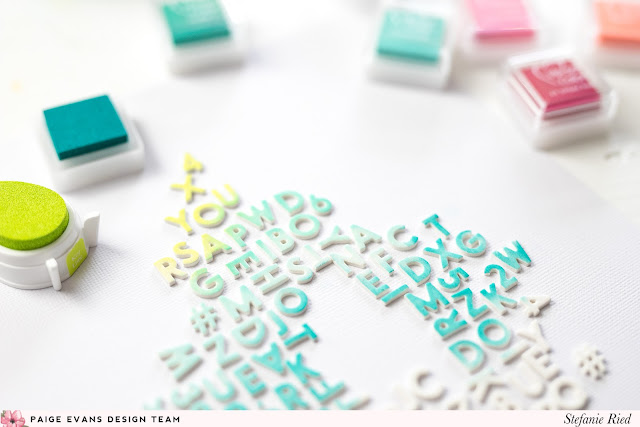
Carefully I colored the stickers with the stamp pads. This is easy and gives a great effect. Through the ongoing transitions, it makes a beautiful rainbow background.

Due to the colorful background, I have used very few embellishments so that the alpha stickers are not obscured.
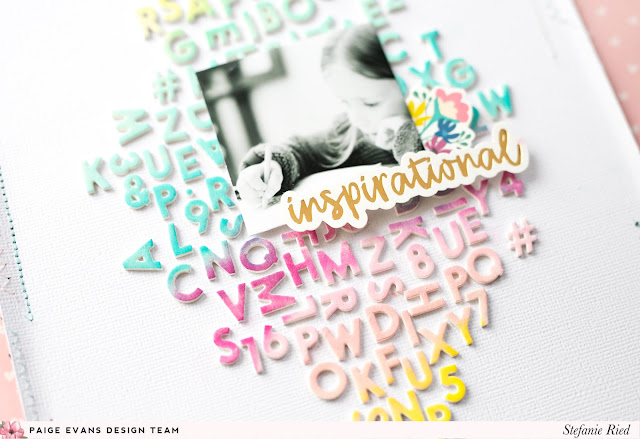
Only on the edge did I add a few hearts and paper - done :)
I hope you liked my post and also try out the Mini Thickers with ink! Until next time!
 Blog: steffiried.blogspot.com / Instagram: @steffiried / Pinterest: @steffiried / Facebook: stefanie.ried.96 YouTube: Steffi Ried

First I glued the Mini Thickers on white cardstock. I left the middle of the cardstock empty so that the photo could be placed there.

I decided to use stamping ink to color the stickers. The best are mini stamp pads because you can color small areas easily and quickly.

Carefully I colored the stickers with the stamp pads. This is easy and gives a great effect. Through the ongoing transitions, it makes a beautiful rainbow background.

Due to the colorful background, I have used very few embellishments so that the alpha stickers are not obscured.

Only on the edge did I add a few hearts and paper - done :)

I hope you liked my post and also try out the Mini Thickers with ink! Until next time!
SUPPLIES: PICK-ME-UP: Mini Thickers, Paper 16, Ephemera Die Cuts, Journaling Spots, Stickers; white cardstock


This is beautiful! Love the colorful inked alphas!
ReplyDelete