
It's been a couple weeks since I shared a process video - I have some that I've made but can't reveal for a few more weeks sooooo I made a layout just for fun!


Check out the process video to see how this layout came together:
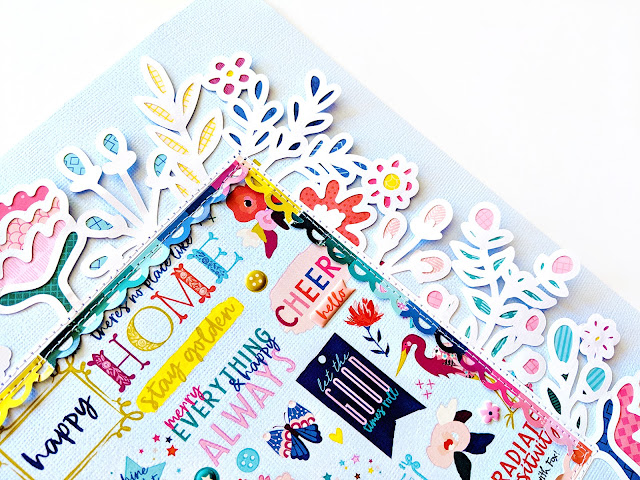
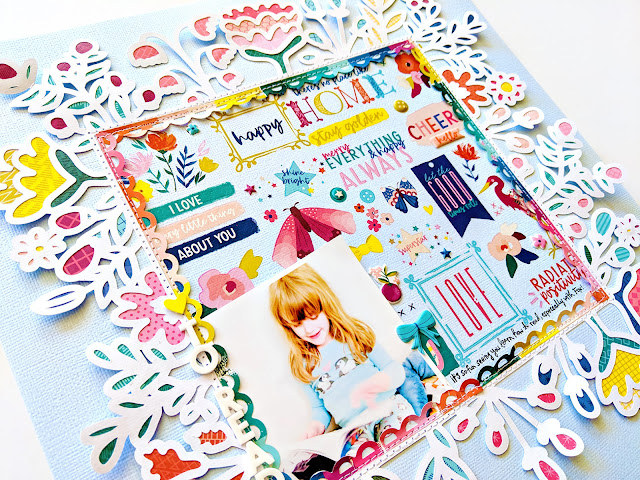
I started by designing a flower frame cut file which you can download for free by CLICKING HERE. I would LOVE to see what you make with it so please tag me, email me, leave a comment, anything, so I can see :) I die cut the flower frame from white cardstock using my Silhouette Cameo 3. I only used one patterned paper to back the entire design and that's Paper 21 from my Pick-Me-Up collection.
 It took about 2.5 hours to back the entire frame - not too bad! I'm watching/listening to Desiree's season of The Bachelorette in the background otherwise it's too quiet. Why do Fox & Jane have to be so big and off in school already!? I miss when they were home with me all day every day.
Once I finished backing the cut file I chose a light blue cardstock background - I debated between lots of other colors and patterned papers but liked this one best. I lightly traced the inside corners of the frame with a pencil for placement before continuing on.
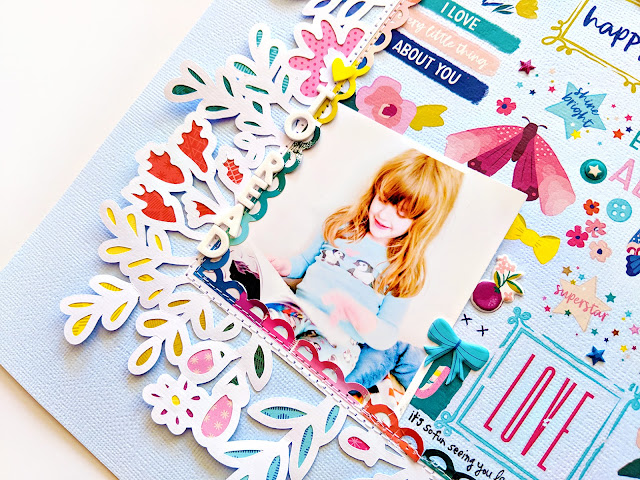
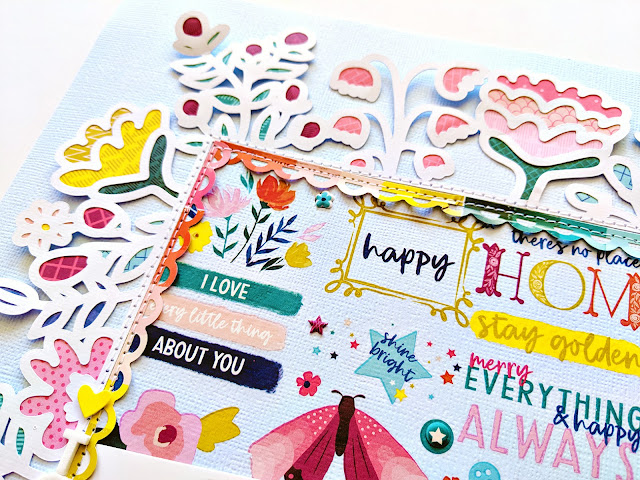 Next I applied an entire page of Rub-Ons to the middle of the layout. I used the included popsicle stick to apply them and as I was slowly removing the top protective layer I would scrape over any parts of the rub-on that weren't all the way applied. I put the frame back in place, added a photo to the bottom left corner (trimming the edges so they're flush with the frame) and then machine stitched around the inside of the frame.
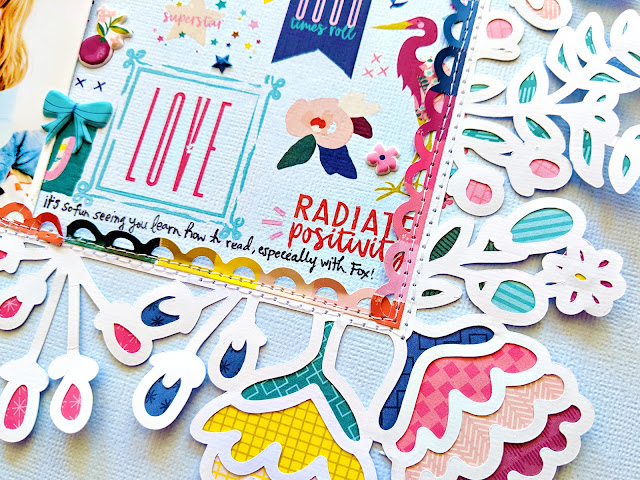 For more color and added detail I used a scalloped border punch to make strips from the rainbow striped paper that comes in the Mini Thickers. I treat that packaging material as its own patterned paper, I love it so much! I also machined stitched those scalloped paper strips in place and trimmed the thread ends for a cleaner look - lots of times I leave the thread ends long. I wrote journaling with a .03 black precision pen along the bottom right edge. To finish I added some Puffy Stickers mixed into the Rub-Ons. I love how this layout turned out and it was so fun to make a layout just because!
 SUPPLIES: PICK-ME-UP: Paper 21, Mini Thickers, Stickers, Puffy Stickers, Rub-Ons; Blue cardstock, white cardstock, precision pen: American Crafts; Sewing machine: Brother; Thread: Coats & Clark; Scalloped border punch: Fiskars; Cut file: Flower Frame by Paige Evans; Die cut machine: Silhouette Cameo 3


WOW, I love this layout! particularly how you used the rub ons! Thank you for the cut file! <3
ReplyDeleteDankeschön
ReplyDelete