
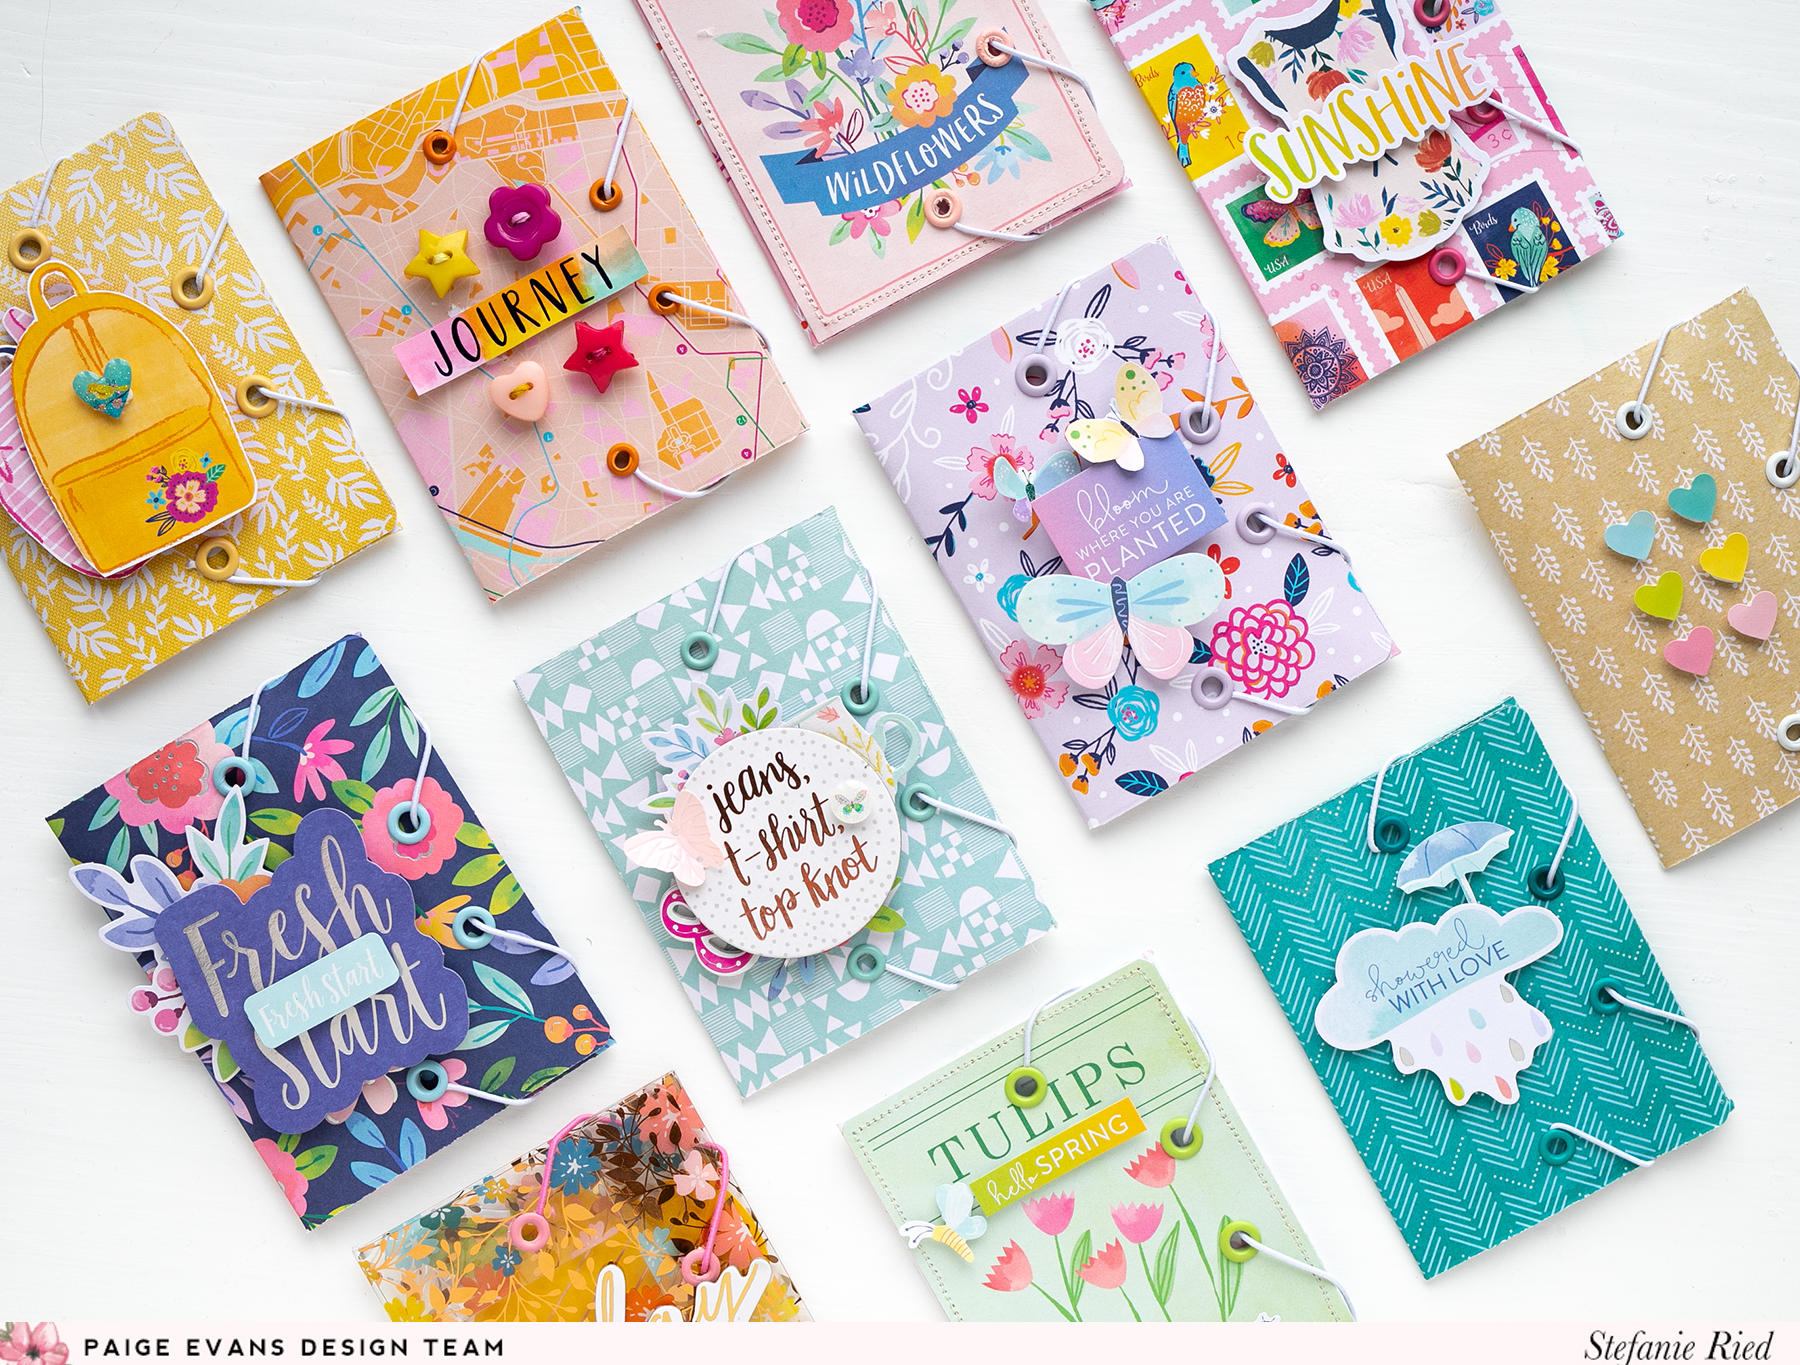
Stefanie Ried here and today I have a new project for you. A lot of mini paper folders have jumped off my table. The project was so much fun. Last year I made similar folders in a bigger size. And I really wanted to create these folders in mini format with my favourite papers from Paige's collections like BUNGALOW LANE, WONDERS, GO THE SCENIC ROUTE, BLOOM STREET, and TRULY GRATEFUL. Whereby the choice of the papers was really the most difficult. There are sooo many incredibly beautiful colors and patterns that I could have made many more folders.


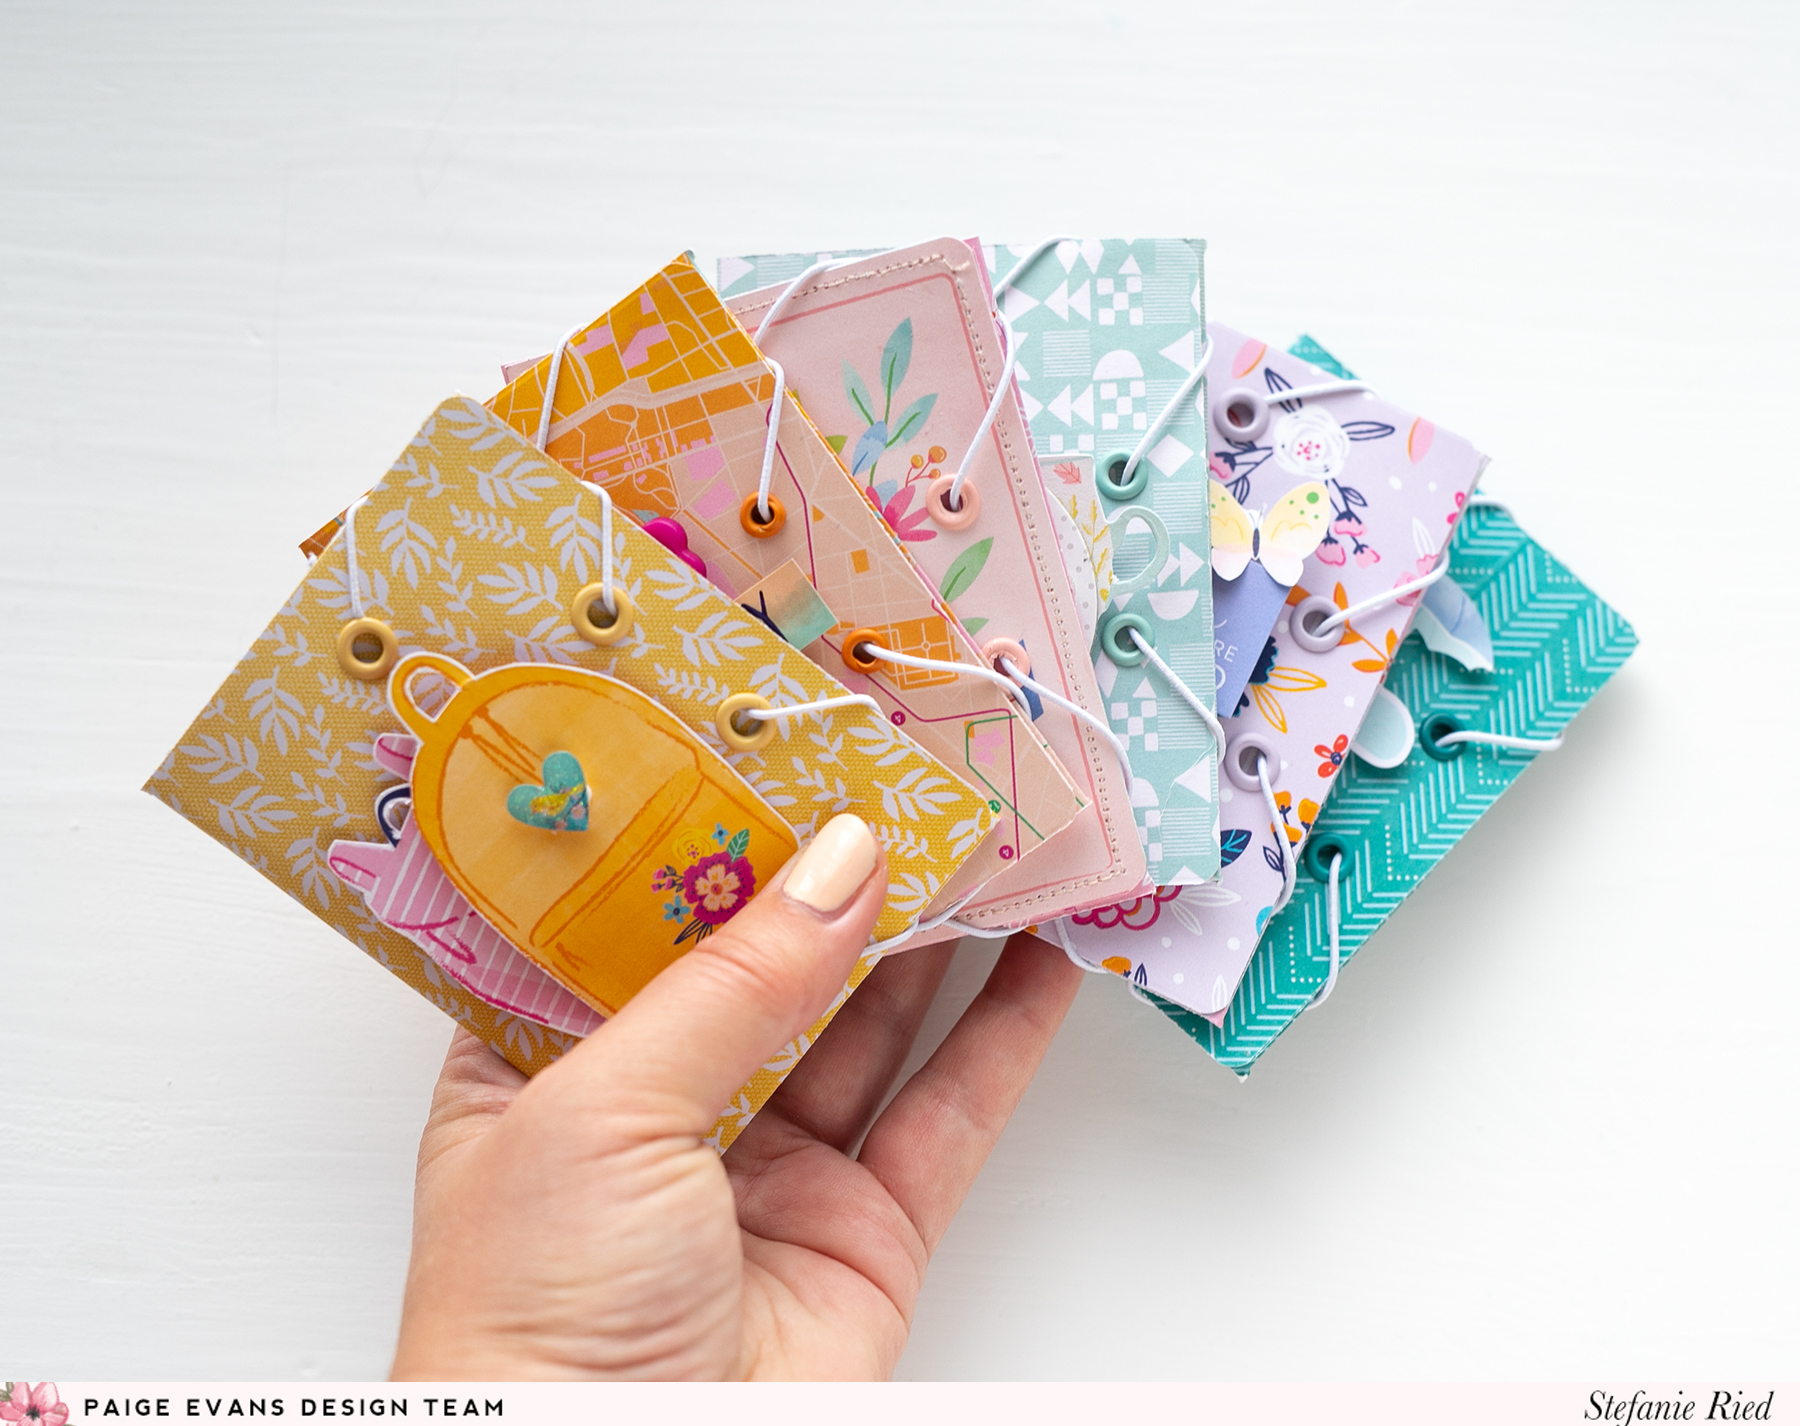


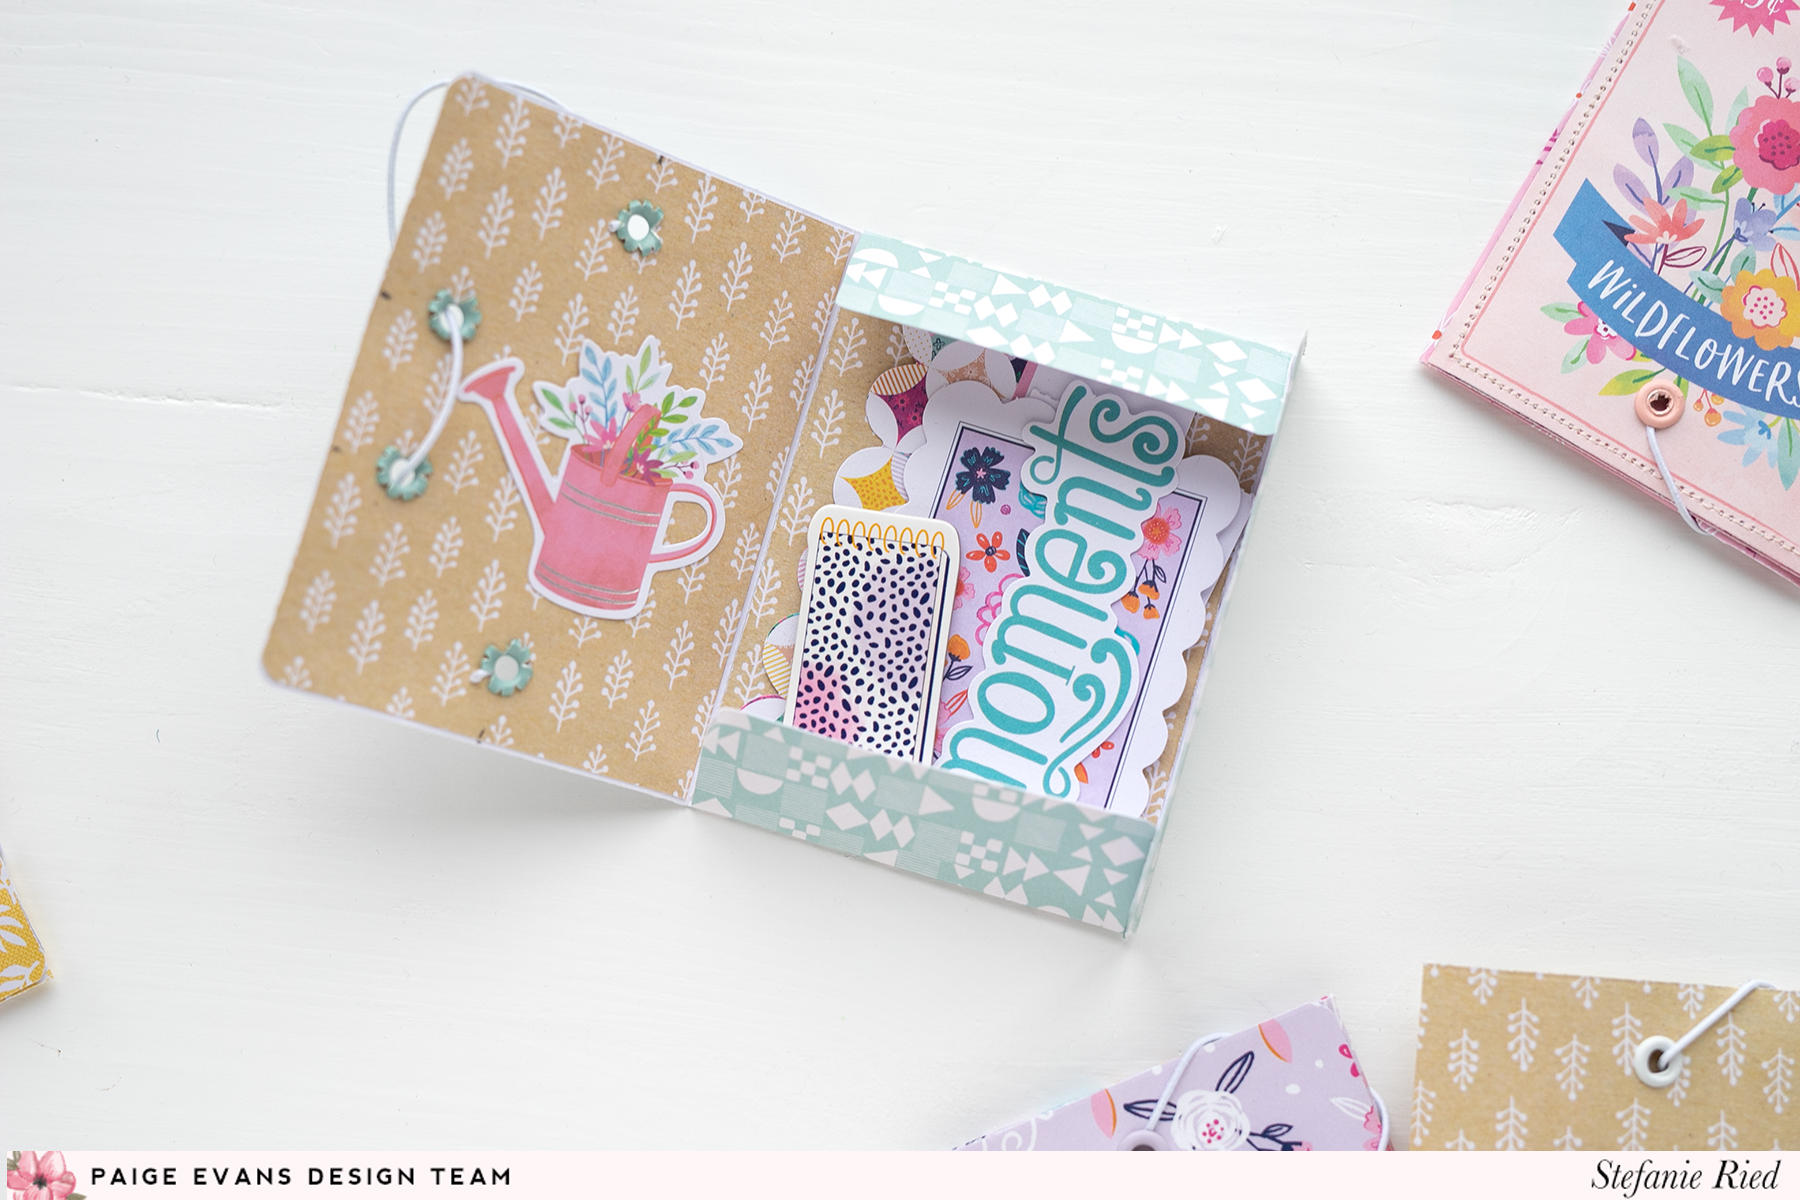
The folders have a size of 3 x 4 inches. So they are perfect for including small die cuts, stickers, etc. I have also used such a folder as packaging for a birthday gift certificate. And if you create a small stock of such folders, you always have a suitable packaging for a small gift. Unfortunately, I am not a card maker. That's why I find small folders a good solution :)


I'll show you a few pictures of how the folders were made. First you cut a paper of your choice in the size 7 x 6 inches. Fold and cut it as shown in the photo below.

In addition, you need another piece of paper in the size 3 x 4 inches for the inside left to reinforce the cover. Simply glue the paper in place as shown in the photo.

Now punch the holes for the eyelets with the Crop-A-Dile. For this, set the distance of the large hole to 0.5 inch. Then mark the holes as shown in the photo. Always 1.5 inches from the corners.

Now take a thin elastic yarn and insert it into the upper hole from the outside. It is enough to insert the string only a little bit. Now insert the eyelet into the hole from the outside. That way the string holds tight. Place the string as shown in the photo and attach the eyelet through the hole with the Crop-A-Dile.


On the photo above you can see how it looks on the backside. The eyelets are a bit small, so they don't look so nice. But you can see that the string is attached. You can also cut off the end. Now put the two eyelets on the edge and thread the elastic through. Close the folder for this. This way you can see how much elastic thread you need for your folder. Then thread the end of your elastic through the lower hole from the outside again and clamp the last eyelet. Your folder is ready!


I hope you enjoyed this little inspiration! Thank you for stopping by!


How awesome! They're so clever and cute and YES! perfect for gift cards! Really great tutorial too Stef! Thanks for sharing your always amazing creations! 💗K
ReplyDelete