4th of July 2022 Album by Paige Evans


Saturday, July 16, 2022

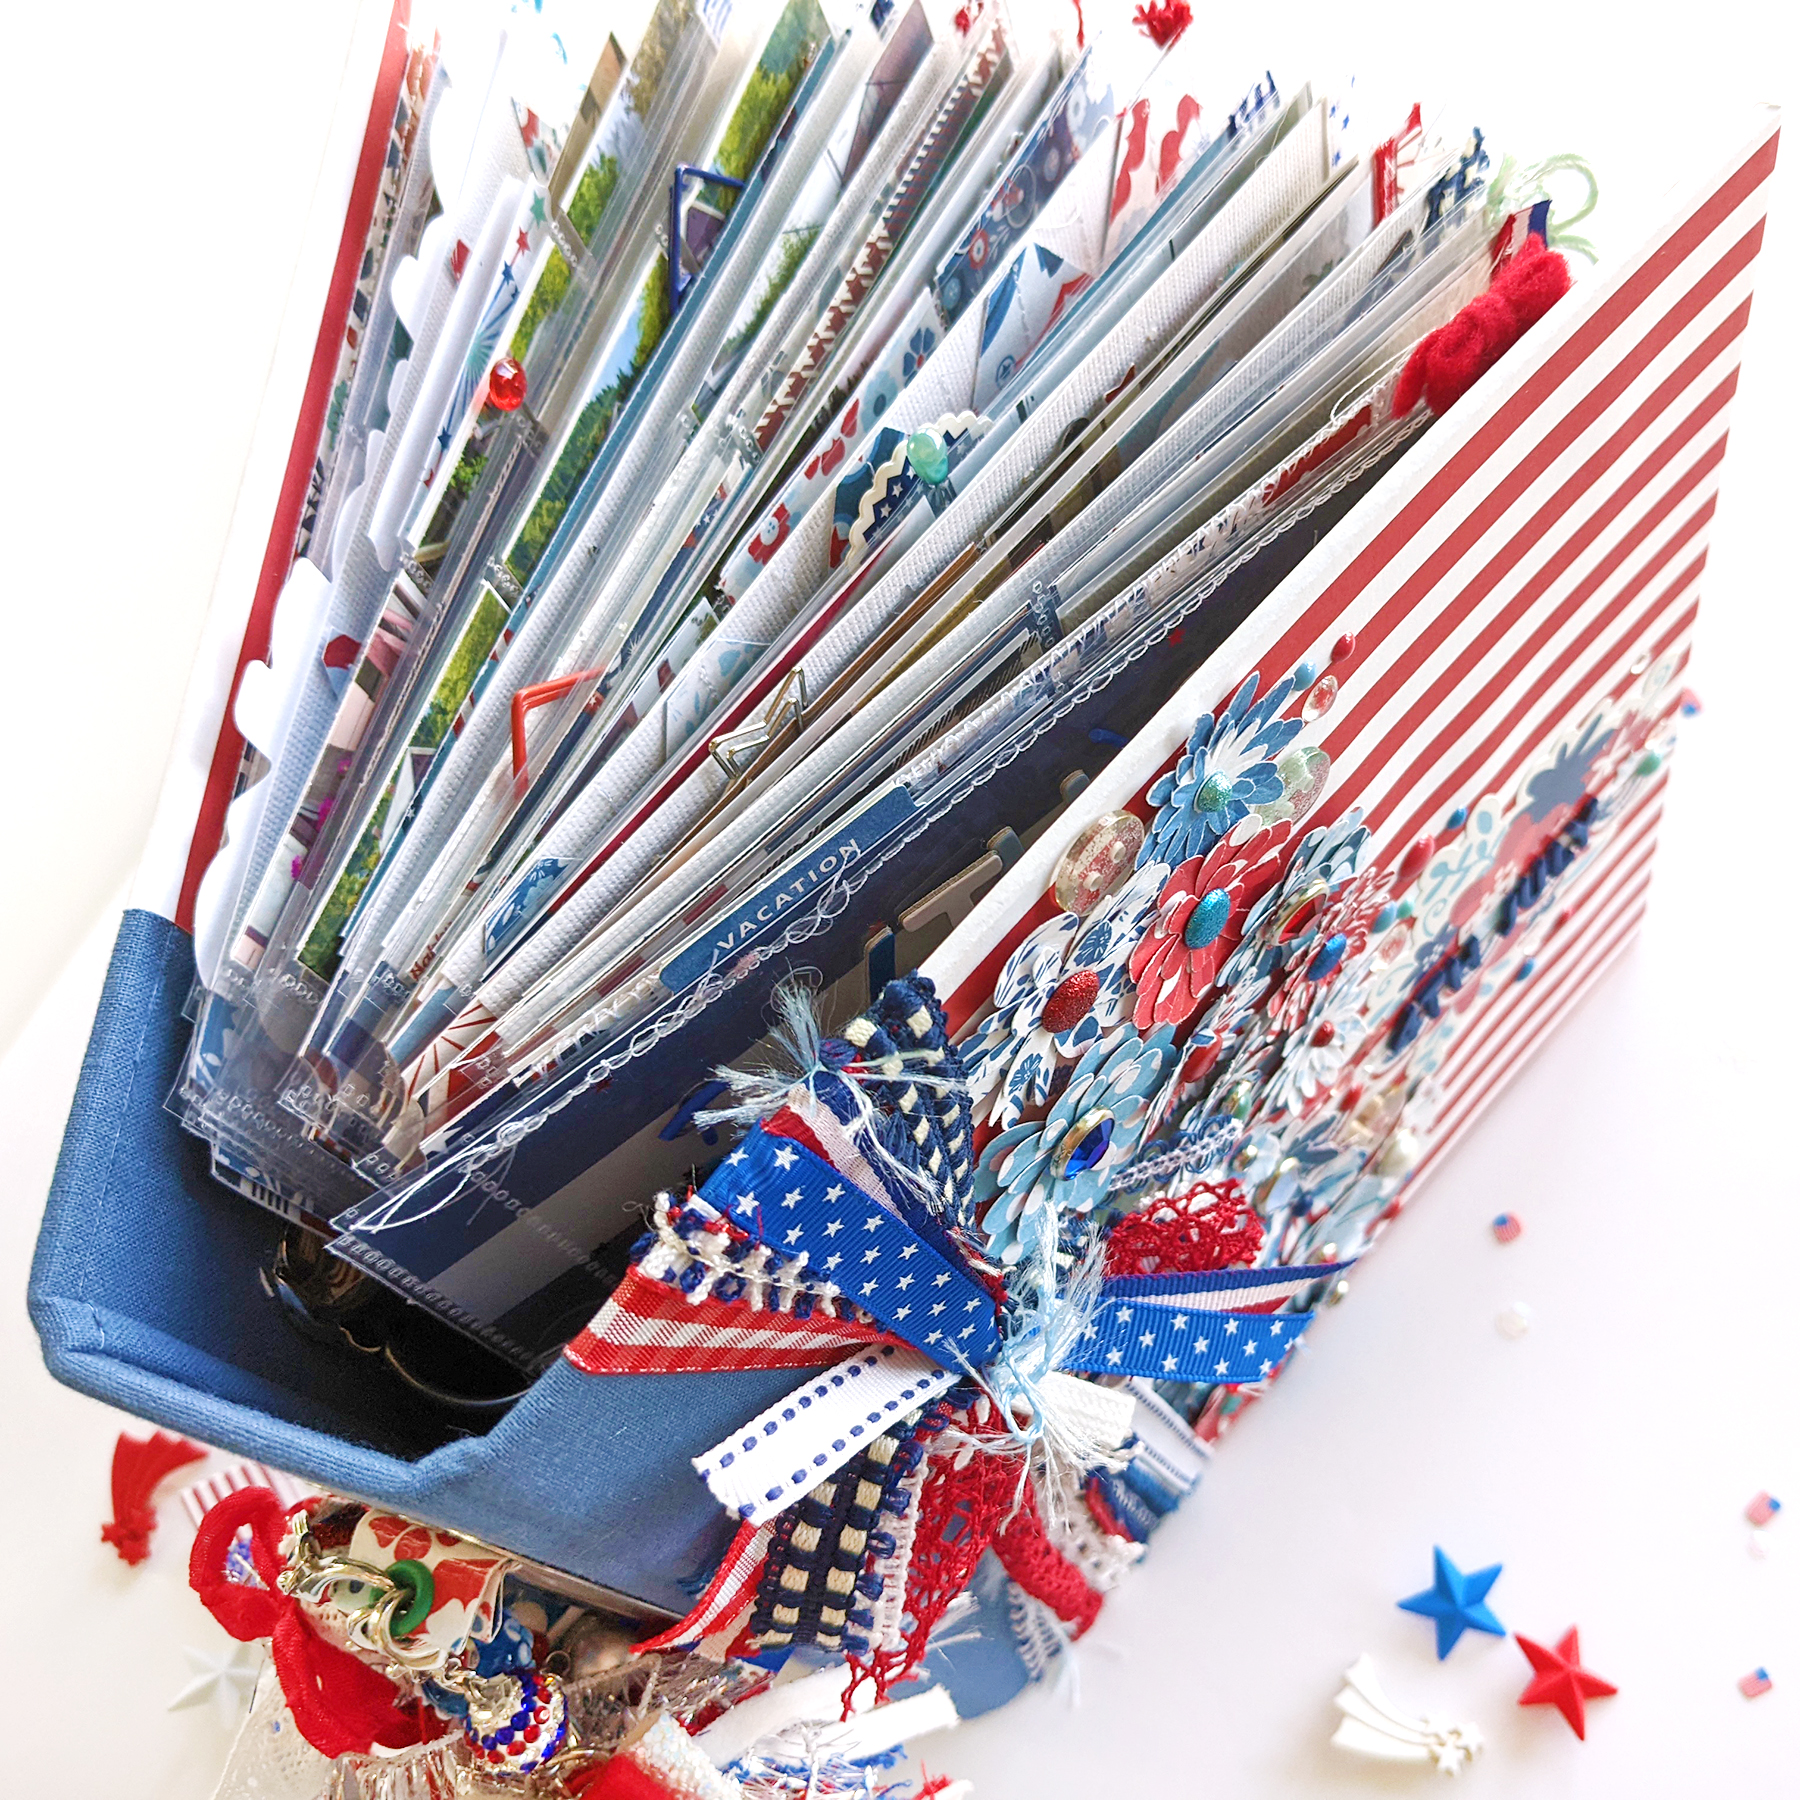
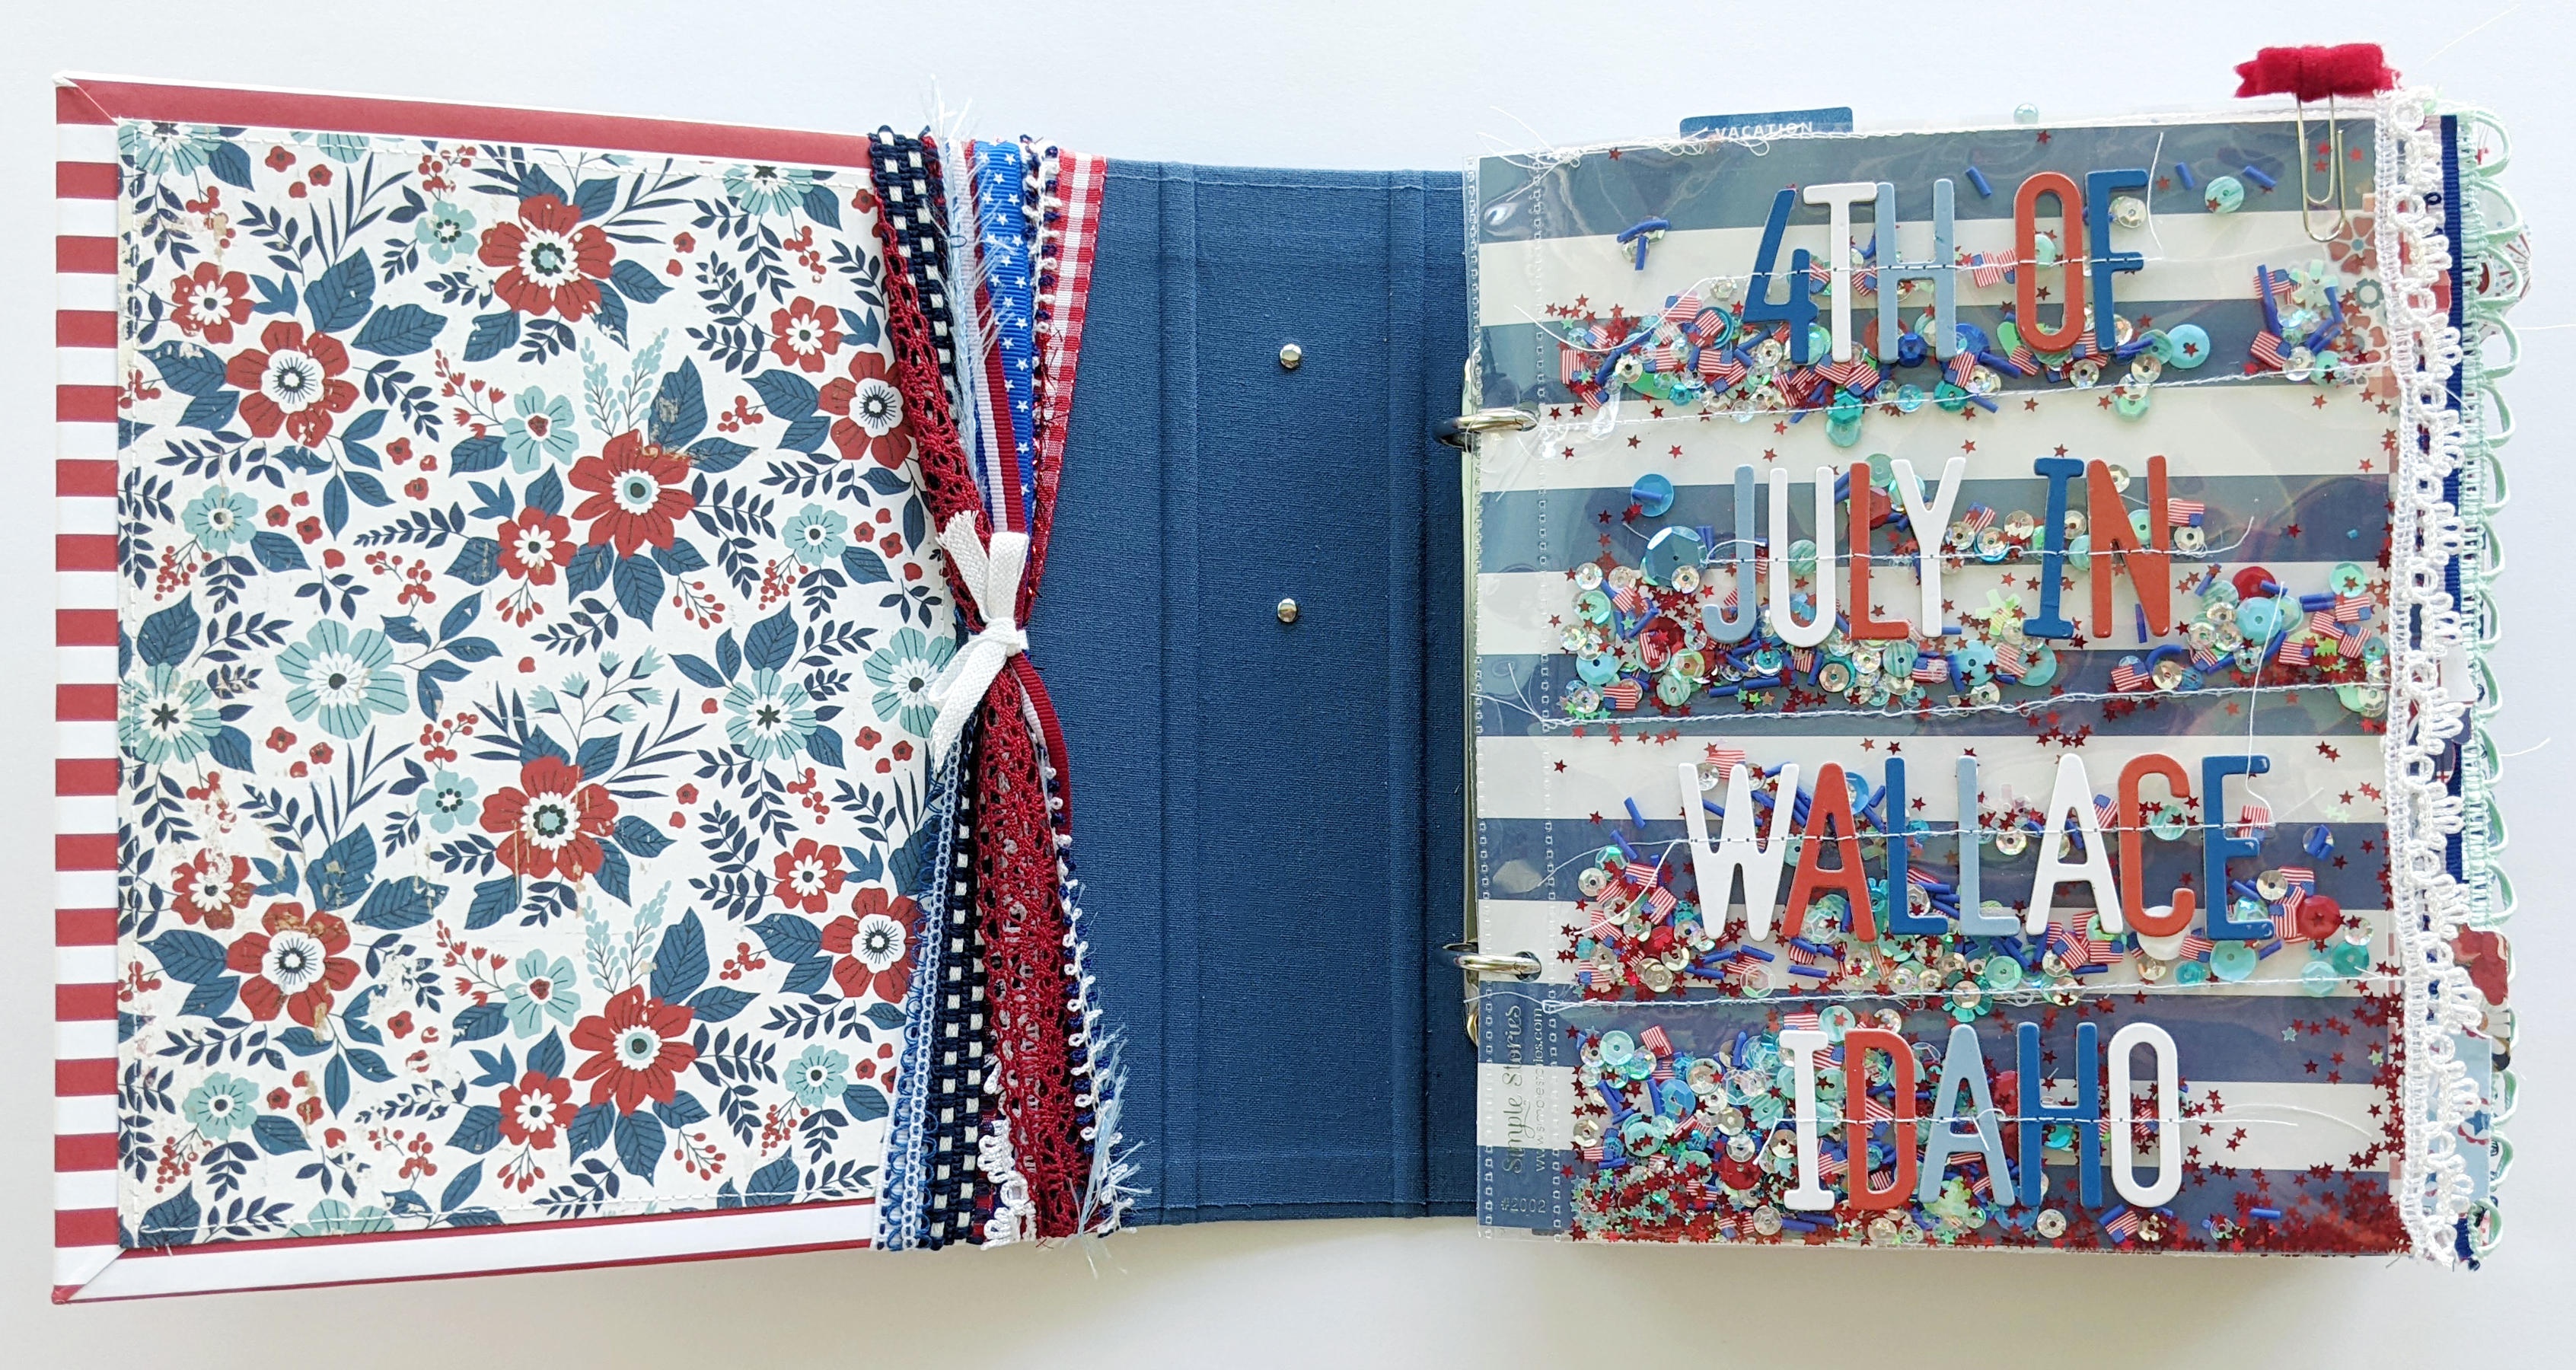
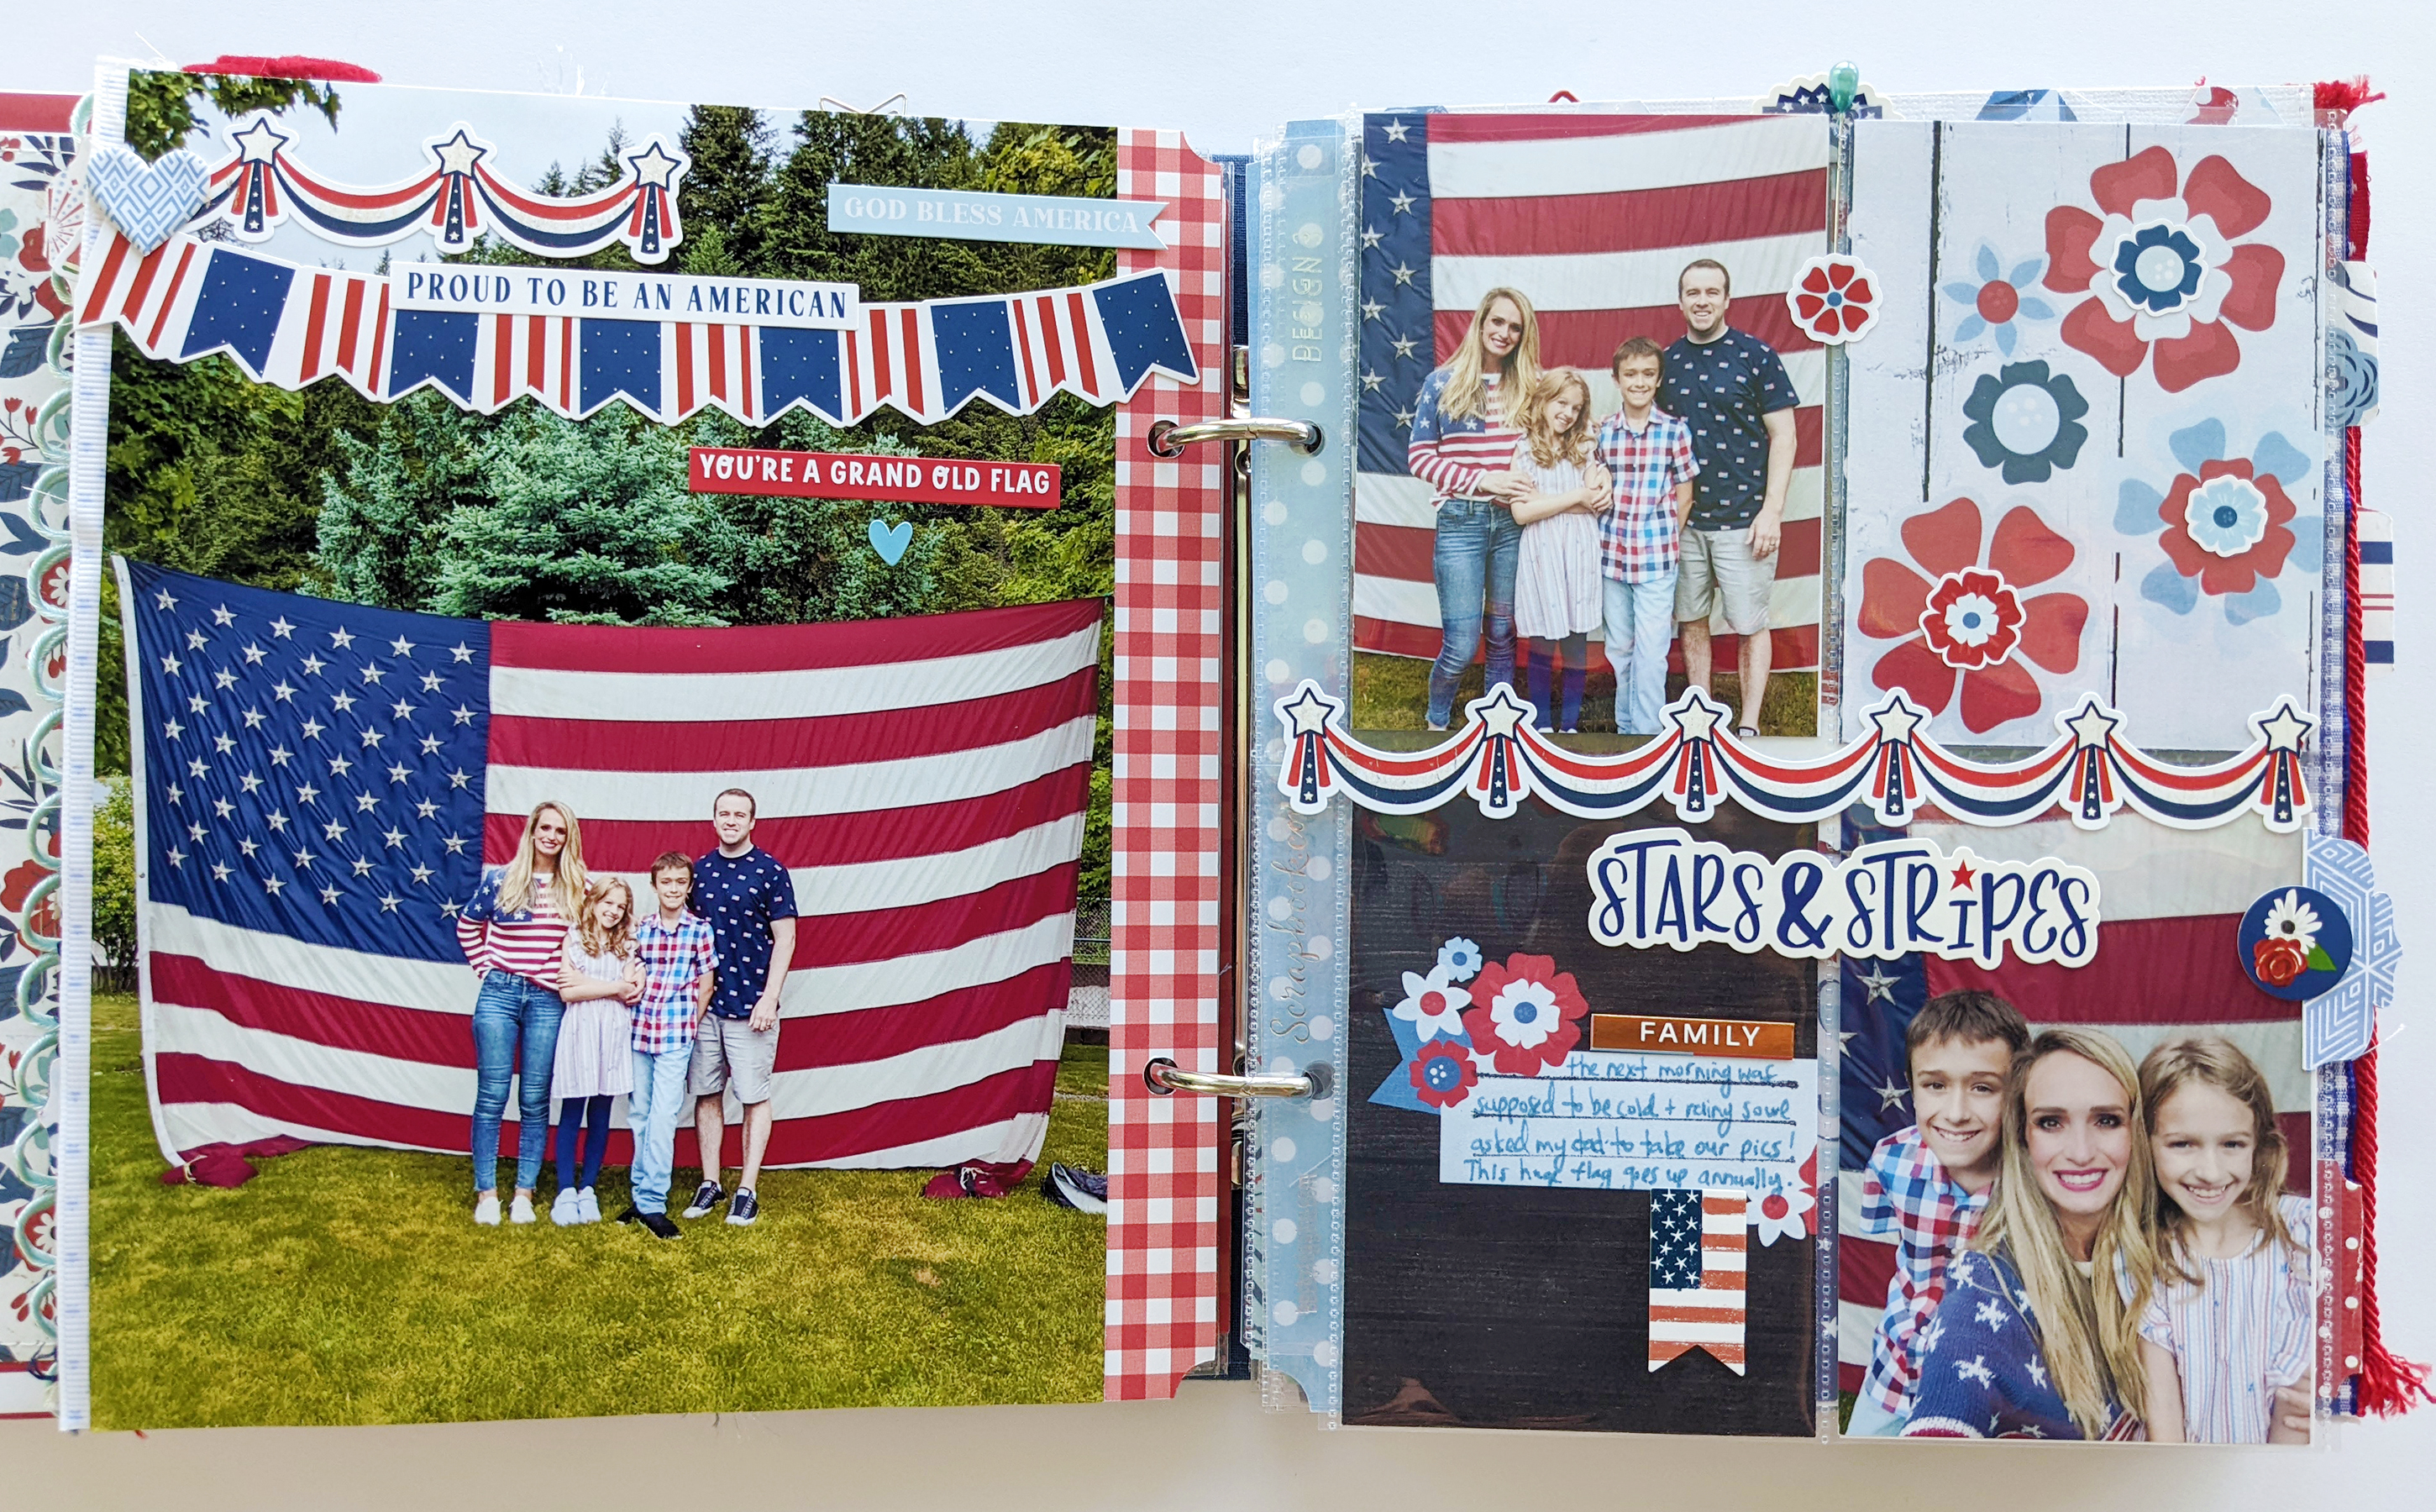
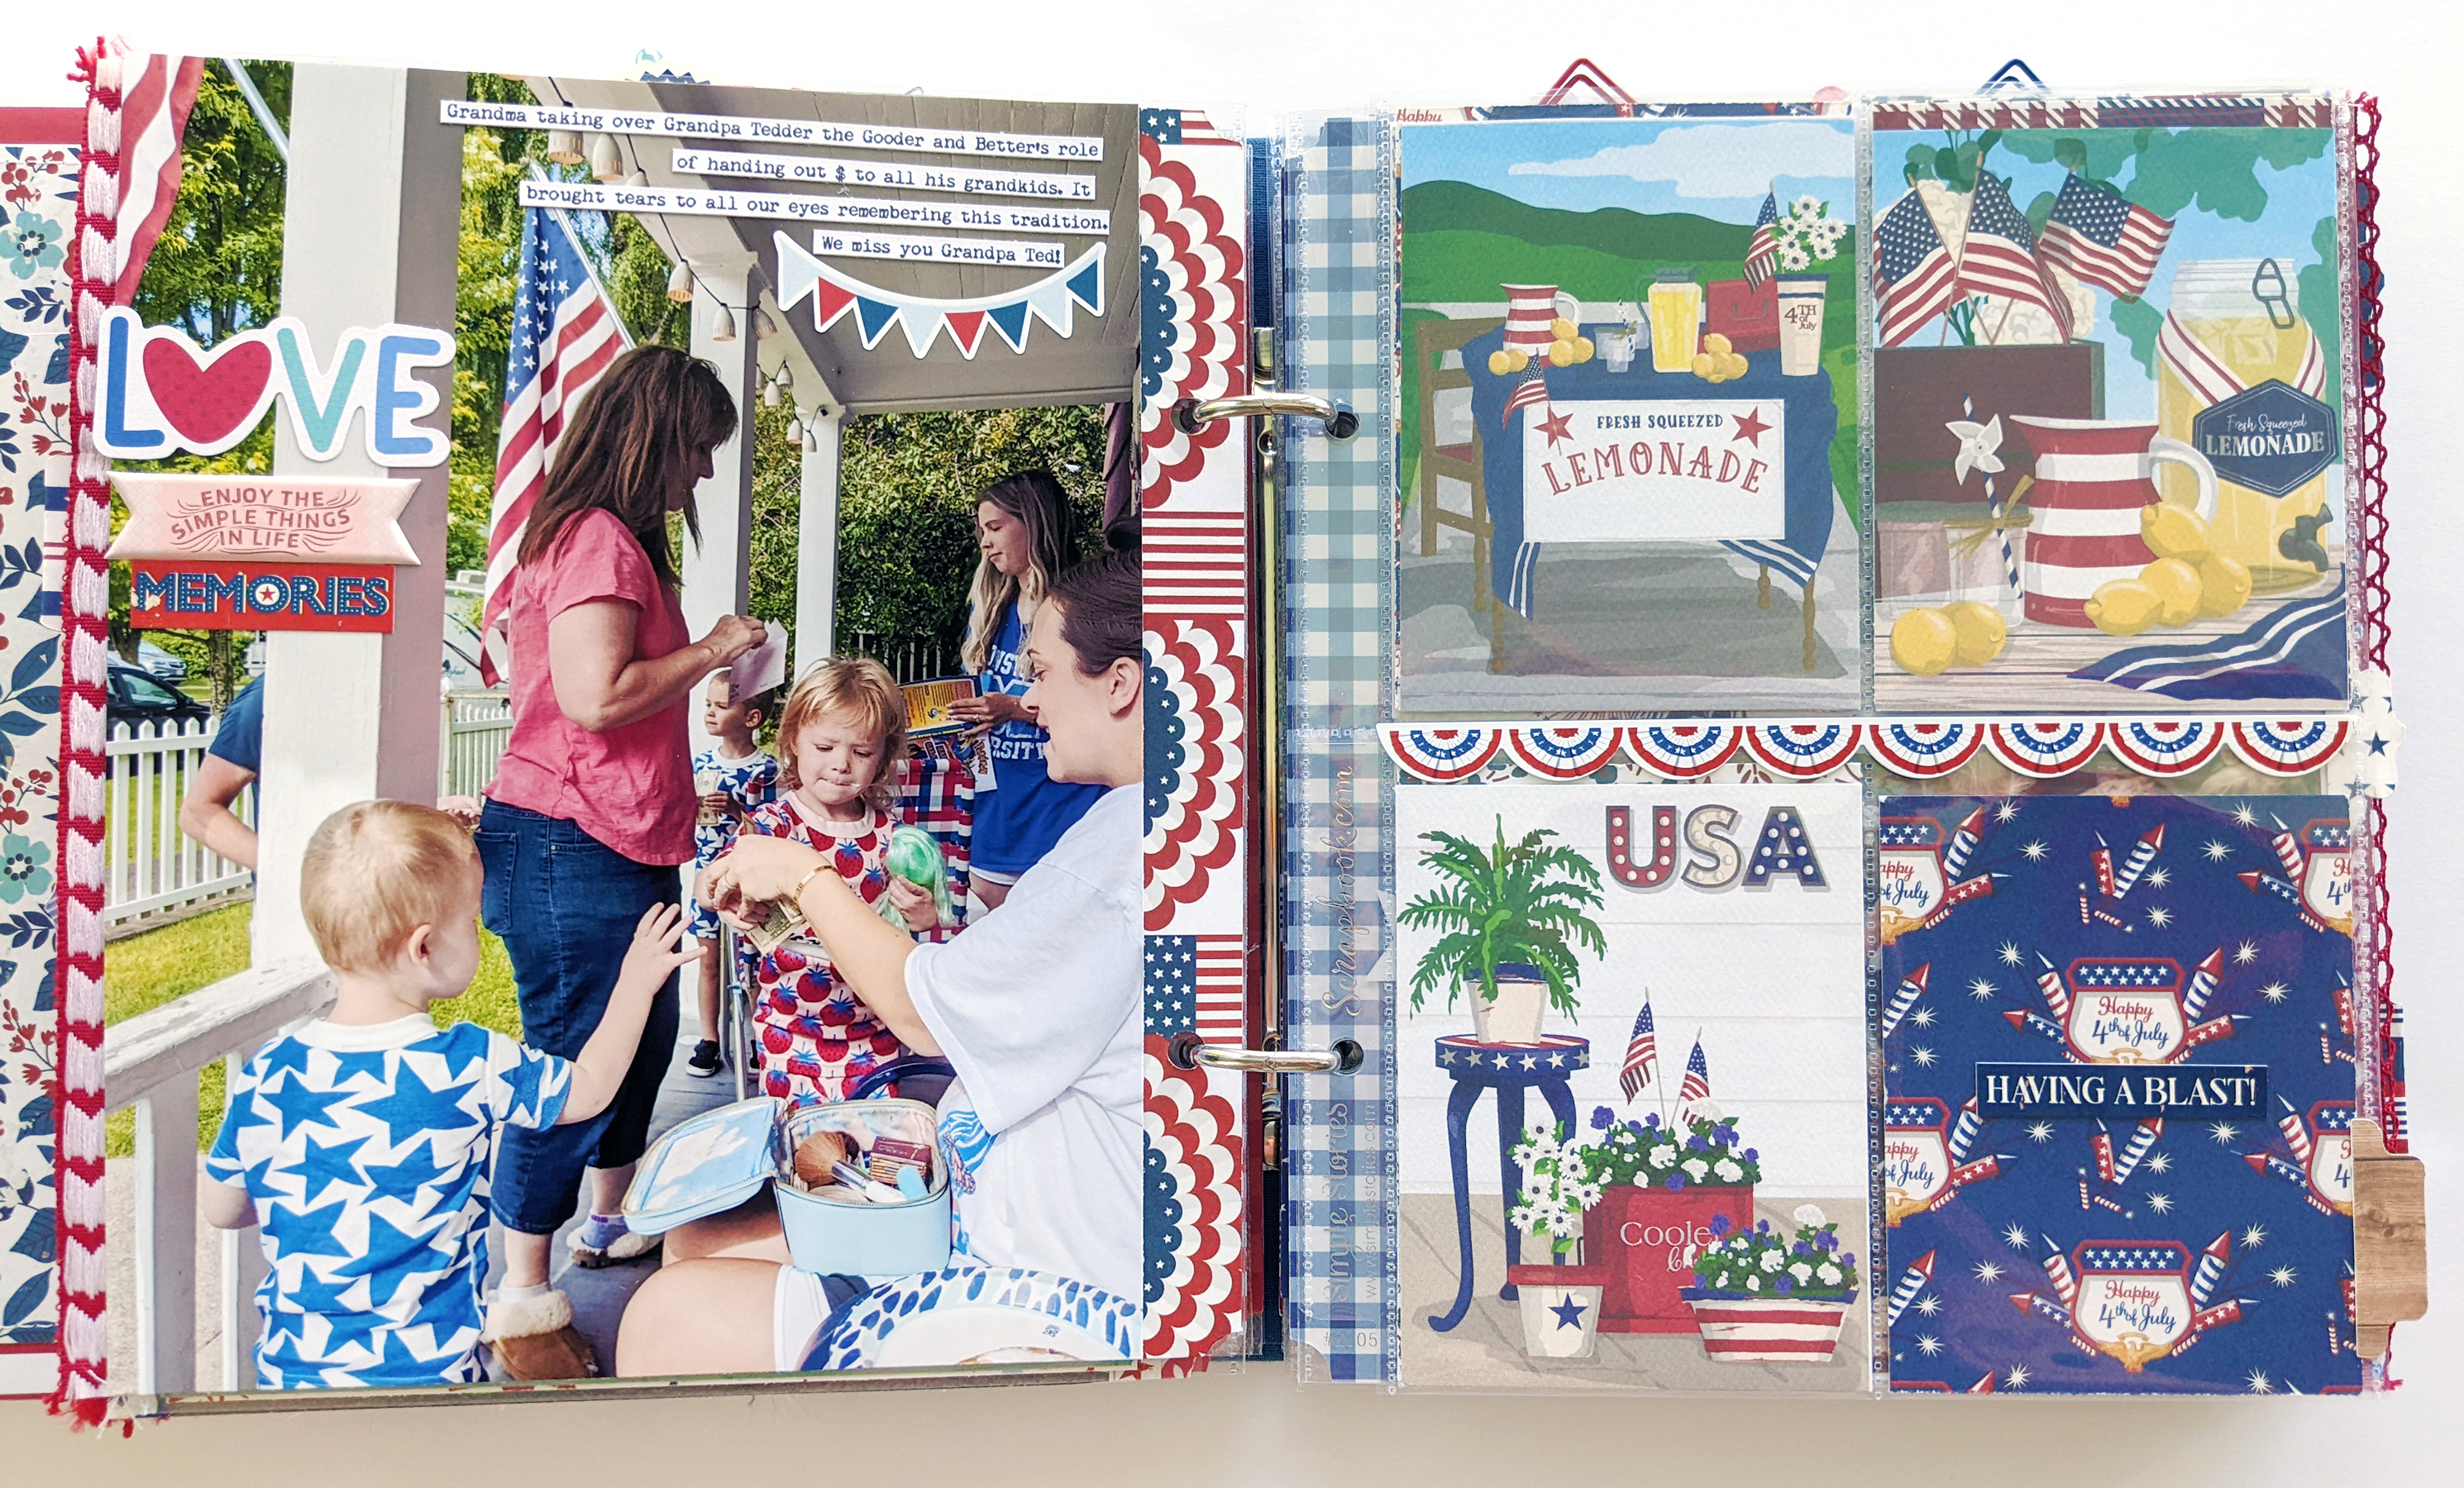
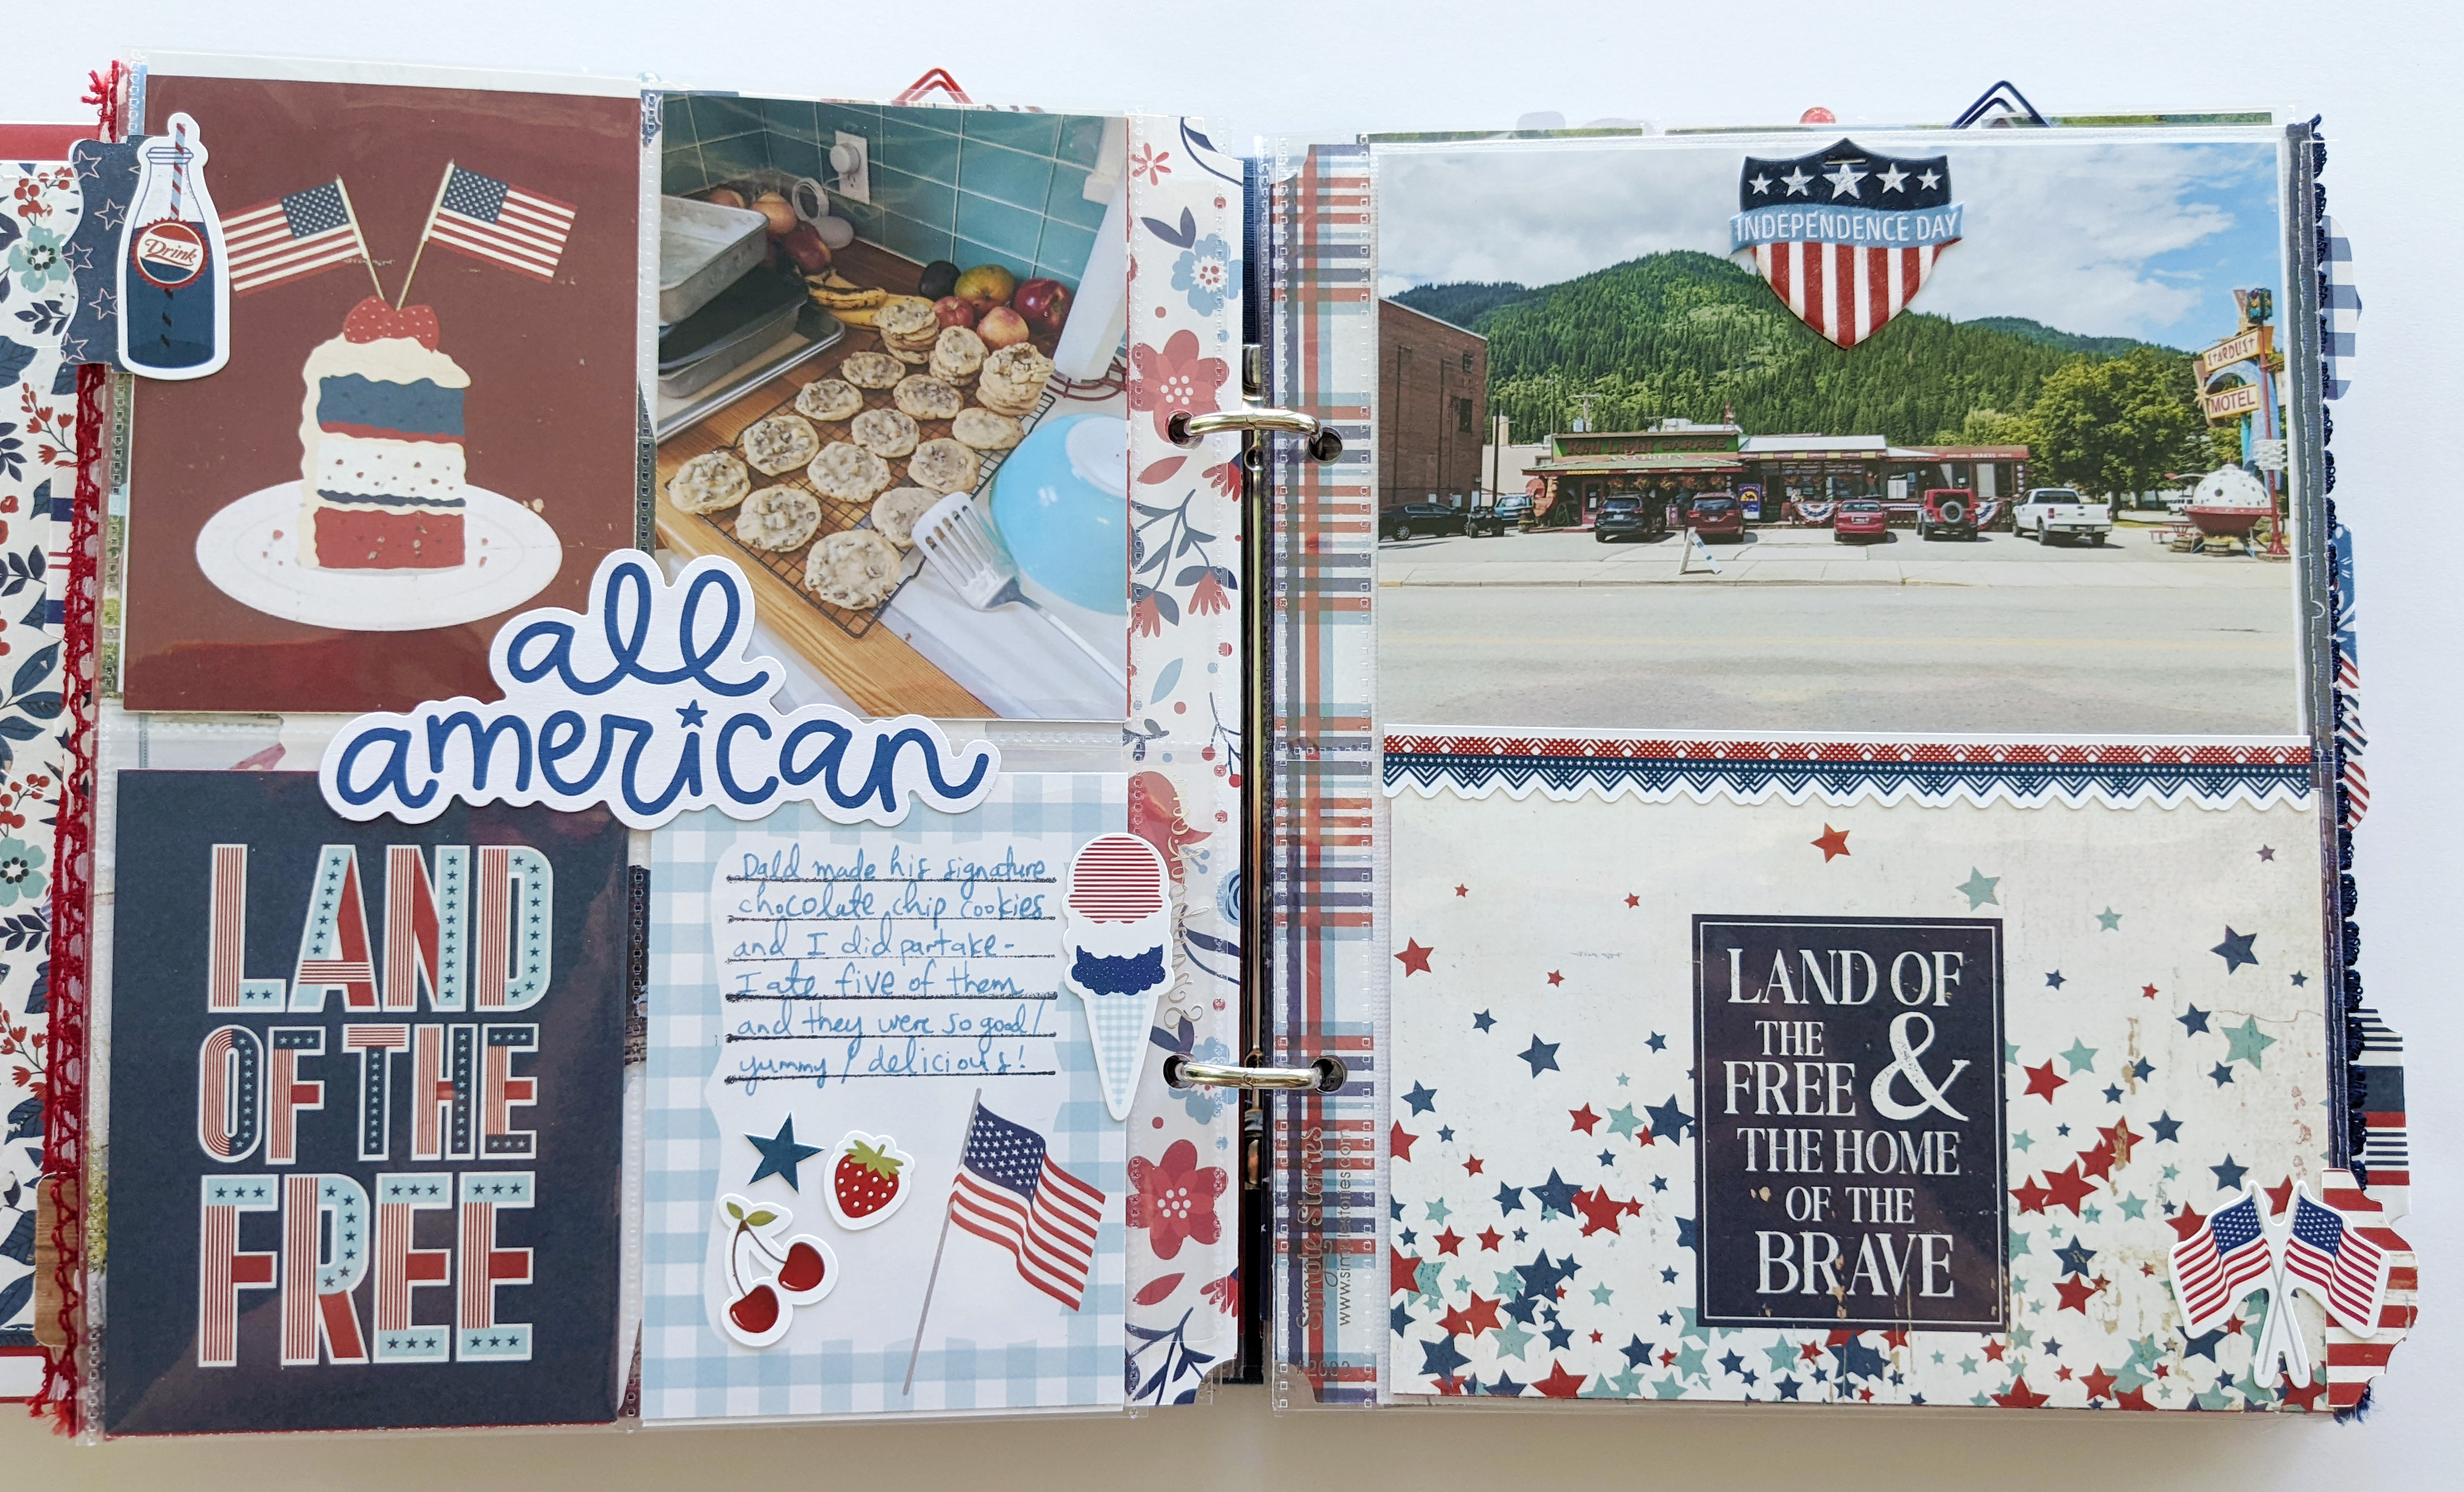
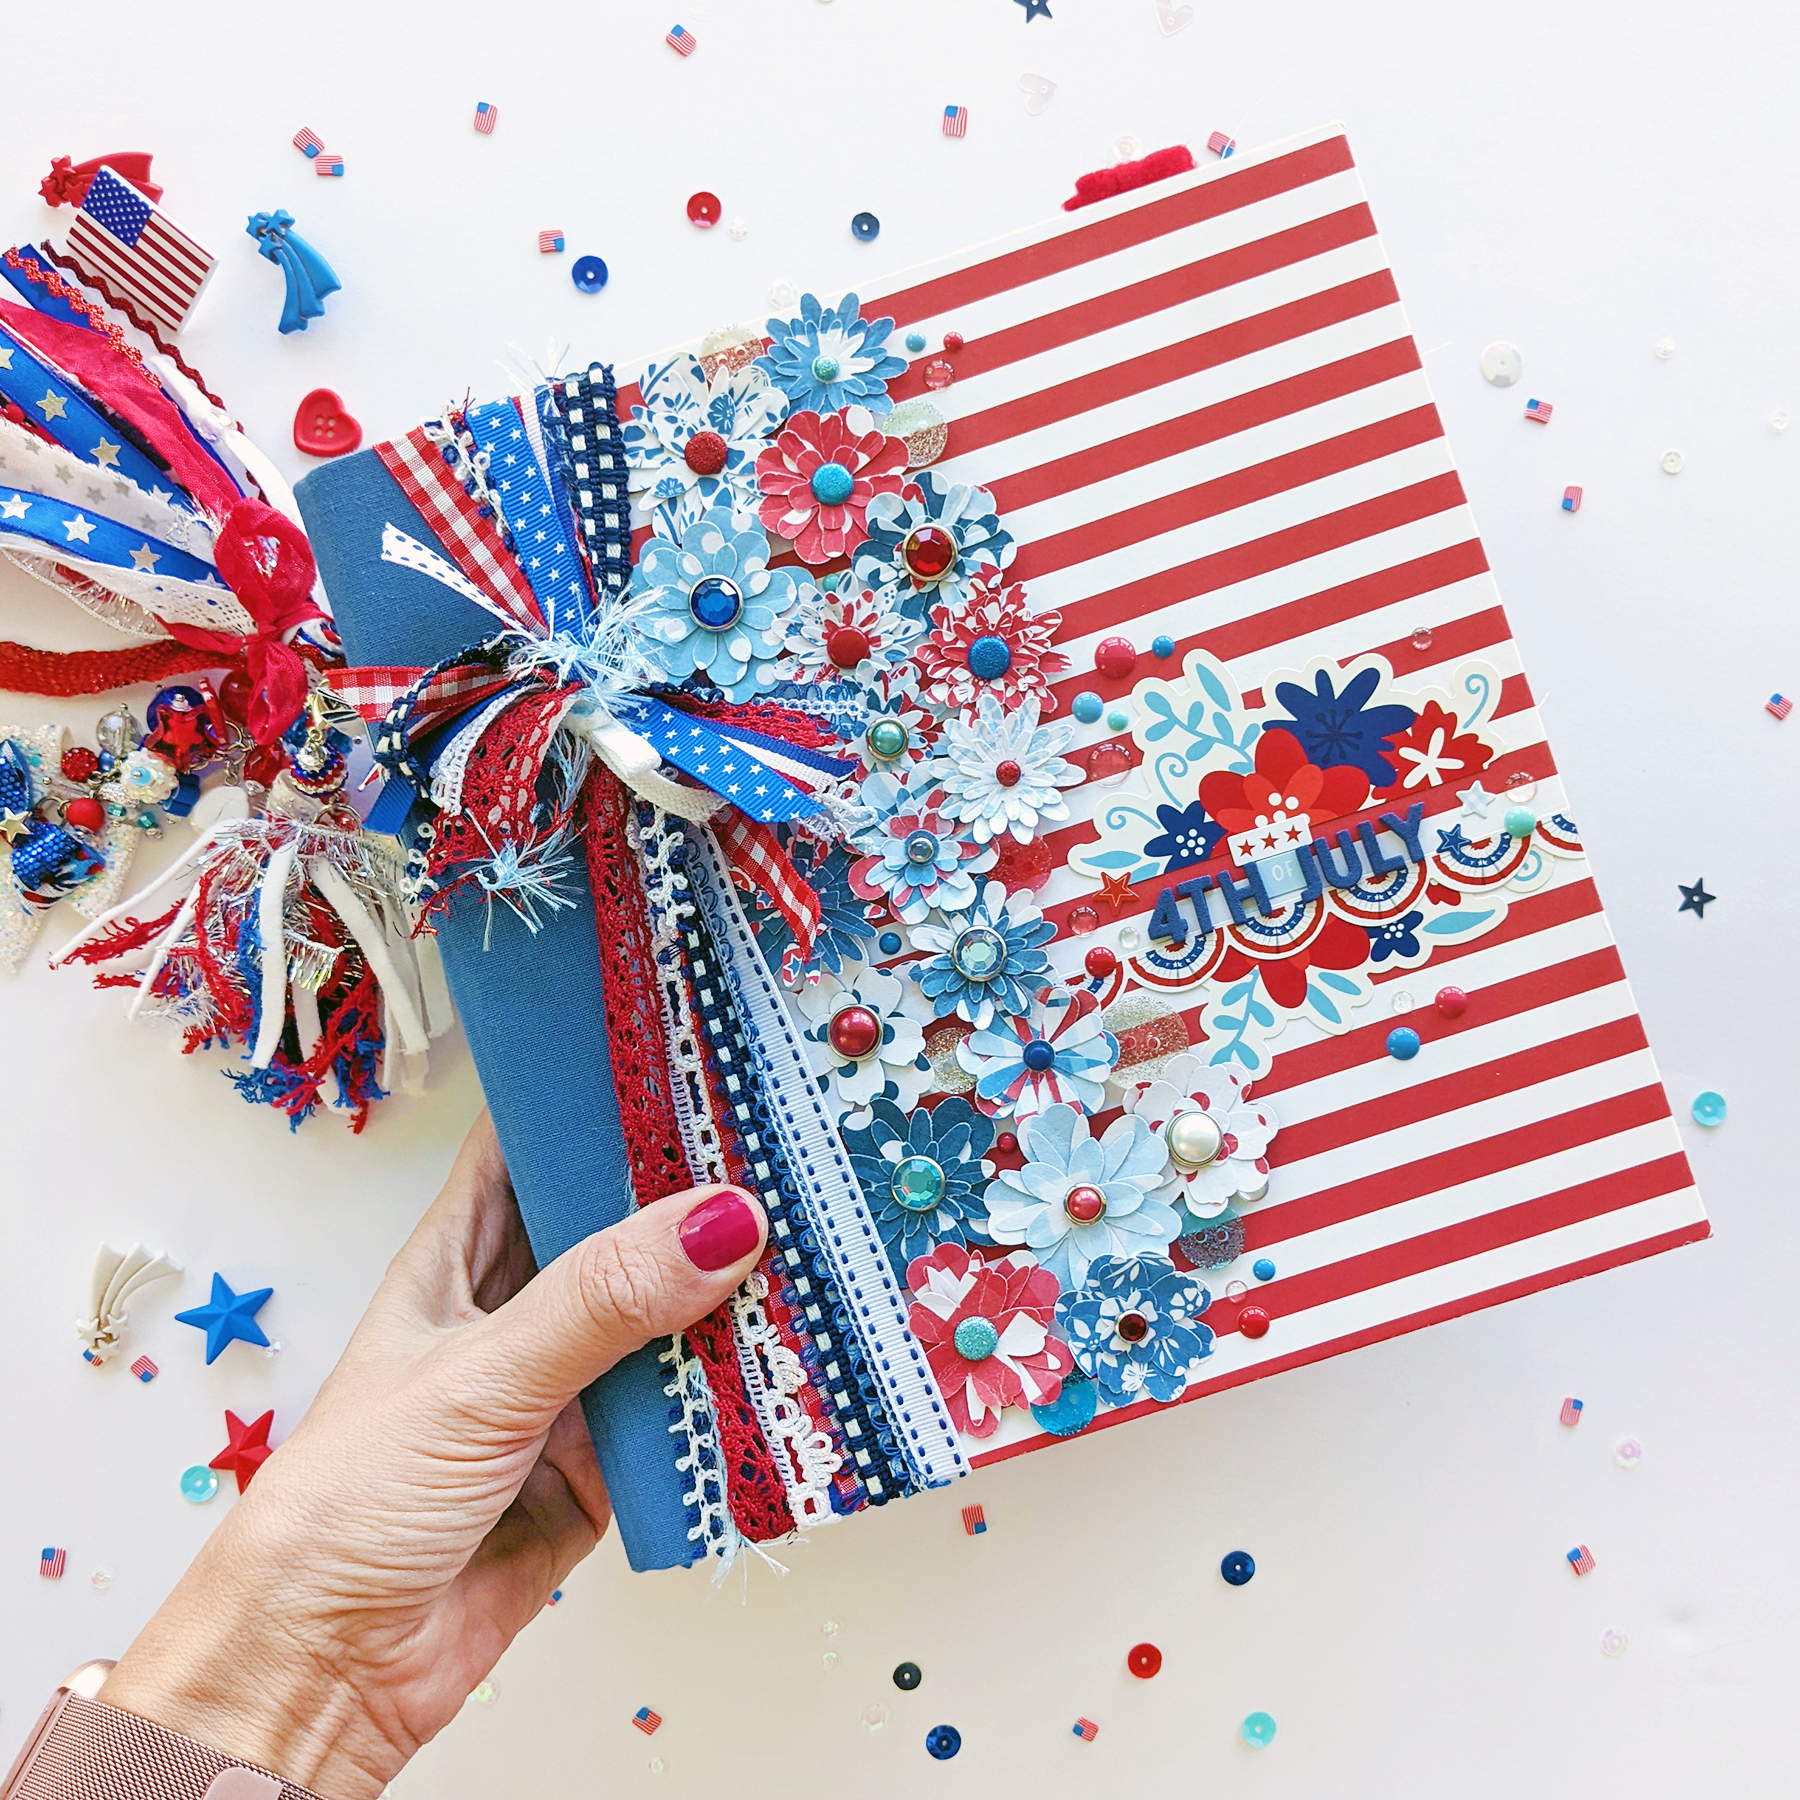
 I am so excited to share this newest finished passion project: a 4th of July scrapbook album!

Here is a walk-and-talk through of the album:
This entire scrapbook began with a cute charm from Emily Inspired Designs! She released a bunch of patriotic tassels last summer and I grabbed like 6 of them. Do I need 6? Probably not. Are they too cute to pass up? Absolutely! Adds to cart. So I received them in the mail, pondered what to do with them, and there they sat in a bucket for almost a year. Every time I grabbed that bucket I would see them and they would bring a smile to my face and then it finally clicked: I should make a 4th of July scrapbook!
We wanted a repeat of our 4th of July last year with my entire family in the cute & quaint town of Wallace, ID so we booked plane tickets last summer to make our dreams a reality. A month before our trip I started gathering (but mostly purchasing) any and all red, white & blue supplies I could get my hands on to use. Then a few weeks before the 4th, I began working on foundation pages for this album. I shared the entire process in my instastories and saved them to a HIGHLIGHT.
Affiliate linked to supplies I used and suggest:
With my supplies in hand and no assignments left on my plate, I got started! First step: I wrapped the chipboard covers of the navy Simple Stories Binder with red/white striped paper. On the inner covers I added red/white/blue floral paper. Any excuse to add flowers!
I tied a bundle of ribbons around the front cover and then made a bunch of layered flowers with punches. To add sparkle & shine I attached a specialty jewel, pearl, or glitter brad through the center of each flower (I've had these brads since the days I worked in house at American Crafts way back in 2008!). I gave life to the flowers by pinching and bending all the petals then hot glued them onto the left side of the cover. I made the title with navy Mini Foam Thickers and embellished with stickers, glitter buttons, and enamel dots.
To decorate the spine, I trimmed a piece of floral paper to fit the width, folded it in half to make it more sturdy, then tucked it into the plate. I used the same navy Mini Foam Thickers to make the year 2022. On another piece of folded floral paper, I set an eyelet through the folded edge then attached three of Emily's adorable charms/tassels through. I slid the paper behind the first and can take it out as I'm flipping through the album and put it back in for decoration.
Once the cover was complete, I got to working on foundation pages. I had an epiphany one night that also jump started this album into existence. I feel like quilts are very patriotic and one of my favorite scrapbook techniques is using quilts as inspiration. I decided I wanted to paper piece a bunch of pages using red/white/blue patterned papers and scoured the internet in search of quilts to re-create with paper. You'll find some of these patterns made into pages throughout this album!
In almost all the paper collections I purchased there are one, two, or three cut-apart papers perfect for pocket scrapping. So next, I cut apart all those papers into the individual cards. I grabbed a wide variety of 6x8 Page Protectors and then figured out the placement of most of the cards and my foundation pages. At this point, all I had to do was wait for our vacation and take lots of photos!
You know what else I did in preparation? I sent an email to all my family and asked them if they would help me out and wear only red/white/blue clothes. And they did! Oh my gosh I was so happy and thankful and grateful :) Now all my photos match all the supplies! More or less. It's not perfect, but it's pretty awesome how much everything coordinates! Simple favors :)
We flew to Spokane, WA on Saturday July 2nd and returned on Tuesday July 5th. I took over 500 photos then narrowed it down to 187 which I cropped and edited. I printed almost all the pictures at 4x6", 3x4", and 2x2" from the one hour printing service by Walmart. I printed my 10 absolute favorites to 6x8" to back my 10 paper-pieced foundation pages and 4 more to fit in full 6x8 Open Page Protectors.
Once I had my pictures in hand and trimmed down to size, all I had to do was insert them into the pocket pages (which meant moving some cards I'd already slipped in elsewhere and adding a few more pocket page protectors), and attached the 6x8 photos onto the backs of the 10 paper-pieced foundation pages.
Then I typed/printed/trimmed/glued journaling strips throughout as well as wrote journaling here and there. Next I added more ribbon edges and patterned paper page turners. The final step was embellishing with stickers and die cuts from the collections I purchased. Here are pics of all the spreads - please let me know if you have any questions about anything, I'm happy to answer!
The title page is always fun to make. I want it to have an impact and introduce what the scrapbook is about. I started with a full 6x8 Open Page Protector and poured sequins into the bottom (a mix of Picket Fence Studios and red/white/blue sequins from my stash). I straight stitched a line about 2" above, poured more sequins, straight stitched about 2" above, poured more sequins, straight stitched about 2", and one last time I poured sequins and straight stitched across the top for a total of 4 sections of sequins. I added 4 rows of Thickers to make the title and stitched through them to keep them in place permanently. I stitched white trim to the right edge and clipped on a red felt bow paperclip to the top right corner to finish the title page. 
I didn't do anything to the back side of the sequin title page since it's fancy enough as is :) The right page is a blue striped paper that came with the Simple Stories Binder itself (along with more patterned papers/pages/chipboard dividers and page protectors). A tab on the right edge helps turn the page and I embellished with a floral sticker from the Made in the USA collection by Miss Kate Cuttables.
On the left I added another floral sticker and a couple fireworks die cuts from Bella Blvd. On the right is a 3x4" photo, 3x4" card with journaling on top, and a 6x4" card. I embellished with stickers directly on top of the page protector (for this page and all the rest!) for another layer of interest.
A fun banner die cut spreads across the left page and a few stickers adorn the right page.
For this paper-pieced page I used a 3/4" square punch to make a whole bunch of squares and adhered them onto a white cardstock page. I zigzag stitched between every square to really enhance the quilt-like vibes. For all 10 of my paper-pieced foundation pages, I die cut a tab I designed to fit this style of album and glued the finished pages onto them.
A photo of all 6 cousins absolutely must be the first large photo included in this album! No photos or journaling on the right page, these cards and stickers are cute enough all on their own!
Sneaking flowers in anywhere I can!
I made all these banners with 3 different punches: a pennant, triangle, and a circle (I trimmed the circles in half to make semi-circles). Splattering white acrylic paint on top ties all the pieces together.
I love my siblings :) The white stripes of the flag make a great spot for journaling!
Having little bits hang off the edges and stick out from the top make for a fun and eclectic album!
I made a star confetti cut file for the right page and scraped white modeling paste through onto white cardstock for the first layer. Then I used star punches to make a bunch of different sizes of stars and scattered them from large to small across the page. To finish I sprinkled sequins around and added ribbon trim to the edge.
Maybe a bit of a sticker sneeze situation happening on some of these pages but I love how it turned out and had so much fun making it :)
We took soooo many pictures in front of the ginormous flag!
Here is another quilt-inspired page made with a diamond punch and finished up with machine stitching.
So many possibilities for 2x2 Square Pocket Page Protectors! In this case I mixed 2" photos with 2" papers and embellished with stickers.
A bike with flowers sticker for a pic of Jane with a bike with flowers! Perfect! On the right I made a quilt cut file and backed it with patterned papers.
The right quilt page was made with concentric hexagon punches and machine stitching.
I made a couple different sizes of paper pinwheels for this foundation page, topped with enamel dots and lines of machine stitching.
This paper pieced quilt inspired page might be my favorite! I cut all the stripes of red patterned papers and used a square punch to make the stars sections and adhered all the little pieces onto white cardstock squares. Machine stitching finishes it all up and adds excellent texture.
I had a few more favorite pictures that I wanted to highlight at the full 6x8" but didn't have any more pre-made foundation pages to add them onto, so for the right page I slipped the picture into a full 6x8 Open Page Protector.
My dad saved the ticket stub from our tour which I was super happy to get to include! Yay for actual ephemera!
I'm so excited to find out whether I'm getting a new niece or nephew on August 1st! Allie and Tate already have one of each so they're keeping this 3rd one a surprise.
The left 2x2 Square Pocket Page Protector is a catch-all for photos I couldn't include elsewhere but still want to remember.
I layered punched paper stars then attached them in place with a French knot for this fun paper pieced page on the right.
This last paper pieced quilt-inspired page was actually the very first page I made but it ended up being the last page for the album! Funny how that worked out.
I designed a petals cut file and cut dozens of them from patterned papers, attached them in place with machine stitching, then bent up the edges for dimension.
And that my friends is this album in a nutshell!
I hope you are inspired to make a whole scrapbook album too! Whether about the 4th of July or any other occasion, pre-planning pages and using pocket page protectors helps make an album come together quickly and easily.
This is now my 4th traditional 6x8 pocket page scrapbook I've made! The first was my December Daily 2016. Then I made an album about Disneyland. My December Daily 2021 was a 6x8 hybrid. And now this 4th of July album! I have another one in the works about our trip to Disney World we took back in February 2020. I just need more hours in the day to finish all the things! :)
Let me know if you have any questions!
Thanks for stopping by, have a great day, and see you again soon! Off to start PaigePals3 projects!!

4 comments

  1. This is fantastic, Paige! Thanks for sharing!

    ReplyDelete
  2. Love it!!

    ReplyDelete
  3. Hey Paige I was wondering if the cut files are available anywhere, the one kinda reminds me of nautical flags and I live by the ocean so I'd love to have that one. Thanks

    ReplyDelete
    Replies
    1. Hi Heather! Can you send me an email - paigetaylorevans@gmail.com and I can get you the cut file you need :)

      Delete

Paige Taylor Evans © // Quinn Creatives DESIGN