Auburn Lane by Pink Paislee


Thursday, April 12, 2018

The beautiful new Auburn Lane collection by Pink Paislee is now available at Scrapbook.com!
I've been busy making a mini album with this collection and can't wait to share all the pages and a flip through in about a week.
The colors are so different than the colors in my own lines - it's a breath of fresh air and fun to play with new things.
Stock up on Auburn Lane, you'll be glad you did, I just know it! :)

Enjoy the Little Things Layout by Heather Shank


Wednesday, April 11, 2018

The talented Heather Shank is back today with a new cute, sweet, pretty, and fun layout!

Hi ladies! For this layout I used the Flower Heart cut file and the Turn the Page collection. I chose Paper 07 for my background then I cut out the flower heart with my Silhouette Cameo and backed it with the pretty floral Paper 02.
I placed my photos on the bottom of the heart and used a foiled sticker from the Sticker Book for my title "enjoy the little things. I embellished with lots of fussy cut flowers from Paper 15, flowers from the Ephemera Die Cuts, and also flowers from the 30-page Paige Evans #StickerBook. I also tucked in some Wood Veneer at each flower cluster along with some butterfly Chipboard Stickers and I love the way it turned out! 
Just when I thought I was finished I decided to add some more color to the top and bottom of the layout by tearing off some of the background paper and adding more Paper 02 with machine stitching for texture. I finished off by placing a Journaling Spot with the date and Puffy Stickers. I hope you enjoy my layout! 

SUPPLIES: TURN THE PAGEPaper 02Paper 07Paper 15Ephemera Die CutsJournaling SpotsWood VeneerChipboard StickersPuffy StickersSticker Book30-page Paige Evans #StickerBook; Cut file: Flower Heart by Paige Evans; Silhouette Cameowhite cardstock
Instagram: @crafts_by_heathers | Facebook: Heather Wilson Shank

New Mini Album Card Cut File


Tuesday, April 10, 2018

I created a new Mini Album Card cut file and have an example to share with you using my Turn the Page collection!
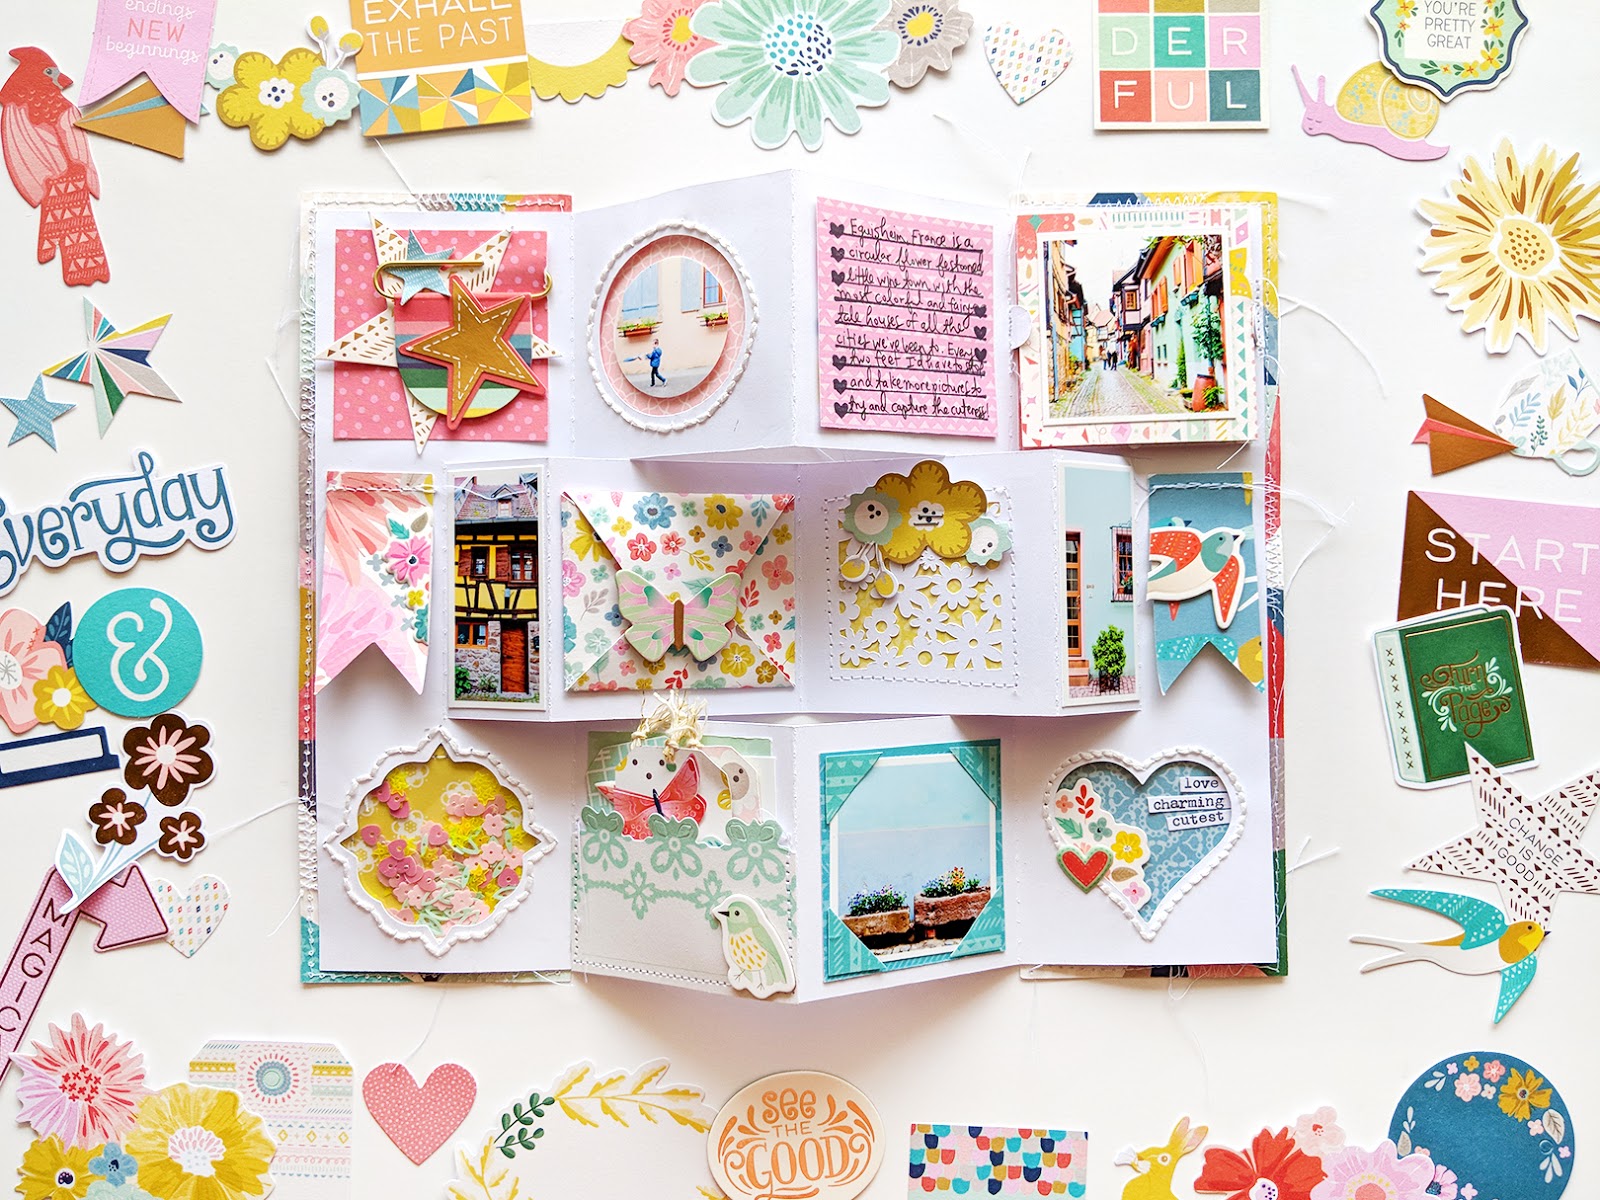
Everything you see in the photo below is included in the cut file - from the squares and flower screen to the envelope, tags, open shapes, and more!
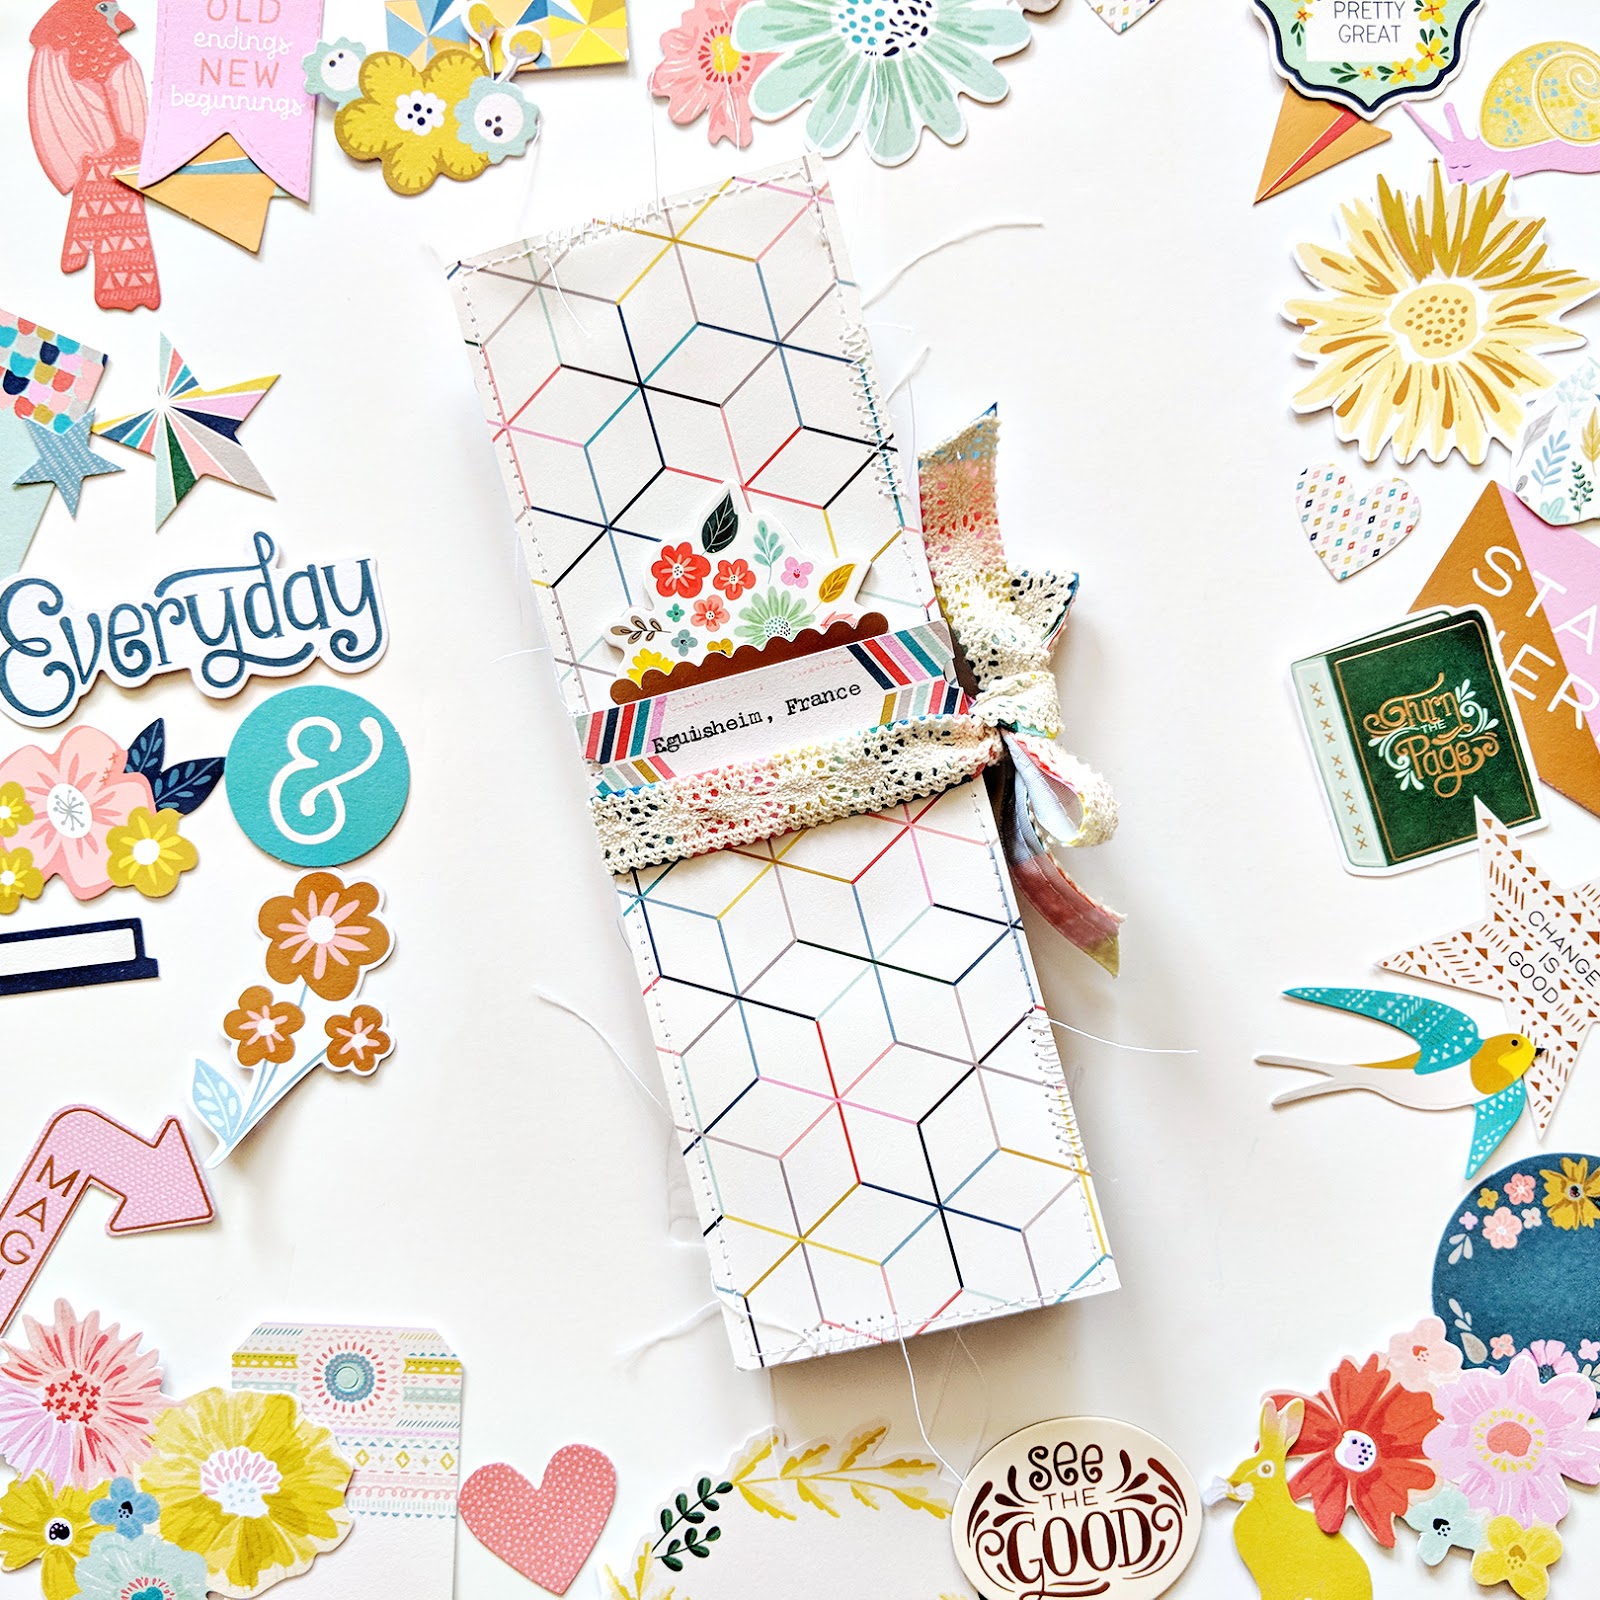
And this is what a finished mini album card looks like:
 Here is a tutorial on how to assemble and embellish the mini album:

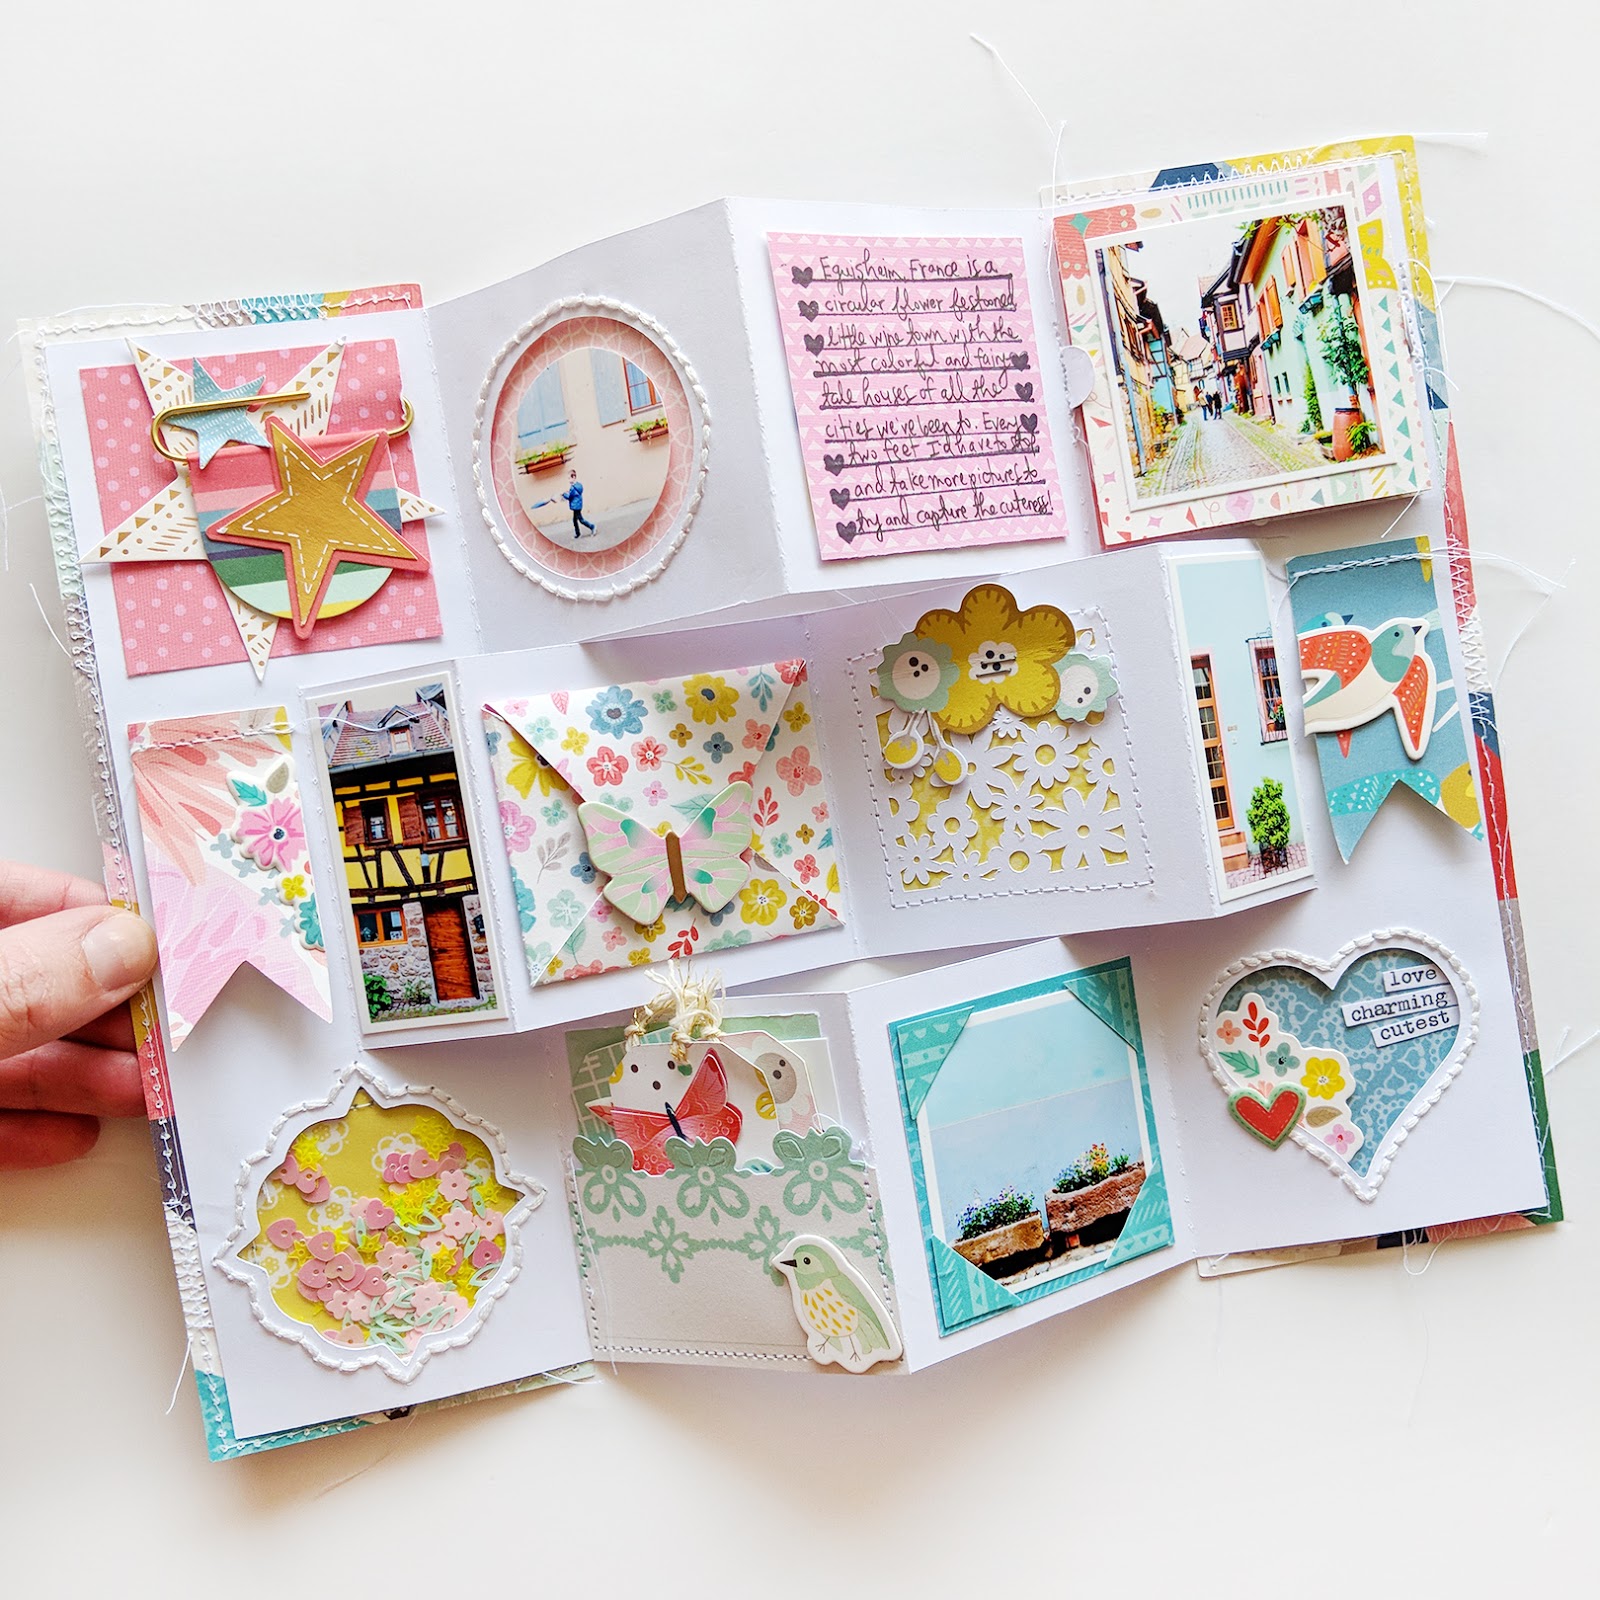
I always have a hard time narrowing down photos so any time I can add more in secret spots is a win in my (mini) book! :) Accordion book, pockets, and envelopes for the win!
Above is the front of the accordion mini and below is the back. I used the font Remington Noiseless to print journaling onto trimmed down Journaling Spots. The copper washi tape is from the new Auburn Lane collection by Pink Paislee. I trimmed a flower Puffy Sticker in half to edge the bottom of the journaling.
 Adding hand stitching around three of the open shapes required taking apart a few things so if you're going to add any hand stitching I would recommend doing so before assembling anything. I typed the little sentiments in the heart using my We R Memory Keepers Typecast Typewriter.
Here is the "star section" including a star Pennant Paper Clip and two star Ephemera Die Cuts.
On this section I made a shaker pocket using the Turn the Page Sequins. Full instructions are in the video at the top :)
Another view of the finished album.

I call this the "round section". I punched the photo into a circle and placed it in the open circle with dimensional adhesive and hand stitched around the circle.
To help keep this envelope closed when not in use I added a tiny foam square on the flap.
Inside the envelope I have a family photo, some die cuts, and a tag with journaling.
In the pocket at the bottom I have another photo and three embellished tags.
I hope you are inspired to use the Mini Album Card cut file! This little book was so easy and fun to put together and most importantly family memories have been documented :)

Happy Always Layout by Missy Whidden


Every week I add a new free cut file in my Facebook group - Happy Scrappy Place - and I LOVE how Missy Whidden used last weeks' design on her newest page!
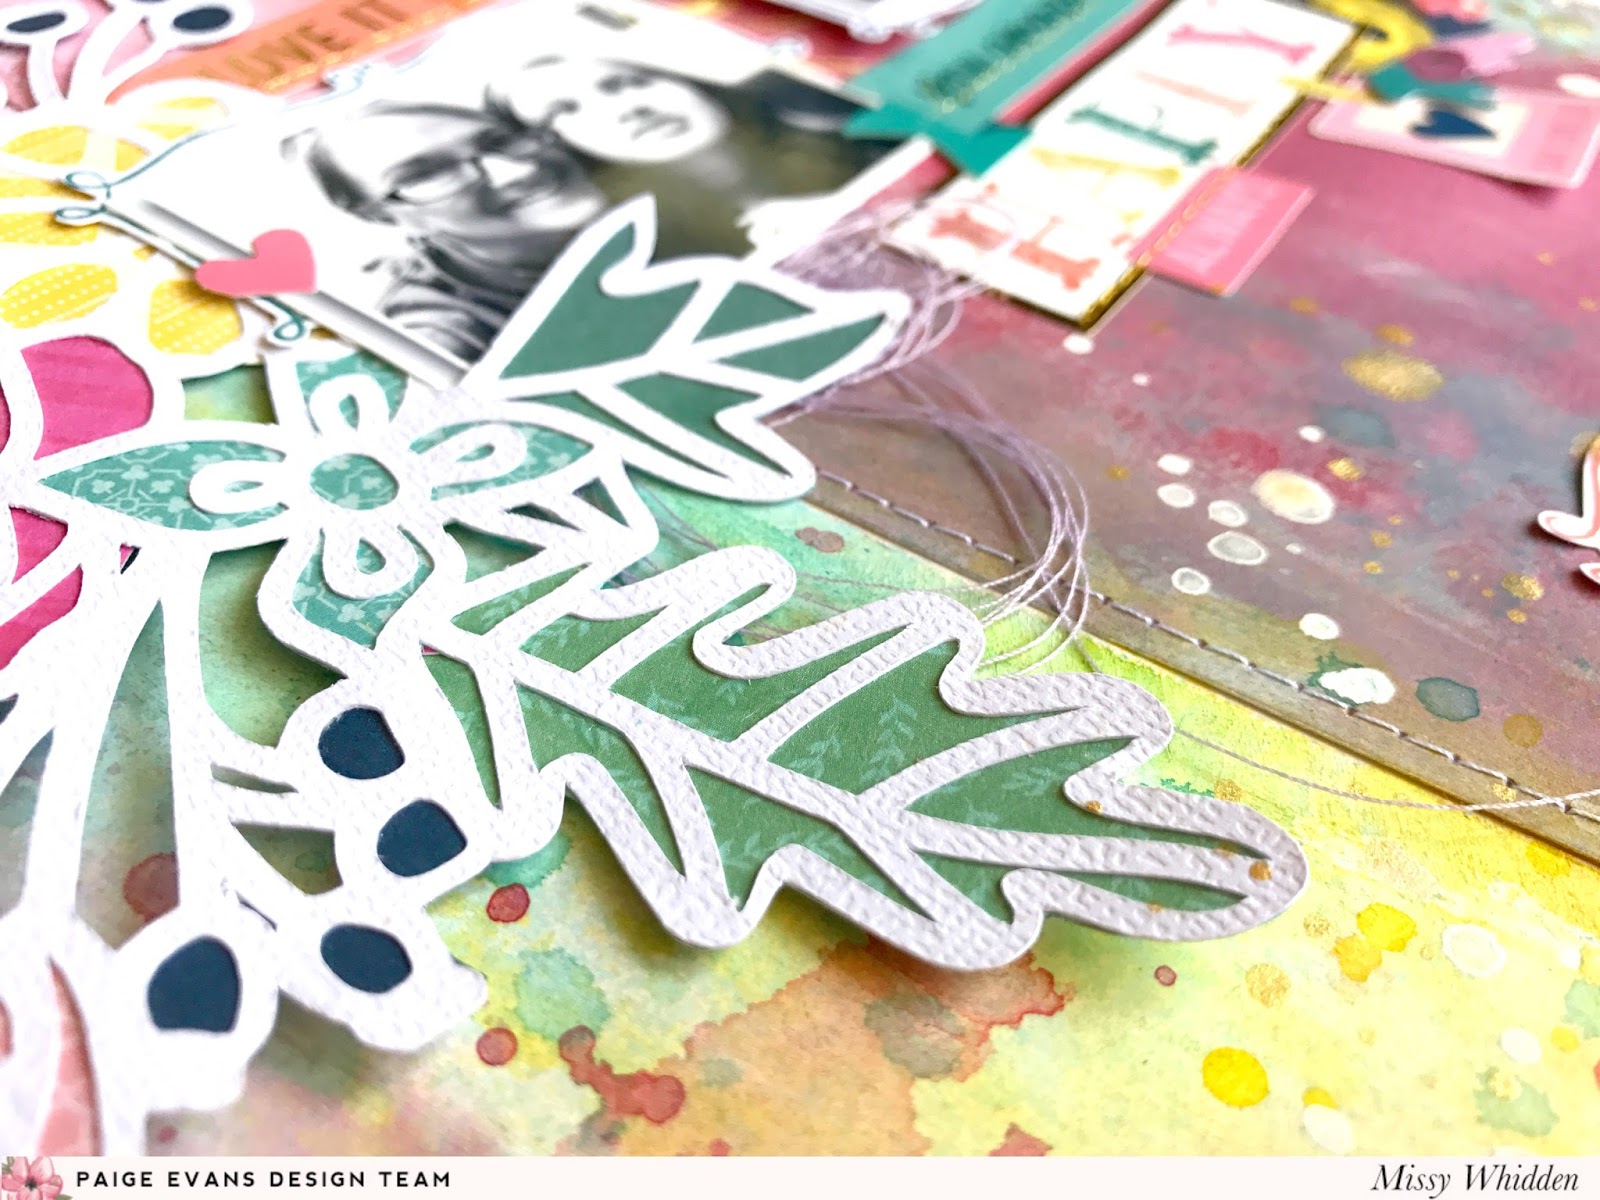
Hello again, friends! Missy here, and I have a new layout to share featuring one of Paige’s FREE cut files - I used Freebie #3 which is a beautiful cluster flowers. I used mostly the Pick-Me-Up collection, but there are papers from Turn the PageOh My Heart, and Take Me Away as well. That’s the fun thing about backing cut files like this… you can mix and match lots of papers. I cut the flower cluster three times using my Silhouette Cameo to create three clusters for my design. I a photo for each cluster and embellished with some Pick-Me-Up StickersChipboard Stickers, and Ephemera Die Cuts.
It does take some time to back intricate cut files like this, but it’s always a beautiful result. I added some colored thread behind the clusters to add a bit more color and texture. I fussy cut a few frames from Pick-Me-Up Paper 19 to add as a layer behind each photo.

I used half of Pick-Me-Up Paper 23 in the center of the layout. I smudged some white gesso over parts of it to “dirty” it up a bit and so I could add some inks. I used various ink sprays on the background to match the colors in the flowers. I also added some white and gold splatters with Heidi Swapp Gold Color Shine. I machine stitched down the edges of the center paper with white thread for a bit more interest and texture.

I used a few of the Pick-Me-Up Stickers for my title. I love when you don’t have to think too hard to come up with a title - the stickers do all the work! I also machine stitched through them with gold thread. I used a flower cluster from the Pick-Me-Up Ephemera Die Cuts as well.

This was a lot of fun to put together. Using a cut file like this really helps your design come together quicker because they take up a lot of space - you only have a little area left for your photos to go. The rest is just embellishing to your liking! I hope this inspires you in some way! Thanks for stopping by.

SUPPLIES: PICK-ME-UP6x6 Paper PadPaper 19Paper 23StickersChipboard StickersEphemera Die CutsTURN THE PAGE6x6 Paper PadOH MY HEART6x6 Paper PadTAKE ME AWAY12x12 Paper Pad; Cut file: Freebie #3 by Paige EvansSilhouette Cameowhite cardstockmodeling pasteinks
Blog: littlenuggetcreations.blogspot.com  Instagram: @missywhidden  Pinterest: @missywhidden
Facebook: missy.whidden  YouTube: Missy Whidden

Scrapbook.com Storage Solutions


Monday, April 9, 2018

Scrapbook.com sent me a few of their exclusive storage and organization boxes to try out and I'm excited to share how I've used them with you today! For me organizing is a key element when it comes to scrapping - if I feel like everything is a mess, I am a wreck and can't work in chaos. But when everything has a place and there is a place for everything, I feel like I can create more easily and quickly. Who's with me?!

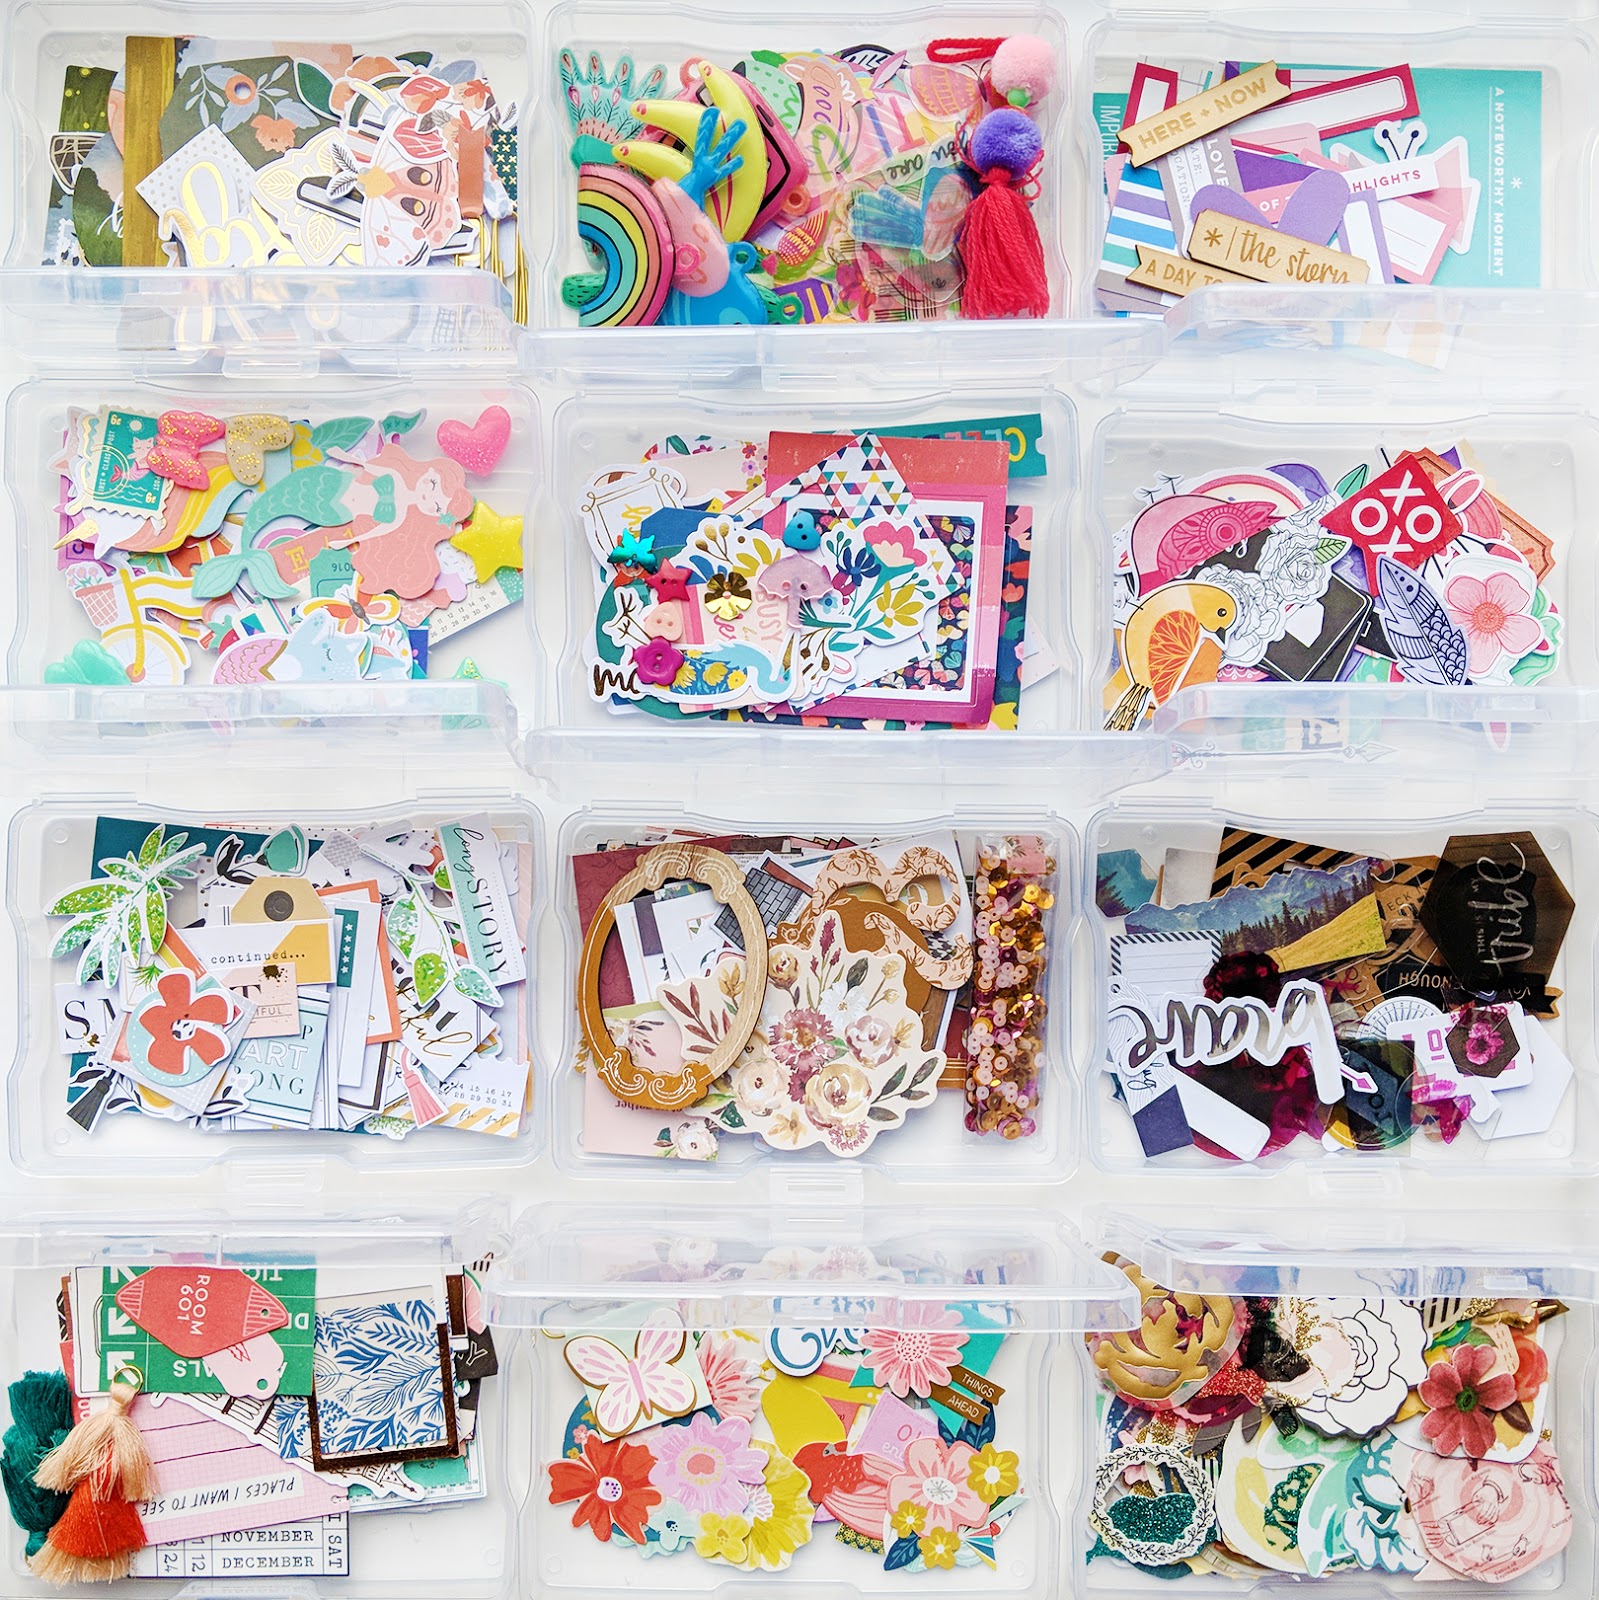
I must admit, while I love being organized, I don't use the fanciest things for storage lol. For example, all of the scrapbooking collections I use are in ziplock bags! Super cute right? :) Clear Craft Storage Boxes 4x6 -17 Piece Set! to the rescue! The possibilities for what this can store are endless. What I decided to do with it is store all of my ephemera die cuts and small embellishments from scrapbooking collections - 1 collection per box and there are 16 boxes that fit inside the one larger box. Now I can just grab-and-go! Heading to a weekend crop? This is a perfect way to get organized and bring only the essentials.
Another idea would be to store different kinds of embellishments by category like washi tape, small stickers, flair badges, buttons, sequins, ribbons, paper clips, frames, flowers, tassels, etc.

Take it one step further and organize everything by color - that is my favorite way to store things: then when I am looking for the perfect finishing embellishment, say, a yellow button, I can just pull out the yellow box and find exactly what I need in no time at all.
It's easy to store, easy to carry, easy to access, and is a clean and simple design.
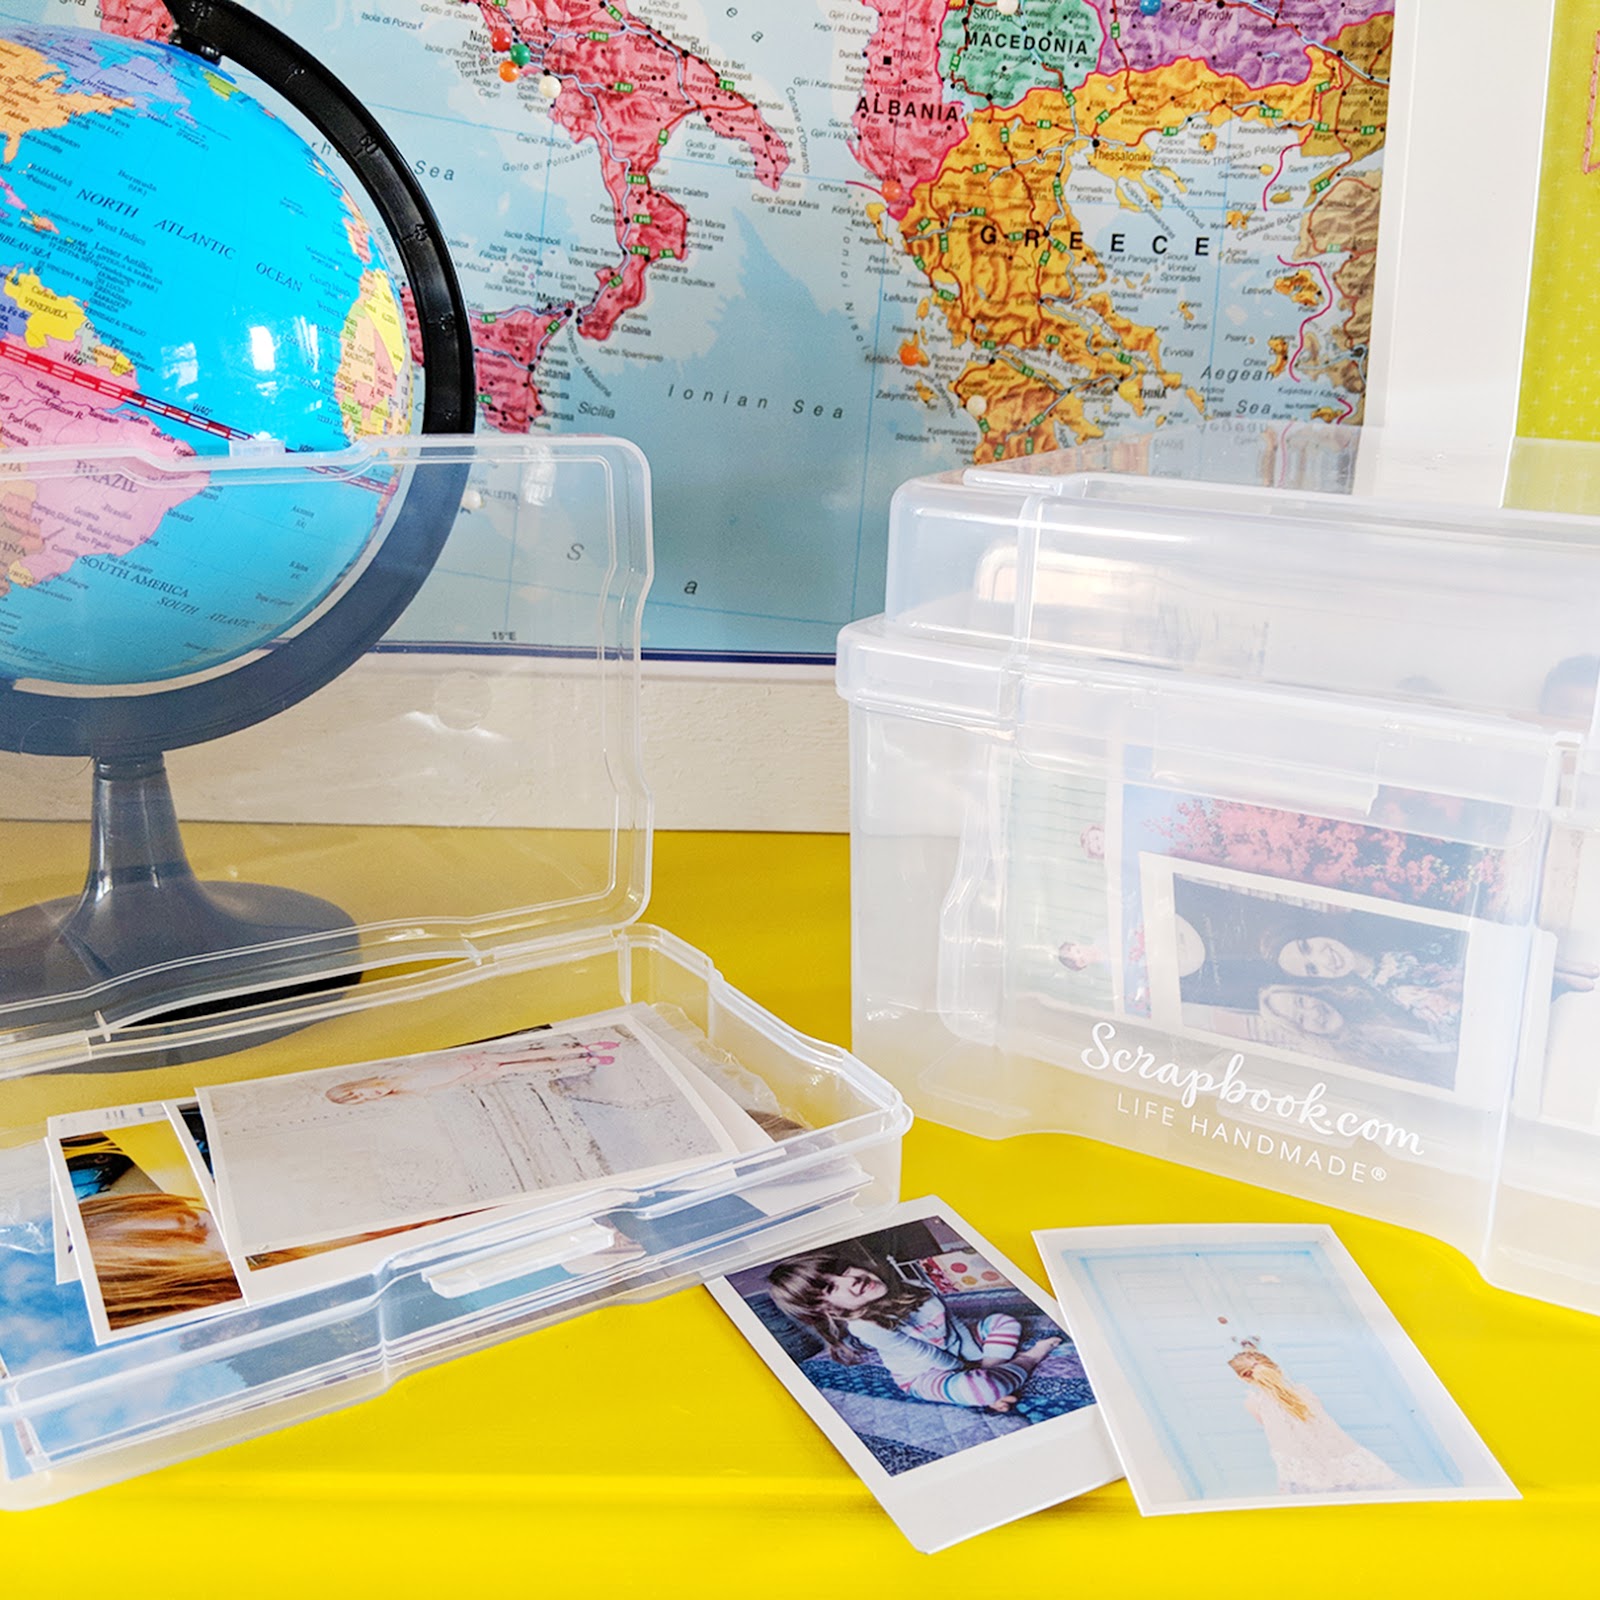
Next up is the Clear Craft Storage Boxes 4x6 - 7 Piece Set. This box is exactly like the one above only it has 7 boxes inside instead of 16. My photos have been in a flimsy box with handmade cardstock dividers for ages. Not anymore! Now they're organized and sorted by subject and whenever I need a photo for a layout I can find it in this sturdy box. With a label maker or Sharpie I can add a caption on each box so I can find photos even quicker. There is also a 5x7" version which would hold larger 5x7" photos or larger scrapbooking embellishments called the Clear Craft Storage Boxes 5x7 - 7 Piece Set.
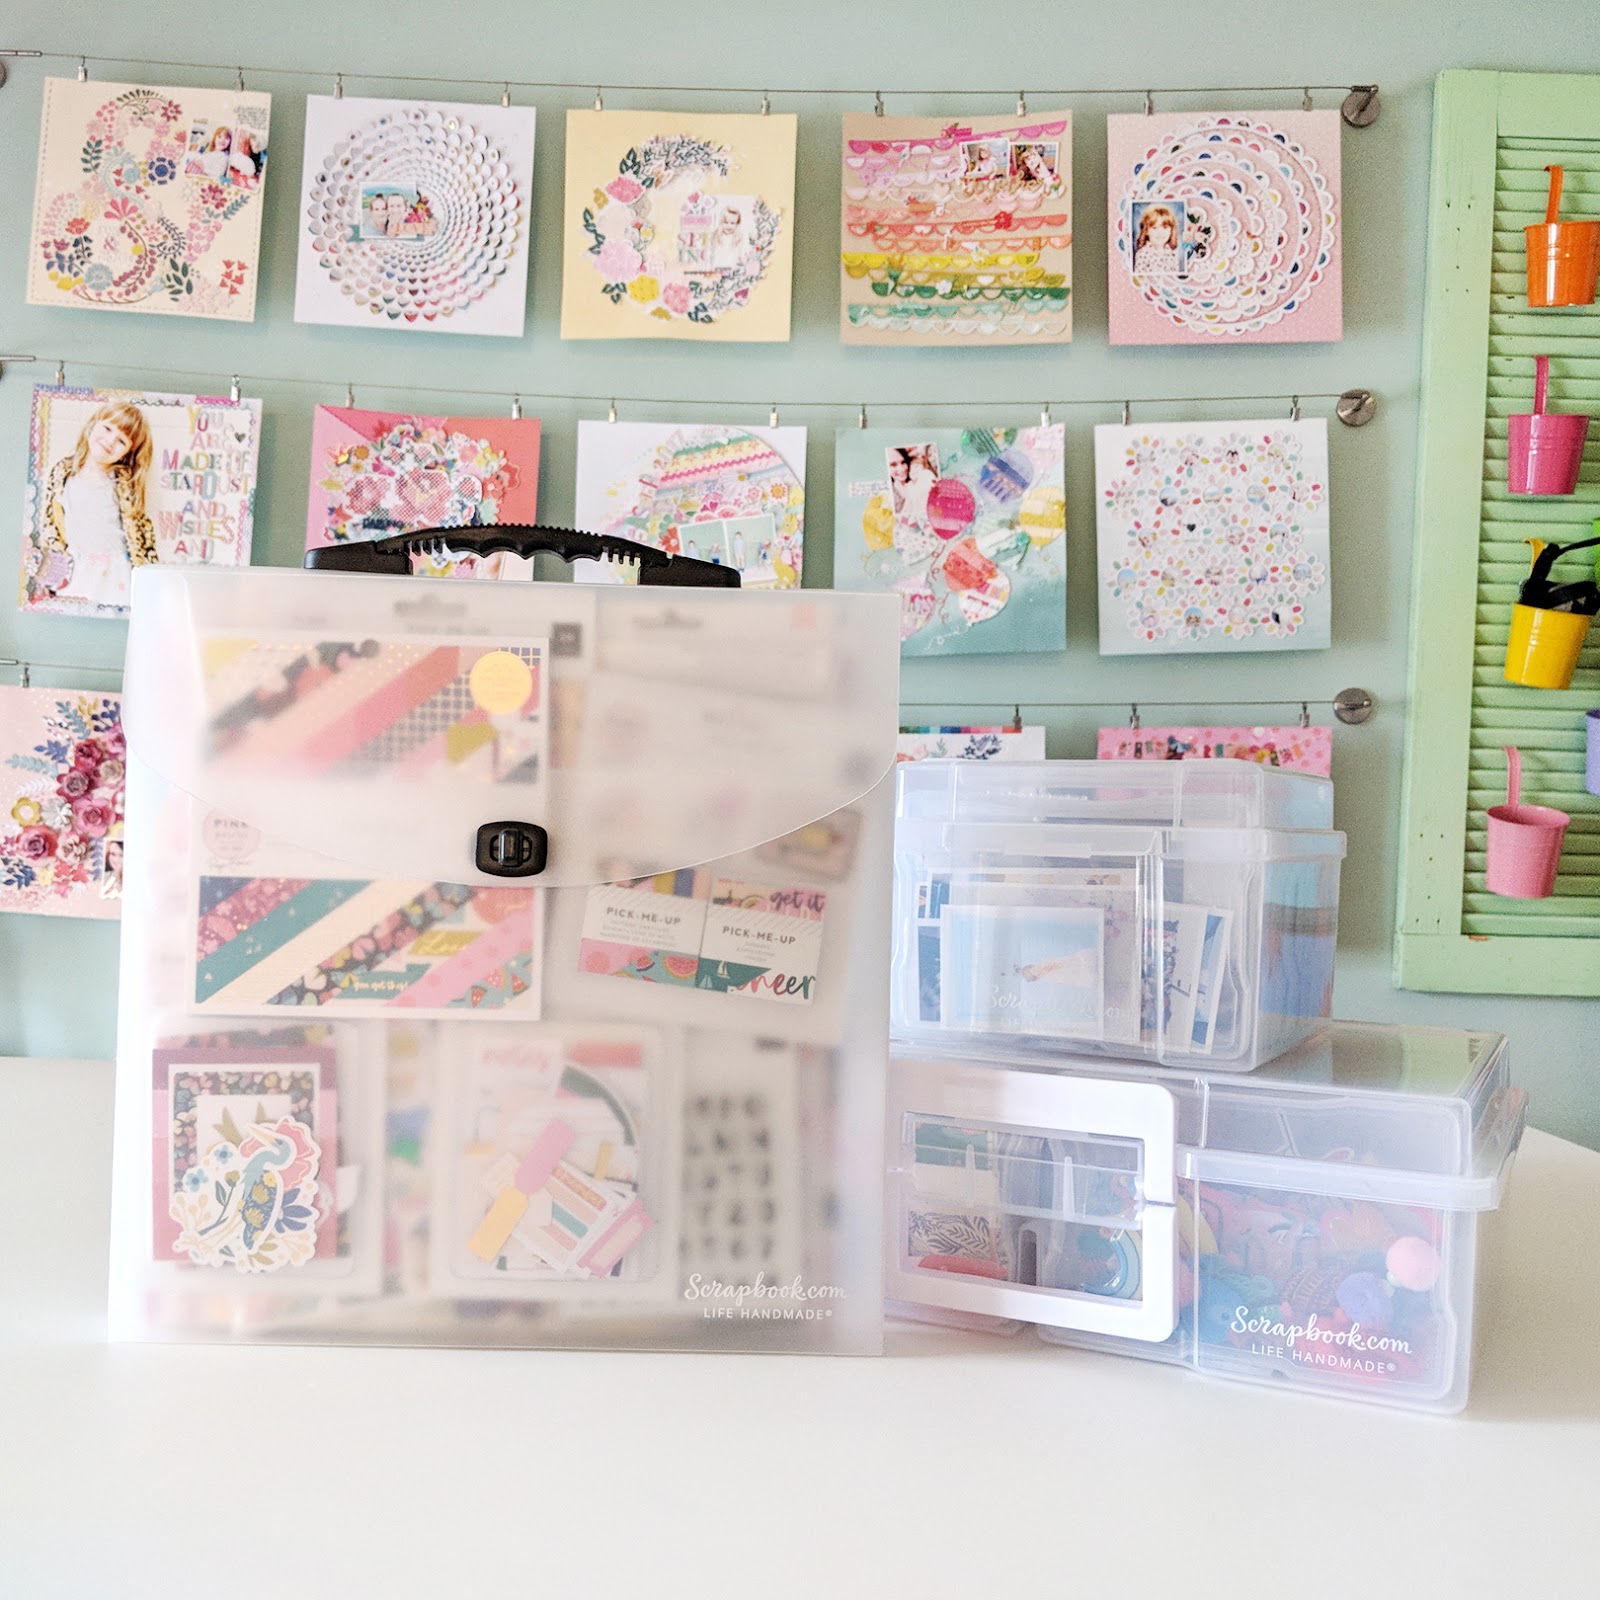
Last but certainly not least, the Portable Clear Craft Storage Tote! These are simply awesome. No more ziplock baggies! Now my scrapbook collections can be stored in durable and sturdy totes that fit entire collections easily and have a handle for carrying to and from crops or perhaps the kitchen table or office desk, wherever you may scrap.
I'm putting Pick-Me-Up in this first tote and will order more for Turn the PageOh My HeartTake Me Away, and Fancy Free!
Yay for getting more organized! Thank you scrapbook.com for making easy and affordable storage solutions!

Cute Lovely Grateful Layout by Bea Valint


Today I'm delighted to share another gasp out loud layout by design team member Bea Valint!
Hello ladies! I’m so excited to be back with a new layout using the awesome Pick-Me-Up collection! I always love playful fringe on my layouts and when I saw Paige's new Scalloped Banner cut file, I thought that it would be a fun idea to incorporate fringe.
I chose a pink cardstock for my background. I cut out the Scalloped Banner from white cardstock using my Silhouette Cameo 3, bent up the edges for dimension, and adhered the cut file the background.
I punched colorful half circles from Paper 10, cut fringes using fringe scissors, and arranged them on the scallops. Then I machine stitched through the tops of the banner lines. I placed my daughter's photo at the top of the cut file and layered a tag and Ephemera Die Cut frame behind. I also used Roller Stamp from the Take Me Away collection for more detail.

I placed my three title words at the top of the banner lines and used both the white Mini Thickers and the Chipboard Thickers as well as a word from the Chipboard Stickers. There are many beautiful butterflies and flowers in this collection and I placed some of them on the banner along with sequins from the Haberdashery Multi-Pack and Stickers.

This page was so much fun to create! I hope I could inspire you to add some pretty banners to your next layout!

SUPPLIES: PICK-ME-UPPaper 10Paper 14Ephemera Die CutsChipboard ThickersChipboard StickersHaberdashery Multi-PackMini ThickersPuffy StickersStickersTAKE ME AWAYRoller Stamp; Cut file: Scalloped Banner by Paige Evans; Silhouette Cameo 3white cardstock

Blog: myshinystudio.blogspot.com / Instagram: @beavalint / Pinterest: @valint7 /
Facebook: myshinystudio / YouTube: Bea Valint

WOW Layout for April #moodboardgirls


Sunday, April 8, 2018

Once again I played along with the #moodboardgirls to make this layered heart page!
I love the deep pinks, purples, blues, and greens in the moodboard - Pick-Me-Up matches perfectly.
Check out the process video to see how this layout came together and be sure to subscribe to be the first to know when new videos are up!
I started by die cutting each layer of my Concentric Hearts cut file (which you can find in my Afternoon Crafts class at Big Picture Classes) from a plethora of patterned papers - in order from biggest to smallest the papers are: white cardstock | Pick-Me-Up Paper 17 | Take Me Away Paper 02 | Take Me Away Paper 08 | Pick-Me-Up Paper 03 (b-side) | Pick-Me-Up Paper 04 (b-side) | Turn the Page Paper 11 (b-side) | Oh My Heart Paper 03 (b-side) | Oh My Heart Paper 02 (b-side). For a recent layout I pulled out all the solid colored papers from all of my Pink Paislee collections which I keep in a pile and sift through when I need specific colors like on this layout.
Once I had all of the heart layers cut out, I wanted more of a defining border on the top white cardstock layer so I came in with a chain link stitch and variegated purple embroidery floss around the edge of the heart. For even more texture and interest I machine stitched around the heart. I layered all of the die cut hearts together using dimensional adhesive to create depth and shadows. The foam adhesive I use isn't too thick so this page will still easily fit into a normal scrapbook.
Next came the photo which is of me in front of a big bush with pretty pink flowers in San Jose back in February when I taught at The Island's Creative Escape. Then I added matching colored embellishments from Pick-Me-Up like tiny Chipboard StickersEphemera Die CutsPuffy StickersStickers, sequins from the Haberdashery Multi-Pack, and Rub-Ons that I applied to white cardstock and then fussy cut out.
To create the title I used a "WOW" Sticker above the photo and then made the location with the white Mini Thickers placed around the curve of the heart. I journaled on the inner piece of a frame from the Ephemera Die Cuts using a .03 black precision pen.
The layout didn't feel finished yet so I die cut my Flower Frame from white cardstock and spent a long time figuring out the exact placement lol. I ended up trimming it all apart and sewing the pieces in four places to the edges of the page. That wraps up this layout! I hope you are inspired in some way!
Now hop along to all these other talented ladies' instagrams to see some eye candy based on the moodboard!
***Paige Evans***
Christina Buresch-Leyrer
Anke Kramer
Julia Schueler
Nicole Weber
Michelle Lagler
Birgit Krasenbrink
Jen Albrecht
Zsoka Marko
Ashley Horton

Hot Tub Layout by Audrey Yeager


Saturday, April 7, 2018

Audrey Yeager creates such beautiful backgrounds paired with my cut files! Here is a perfect example:
Hey everyone! For this layout I decided to use the Waves Border cut file for my water fun page.
Paper 14 in the Pick-Me-Up collection has stripes of blue, so I positioned the waves in Silhouette Design Studio so that I would get one cut from each color in the paper. (I saved the "negative" cut for use on another page!) I layered my waves on the page and machine stitched over the bottom of each one.

For my background, I added some gesso and spray inks in shades of blue with a little citron. I backed my photo with a piece of paper from the 6x6 Paper Pad.

Then I just layered a few Ephemera Die Cuts and Stickers in a visual triangle, with little hints of yellow, but tried to keep the page mostly monochromatic. A few gold accents including Washi Tape, sequins from the Haberdashery Multi-Pack, and Chipboard Stickers finish it off.

Thanks for following along today!

SUPPLIES: PICK-ME-UPPaper 01Paper 14Paper 226x6 Paper PadEphemera Die CutsWashi Tape BookHaberdashery Multi-PackStickersChipboard StickersTURN THE PAGESticker BookOH MY HEARTPuffy Stickers; Cut file: Waves Border by Paige Evans; Silhouette Cameo
Blog: audreysreflection.blogspot.com / Instagram: @audreykit1 / Pinterest: @audreykit /
Facebook: Audrey L. Yeager  / YouTube: Audrey Yeager
Paige Taylor Evans © // Quinn Creatives DESIGN