The One with Cool Like a Fox Vol. II


Friday, March 14, 2014

On Friday November 9, 2012 I blogged: The One with Cool Like a Fox and showcased a bunch of fox-themed things because foxes were trendy. 
Well, it's nearly two years later and foxes are still everywhere! I love it I love it I love it. And I love my son named Fox :)

All original sources can be found on my "Foxy" Pinterest board.
 
I'll take one of each please :)

The One with Currently


Thursday, March 13, 2014


I love the "currently" posts I see around blog land, so while I'm currently away from the computer for the weekend, I will fill these in with what I'm doing as I'm writing them :)

Reading... What I Had Before I Had You by Sarah Cornwell for the Noble Paiges Book Club we started last month!
Playing... with my new laptop. My old MacBook kicked the bucket over Christmas. It was almost 10 years old so it's about time for an upgrade. Now it'll be so easy to blog from our trips!
Watching... How I Met Your Mother season 4 with Chris and Sherlock season 3 on my own time.
Trying... to lose weight. 25 pounds to be exact...
Cooking... What's that? Haha, but really, I made Totinos pizza for dinner.
Eating... Just ate a bowl of Raisin Bran.
Drinking... Water. I don't really drink carbonated beverages unless we're eating out.
Calling... I've been meaning to call my Grandma Doris the last few weeks - I shall upon our return!
Texting... I instant message my mom at least once a day. I love my Malm :)
Pinning... lots of clothing items! Something about spring makes me want a new wardrobe.
Tweeting... I don't really tweet unless I'm re-tweeting something!
Instagraming... just posted a selfie! Much to Chris' chagrin :) He thinks selfies are silly.
Crafting... lots and lots of layouts and videos for my upcoming STITCHED class with Studio Calico that begins in April and lasts the entire month!
Scrapping... special layouts for a guest design spot at Shimelle.com!
Doing... blog posts for the next few days. 
Going... to Disneyland Paris today!
Loving... the AMAZING weather we've had this week. It reached the 60s today! Is that it for winter? It hardly even snowed! I hear it was a very mild winter and not to expect it again next winter... But all this sunshine and warmth makes it seem like we're back in sunny SoCal!
Hating... not getting enough sleep at night... JANE!!!
Discovering... new ways to entertain the kiddos now that it's warming up outside - bubbles, chalk, walks, playgrounds, the works!
Enjoying... life in Germany! So happy the summer months are almost upon us and we can travel up north and the weather will be decent!
Thinking... My mind is always on overdrive. Always thinking about too many things, I could go on and on and on and on and on and on and on. But I'll spare you :)
Feeling... like all my friends have at least 3 babies. I can't even imagine adding another human to our family right now... I was so strongly prompted with Fox and Jane but have no promptings whatsoever to try for a 3rd. Anybody else up there in heaven for us?
Hoping... everything will go smoothly on this trip!
Listening... to the fan blowing on my hands as I write. My hands are ALWAYS sweaty so I have a little fan that plugs into a USB to keep them nice and dry :)
Celebrating... my parents are going to be here in about 3 weeks! It's been almost 10 months since I've seen them! And we have their only grandchildren so I know/hope they're excited to see Fox & Jane!
Smelling... nothing? My shampoo/conditioner in my hair?
Thanking... my dear friend Chrissy for so many things. I should write a whole blog post about her and all she and her family has done for me. Her daughter babysits our kids when we go on dates, pet sits Rachel the cat when we go on vacations, and comes over every Tuesday for a couple hours to watch Fox & Jane while I whittle away at work. On Facebook she posted that she made curry for dinner, I replied I was coming over, and then she actually brought me some! I'm so thankful for good friends. 
Considering... chopping off my hair. It's getting so long - to that point where it's so heavy it gives me daily headaches.
Finishing... Just finished reading The Longest Ride by Nicholas Sparks. Yeah yeah yeah, I know he's a sappy writer and all that, but I love his quick & easy books! I give this one a 6 out of 10. 
Starting... our 7 hour road trip to Disneyland Paris in T-minus 4 hours! Can't wait! We've missed Disneyland!

The One with the Weight Ordeal


Wednesday, March 12, 2014

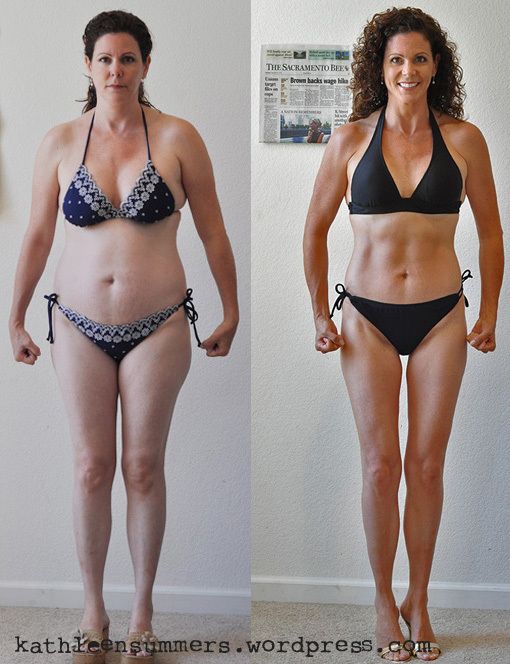
Why oh why is it so hard for me to lose weight? Why oh why did I have to gain weight in the first place? I want my 18 year old body back! Seems like as soon as I started having babies my body and metabolism changed and I haven't been able to eat the way I used to and want to without major consequences. Here are some motivational quotes and images I found which can all be traced back to my "Operation Get Fit" Pinterest board to hopefully get me off my bum and back into a routine that includes 30 minutes of daily exercise and eating right:
Time to quit work for the day, get off the computer, and do a work out!

The One with Dear Lizzy Daydreamer Layouts for American Crafts


Tuesday, March 11, 2014

Here are a couple of layouts I made for American Crafts featuring the new Daydreamer line by Dear Lizzy:
 photo USCGradbyPaigeEvans.jpg
USC GRAD by Paige Evans

Journaling says: This was a day we'd been looking forward to for 4 years! Chris' graduation from dental school at USC. Words can't express how proud of you we are! Way to go! Fight on!

Notes: You know those photos that you hold onto for months, or even years, waiting for the perfect line to scrap them with? That's how I felt about the Daydreamer line and these pictures - a match made in heaven!

How to: Die cut "love" from each of the 6x6 papers and some of the 12x12 papers in the Daydreamer line. Stitch the words across a white cardstock background. Hand cut a heart from the bottom right then paint a border around the heart using blue watercolors. Back the heart with white cardstock that has been embossed with the Daydreamer Embossing Folder (it's got cute little banners all across it - perfect for this celebratory occasion!). Tuck two photos under the heart and embellish with stickers, wood veneer shapes, a badge, button, enamel dots, a Thickers title, the date stamped on a label sticker, journaling written on a journaling card, and more as shown. Drop blue spray mist over the top right and bottom left sides. 

Supplies: Cardstock, patterned paper, badge, button, enamel dots, stickers (bow, chevrons, dimensional fabric chipboard letters, heart banner, glitter foam letters, label, "today"), wood veneer ("happy", heart), "love" die, banners embossing folder, pen, roller date stamp, ink, adhesive: American Crafts; Spray mist: Studio Calico; Die cut and embossing machine: Cuttlebug by Provo Craft; Sewing machine: Brother; Thread: Coats & Clark
 photo USCGradDetailbyPaigeEvans.jpg
*******************************************************
 photo FoxsLittleRedBikebyPaigeEvans.jpg
FOX'S LITTLE RED BIKE by Paige Evans

Journaling says: Grandpa got you this bike for your 3rd birthday but you didn't really "get it" until you were 3 1/2. Now you ride it everywhere and even sleep with it by your bed at night and during your naps. You're a funny guy and we love you and your enthusiasm!

Notes: Daydreamer definitely lends itself to girly pages! So I challenged myself to make a boy-themed layout and it was actually very easy. All I did was eliminate the pink and chose more masculine embellishments - there are plenty in this collection! I took apart the pinwheel sticker from the flower and just used the pinwheel piece.

How to: Punch a 2" square from lots of patterned papers in the Daydreamer line and trim each square into a triangle. Place two photos on the middle (very slightly off-center) of a dark blue cardstock layout base then spiral the triangles around the photos. Stitch over the triangles to keep them in place. (Putting a plug in for my STITCHED class over at Studio Calico - where you'll learn 24 new hand and machine stitching tricks and techniques!) Stamp the date on the top photo. Place a title in a curve under the photos using an assortment of Thickers. Add a wood veneer camera, "3" chipboard number and "1/2" button, bike die cut, pinwheel sticker topped with a badge, and more, around the photos as shown. Drop white spray mist over the top right and bottom left corners. Journal along one of the stitched curves.

Supplies: Cardstock, patterned paper, badge, button, wood veneer camera, bike die cut, stickers (chipboard letters, chipboard number, foam letters, mini alphabet, pinwheel), pen, adhesive: American Crafts; Spray mist: Studio Calico; Square punch: Marvy Uchida; Sewing machine: Brother; Thread: Coats & Clark
 photo FoxsLittleRedBikeDetailbyPaigeEvans.jpg
Whelp, that's all I've got for now!

The One with the Daylight Savings Delay


Monday, March 10, 2014

Random fact of the day: Daylight Savings doesn't start here until March 30th.
Why isn't the entire world on the same schedule?
Beats me!
But, I'll enjoy the 8 hour time difference between here and my Malm in Seattle while I can :)

The One with the CARDS March Designer of the Month Feature!


Sunday, March 9, 2014

A couple days late, but worth the wait... congrats to the winner of Noble Paiges book club premier book:

Maggie - email me at paigetaylorevans at gmail dot com and I'll send you a copy of the book! I just got mine in the mail, finished the book I was reading last night (The Longest Ride by Nicholas Sparks), and can't wait to get started!


Tammy asked if I'd like to be the Designer of the Month in the March 2014 issue of CARDS Magazine. Ummmmm... YES! 
 photo CardsMarchDesignerHighlight.png
I made five cards and here they are:
 photo CardsMarchDesignerHighlight-ThankYou.png
THANK YOU by Paige Evans

Card is 4” square
How to: Punch flower confetti from the patterned papers then cluster the flowers on the center of a pink polka dot paper card base. Place a pair of dimensional flower stickers on the center, tuck a hairpin under the right edge, and add a teal ribbon bow as shown. Drop pink spray mist over the top left and bottom right corners. Add a gold label sticker on the right edge, trim the excess, and place a sentiment sticker on top.

Supplies: Patterned paper, hairpin, ribbon bow, stickers (dimensional flowers, label, sentiment): Crate Paper; Spray mist: Studio Calico; Flower confetti punch: Marvy Uchida; Adhesive: American Crafts
**********************************************************************
 photo CardsMarchDesignerHighlight-YoureOneinaMillion.png
YOU’RE ONE IN A MILLION by Paige Evans

Card is 4 ¼ x 5 ½”
How to: Punch butterflies from patterned papers then adhere them in rows down a woodgrain paper card base. Sew down the columns of butterflies and bend up the wings. Top some of the butterflies with embellishments like a wood button, stickers, a fabric brad, and more as shown. Tuck a dimensional sentiment sticker under the left side of the fabric brad.

Supplies: Patterned paper, button, stickers (butterfly, dimensional sentiment, epoxy circle, epoxy star, flower, foam asterisk), butterfly punch, adhesive: American Crafts; Fabric brad: Crate Paper; Sewing machine: Brother; Thread: Coats & Clark

**********************************************************************
 photo CardsMarchDesignerHighlight-ILoveLoveLoveYou.png
I LOVE, LOVE, LOVE YOU by Paige Evans

Card is 5 ½ x 4 ¼”
How to: Trim patterned paper strips with decorative scissors or a decorative border punch. Layer the paper strips across an aqua card base. Cut a heart from the center of the card, back the shape with blue cardstock, then stitch around the heart a couple times using white thread. Bend up the paper strip edges to create dimension. Trace around the inside heart with a black pen. Layer a border sticker trimmed into a banner and a chipboard ticket topped with a sentiment and heart sticker to the card center.

Supplies: Cardstock, pen, adhesive: American Crafts; Patterned paper, chipboard ticket, stickers (border, heart, sentiment): Pebbles; Decortive scissors: Provo Craft; Border punches: American Crafts, EK Success, Fiskars, Martha Stewart Crafts; Sewing machine: Brother; Thread: Coats & Clark

 **********************************************************************
 photo CardsMarchDesignerHighlight-HappyTimes.png
HAPPY TIMES by Paige Evans

Card is 5 ½ x 4”
How to: Use a scalloped border punch to trim the bottom edge of a white card base. Place chipboard pennants across the front as shown. Add a stitched border topped with a sentiment sticker and a wood veneer heart along the bottom section of the card. Tuck a wooden button under the veneer heart to finish. 

Supplies: Cardstock, adhesive: American Crafts; Wooden button, chipboard pennants, wood veneer heart, stitched banner, sentiment sticker: Crate Paper; Scalloped border punch: Fiskars

 **********************************************************************
 photo CardsMarchDesignerHighlight-Love.png
LOVE by Paige Evans

Card is 5” square
How to: Punch petals from the Printshop collection of papers then adhere them in a flower design on the center of a floral paper card. Layer a flower sticker on the center followed by a word transparency with the “o” centered over the flower, then attach everything in place with a blue fabric brad set through the “o” and flower. Drop black spray mist over the top left and bottom right corners.

Supplies: Patterned paper, flower sticker, word transparency, spray mist: Studio Calico; Fabric brad: Pebbles; Petals punch: Fiskars

Check out the entire article in the online issue of CARDS March 2014 - available on iPads, kindles, and lots of other electronic devices!

The One with the 2Peas Children-Themed Layout


Saturday, March 8, 2014

I have a children-themed "inspired" Garden Girl layout up at Two Peas in a Bucket! It started with the official March moodboard:
 photo MarchMoodboard.jpg
Lovely, right? So many ways it can be interpreted and used on layouts!

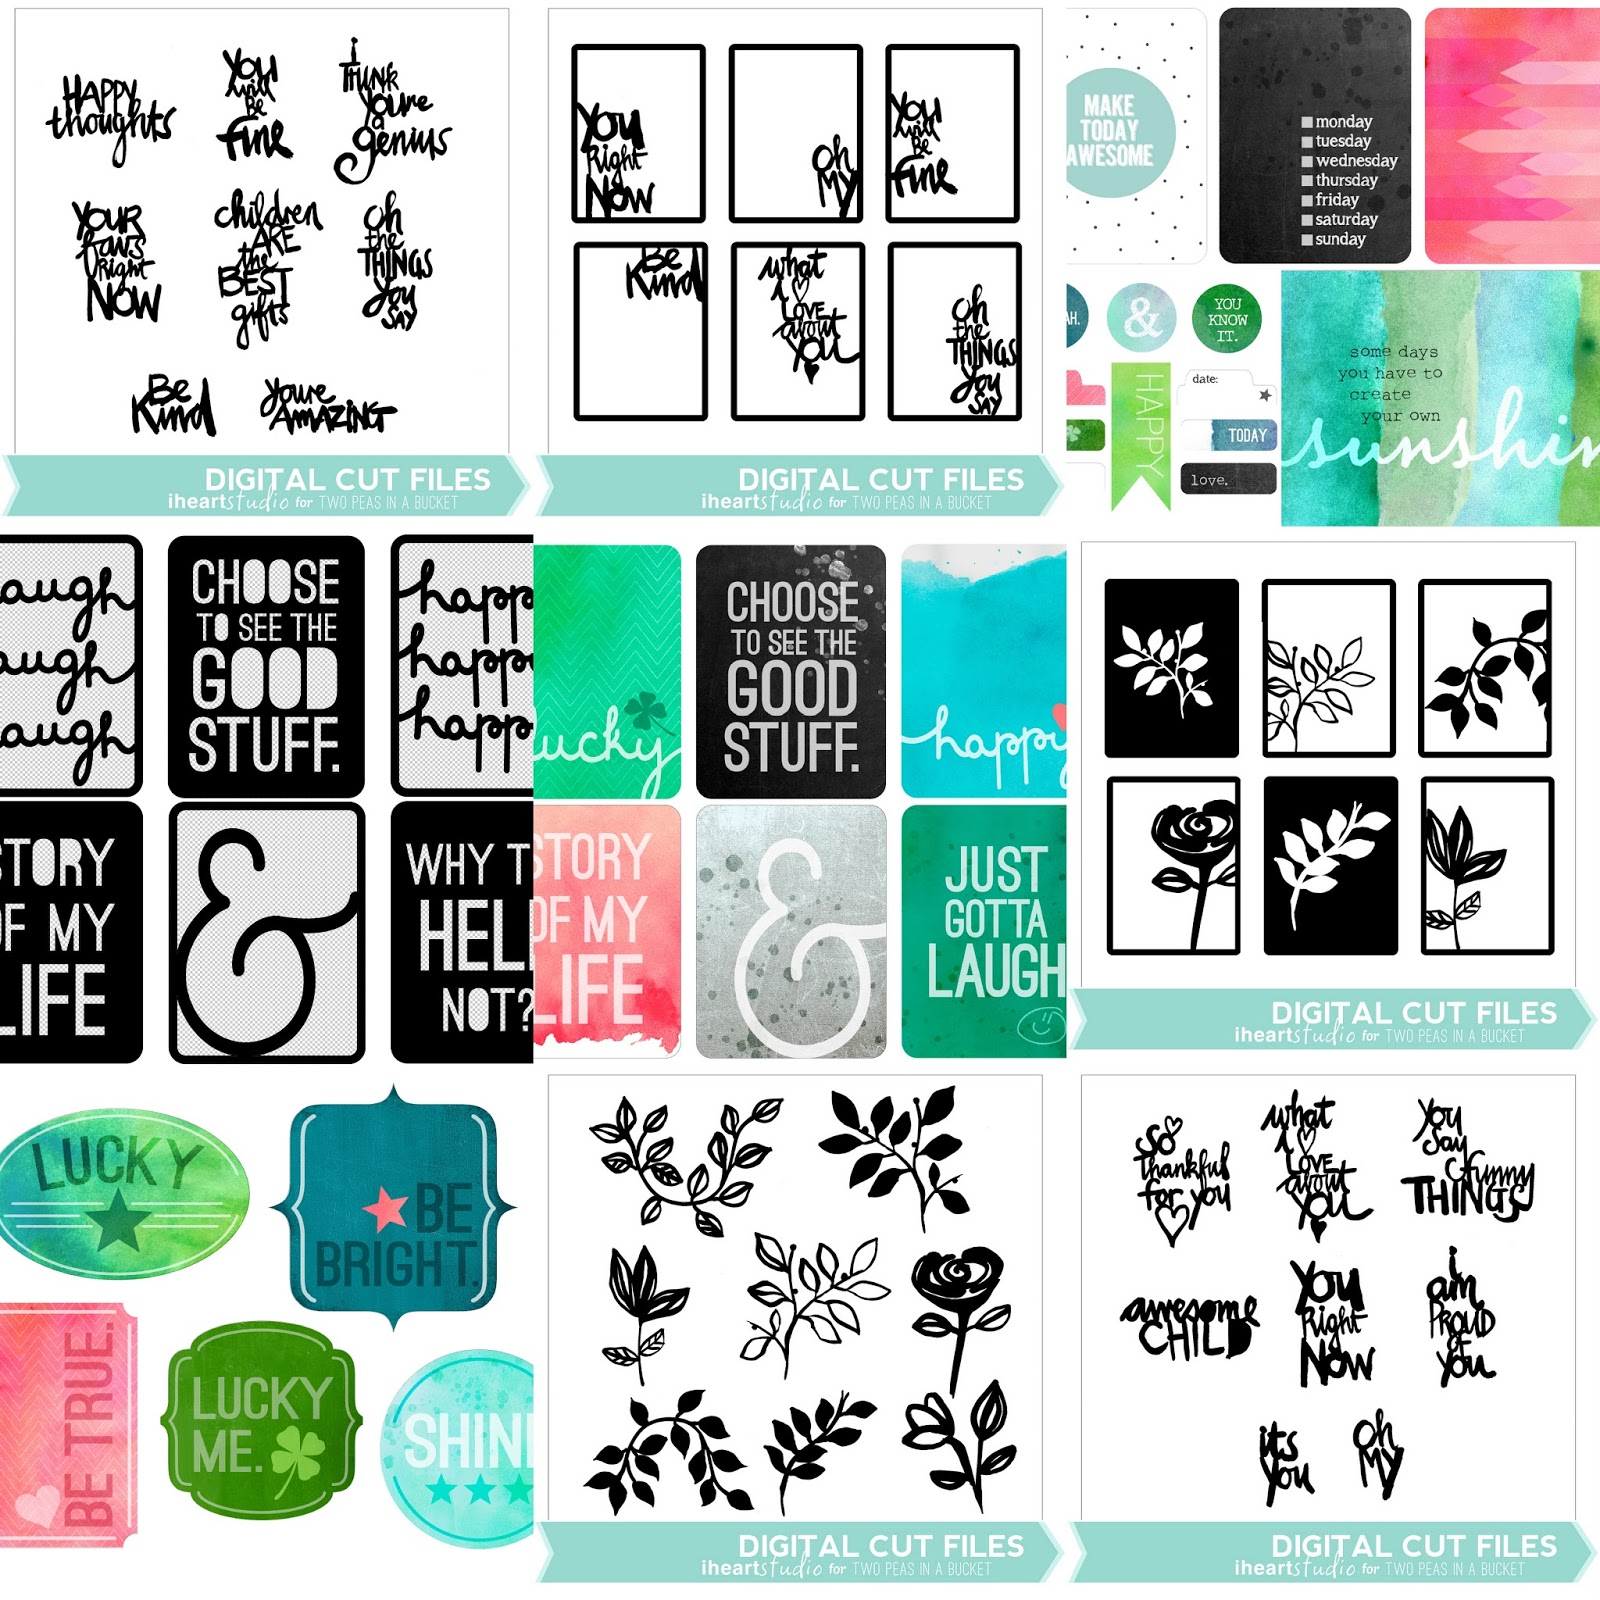
Then I printed and die cut the amazing files by Lisa Dickinson and Wilna Furstenburg.
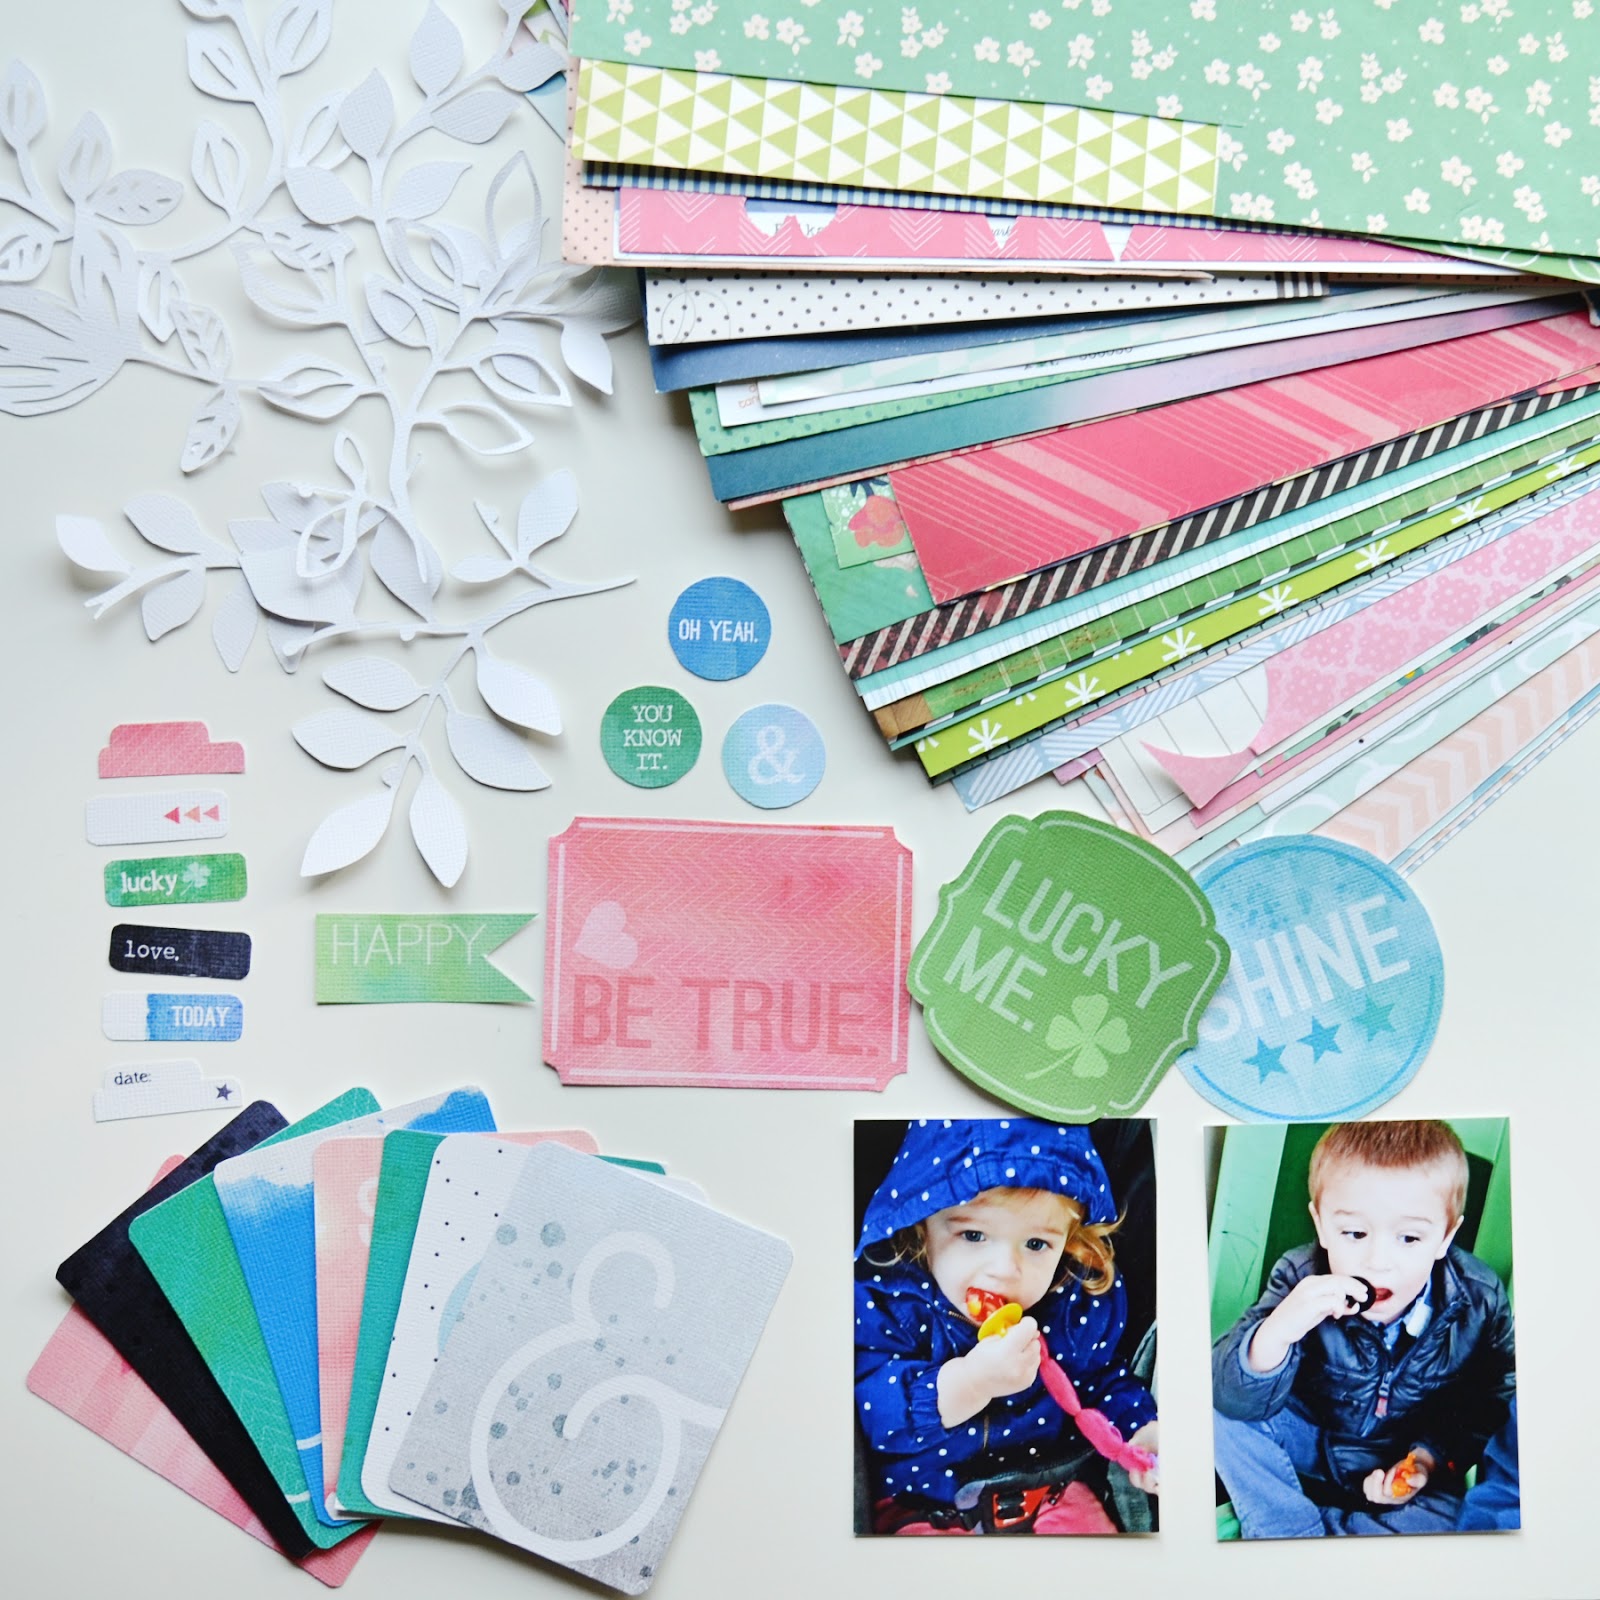
Neeeeeext I pulled products from my stash that coordinated and picked a couple of cute photos of my kids to scrap.
And then, bada-bing, bada-boom, this is what I made!:
 photo LuckyMebyPaigeEvans.jpg
LUCKY ME by Paige Evans

Description: Honestly I was a bit intimidated by the moodboard at first! Green? Blue? Pink? Not very many colors, and goodness knows I love lots of color! Although really, I could add more colors if I wanted, so it's not THAT big o' deal. But I like a good challenge and wanted to stick to the moodboard as much as possible, so I started to pull green/blue/pink patterned papers in different tints/tones/shades and I actually really ended up loving the colors! Funny how that worked :) The lovely leaf die cuts by Wilna made fun photo backgrounds and pops of Lisa's printables finished it up!

Journaling says: As my mom, your grandma, used to always say: How did I get so lucky to have the best son and daughter in the entire world?! I must have done something good in heaven to deserve you two sweet angels! I love every day isn't sunshine and roses from sun up to sun down, but I wouldn't trade a single second because I love you two so much!

How to: Trim 3/4 x 2" pieces from patterned papers then stagger them across a light blue cardstock background. Sew diagonally down the paper strips. Die cut leaves from white cardstock. Layer two photos, a pink printed die cut, an aqua "lucky" printed die cut, an ampersand printed die cut, and the die cut leaves on the bottom of the layout. Place Thickers on the photos to make the names of the kids in the pics. Hand stitch through the ampersand using white floss. Scatter buttons around the photos. Stamp the date and add "ME" mini alphabet stickers on the "lucky" card to finish the title. Journal in three of the open spaces on the background using a white pen. Drop light blue spray mist around the layout to finish.

Supplies: Cardstock, wood buttons, stickers (chipboard letters, foam letters, mini alphabet), roller date stamp, pen, ink, adhesive: American Crafts; Patterned paper: American Crafts, Crate Paper, Pebbles, Studio Calico; Foofala: Craft supply; Floss: DMC; Spray mist: Studio Calico; Sewing machine: Brother; Thread: Coats & Clark; Die cut machine: Silhouette Cameo by QuicKutz; Leaf cut files: Wilna Furstenburg for 2Peas In a Bucket; Printables: Lisa Dickinson for 2Peas In a Bucket
 photo LuckyMeDetailbyPaigeEvans.jpg
 photo LuckyMeDetail3byPaigeEvans-1.jpg
I'll have a video with the same theme and moodboard coming up in a couple weeks! Gotta start brainstorming ideas :)

The One with the "You Are" Background Cut File In Use


Friday, March 7, 2014

It is so(ooooo!!!!) fun and rewarding to see how people (such as my scrappy idols like Maggie Holmes,  Tina AzsmusBecky NovacekJulie Campbell, and more!) are using the "YOU ARE" background cut file I designed for the March Office Hours kits at Studio Calico!

top left: Maggie Holmes | top right: Tina Azsmus
bottom left: Yaya | bottom right: Kelly Noel

 left: Steph Washburn | right: Julie Campbell

 left: Becky Novacek | right: Maggie Massey

top left: Caroline | top right: SabrinaJA
bottom left: Lilin Fang | bottom right: Lilin Fang
Makes me heart do a happy flip flop every time I see the cut file used :) Keep 'em coming!!

The One with the So Thankful For You (Wood Veneer Challenge) Card


Thursday, March 6, 2014

I got some really, really bad and sad news last night. Sorry to be vague, I can't stand it when people are cryptic and just trying to get pity points, but I simply can't say what's going on right now. I've been in a fog all day and not functioning very well.
So, in light of that, nothing creative or unique to say today, just a little card I made for the latest and greatest CARDS challenge that I host every other week on the Northridge Publishing blog. This time we were supposed to feature wood veneer shapes.
 photo SoThankfulForYoubyPaigeEvans.jpg
SO THANKFUL FOR YOU by Paige Evans

Card is 4" square
How to: Make a small square card base from patterned paper. Punch eight 1" circles from patterned papers then adhere them in a ring on the front of the card. Sew lines connecting opposite circles. (Putting another plug in for my STITCHED class at Studio Calico! I LOVE stitching on my layouts and cards and in the class you'll learn 24 new techniques for unique hand and machine stitching!) Top each patterned paper circle with a wood veneer circle. Place a ribbon bow in the middle and add word stickers above and below to make the title.

Supplies: Patterned paper, ribbon bow, word stickers, spray mist: Studio Calico; Wood veneer circles: Crate Paper; Circle punch: Fiskars; Sewing machine: Brother; Thread: Coats & Clark

Tomorrow is a new day.

The One with Scary Stories in Two Sentences or Less


Tuesday, March 4, 2014

In between patients sometimes Chris has down time where he finds the most fascinating, albeit random, bits of information, facts, YouTube videos, etcetera. I'll just straight up tell you: I LOVE scary movies and stories. Oh so much. My favorite scary movie is the first Paranormal Activity

I couldn't sleep for days after seeing that one. Anyway, Chris found a website where people were asked to think of scary stories in two sentences or less and at first I was like, IMPOSSIBLE! But then he read some of them out loud and I had to check out the website myself because I was indeed getting spooked after just two sentences! These are my fave from the website
 "Growing up with cats and dogs, I got used to the sounds of scratching at my door while I slept. Now that I live alone, it is much more unsettling."

My sister says that mommy killed her. Mommy says that I don't have a sister.

Don't be scared of the monsters, just look for them. Look to your left, to your right, under your bed, behind your dresser, in your closet but never look up, she hates being seen.

I can't move, breathe, speak or hear and it's so dark all the time. If I knew it would be this lonely, I would have been cremated instead.

There was a picture in my phone of me sleeping. I live alone.

Years ago, a lone chair appeared in the center of the basement, and no matter how many times I put it back in the corner it always found a way back to the center. It took a long time to realize it was positioned underneath the kitchen, almost like someone had taken a seat at the dinner table with the rest of us.

The grinning face stared at me from the darkness beyond my bedroom window. I live on the 14th floor.

She asked why I was breathing so heavily. I wasn't.

Best for last:
***I begin tucking him into bed and he tells me, “Daddy check for monsters under my bed.” I look underneath for his amusement and see him, another him, under the bed, staring back at me quivering and whispering, “Daddy there’s somebody on my bed.”***

Ooooooohhhhheeeeeeeeooooooooo!!!

The One with the 2Peas Me-Themed Layout


Monday, March 3, 2014

My 2nd me-themed Garden Girl layout is up at Two Peas in a Bucket!
 photo MebyPaigeEvans-1.jpg
ME by Paige Evans

Description: I used the same moodboard as my me-themed "moments" layout and video that debuted a couple weeks ago. I had a whole punch of printables and cuts leftover and put a few more to good use on this layout. The colors in the Dear Lizzy Polka Dot Party line match the moodboard perfectly, with a touch of yellow. I also loved all of the hearts in the moodboard, hence the heart background. And the pieced hearts were inspired by a quilt that belongs to my friend Chrissy.

Journaling says: Whelp. This is me. On a Sunday before church. Age 28.5. Take it or leave it :) Loving where I am in life though I could afford to lose a few pounds!

How to: Paint three lines of white across a pink patterned paper. Trim the layout down to 11 1/2" square then adhere it onto a frames patterned paper layout base. Cut 8 hearts each from 3 different sizes (for a total of 24 hearts) from patterned papers, cut each heart into quarters, then piece the hearts back together using 4 different sections for each heart. Stitch around each heart (time consuming, yes, but adds to the quilt look!) and leave the threads long. Adhere the hearts in a 3 x 3 grid across the layout, leaving the bottom left corner empty. Place a floral border sticker, printed heart tab, and printed arrow die cut on the top right corner and stamp the date on it; journal below with a black pen. Adhere three round printed circles on the hearts in a triangle and add a hearts die cut from white cardstock on the bottom left corner. Trim a photo into a heart and place it over the die cut hearts. Place chipboard letter stickers, epoxy star stickers, and a heart sticker around the photo edges as shown.

Supplies: Cardstock, patterned paper, stickers (border, chipboard letters, epoxy stars, heart), pen, adhesive: American Crafts; Roller date stamp: October Afternoon; Ink: StazOn; Paint: FolkArt; Sewing machine: Brother; Thread: Coats & Clark; Printable die cuts, cut files: 2 Peas in a Bucket; Die cut machine: Silhouette Cameo by QuicKutz
 photo MeDetail2byPaigeEvans.jpg
Okay, back to scrapping, onto the next! :)

The One with A Whole Lotta Tabs


Sunday, March 2, 2014

I always have about 20 tabs open, including, but not limited to:
Gmail - of course.
Google Calendar - this is where my life is stored; every appointment, every due date, every assignment, every errand, EVERYTHING. If it's here it's set in stone, if it's not written here, it doesn't happen. 
Google Drive - this is where we keep all of our documents for Northridge Publishing, American Crafts, etc, and where I keep track of everything. I'm a list maker. Lists lists lists everywhere. 
Croatia Road Trip Itinerary - we seem to always have a vacation to plan for - currently working on our 10 day Croatia road trip.
Orders Document - Sometimes I have my "orders" document open. Shipping takes f.o.r.e.v.e.r. and a day so I'm trying to track everything and see where it all is. I want my Noble Paiges book and suspender clips so I can open up my etsy shop again!
Monthly Due Dates Excel - I usually have my budget document open where I keep track of bills, paydays, incoming and outgoing moola, all that jazz. Yes, I do the monies in the family.
Checking Excel - this is where I keep a running total of exactly how much dinero we have with every penny coming in and going out. I love using Google Drive for this so I can edit it anywhere, anytime, on my computer, phone, iPad, etc.
Layouts To Make Document - March and April are going to be crazy busy doing my STITCHED class assignments, guest designing for Shimelle and Bella Blvd, monthly American Crafts layouts, 2Peas Garden Girl layouts, Studio Calico layouts, etc. This is where I'm keeping track of everything I need to make, when it's due, special directions, etc. 
Feedly - instead of Google Reader (RIP) I use Feedly to catch up on all my blog correspondence throughout the day. 
Blogger - open at all times so I can compose a post when an idea pops in my head.
My Blog - always open cuz it's fun to scroll through and read through past posts!
Feedjit - this is a little widget I have open so I can see the traffic coming into my blog. 
Northridge Basecamp - where all of my Scrapbook Trends work is done. It's helpful to see upcoming deadlines and where we are at work.
Northridge email - my work email.
Etsy - I like to have my etsy shop tab always open so I can shuffle things around and relist items when they're sold out.
Facebook - I always have Facebook up and running so I can see what my family and friends are up to!
Two Peas in a Bucket - This is where the Garden Girls have a message board and scrappers can chit chat about this and that. I often peruse the gallery for inspiration. 
Pinterest - Oh Pinterest. If I ever have a spare second of time I spend it browsing Pinterest. 
Instagram - I like scrolling through my instagram feed on my computer because the images are bigger and it's much easier to type on a keyboard than my phone. 
Studio Calico - gotta keep up with message boards, chats, peruse through the gallery, and all that good stuff!
Stitched Class YouTube Video - I've had the little Stitched Class video in a tab the last couple days just to see how it's doing. 

What about you? Do you have a million tabs open all the time?
Step away from the computer... 
Paige Taylor Evans © // Quinn Creatives DESIGN