
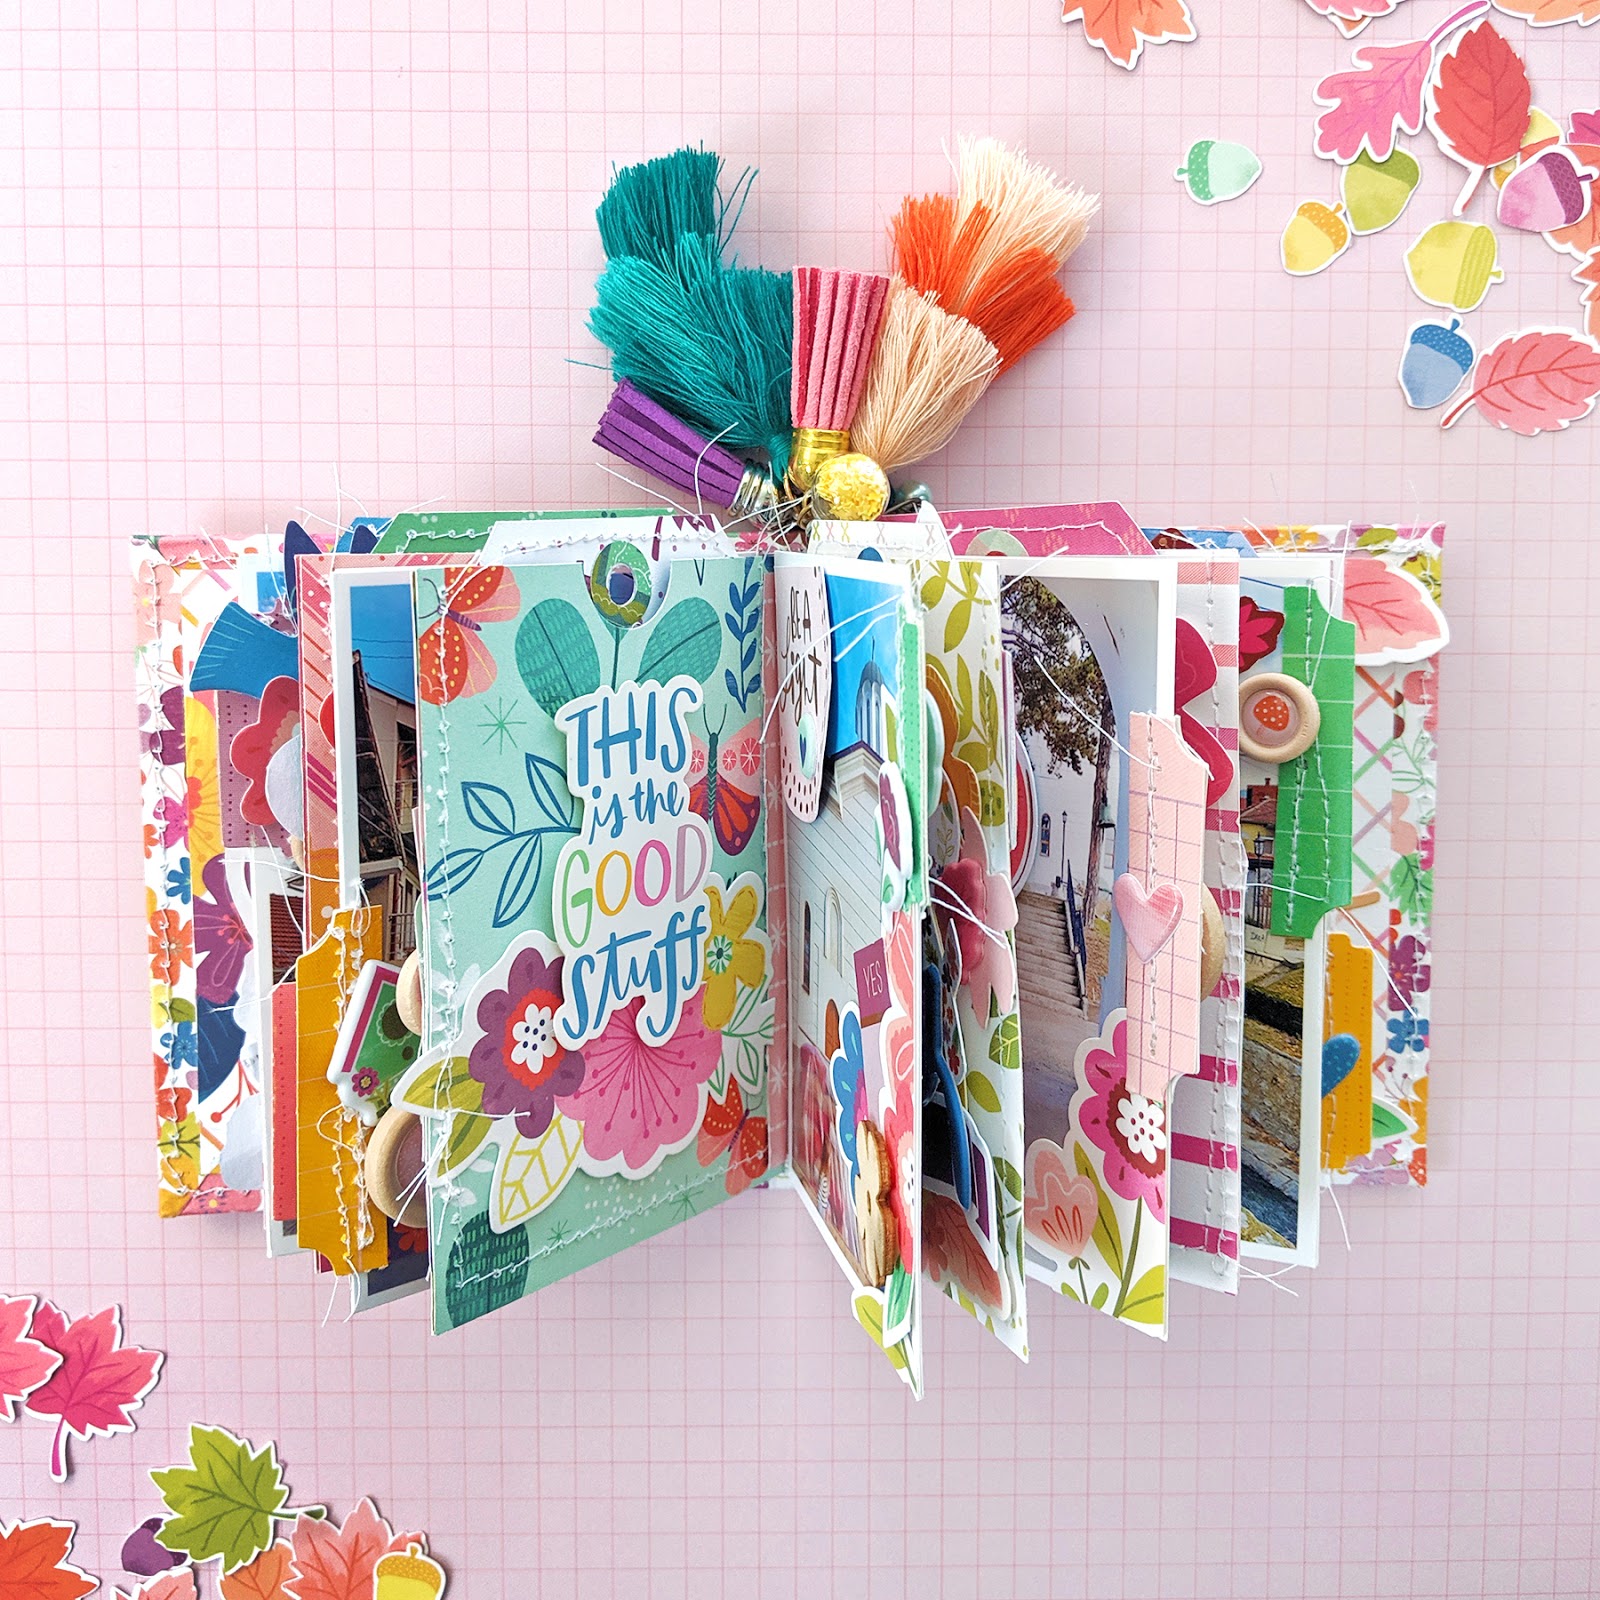
Hey everyone! A few weeks ago I created a mini album for a guest design spot with Cocoa Vanilla Studio and I've never received more requests to create a tutorial! As you wish :) For this album I documented our day in Vrange, Serbia and used my Truly Grateful collection with Pink Paislee.

Here is the 32 minute tutorial, enjoy!
I will write a tutorial below which is helpful for measurements and the scoring template then paired with the video tutorial you should be good to go! But let me know if you have any questions, I am happy to help.

First, I trimmed a 12x12 piece of chipboard into three pieces: (2) 4.25" x 3.25" pieces and (1) 4.25" x 1.5" piece. The reasoning behind this measurement is I wanted my photos and papers to be 3x4" so I simply added .25" to the front and back covers. The middle section can be wider than 1.5", this is just the size I arbitrarily chose and it should be the same height as the covers. My paper trimmer wouldn't cut all the way through the chipboard so I had to finish the job with a craft knife. I chose the floral Paper 19 to wrap the chipboard pieces. To do this, I turned the paper over with the front side down and then used PVA liquid glue and a paintbrush to spread it over the middle piece. I added more glue to the next chipboard piece. TIP: In the bookbinding class I took at BYU 13 years ago (which is where I learned how to create coptic books and fabric covered chipboard books and haven't stopped making them since!) I learned that the spacing between the pieces of chipboard should be two widths of chipboard so I grabbed two scrap pieces, nudged them next to the first piece I glued down, placed a ruler across the top to keep everything straight, and then placed the next chipboard piece down. This is all much more clear in the video tutorial. I added glue to the last chipboard piece, moved my scrap chipboard spacers over to the left side, then placed the last chipboard piece down. I flipped the paper over to the front side and smoothed any crinkles out and rubbed the paper down with a teflon bone folder. I flipped the paper back over and used a tool that I made in my bookbinding class those 13 years ago and have used all this time for my projects: it's a piece of chipboard cut to 3/4" x 12". I used this selfmade tool to trim around all of the paper edges so there is a 3/4" border all around the chipboard pieces. Then I folded the paper edges over the chipboard edges and creased them against the chipboard. To miter the corners I folded them into a point and then trimmed the triangle with scissors at all four corners, parallel with the table. Again, the video tutorial makes this all make sense. I trimmed a piece of Paper 19 to 7.625" x 3.875" (7 5/8" x 3 7/8"), flipped it so the flower side is up, added PVA glue to it, then centered it on the exposed chipboard side, centered as best as I could. I smoothed everything down with the teflon bone folder and gently scored the creases with the point end of the bone folder. To add texture and interest I used a sewing machine and white thread to stitch around the edges with the longest running stitch my machine offers. I love how Amber adds charms through an eyelet in the spine of her albums so I grabbed a teal eyelet and Crop-A-Dile and attached it near the top of the spine, centered in the middle. Next comes the hidden accordion hinge which is how all of the papers and photos are attached into the book. I trimmed a piece of Paper 18 to 4.125" x 3.875" (4 1/8" 3 7/8") x and used the blue B-side. Here is an illustration of where I scored using a scoring board. Download the scoring template here.


Once the album was finished I quickly made a tassel charm using dangly things from my stash strung on a 1/2" binder ring clipped through the eyelet. Love the eclectic touch this adds.

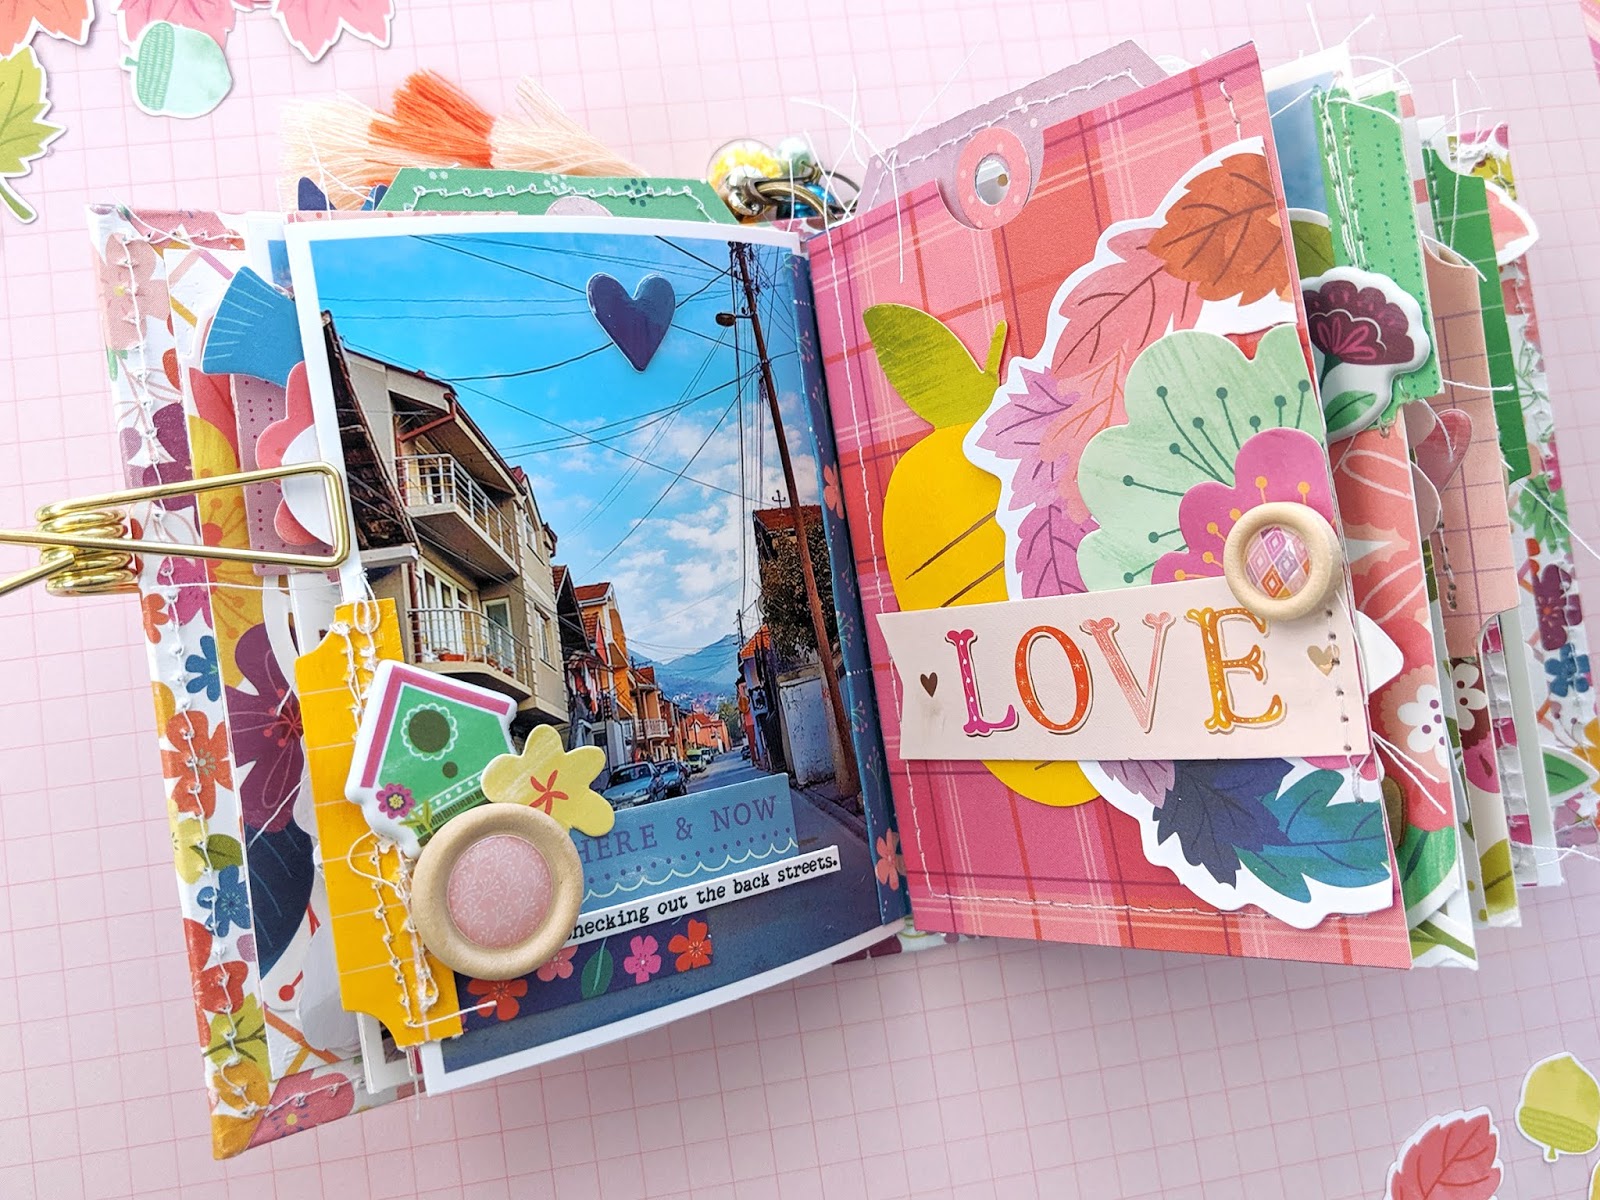
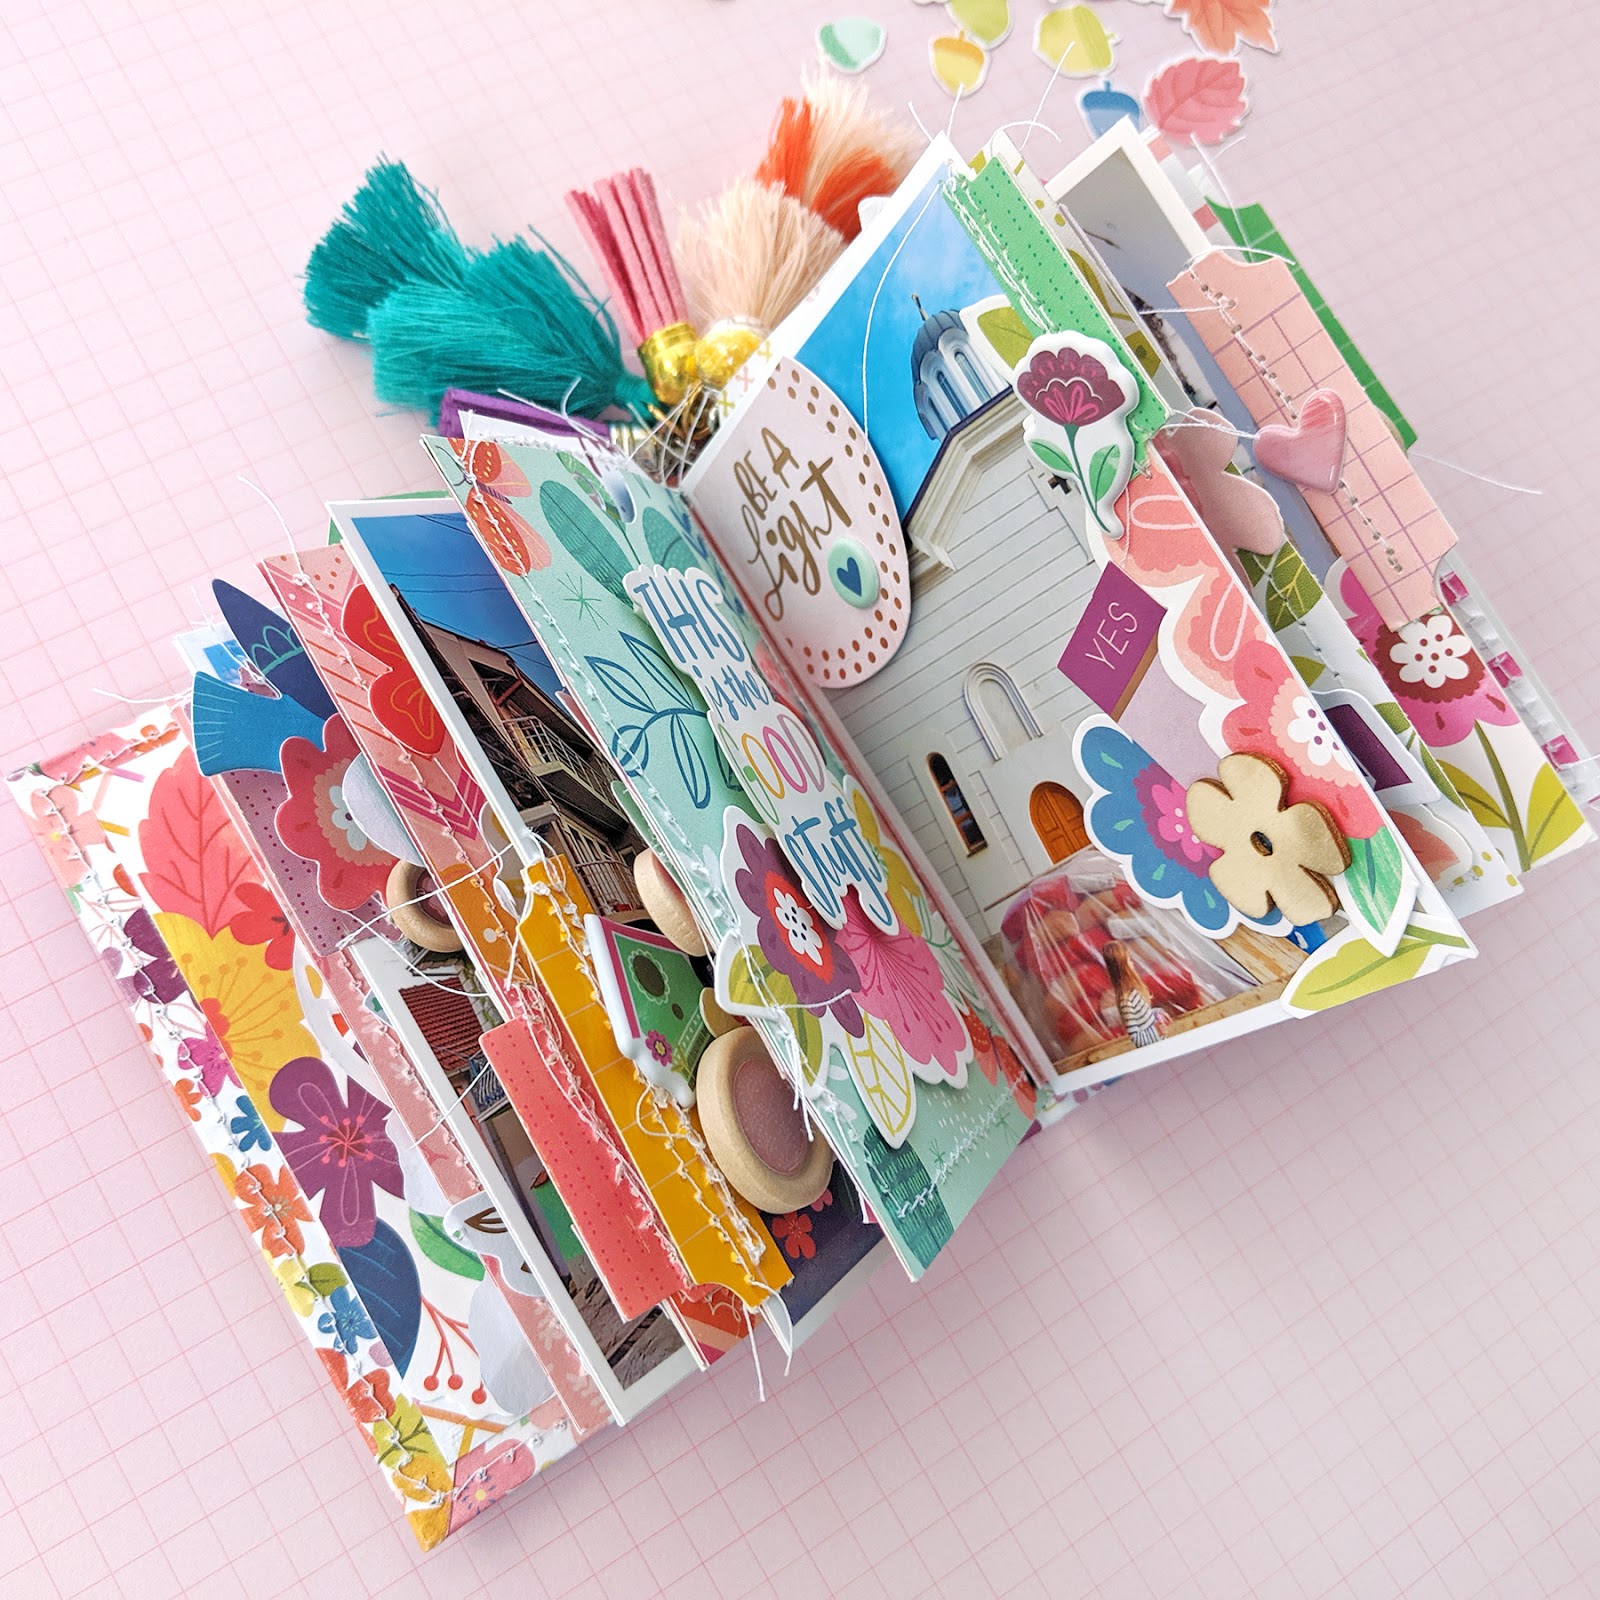
By having those .125" (1/8") valleys between every hinge I am able to add chunky embellishments to each page without worrying it'll be too thick to close. Every single sticker, die cut, and embellishment you'll see in the following photos (sans the tassel charm mentioned above) is from my Truly Grateful collection with Pink Paislee. We visited Vrange, Serbia in the fall of 2016 so the leaves were bright colors which matches perfectly with this collection!

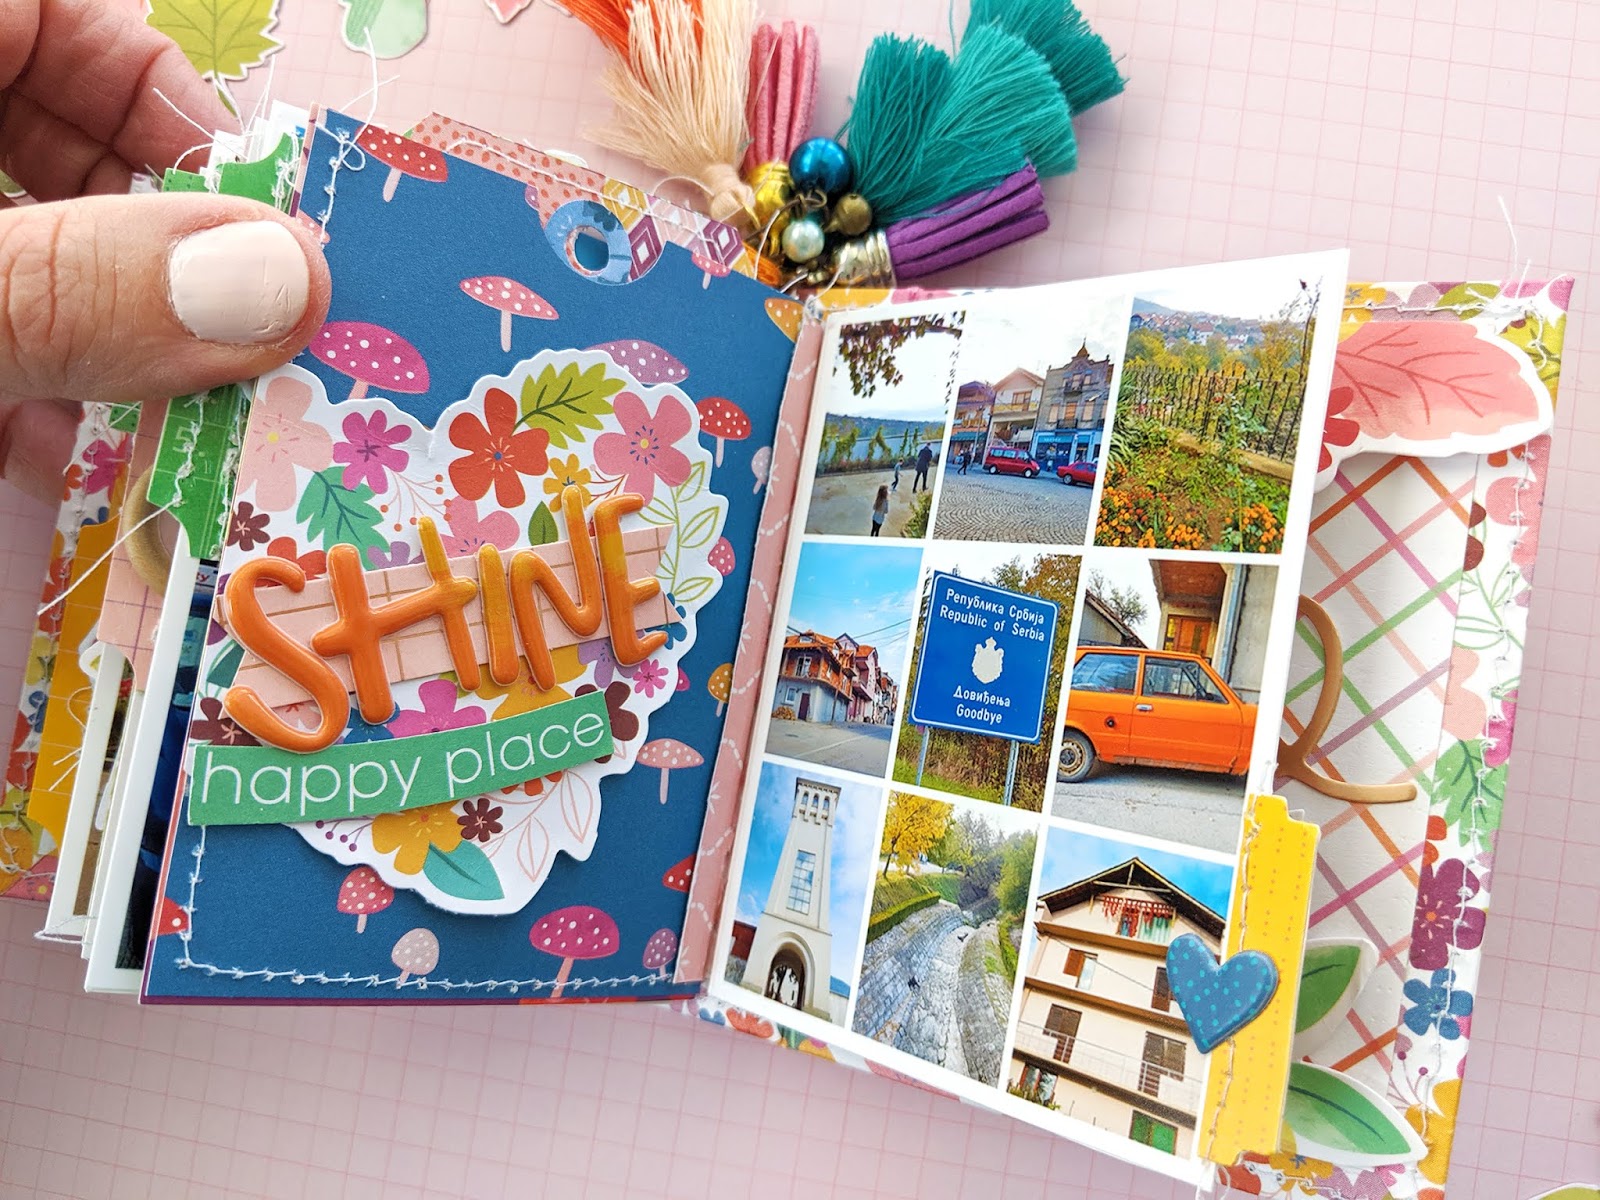
This album is all about the layering and clusters. Here are photos of each of the 13 spreads within this little handmade album.


I always have more photos than space allows so I created a collage (you can watch a tutorial for how I create these collages on my YouTube) for this second-to-last 3x4" picture.
I always like to end with a family photo!

You might notice there isn't any journaling in the album. Never fear! That's what the 6 tags are for!

I copied the recap from the blog post of Vrange, Serbia, pasted it into a new document, changed the size to 8 and font Remington Noiseless, printed it onto thick, smooth white cardstock, and then trimmed it into strips. I glued the journaling onto the tags and embellished with tiny stickers on the front and larger words from the Puffy Stickers on the back.

Here are a few more detail shots:


I hope this inspires you to create a paper covered chipboard mini album with a hidden accordion paper hinge binding! Once you make one, you'll want to makes tons in lots of different shapes and sizes! I made this entire album in two sittings - they come together that quickly! Let me know if you have any questions about anything if you aren't sure about something after watching the video :) Thanks so much for stopping by and have a wonderful day!

SUPPLIES: Patterned papers, stickers, embellishments, die cuts, journaling spots, tabs, wood veneer: TRULY GRATEFUL; 12x12 chipboard; teflon bone folder; PVA liquid glue; scoring board; Sewing machine: Brother; Thread: Coats & Clark


This is just STUNNING!!! LOVING the extra tassels, the colors, the photos, the stitching and the way you added the journal tags!!!!!
ReplyDeleteThanks for the instructions.
ReplyDeleteThis album is darling and
I wondered how it was put
together.
Carla from Utah
Thank you for this tutorial and you tube. My sisters were just here in Florida for vacay and this idea will be perfect
ReplyDeleteThank you very much; Sylvie from France
ReplyDeleteSo inspiring! I can't wait to do one. Thank you so much for all the instructions, template, video!
ReplyDeleteFabulous!! Thank you too for the chart dear <3
ReplyDelete