
Hello everyone! Stefanie Ried here. With my layout today I used the great stencils from Paige. I must honestly say that I immediately fell in love with the hearts.
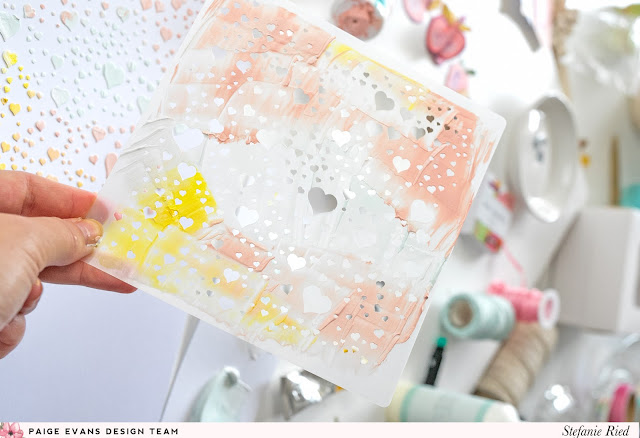
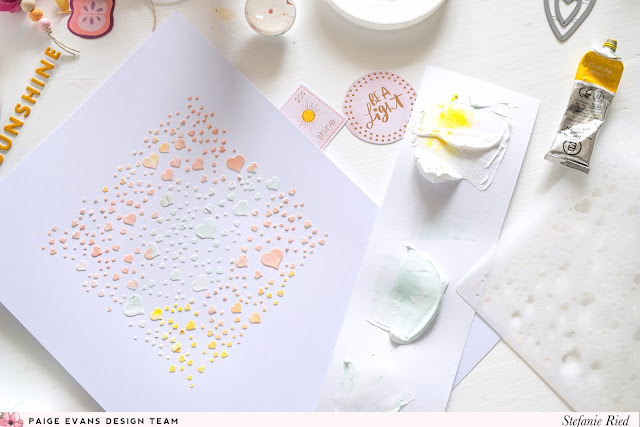
 First I tried a little bit of mixed media. I mixed acrylic paint into the modeling paste. That worked well. With an old plastic card I distributed the colored paste through the stencil.
After drying, I thought about how to integrate this beautiful background into the layout. I didn't want to hide it. So I decorated it with a custom banner at the bottom.

With many embellishments such as cut out Floral Die Cuts, Thickers, fussy cut images, and more from Truly Grateful I decorated the banner.

I hope you like it and thanks for stopping by!
SUPPLIES: Patterned papers, stickers, die cuts, wooden buttons, Thickers, embellishments: TRULY GRATEFUL; Stencil by Paige Evans

Blog: steffiried.blogspot.com / Instagram: @steffiried / Pinterest: @steffiried / Facebook: stefanie.ried.96 YouTube: Steffi Ried


This is gorgeous! LOVING the banner and all the hearts!!!!!!!!!!
ReplyDeleteWow! When I see your LO's Stefanie, I think "how original" and always "how pretty" too. The soft coloured texture paste is just lovely and the banner is perfection !! Adorable mix of every glorious bit! xK
ReplyDelete