
Hello crafty friends! Amber Mitchell here on Paige's blog today to share with you a cute, travel-themed mini album I created using her Go the Scenic Route collection and Mini Album Scalloped Edges cut file.

Mini albums are my favorite type of project to create for several reasons, one of those being that they can double as adorable display items! I love displaying them in a row and seeing all the different colors and sentiments pop. That's why, for this album, I decided to create an actual display board for this album to attach to.

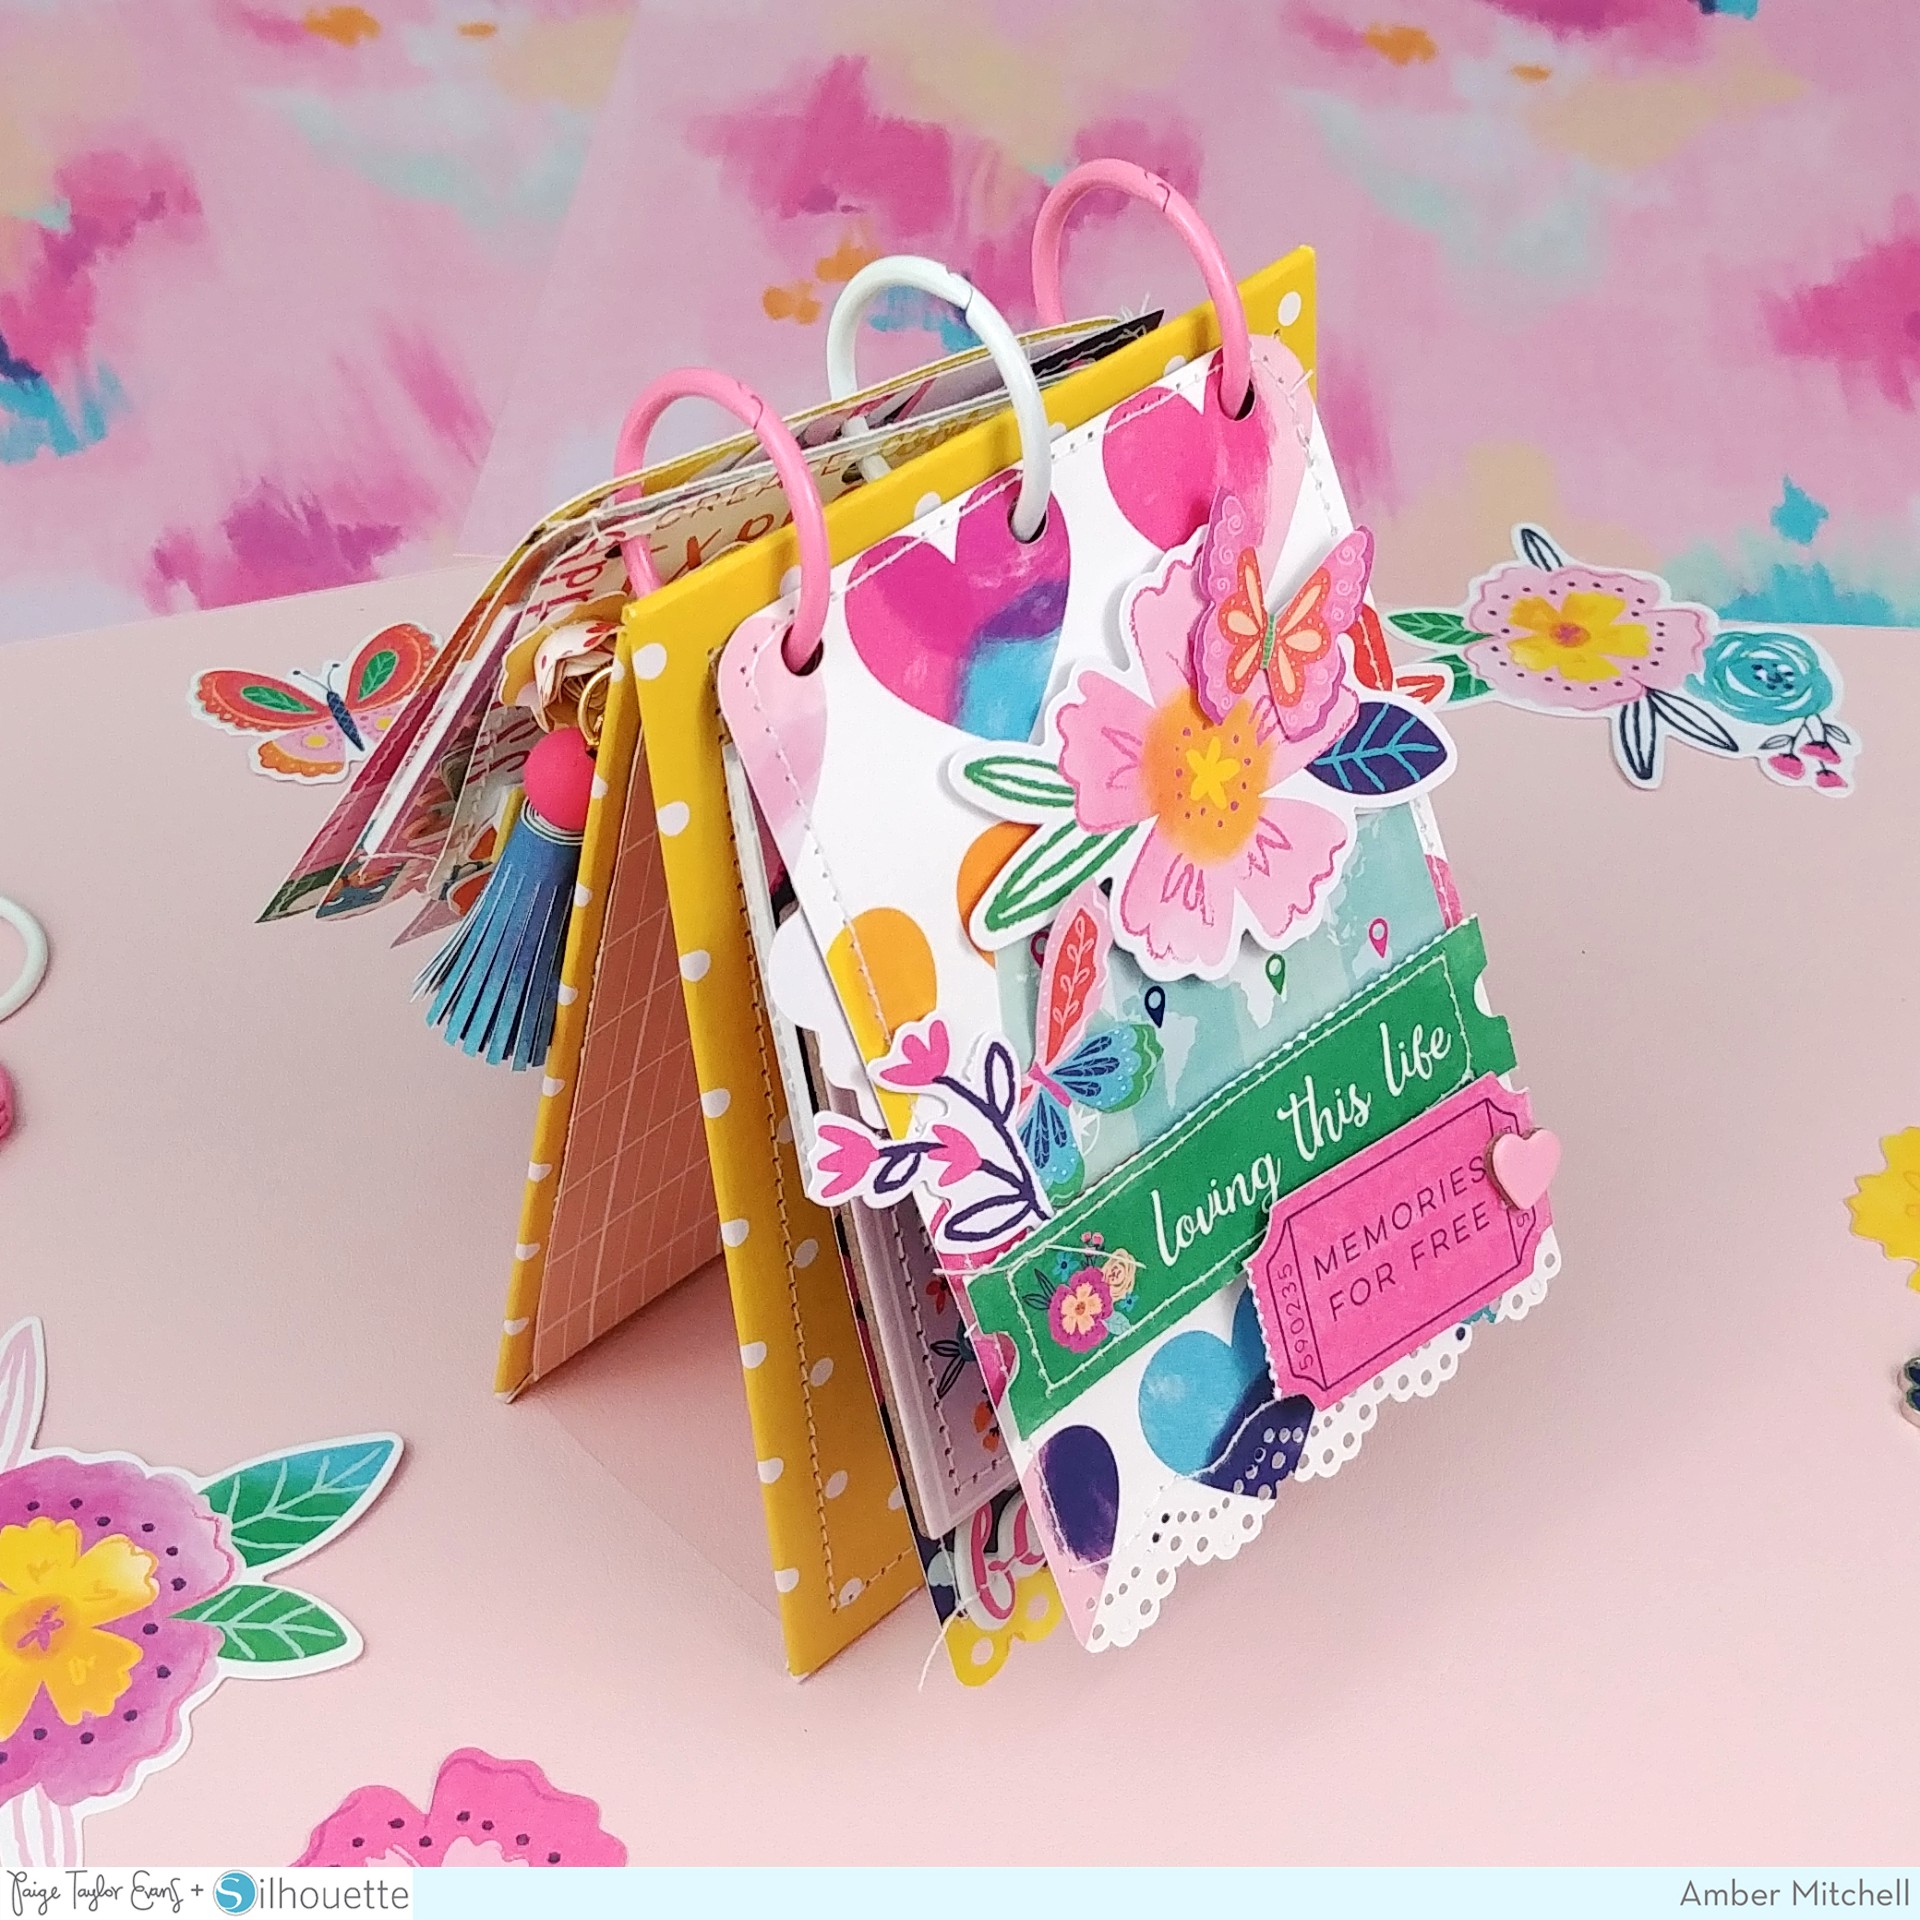
I've made a few albums like this before and with those, I used a complete chipboard base. This time however, I used a binding method inspired by Bea Valint. To start, I took two pieces of chipboard that measured 3.5 x 5.5". I wrapped those individually and then, before backing them with patterned paper, added a strip of acetate between them. This allows this base to stand on its own once the binder rings are added on the top.

For the actual album, I started by resizing the Mini Album Scalloped Edges cut file so that the largest page measured about 3.25 x 5.25". This made the entire album fit perfectly within the margins of the display board. I then cut my pages from the following papers from Go the Scenic Route: Paper 2, Paper 3, Paper 4, Paper 17, and Paper 21.

Once all of them were cut, I added machine stitching for texture and detail and moved onto embellishing. To embellish this project, I used all the fun, colorful bits from Go the Scenic Route. The pinks in this collection are so beautiful and immediately catch the eye so I was drawn to pieces that included those shades. The Foam Thickers, Puffy Phrase Thickers, and Puffy Word Stickers accented the Cardstock Stickers, Chipboard Stickers, Floral Die Cuts, and Ephemera Die Cuts perfectly. All the different materials and textures added a great depth to each page in the album. For a fun pop of color and to hold a die cut in place, I added one of the Flag Paperclips to the second page of the album.


To finish off the cover, I added some rolled flowers using Paige's Rolled Flower cut files. This has become my favorite embellishment to add to projects! It's so fun and the flowers really tie everything together! I also added some fringe paper tassels I created along with charms from my stash and the Charms pack.

I'm looking forward to filling this mini album with travel memories in the future! Thanks for stopping by to read about my project today! I'll see you next time on Paige's blog with another fun project! Take care and happy crafting!


Love love loveeeeeeeee this! LOVING those rolled flowers, the tassels and the colors!! So BEAUTIFUL!
ReplyDeleteSo cute and colourful Amber! I love your creations. I can only imagine how fabulous your display shelf is. Awesome Sauce and beyond 🥰K
ReplyDeleteAnother creative project that is full of color and "happy" little details! Can't wait to make this! OX
ReplyDelete