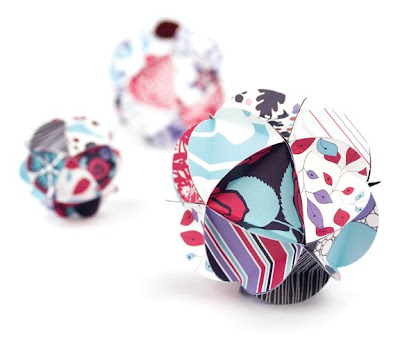
The idea for these neat paper globes featuring the Amplified line are from Heather Bailey's blog. She has a free downloadable template so you can make your own for Christmas ornaments or wedding/baby/bridal shower decor. The list goes on.

 The Amplified collection came (I say that in past tense because this beautiful line is now discontinued, waaaaah) in four different color sets so I made two sets of globes, each featuring two matching colored sets.
  These neat paper flower formations featuring the fashionable Moda Bella line came from Cut Out and Keep. They look quite complicated, but they're really easy to make.
 I saw a card in an issue of CARDS magazine with paper flowers made by a Stampin' Up! representative. They're also really easy to make! Punch ovals from lots of coordinating patterned papers, fold each oval in half, then hot glue at least nine of the ovals together at one point. Add even more ovals to make a fuller flower.
 Some patterned paper boxes never come to pass, but the paper projects are still fun to make. These bags featuring a retired Baby line were die cut using a Cricut machine and the Tags, Bags, Boxes & More cartridge.
 If ya can't tell, this is a sheep, a giraffe and a pig using the newest Baby line. I also made a mouse from blue paper and a hippo or something from gray paper. But generally we only put three items on the front of the patterned paper boxes so these were "the chosen ones."
 I just freehanded these butterflies featuring the Backyard line.
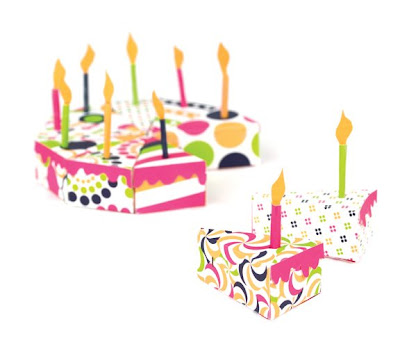
 Again, I used a Cricut machine and the Tags, Bags, Boxes & More cartridge to die cut triangular boxes from Celebration paper and glued them together to make a cake.
 The idea for these fancy boxes featuring the Character line came from Martha Stewart. That lady has talent up the wazoo.
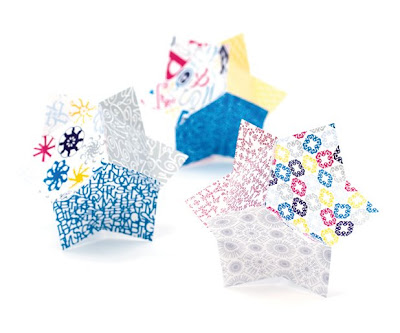 Here's another variation on a Martha Stewart project using an older Christmas line. They're glitter star ornaments.
 The inspiration for these trees comes from the one and only Kelly Purkey. Once upon a time I was looking on the server through older files and she did a make-and-take for Christmas trees. I altered the project a little to include a bigger variety of paper from an older Christmas line. But basically you cut patterned paper into isosceles triangles and glue them back to back.
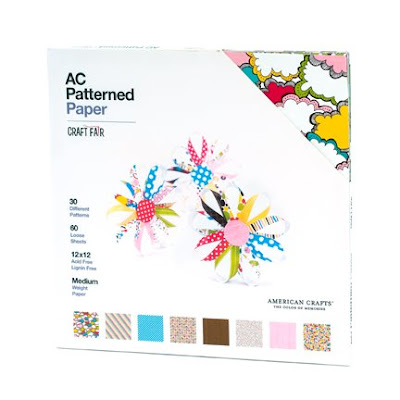
 I just made up these paper flowers featuring the Craft Fair line. I cut strips of patterned paper, looped them and stuck the ends together. To hide the unattractive centers I just punched a large circle and glued it on top. Done.
 For the Everyday line I made a classic paper chain.
 What better paper project to showcase the new Halloween line than paper lanterns? I suppose I could have made a paper pumpkin...maybe next time :) Here's one of many sources to recreate a paper lantern.
 For the new I Heart You line, I wanted to do something with hearts. You can't really tell, but each pair of scallops is actually a heart and then they're all glued at the center. Each layer is concentrically smaller and adhered with pop dots to stand out.
 The idea for the brand new Christmas line, called Merrymint, once again comes from Martha Stewart, but she used green cardstock to make her trees rather than patterned paper. Here is the link. This is probably my favorite paper item of the lot.
 These are hearts glued together and turned upside down. Featuring one of the discontinued Play lines.
 These are rectangles glued together featuring another one of the discontinued Play lines.
 Hearts glued together and hung with clear string using last year's Romance line.
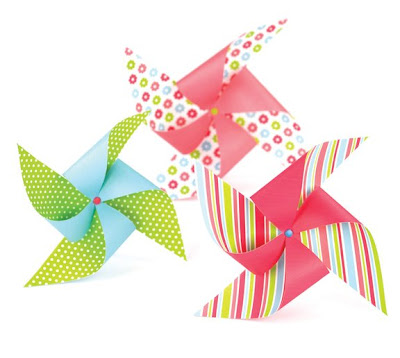
 Pinwheels, another classic paper project, made using paper from the Spring & Summer line, but the patterned paper box is called Tea Party. Here is an online source to make your own.
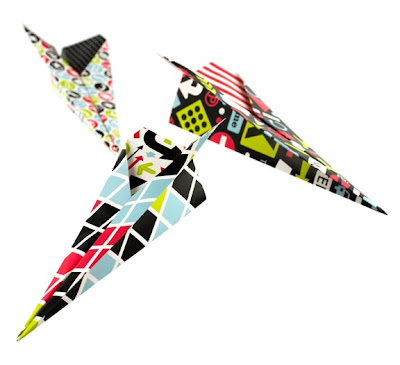
 Travel and airplanes go hand-in-hand. If you don't know how to fold a paper airplane, you need to "travel" back to your childhood!
 Cootie catchers. Another childhood pastime paper project. Featuring the Teen line. Here's a source to make them.
 I've seen some of these patterned paper boxes at Archivers, Roberts, Michaels and Hobby Lobby. So if you ever see one you can be all, like, I totally know who made those paper thinga-ma-jiggers! Then you can buy one or two and stimulate the economy :)


WOWZA!
ReplyDeleteIt's amqazing to see all of these in one post.
They make the already terrific papers look oh, so delicious!
Love them all!!! I can't wait to get my hands on the Everyday, Craft Fair and Backyard lines! Also the newest lines!
ReplyDeleteThanks for posting this! Very cool :)
This is SOOOO cool. I always loved looking at the covers on the paper packs (I think I own every AC paper pack my local Hobby Lobby & Michaels carries, heehee!) So cool to see whats hehind 'em! I'm also reallllly excited to get the craft fair paper pack and the new lines...and I love the newest little Christmas trees...I remember seeing them on Martha, but these are waaaay cuter! =) Thanks for sharing!!!
ReplyDeleteOh these are wonderful! Definetely will be remembering these for future DIY projects! Thanks! :)
ReplyDeleteOooo! Some of those I had not seen yet, like the I Heart You line and Merrymint. Very cute. Also, I didn't know my cloud paper made it into the Craft Fair box! Cools!
ReplyDeleteGirl, these are ALL fabulous! LOVE them! Thanks for the links! I'm going to have to make some of these!
ReplyDeleteYou are so talented. Really. I LOVE all of the papers you used. I wanna have more time to do little crafty thinga-ma-jiggers like you!
ReplyDeleteok. i am OBSESSED with those christmas globes at top. also, that birthday cake thingy. wanna make some together when you come to town next?
ReplyDeleteI HAVE to forward your blog over to my mom. You have the best ideas!!
ReplyDeleteSuper cool seeing how the design was done!
ReplyDelete:)
great projects!
So cool! Loving knowing the stories behind the beautiful art work. And that sneak of Halloween, wow!
ReplyDeleteThese are just adorable!!! Thanks for sharing Paige!
ReplyDeletewow.. these are amazing...thanks so much for sharing these... will definitely give some of them a try...
ReplyDelete